2018 MERCEDES-BENZ SL ROADSTER ad blue
[x] Cancel search: ad bluePage 8 of 322

Engaging neutral ............................ 132
Engaging park position automati-
cally ............................................... 132
Engaging reverse gear ................... 132
Engaging the park position ............ 131
Gearshift recommendation ............ 138
Kickdown ....................................... 134
Manual shifting .............................. 136
Oil temperature (on-board com-
puter, Mercedes-AMG vehicles) ..... 197
Overview ........................................ 130
Problem (malfunction) ................... 139
Pulling away ................................... 124
Selector lever ................................ 130
Starting the engine ........................ 124
Steering wheel paddle shifters ...... 136
Transmission position display ........ 131
Transmission positions .................. 133
Automatic transmission emer-
gency mode ....................................... 139
B
Back button ....................................... 237
BAS (Brake Assist System) ................. 60
Battery (SmartKey)
Checking .......................................... 76
Important safety notes .................... 75
Replacing ......................................... 76
Battery (vehicle)
Charging ........................................ 277
Display message ............................ 214
Important safety notes .................. 275
Jump starting ................................. 278
Overview ........................................ 275
Belt
see Seat belts
Belt warning ......................................... 44
Blind Spot Assist
see Active Blind Spot Assist
Bluetooth
®
Searching for a mobile phone ........ 240
see also Digital Operator's Man-
ual .................................................. 236
Telephony ...................................... 239
Brake Assist System
see BAS (Brake Assist System) Brake Assist with cross-traffic
function
Function/notes ................................ 61
Important safety notes .................... 61
Brake fluid
Display message ............................ 206
Notes ............................................. 315
Brake force distribution
see EBD (electronic brake force
distribution)
Brake lamps
Adaptive ........................................... 65
Display message ............................ 212
Brakes
ABS .................................................. 60
Adaptive Brake Assist ...................... 64
BAS .................................................. 60
Brake Assist with cross-traffic
function ........................................... 61
Brake fluid (notes) ......................... 315
Display message ............................ 201
EBD .................................................. 69
High-performance brake system .... 148
Important safety notes .................. 146
Maintenance .................................. 147
Parking brake ................................ 142
Riding tips ...................................... 146
Warning lamp ................................. 228
Breakdown
see Flat tire
see Towing away
Breakdown assistance
Reflective safety jacket .................. 269
Where will I find...? ........................ 269
Brightness control (instrument
cluster lighting) ................................... 33
C
California
Important notice for retail cus-
tomers and lessees .......................... 25
Calling up a malfunction
see Display messages
Car
see Vehicle
Care
Car wash ........................................ 263
6Index
Page 15 of 322
Setting the color of the ambient
lighting (on-board computer) ......... 195
Standing lamps .............................. 107
Switching the daytime running
lamps on/off (on-board com-
puter) ............................................. 195
Switching the exterior lighting
delayed switch-off on/off (on-
board computer) ............................ 195
Switching the surround lighting
on/off (on-board computer) .......... 195
Turn signals ................................... 107
see Interior lighting
see Replacing the bulbs
Loading aid (trunk)
Raising/lowering the roof .............. 244
Locking
see Central locking
Locking (doors)
Automatic ........................................ 79
Emergency locking ........................... 80
From inside (central locking but-
ton) .................................................. 79
Locking centrally
see Central locking
Locking verification signal (on-
board computer) ............................... 196
Low-beam headlamps
Display message ............................ 212
Switching on/off ........................... 107
Luggage cover
see Trunk partition
M
M+S tires ............................................ 287
MAGIC SKY CONTROL ......................... 93
Malfunction message
see Display messages
Matte finish (cleaning instruc-
tions) .................................................. 265
mbrace
Call priority .................................... 251
Display message ............................ 206
Emergency call .............................. 249
General notes ................................ 248
MB info call button ........................ 251
Remote fault diagnosis .................. 251 Roadside assistance button ........... 250
Self-test ......................................... 248
System .......................................... 248
Mechanical key
Function/notes ................................ 75
General notes .................................. 75
Inserting .......................................... 75
Locking vehicle ................................ 80
Removing ......................................... 75
Unlocking the driver's door .............. 80
Media Interface
see Digital Operator's Manual
Memory card (audio) ......................... 191
Memory function ............................... 105
Mercedes-Benz Intelligent Drive
Active Blind Spot Assist ................. 179
Active Lane Keeping Assist ............ 181
ATTENTION ASSIST ........................ 177
Distance Pilot DISTRONIC with
Steering Pilot and Stop&Go Pilot ... 158
PRE-SAFE
®PLUS (anticipatory
occupant protection PLUS) .............. 56
Rear view camera .......................... 174
Message memory (on-board com-
puter) .................................................. 200
Messages
see Display messages
Mirrors
see Exterior mirrors
Mobile phone
Connecting (Bluetooth
®inter-
face) .............................................. 239
Frequencies ................................... 310
Installation ..................................... 310
Menu (on-board computer) ............ 191
Transmission output (maximum) .... 310
Modifying the programming
(SmartKey) ........................................... 74
MOExtended tires .............................. 271
Mounting wheels
Lowering the vehicle ...................... 308
Mounting a new wheel ................... 307
Preparing the vehicle ..................... 304
Raising the veh icle ......................... 305
R
emoving a wheel .......................... 307
Securing the vehicle against roll-
ing away ........................................ 305
Index13
Page 101 of 322
Switching the seat heating on/off
Switching on/off
GWARNING
Repeatedly switching on the seat heating can
cause the seat cushion and backrest pads to
become very hot. The health of persons with
limited temperature sensitivity or a limited
ability to react to high temperatures may be
affected or they may even suffer burn-like
injuries. There is a risk of injury.
Therefore, do not switch the seat heating on
repeatedly.
!When the seat heating is switched on, the
seat surface can be damaged as a result of
objects being placed on the seats; for exam-
ple, seat cushions, child seats and protective
covers not approved by Mercedes-Benz.
When the seat heating is switched on, ensure
that there are no objects on the seats.
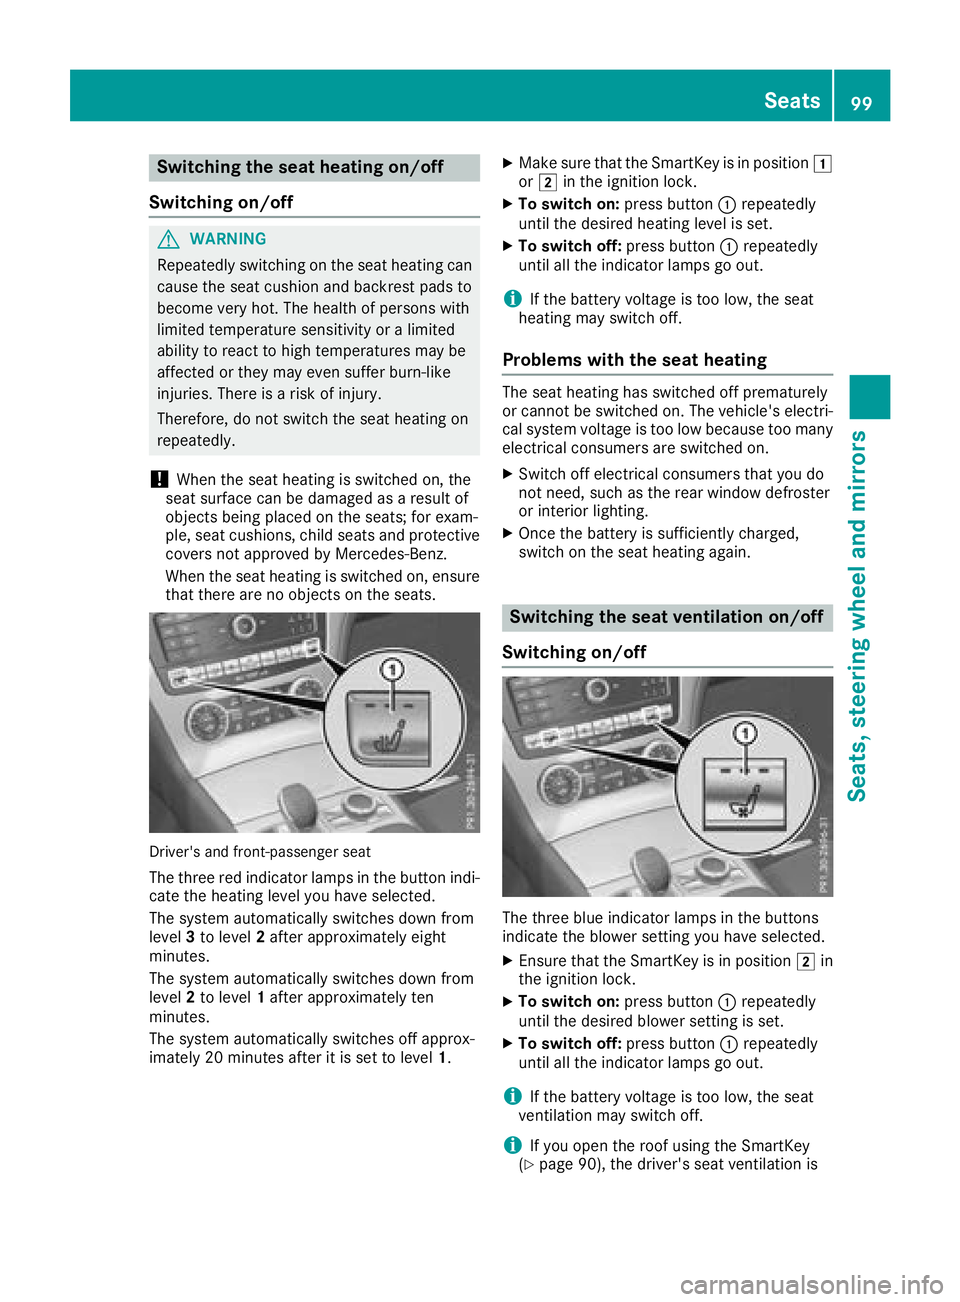
Driver's and front-passenger seat
The three red indicator lamps in the button indi-
cate the heating level you have selected.
The system automatically switches down from
level 3to level 2after approximately eight
minutes.
The system automatically switches down from
level 2to level 1after approximately ten
minutes.
The system automatically switches off approx-
imately 20 minutes after it is set to level 1.
XMake sure that the SmartKey is in position 1
or 2 in the ignition lock.
XTo switch on: press button:repeatedly
until the desired heating level is set.
XTo switch off: press button:repeatedly
until all the indicator lamps go out.
iIf the battery voltage is too low, the seat
heating may switch off.
Problems with the seat heating
The seat heating has switched off prematurely
or cannot be switched on. The vehicle's electri- cal system voltage is too low because too many
electrical consumers are switched on.
XSwitch off electrical consumers that you do
not need, such as the rear window defroster
or interior lighting.
XOnce the battery is sufficiently charged,
switch on the seat heating again.
Switching the seat ventilation on/off
Switching on/off
The three blue indicator lamps in the buttons
indicate the blower setting you have selected.
XEnsure that the SmartKey is in position 2in
the ignition lock.
XTo switch on: press button:repeatedly
until the desired blower setting is set.
XTo switch off: press button:repeatedly
until all the indicator lamps go out.
iIf the battery voltage is too low, the seat
ventilation may switch off.
iIf you open the roof using the SmartKey
(Ypage 90), the driver's seat ventilation is
Seats99
Seats, steering wheel and mirrors
Z
Page 110 of 322
The blueKindicator lamp in the instru-
ment cluster lights up when the high-beam
headlamps are switched on.
XTo switch off the high-beam headlamps:
move the combination switch back to its nor-
mal position.
The blue Kindicator lamp in the instru-
ment cluster goes out.
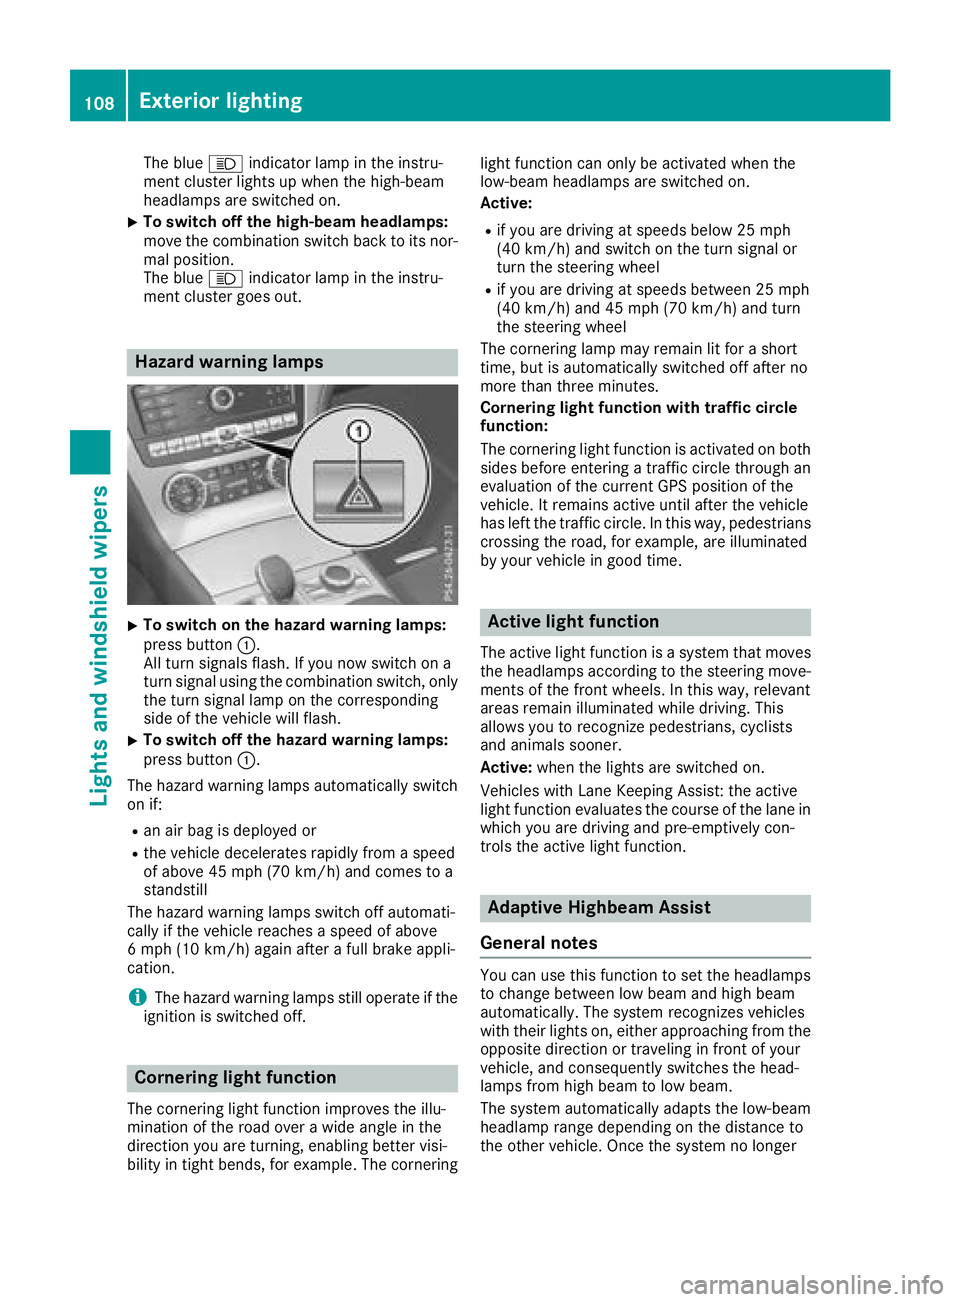
Hazard warning lamps
XTo switch on the hazard warning lamps:
press button :.
All turn signals flash. If you now switch on a
turn signal using the combination switch, only
the turn signal lamp on the corresponding
side of the vehicle will flash.
XTo switch off the hazard warning lamps:
press button :.
The hazard warning lamps automatically switch
on if:
Ran air bag is deployed or
Rthe vehicle decelerates rapidly from a speed
of above 45 mph (70 km/h) and comes to a
standstill
The hazard warning lamps switch off automati-
cally if the vehicle reaches a speed of above
6 mph (10 km/h) again after a full brake appli-
cation.
iThe hazard warning lamps still operate if the
ignition is switched off.
Cornering light function
The cornering light function improves the illu-
mination of the road over a wide angle in the
direction you are turning, enabling better visi-
bility in tight bends, for example. The cornering light function can only be activated when the
low-beam headlamps are switched on.
Active:
Rif you are driving at speeds below 25 mph
(40 km/h) and switch on the turn signal or
turn the steering wheel
Rif you are driving at speeds between 25 mph
(40 km/h) and 45 mph (70 km/h) and turn
the steering wheel
The cornering lamp may remain lit for a short
time, but is automatically switched off after no
more than three minutes.
Cornering light function with traffic circle
function:
The cornering light function is activated on both
sides before entering a traffic circle through an
evaluation of the current GPS position of the
vehicle. It remains active until after the vehicle
has left the traffic circle. In this way, pedestrians
crossing the road, for example, are illuminated
by your vehicle in good time.
Active light function
The active light function is a system that moves
the headlamps according to the steering move-
ments of the front wheels. In this way, relevant
areas remain illuminated while driving. This
allows you to recognize pedestrians, cyclists
and animals sooner.
Active: when the lights are switched on.
Vehicles with Lane Keeping Assist: the active
light function evaluates the course of the lane in
which you are driving and pre-emptively con-
trols the active light function.
Adaptive Highbeam Assist
General notes
You can use this function to set the headlamps
to change between low beam and high beam
automatically. The system recognizes vehicles
with their lights on, either approaching from the
opposite direction or traveling in front of your
vehicle, and consequently switches the head-
lamps from high beam to low beam.
The system automatically adapts the low-beam
headlamp range depending on the distance to
the other vehicle. Once the system no longer
108Exterior lighting
Lights and windshield wipers
Page 193 of 322
the preset list or station list in the desired
frequency range is shown.
XTo select a station:briefly press9
or :.
SIRIUS XM satellite radio functions like a normal radio.
For more information on radio operation, see
"Satellite radio" in the Digital Operator's Man-
ual.
Operating an audio player or audio
media
Audio data from various audio devices or media
can be played, depending on the equipment
installed in the vehicle.
XSwitch on the multimedia system and select
audio CD or MP3 mode (see the Digital Oper-ator's Manual).
XPress the =or; button on the steering
wheel to select the Audiomenu.
XTo select the next/previous track: briefly
press the 9or: button.
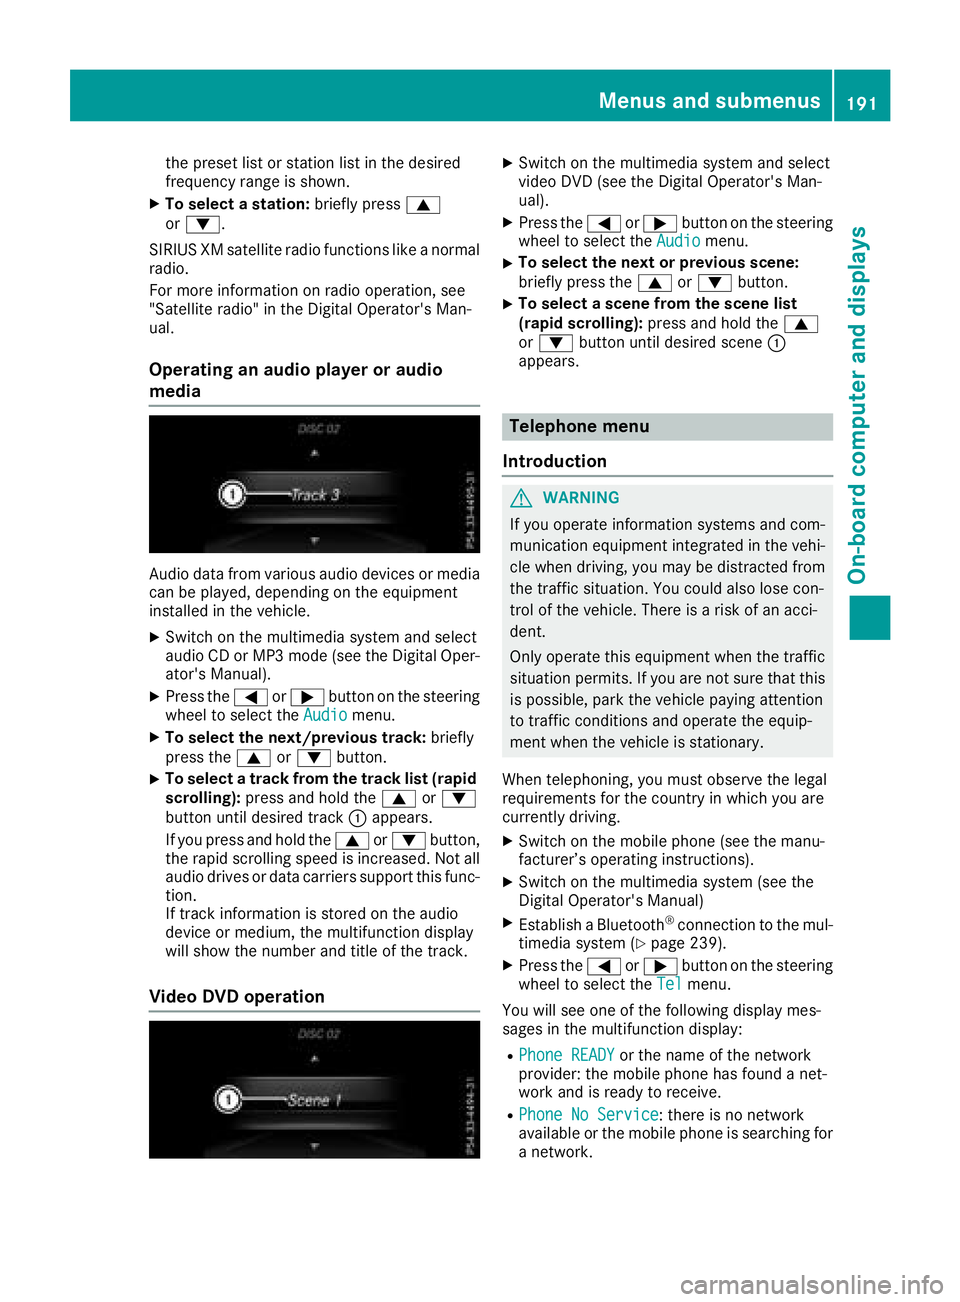
XTo select a track from the track list (rapid
scrolling): press and hold the 9or:
button until desired track :appears.
If you press and hold the 9or: button,
the rapid scrolling speed is increased. Not all
audio drives or data carriers support this func-
tion.
If track information is stored on the audio
device or medium, the multifunction display
will show the number and title of the track.
Video DVD operation
XSwitch on the multimedia system and select
video DVD (see the Digital Operator's Man-
ual).
XPress the =or; button on the steering
wheel to select the Audiomenu.
XTo select the next or previous scene:
briefly press the9or: button.
XTo select a scene from the scene list
(rapid scrolling): press and hold the 9
or : button until desired scene :
appears.
Telephone menu
Introduction
GWARNING
If you operate information systems and com-
munication equipment integrated in the vehi-
cle when driving, you may be distracted from
the traffic situation. You could also lose con-
trol of the vehicle. There is a risk of an acci-
dent.
Only operate this equipment when the traffic
situation permits. If you are not sure that this
is possible, park the vehicle paying attention
to traffic conditions and operate the equip-
ment when the vehicle is stationary.
When telephoning, you must observe the legal
requirements for the country in which you are
currently driving.
XSwitch on the mobile phone (see the manu-
facturer’s operating instructions).
XSwitch on the multimedia system (see the
Digital Operator's Manual)
XEstablish a Bluetooth®connection to the mul-
timedia system (Ypage 239).
XPress the =or; button on the steering
wheel to select the Telmenu.
You will see one of the following display mes-
sages in the multifunction display:
RPhone READYor the name of the network
provider: the mobile phone has found a net-
work and is ready to receive.
RPhone No Service: there is no network
available or the mobile phone is searching for
a network.
Menus and submenus191
On-board computer and displays
Z
Page 200 of 322
Engine and transmission oil temperature:
when the engine and transmission are at nor-
mal operating temperature, oil tempera-
ture?and Bare displayed in white in the
multifunction display.
If the multifunction display shows oil temper-
ature ?orB in blue, the engine or the
transmission are not yet at normal operating
temperature. Avoid driving at full engine out-
put during this time.
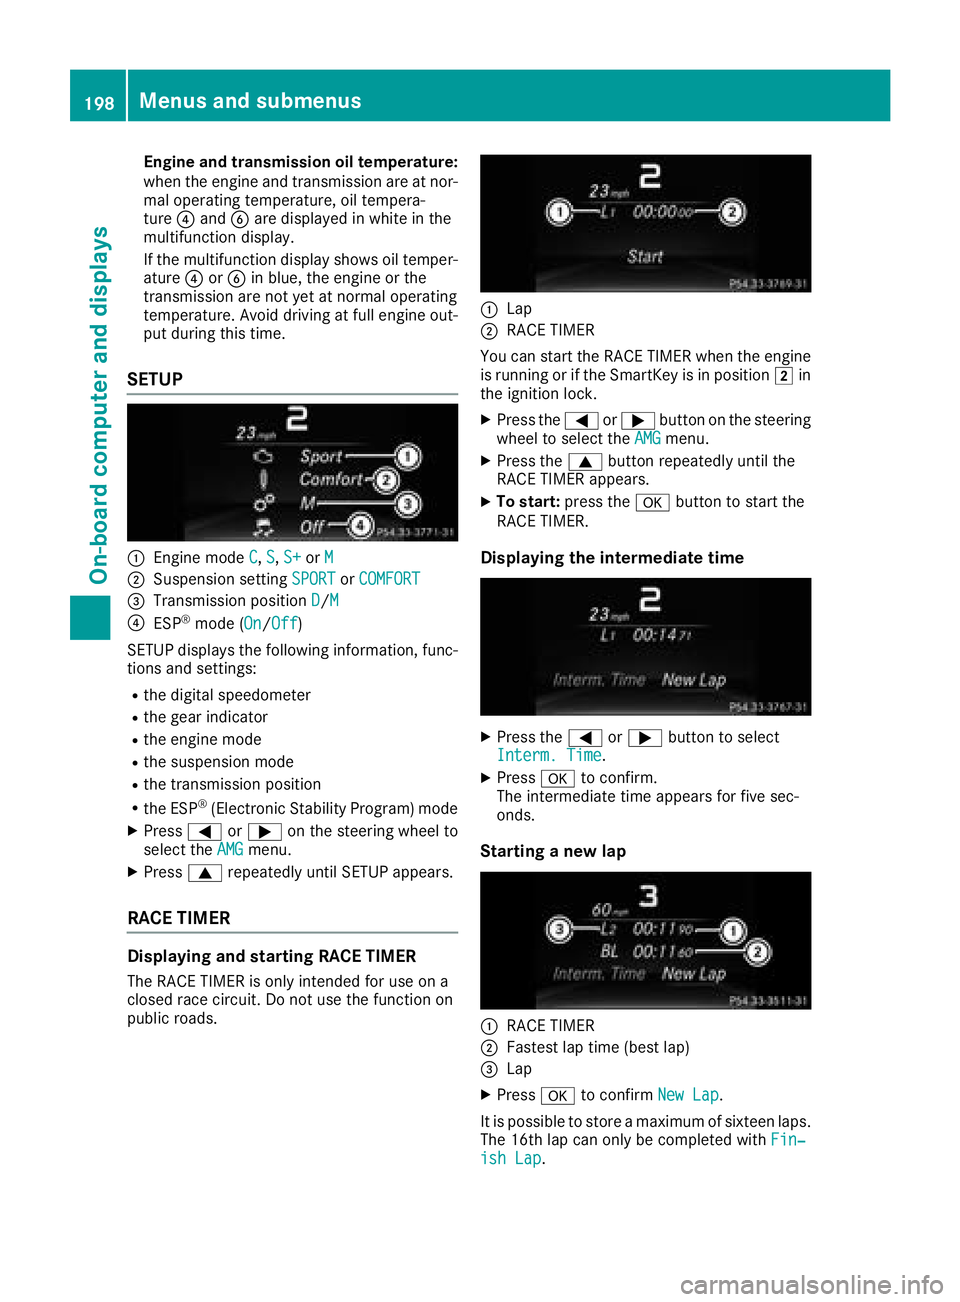
SETUP
:Engine mode C,S,S+or M
;Suspension setting SPORTorCOMFORT
=Transmission position D/M
?ESP®mode ( On/Off)
SETUP displays the following information, func-
tions and settings:
Rthe digital speedometer
Rthe gear indicator
Rthe engine mode
Rthe suspension mode
Rthe transmission position
Rthe ESP®(Electronic Stability Program) mode
XPress =or; on the steering wheel to
select the AMGmenu.
XPress9repeatedly until SETUP appears.
RACE TIMER
Displaying and starting RACE TIMER
The RACE TIMER is only intended for use on a
closed race circuit. Do not use the function on
public roads.
:Lap
;RACE TIMER
You can start the RACE TIMER when the engine
is running or if the SmartKey is in position 2in
the ignition lock.
XPress the =or; button on the steering
wheel to select the AMGmenu.
XPress the9button repeatedly until the
RACE TIMER appears.
XTo start: press the abutton to start the
RACE TIMER.
Displaying the intermediate time
XPress the =or; button to select
Interm. Time.
XPress ato confirm.
The intermediate time appears for five sec-
onds.
Starting a new lap
:RACE TIMER
;Fastest lap time (best lap)
=Lap
XPress ato confirm New Lap.
It is possible to store a maximum of sixteen laps.
The 16th lap can only be completed with Fin‐
ish Lap.
198Menus and submenus
On-board computer and displays
Page 241 of 322
Notes for route options:
RUse Toll Roads
The route calculation includes roads which
require you to pay a usage fee (toll).
RNumber of Occupants in the Vehicle:(only available in the USA)
Prerequisite: your vehicle meets the access
conditions for carpool lanes.
Carpool lanes will be included if the carpool
lanes option is activated.
Entering an address
Multimedia system:
XSelectNaviQNavigation.
The map shows the vehicle's current position.
XSlide 6the controller.
XSelect DestinationQAddress Entry.
Enter an address, e.g. as follows:
Rcity or ZIP code, street, house number
Rstate/province, city or ZIP code
Rcity or ZIP code, center
Rstreet, city or ZIP code, intersection
XSelect City.
The city in which the vehicle is currently loca-
ted (current vehicle position) is at the top.
Below this, you will see locations for which
route guidance has already been carried out.
XEnter the city.
The Gsymbol: the location is contained on
the digital map multiple times.
XTo switch to the list: slide5the control-
ler.
XSelect the location.
If available, the ZIP code is shown. If there are
different ZIP codes available for the location,
the corresponding digits are displayed with an
X
.
XEnter the street and house number.
The address is in the menu.
Further options for destination entry:
Rsearch for a keyword
The keyword search finds destinations using
fragments of words.
Rselect the last destination
Rselect a contact
Rselect a POI
You can search for a POI by location, name or
telephone number.
Rselect destination on the map
Renter intermediate destination
You can map the route to the destination
yourself with up to four intermediate destina-
tions.
Rselect destinations from Mercedes-Benz
Apps
Rselect geo-coordinates
Calculating the route
Prerequisite: the address has been entered and
is in the menu.
XSelect StartorContinue.
The route is calculated with the selected route
type and the selected route options.
If route guidance has already been activated,
a prompt will appear asking whether you wish
to end the current route guidance.
XSelect Cancel Active Route Guidanceor
Set as Intermediate Destination.
Cancel Active Route Guidancecancels
the current route guidance and starts route
calculation to the new destination.
Set as Intermediate Destination
adds
the new destination in addition to the existing
destination and opens the intermediate des-
tinations list.
Connecting a mobile phone
(COMAND)
Requirements
For telephony via the Bluetooth®interface, you
require a Bluetooth®-capable mobile phone. The
mobile phone must support Hands-Free Profile
1.0 or above.
Multimedia system:
XSelect VehicleQSystem Set‐tingsQActivate Bluetooth.
XActivate Bluetooth®O.
Mobile phone:
XActivate Bluetooth®and, if necessary, Blue-
tooth®visibility for other devices (see the
manufacturer's operating instructions).
The Bluetooth
®device names for all of one man-
ufacturer's products might be identical. To
make it possible to clearly identify your mobile
Operating system239
Multimedia system
Z
Page 242 of 322
phone, change the device name (see the man-
ufacturer's operating instructions).
If the mobile phone supports the PBAP (Phone
Book Access Profile) and MAP (M essage
Access Profile) Bluetooth
®profiles, the follow-
ing information will be transmitted after you
connect:
RPhone book
RCall lists
RText messages and e-mail
iFurther information on suitable mobile
phones can be found at: http://
www.mercedes-benz.com/connect
iIn the USA, you can get in touch with the
Mercedes-Benz Customer Assistance Center
on 1-800-FOR-MERCedes (1-800-367-6372).
In Canada, you can get in touch with the Cus-
tomer Relations Center on 1-800-387-0100.
Searching for and authorizing (connect-
ing) a mobile phone
Before using your mobile phone with the multi-
media system for the first time, you will need to
search for the phone and then authorize (con-
nect) it. Depending on the mobile phone, author-ization either takes place by means of Secure
Simple Pairing or by entering a passkey. The
multimedia system automatically makes the
procedure that is relevant for your mobile phone
available. The mobile phone is always connec-
ted automatically after authorization. Further
information on using a mobile phone with the
multimedia system (see the Digital Operator's
Manual).
If the multimedia system does not detect your
mobile phone, this may be due to particular
security settings on your mobile phone (see the
manufacturer's operating instructions).
Only one mobile phone can be connected to the
multimedia system at any one time.
Searching for a mobile phone
Multimedia system:
XSelect Tel/®QConn.DeviceQSearch for PhonesQStartSearch.
The available mobile phones are displayed. Symbols in the device list
Sym-
bolExplanation
ÏNew mobile phone found, not yet
authorized.
ÑMobile phone is authorized, but is
not connected.
Connecting a mobile phone
Authorization using Secure Simple Pairing:
XSelect mobile phone.
A code is displayed in the multimedia system
and on the mobile phone.
XIf codes match:
selectYeson the multimedia
system.
XConfirm code on the mobile phone. Depend-
ing on the mobile phone used, confirm the
connection to the multimedia system and for
the PBAP and MAP Bluetooth
®profiles. The
prompt to confirm may take up to two
minutes to be displayed (see the manufactur-
er's operating instructions).
XIf the codes are different: selectNoon the
multimedia system.
The process is canceled.
Repeat authorization.
Authorization by entering a passkey (passcode):
XSelect the Bluetooth®name of the mobile
phone.
The input menu for the passkey is displayed.
XChoose a one to sixteen-digit number combi- nation as a passkey.
XEnter the passkey on the multimedia system.
XPress ¬to confirm.
XEnter and confirm the passkey on the mobile
phone. Depending on the mobile phone used,
confirm the connection to the multimedia sys-
tem and for the PBAP and MAP Bluetooth
®
profiles. The prompt to confirm may take up
to two minutes to be displayed (see the man-
ufacturer's operating instructions).
240Operating system
Multimedia system