2018 MERCEDES-BENZ GLS SUV jump start
[x] Cancel search: jump startPage 5 of 398

Features .............................................. 308
Maintenance and care......................325
Engine compartment ........................... 325
ASSYST PLUS ...................................... 329
Care ..................................................... 330
Breakdown assistance .....................338
Where will I find...? .............................. 338
Flat tire ................................................ 339
Battery (vehicle) .................................. 344
Jump-starting ....................................... 346
Towing and tow-starting ...................... 349
Fuses ................................................... 352
Wheels and tires ............................... 354
Important safety notes ........................ 354
Operation ............................................ 354
Winter operation .................................. 356
Tire pressure ....................................... 357
Loading the vehicle .............................. 364
All about wheels and tires ................... 367
Changing a wheel ................................ 374
Wheel and tire combinations ............... 379
Emergency spare wheel ....................... 380
Technical data ................................... 384
Information regarding technical data ... 384
Vehicle electronics .............................. 384
Identification plates ............................. 385
Service products and filling capaci-
ties ...................................................... 386
Vehicle data ......................................... 392
Vehicle data for off-road driving .......... 393
Trailer tow hitch ................................... 395
Contents3
Page 8 of 398

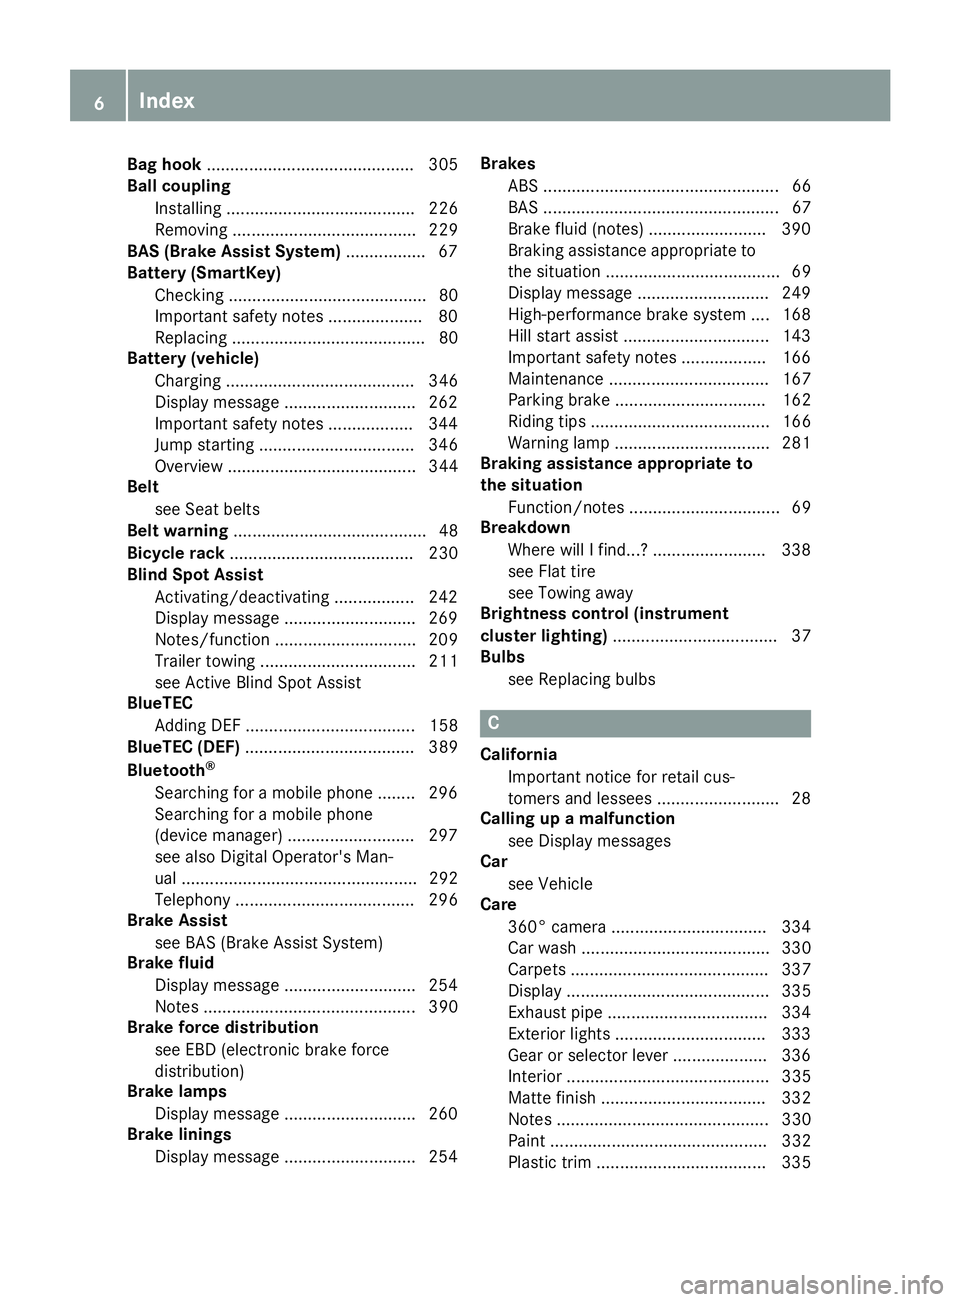
Bag hook............................................ 305
Ball coupling
Installing ........................................ 226
Removing ....................................... 229
BAS (Brake Assist System) ................. 67
Battery (SmartKey)
Checking .......................................... 80
Important safety notes .................... 80
Replacing ......................................... 80
Battery (vehicle)
Charging ........................................ 346
Display message ............................ 262
Important safety notes .................. 344
Jump starting ................................. 346
Overview ........................................ 344
Belt
see Seat belts
Belt warning ......................................... 48
Bicycle rack ....................................... 230
Blind Spot Assist
Activating/deactivating ................. 242
Display message ............................ 269
Notes/function .............................. 209
Trailer towing ................................. 211
see Active Blind Spot Assist
BlueTEC
Adding DEF .................................... 158
BlueTEC (DEF) .................................... 389
Bluetooth
®
Searching for a mobile phone ........ 296
Searching for a mobile phone
(device manager) ........................... 297
see also Digital Operator's Man-
ual .................................................. 292
Telephony ...................................... 296
Brake Assist
see BAS (Brake Assist System)
Brake fluid
Display message ............................ 254
Notes ............................................. 390
Brake force distribution
see EBD (electronic brake force
distribution)
Brake lamps
Display message ............................ 260
Brake linings
Display message ............................ 254 Brakes
ABS .................................................. 66
BAS .................................................. 67
Brake fluid (notes) ......................... 390
Braking assistance appropriate to
the situation ..................................... 69
Display message ............................ 249
High-performance brake system .... 168
Hill start assist ............................... 143
Important safety notes .................. 166
Maintenance .................................. 167
Parking brake ................................ 162
Riding tips ...................................... 166
Warning lamp ................................. 281
Braking assistance appropriate to
the situation
Function/notes ................................ 69
Breakdo
wn
Where will I find...? ........................ 338
see Flat tire
see Towing away
Brightness control (instrument
cluster lighting) ................................... 37
Bulbs
see Replacing bulbs
C
CaliforniaImportant notice for retail cus-
tomers and lessees .......................... 28
Calling up a malfunction
see Display messages
Car
see Vehicle
Care
360° camera ................................. 334
Car wash ........................................ 330
Carpets .......................................... 337
Display ........................................... 335
Exhaust pipe .................................. 334
Exterior lights ................................ 333
Gear or selector lever .................... 336
Interior ........................................... 335
Matte finish ................................... 332
Notes ............................................. 330
Paint .............................................. 332
Plastic trim .................................... 335
6Index
Page 13 of 398

Display message ............................ 261
ECO start/stop function ................ 144
Engine number ............................... 386
Irregular running ............................ 146
Jump-starting ................................. 346
Starting (important safety notes) ... 141
Starting problems .......................... 146
Starting the engine with the
SmartKey ....................................... 142
Starting via smartphone ................ 142
Starting with KEYLESS-GO ............. 142
Switching off .................................. 162
Tow-starting (vehicle) ..................... 352
Engine electronics
Problem (malfunction) ................... 146
Engine jump starting
see Jump starting (engine)
Engine oil
Adding ........................................... 327
Additives ........................................ 390
Checking the oil level ..................... 326
Checking the oil level using the
dipstick .......................................... 327
Display message ............................ 263
Filling capacity ............................... 390
Notes about oil grades ................... 389
Notes on oil level/consumption .... 326
Temperature (on-board computer,
Mercedes-AMG vehicles) ............... 245
Engine switch-off
see ECO start/stop function
Entering an address
see also Digital Operator's Man-
ual .................................................. 292
ESP
®(Electronic Stability Pro-
gram)
AMG menu (on-board computer) ... 246
Characteristics ................................. 70
Deactivating/activating ................... 71
Display message ............................ 249
Function/notes ................................ 69
General notes .................................. 69
Important safety information ........... 70
Warning lamp ................................. 284
ETS/4ETS (Electronic Traction Sys-
tem) ...................................................... 70
Exhaust check ................................... 165 Exhaust pipe (cleaning instruc-
tions)
.................................................. 334
Exterior lighting
see Lights
Exterior mirrors
Adjusting ....................................... 110
Dipping (automatic) ....................... 112
Folding in whe
n locking (on-board
computer) ...................................... 245
Folding in/out (automatically) ....... 111
Folding in/out (electrically) ........... 111
Out of position (troubleshooting) ... 112
Setting ........................................... 111
Storing settings (memory func-
tion) ............................................... 113
Storing the parking position .......... 112
Eyeglasses compartment ................. 302
F
Favorites
Overview ........................................ 294
Filler cap
see Refueling
Flat tire
MOExtended tires .......................... 340
Preparing the vehicle ..................... 339
TIREFIT kit ...................................... 341
see Emergency spare wheel
Floormats ........................................... 324
Fog lamps (extended range) ............. 118
Folding the rear bench seat for-
wards/back ....................................... 303
Fording
Off-road ......................................... 169
On flooded roads ........................... 168
Frequencies
Mobile phone ................................. 384
Two-way radio ................................ 384
Fuel
Additives ........................................ 388
Consumption statistics .................. 236
Displaying the current consump-
tion ................................................ 237
Displaying the range ...................... 237
Driving tips .................................... 164
Fuel gauge ....................................... 37
Grade (gasoline) ............................ 387
Index11
Page 15 of 398

Indicatorssee Turn signals
Insect protection on the radiator .... 326
Instrument cluster
Overview .......................................... 37
Warning and indicator lamps .......... .37
Instrument cluster lighting .............. 233
Intelligent Light System
Activating/deactivating ................ .243
Display message ............................ 260
Overview ........................................ 117
Interior lighting
Automatic control .......................... 120
Emergency lighting ........................ 120
General notes ................................ 119
Manual control ............................... 119
Overview ........................................ 119
Reading lamp ................................. 119
iPod
®
see also Digital Operator's Man-
ual ..................................................2 92
J
Jack
Storage location ............................ 339
Using ............................................. 376
Jump starting (engine) ......................346
K
Key positions
KEYLESS-GO .................................. 140
SmartKey ....................................... 140
KEYLESS-GO
Activating ......................................... 78
Convenience closing feature ............ 91
Deactivation ..................................... 78
Display message ............................ 278
Locking ............................................ 78
Removing the Start/Stop button ... 141
Start function ................................... 79
Start/Stop button .......................... 140
Starting the engine ........................ 142
Unlocking ......................................... 78
Kickdown
Driving tips ....................................1 51
Manual gearshifting ....................... 154 Knee bag
.............................................. 50
L
Lamps
see Warning and indicator lamps
Lane Keeping Assist
Activating/deactivating ................. 242
Display message ............................ 268
Function/information .................... 211
see Active Lane Keeping Assist
Lap time (RACETIMER) ...................... 246
LATCH-type (ISOFIX) child seat
anchors ................................................ 62
Level control
AIRMATIC ...................................... 190
Level control (display message) ...... 265
Level control (vehicle with the Off-
Road Engineering package)
Basic settings ................................ 184
Function/notes ............................. 184
Important safety notes .................. 184
License plate lamp (display mes-
sage) ................................................... 260
Light function, active
Display message ............................ 260
Light sensor (display message) ....... 260
Light switch
Operation ....................................... 115
Lights
Activating/deactivating the Intel-
ligent Light System ........................ 243
Active light function ....................... 117
Adaptive Highbeam Assist ............. 118
Automatic headlamp mode ............ 115
Fog lamps (extended) .................... 118
Hazard warning lamps ................... 117
High beam flasher .......................... 116
High-beam headlamps ................... 116
Highway mode ............................... 118
Light switch ................................... 115
Low-beam headlamps .................... 116
Off-road lights ................................ 118
Parking lamps ................................ 116
Rear fog lamp ................................ 116
Standing lamps .............................. 116
Index13
Page 84 of 398

ProblemPossible causes/consequences andMSolutions
There is interference from a powerful source of radio waves.
XUnlock (Ypage 84) or lock (Ypage 84) the vehicle using the
mechanical key.
KEYLESS-GO is malfunctioning.
XLock/unlock the vehicle using the remote control function of the
SmartKey.
XHave the vehicle and SmartKey checked at a qualified specialist
workshop.
If the vehicle can also not be locked/unlocked using the remote con-
trol function:
XUnlock (Ypage 84) or lock (Ypage 84) the vehicle using the
mechanical key.
XHave the vehicle and SmartKey checked at a qualified specialist
workshop.
The engine cannot be
started using the Smart-
Key.The on-board voltage is too low.
XSwitch off non-essential consumers, e.g. seat heating or interior
lighting, and try to start the engine again.
If this does not work:
XCheck the starter battery and charge it if necessary (Ypage 346).
or
XJump-start the vehicle (Ypage 346).
or
XConsult a qualified specialist workshop.
The engine cannot be
started using the Start/
Stop button. The Smart-
Key is in the vehicle.The vehicle is locked.
XUnlock the vehicle and try to start the vehicle again.
The SmartKey battery is discharged or nearly discharged.
XCheck the SmartKey battery (Ypage 80) and replace it if necessary
(Ypage 80).
If this does not work:
XStart your vehicle with the SmartKey in the ignition lock.
There is interference from a powerful source of radio waves.
XStart your vehicle with the SmartKey in the ignition lock.
You have lost a Smart-
Key.XHave the SmartKey deactivated at a qualified specialist workshop.
XReport the loss immediately to the vehicle insurers.
XIf necessary, have the locks changed as well.
You have lost the
mechanical key.XReport the loss immediately to the vehicle insurers.
XIf necessary, have the locks changed as well.
82SmartKey
Opening and closing
Page 148 of 398

If indicator lamp;is off, the ECO start/stop
function has been deactivated manually or as
the result of a malfunction.
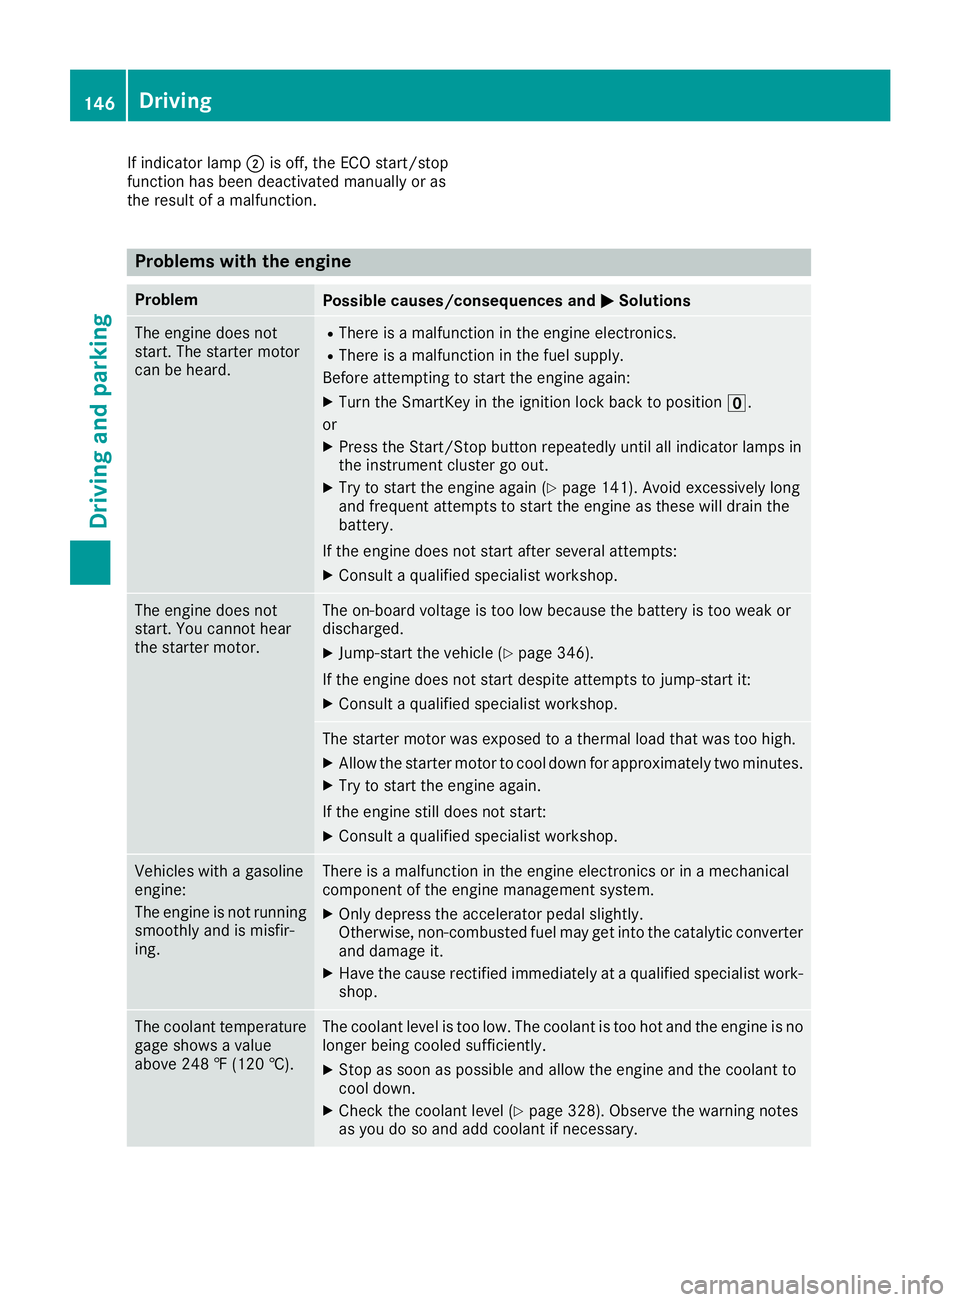
Problems with the engine
ProblemPossible causes/consequences and MSolutions
The engine does not
start. The starter motor
can be heard.RThere is a malfunction in the engine electronics.
RThere is a malfunction in the fuel supply.
Before attempting to start the engine again:
XTurn the SmartKey in the ignition lock back to position u.
or
XPress the Start/Stop button repeatedly until all indicator lamps in
the instrument cluster go out.
XTry to start the engine again (Ypage 141). Avoid excessively long
and frequent attempts to start the engine as these will drain the
battery.
If the engine does not start after several attempts:
XConsult a qualified specialist workshop.
The engine does not
start. You cannot hear
the starter motor.The on-board voltage is too low because the battery is too weak or
discharged.
XJump-start the vehicle (Ypage 346).
If the engine does not start despite attempts to jump-start it:
XConsult a qualified specialist workshop.
The starter motor was exposed to a thermal load that was too high.
XAllow the starter motor to cool down for approximately two minutes.
XTry to start the engine again.
If the engine still does not start:
XConsult a qualified specialist workshop.
Vehicles with a gasoline
engine:
The engine is not running
smoothly and is misfir-
ing.There is a malfunction in the engine electronics or in a mechanical
component of the engine management system.
XOnly depress the accelerator pedal slightly.
Otherwise, non-combusted fuel may get into the catalytic converter
and damage it.
XHave the cause rectified immediately at a qualified specialist work-
shop.
The coolant temperature
gage shows a value
above 248 ‡ (120 †).The coolant level is too low. The coolant is too hot and the engine is no
longer being cooled sufficiently.
XStop as soon as possible and allow the engine and the coolant to
cool down.
XCheck the coolant level (Ypage 328). Observe the warning notes
as you do so and add coolant if necessary.
146Driving
Driving and parking
Page 173 of 398

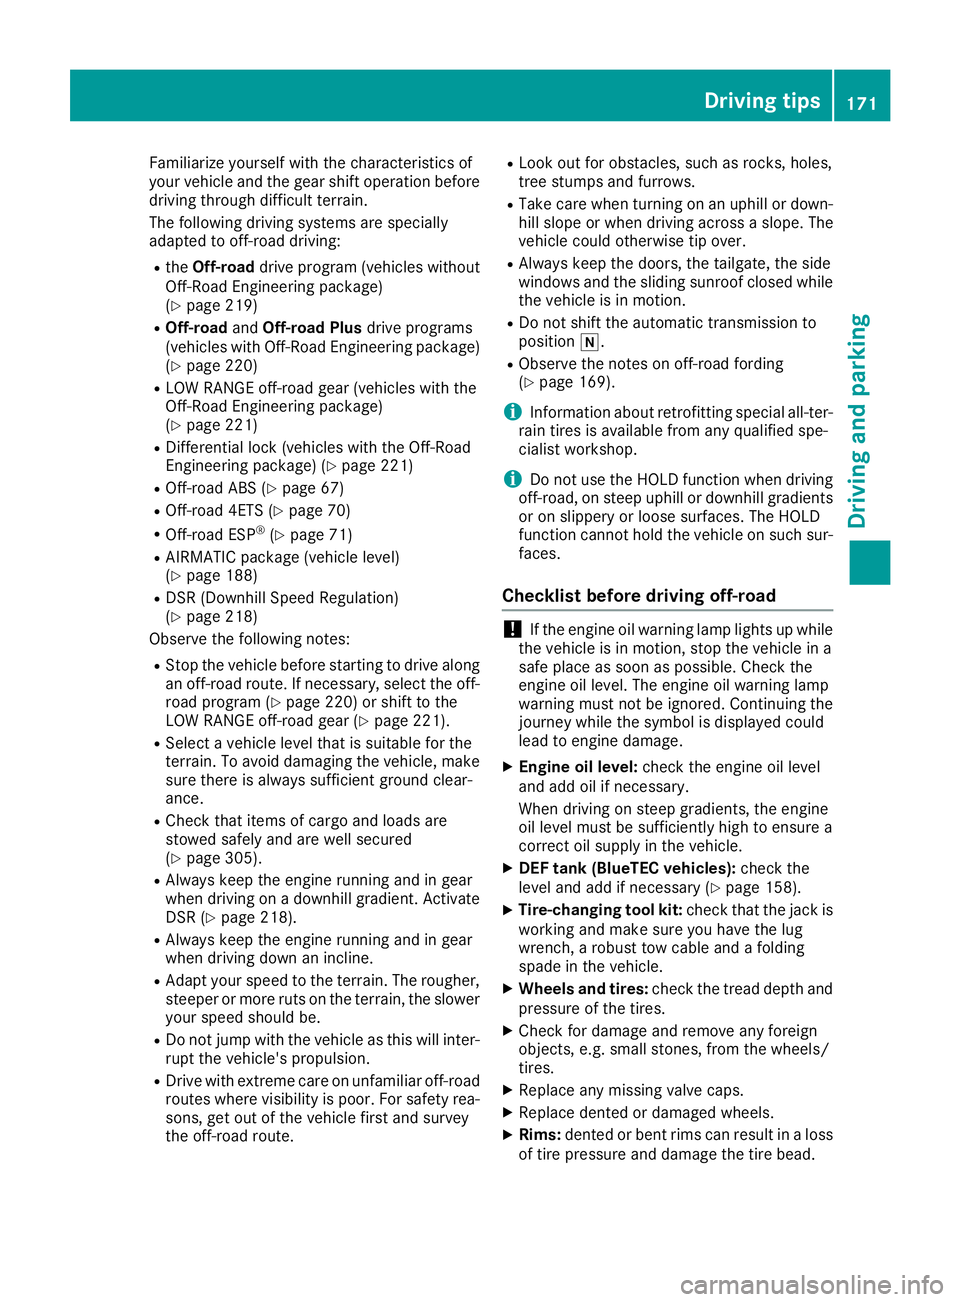
Familiarize yourself with the characteristics of
your vehicle and the gear shift operation before
driving through difficult terrain.
The following driving systems are specially
adapted to off-road driving:
RtheOff-road drive program (vehicles without
Off-Road Engineering package)
(
Ypage 219)
ROff-road andOff-road Plus drive programs
(vehicles with Off-Road Engineering package)
(
Ypage 220)
RLOW RANGE off-road gear (vehicles with the
Off-Road Engineering package)
(
Ypage 221)
RDifferential lock (vehicles with the Off-Road
Engineering package) (Ypage 221)
ROff-road ABS (Ypage 67)
ROff-road 4ETS (Ypage 70)
ROff-road ESP®(Ypage 71)
RAIRMATIC package (vehicle level)
(Ypage 188)
RDSR (Downhill Speed Regulation)
(Ypage 218)
Observe the following notes:
RStop the vehicle before starting to drive along
an off-road route. If necessary, select the off- road program (
Ypage 220) or shift to the
LOW RANGE off-road gear (Ypage 221).
RSelect a vehicle level that is suitable for the
terrain. To avoid damaging the vehicle, make
sure there is always sufficient ground clear-
ance.
RCheck that items of cargo and loads are
stowed safely and are well secured
(
Ypage 305).
RAlways keep the engine running and in gear
when driving on a downhill gradient. Activate
DSR (
Ypage 218).
RAlways keep the engine running and in gear
when driving down an incline.
RAdapt your speed to the terrain. The rougher,
steeper or more ruts on the terrain, the slower
your speed should be.
RDo not jump with the vehicle as this will inter- rupt the vehicle's propulsion.
RDrive with extreme care on unfamiliar off-road
routes where visibility is poor. For safety rea-
sons, get out of the vehicle first and survey
the off-road route.
RLook out for obstacles, such as rocks, holes,
tree stumps and furrows.
RTake care when turning on an uphill or down-hill slope or when driving across a slope. The
vehicle could otherwise tip over.
RAlways keep the doors, the tailgate, the side
windows and the sliding sunroof closed whilethe vehicle is in motion.
RDo not shift the automatic transmission to
position i.
RObserve the notes on off-road fording
(Ypage 169).
iInformation about retrofitting special all-ter-
rain tires is available from any qualified spe-
cialist workshop.
iDo not use the HOLD function when driving
off-road, on steep uphill or downhill gradients
or on slippery or loose surfaces. The HOLD
function cannot hold the vehicle on such sur-
faces.
Checklist before driving off-road
!If the engine oil warning lamp lights up while
the vehicle is in motion, stop the vehicle in a
safe place as soon as possible. Check the
engine oil level. The engine oil warning lamp
warning must not be ignored. Continuing the
journey while the symbol is displayed could
lead to engine damage.
XEngine oil level: check the engine oil level
and add oil if necessary.
When driving on steep gradients, the engine
oil level must be sufficiently high to ensure a
correct oil supply in the vehicle.
XDEF tank (BlueTEC vehicles): check the
level and add if necessary (Ypage 158).
XTire-changing tool kit: check that the jack is
working and make sure you have the lug
wrench, a robust tow cable and a folding
spade in the vehicle.
XWheels and tires: check the tread depth and
pressure of the tires.
XCheck for damage and remove any foreign
objects, e.g. small stones, from the wheels/
tires.
XReplace any missing valve caps.
XReplace dented or damaged wheels.
XRims: dented or bent rims can result in a loss
of tire pressure and damage the tire bead.
Driving tips171
Driving and parking
Z
Page 346 of 398

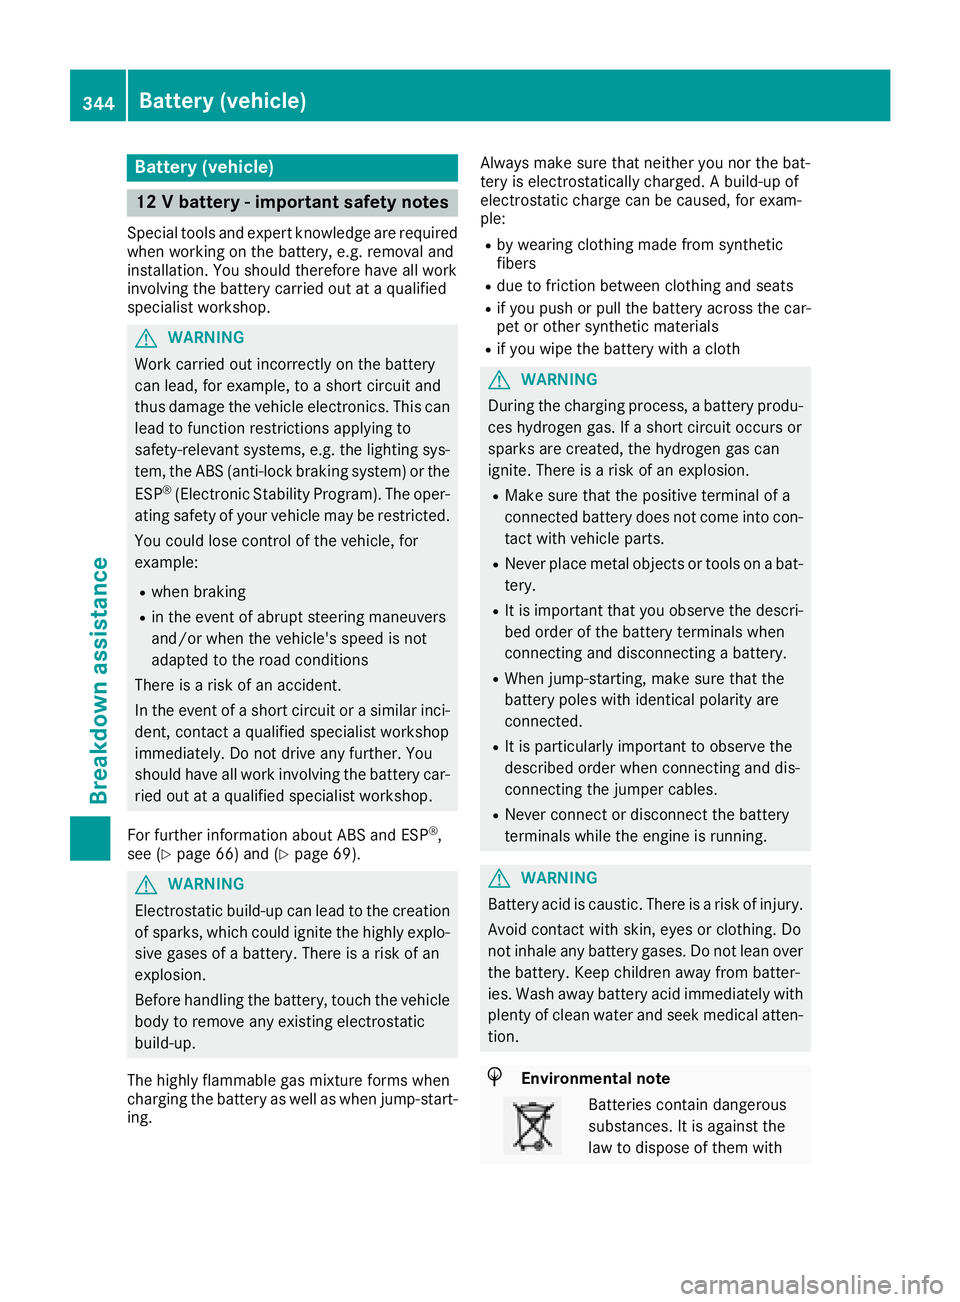
Battery (vehicle)
12 V battery - important safety notes
Special tools and expert knowledge are required
when working on the battery, e.g. removal and
installation. You should therefore have all work
involving the battery carried out at a qualified
specialist workshop.
GWARNING
Work carried out incorrectly on the battery
can lead, for example, to a short circuit and
thus damage the vehicle electronics. This can
lead to function restrictions applying to
safety-relevant systems, e.g. the lighting sys-
tem, the ABS (anti-lock braking system) or the
ESP
®(Electronic Stability Program). The oper-
ating safety of your vehicle may be restricted.
You could lose control of the vehicle, for
example:
Rwhen braking
Rin the event of abrupt steering maneuvers
and/or when the vehicle's speed is not
adapted to the road conditions
There is a risk of an accident.
In the event of a short circuit or a similar inci-
dent, contact a qualified specialist workshop
immediately. Do not drive any further. You
should have all work involving the battery car- ried out at a qualified specialist workshop.
For further information about ABS and ESP
®,
see (Ypage 66) and (Ypage 69).
GWARNING
Electrostatic build-up can lead to the creation of sparks, which could ignite the highly explo-
sive gases of a battery. There is a risk of an
explosion.
Before handling the battery, touch the vehicle
body to remove any existing electrostatic
build-up.
The highly flammable gas mixture forms when
charging the battery as well as when jump-start-
ing. Always make sure that neither you nor the bat-
tery is electrostatically charged. A build-up of
electrostatic charge can be caused, for exam-
ple:
Rby wearing clothing made from synthetic
fibers
Rdue to friction between clothing and seats
Rif you push or pull the battery across the car-
pet or other synthetic materials
Rif you wipe the battery with a cloth
GWARNING
During the charging process, a battery produ-
ces hydrogen gas. If a short circuit occurs or
sparks are created, the hydrogen gas can
ignite. There is a risk of an explosion.
RMake sure that the positive terminal of a
connected battery does not come into con- tact with vehicle parts.
RNever place metal objects or tools on a bat-
tery.
RIt is important that you observe the descri-
bed order of the battery terminals when
connecting and disconnecting a battery.
RWhen jump-starting, make sure that the
battery poles with identical polarity are
connected.
RIt is particularly important to observe the
described order when connecting and dis-
connecting the jumper cables.
RNever connect or disconnect the battery
terminals while the engine is running.
GWARNING
Battery acid is caustic. There is a risk of injury.
Avoid contact with skin, eyes or clothing. Do
not inhale any battery gases. Do not lean over
the battery. Keep children away from batter-
ies. Wash away battery acid immediately with
plenty of clean water and seek medical atten-
tion.
HEnvironmental note
Batteries contain dangerous
substances. It is against the
law to dispose of them with
344Battery (vehicle)
Breakdo wn assis tance