2018 MERCEDES-BENZ GLE SUV cruise control
[x] Cancel search: cruise controlPage 222 of 398

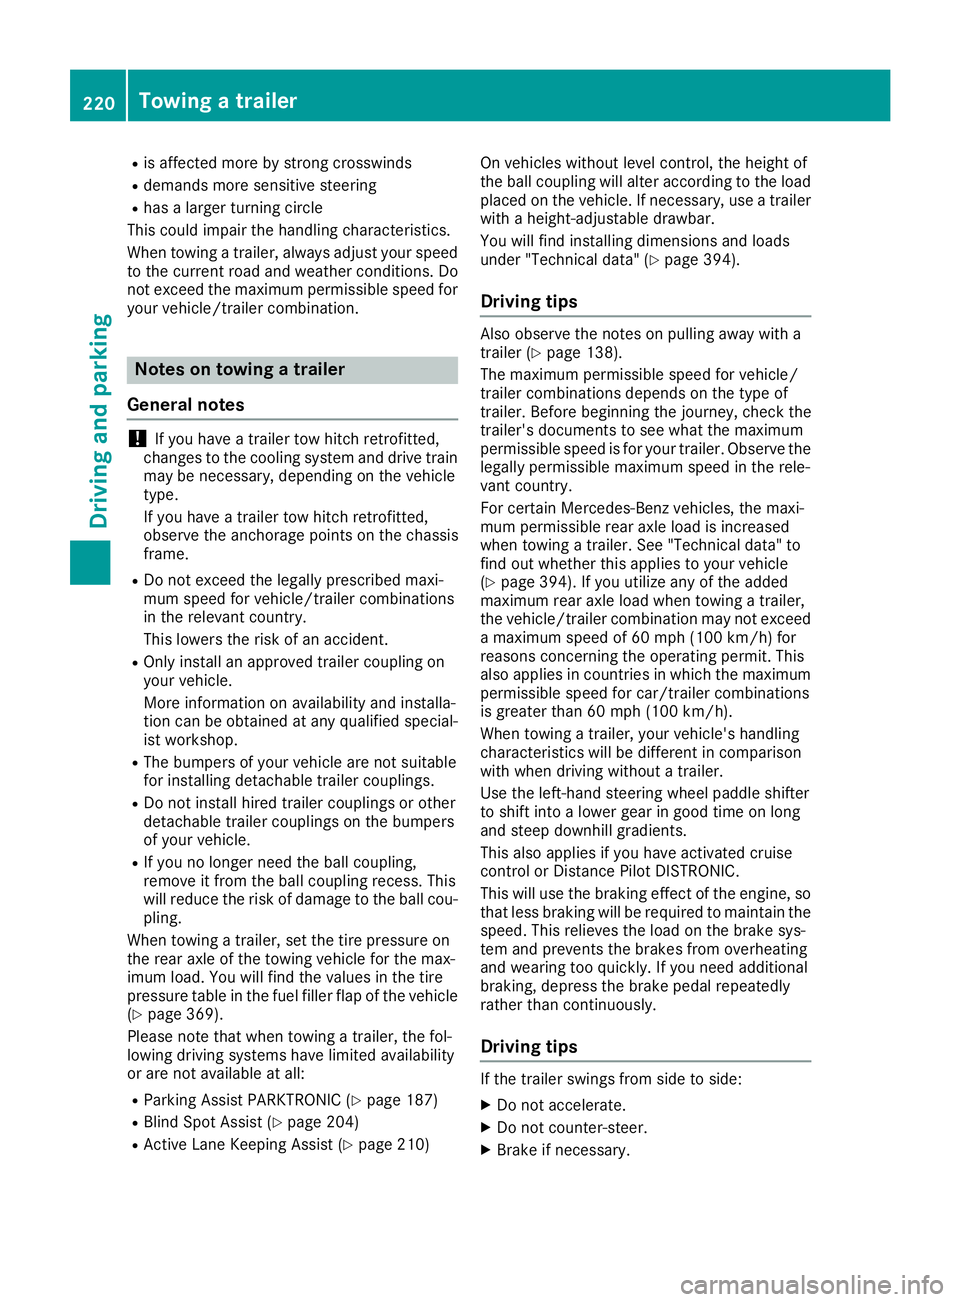
Ris affected more by strong crosswinds
Rdemands more sensitive steering
Rhas a larger turning circle
This could impair the handling characteristics.
When towing a trailer, always adjust your speed
to the current road and weather conditions. Do
not exceed the maximum permissible speed for
your vehicle/trailer combination.
Notes on towing a trailer
General notes
!If you have a trailer tow hitch retrofitted,
changes to the cooling system and drive train
may be necessary, depending on the vehicle
type.
If you have a trailer tow hitch retrofitted,
observe the anchorage points on the chassis
frame.
RDo not exceed the legally prescribed maxi-
mum speed for vehicle/trailer combinations
in the relevant country.
This lowers the risk of an accident.
ROnly install an approved trailer coupling on
your vehicle.
More information on availability and installa-
tion can be obtained at any qualified special-
ist workshop.
RThe bumpers of your vehicle are not suitable
for installing detachable trailer couplings.
RDo not install hired trailer couplings or other
detachable trailer couplings on the bumpers
of your vehicle.
RIf you no longer need the ball coupling,
remove it from the ball coupling recess. This
will reduce the risk of damage to the ball cou-
pling.
When towing a trailer, set the tire pressure on
the rear axle of the towing vehicle for the max-
imum load. You will find the values in the tire
pressure table in the fuel filler flap of the vehicle (
Ypage 369).
Please note that when towing a trailer, the fol-
lowing driving systems have limited availability
or are not available at all:
RParking Assist PARKTRONIC (Ypage 187)
RBlind Spot Assist (Ypage 204)
RActive Lane Keeping Assist (Ypage 210) On vehicles without level control, the height of
the ball coupling will alter according to the load
placed on the vehicle. If necessary, use a trailer
with a height-adjustable drawbar.
You will find installing dimensions and loads
under "Technical data" (
Ypage 394).
Driving tips
Also observe the notes on pulling away with a
trailer (Ypage 138).
The maximum permissible speed for vehicle/
trailer combinations depends on the type of
trailer. Before beginning the journey, check the
trailer's documents to see what the maximum
permissible speed is for your trailer. Observe the
legally permissible maximum speed in the rele-
vant country.
For certain Mercedes-Benz vehicles, the maxi-
mum permissible rear axle load is increased
when towing a trailer. See "Technical data" to
find out whether this applies to your vehicle
(
Ypage 394). If you utilize any of the added
maximum rear axle load when towing a trailer,
the vehicle/trailer combination may not exceed
a maximum speed of 60 mph (100 km/h) for
reasons concerning the operating permit. This
also applies in countries in which the maximum
permissible speed for car/trailer combinations
is greater than 60 mph (100 km/h).
When towing a trailer, your vehicle's handling
characteristics will be different in comparison
with when driving without a trailer.
Use the left-hand steering wheel paddle shifter
to shift into a lower gear in good time on long
and steep downhill gradients.
This also applies if you have activated cruise
control or Distance Pilot DISTRONIC.
This will use the braking effect of the engine, so that less braking will be required to maintain the
speed. This relieves the load on the brake sys-
tem and prevents the brakes from overheating
and wearing too quickly. If you need additional
braking, depress the brake pedal repeatedly
rather than continuously.
Driving tips
If the trailer swings from side to side:
XDo not accelerate.
XDo not counter-steer.
XBrake if necessary.
220Towing a trailer
Driving and parking
Page 233 of 398

iSet the time using the multimedia system;
see the Digital Operator's Manual.
Possible displays in the multifunction dis-
play:
RZ Gearshift recommendation, when shifting
manually (Ypage 147)
Rj Parking Pilot (Ypage 190)
RCRUISECruise control (Ypage 169)
R_ Adaptive Highbeam Assist
(Ypage 114)
Rè ECO start/stop function (Ypage 139)
RëHOLD function (Ypage 182)
RaDistance Pilot DISTRONIC Steering Pilot
(Ypage 236)
RDSRDownhill Speed Regulation
(Ypage 213)
Menus and submenus
Menu overview
Press the =or; button on the steering
wheel to call up the menu bar and select a menu.
Operating the on-board computer (
Ypage 229).
Depending on the equipment installed in the
vehicle, you can call up the following menus:
RTripmenu (Ypage 231)
RNavimenu (navigation instructions)
(Ypage 232)
RAudiomenu (Ypage 234)
RTelmenu (telephone) (Ypage 235)
RDriveAssistmenu (assistance)
(Ypage 236)
RServ.menu (Ypage 237)
RSett.menu (settings) (Ypage 238)
RON&OFFROADmenu (Ypage 240)
RAMGmenu (Mercedes-AMG vehicles)
(Ypage 240)
Trip menu
Standard display
XPress and hold the %button on the steer-
ing wheel until the Tripmenu with trip odom-
eter :and odometer ;appears.
Trip computer "From Start" or "From
Reset"
:Distance
;Driving time
=Average speed
?Average fuel consumption
XPress the =or; button on the steering
wheel to select the Tripmenu.
XPress the9or: button to select
From startor From reset.
The values in the From
Startsubmenu are cal-
culated from the start of a journey, while the
values in the From Reset
submenu are calcu-
lated from the last time the submenu was reset
(
Ypage 232).
The From Start
trip computer is automatically
reset if:
Rthe ignition has been switched off for more
than four hours.
R999 hours have been exceeded.
R9,999 miles have been exceeded.
The From reset
trip computer is automatically
reset if the value exceeds 9,999 hours or
99,999 miles.
Menus and submenus231
On-board computer and displays
Z
Page 240 of 398

Settings menu
Introduction
Depending on the equipment installed in the
vehicle, In the Sett.menu you have the follow-
ing options:
RChanging the instrument cluster settings
(Ypage 238)
RChanging the light settings (Ypage 238)
RChanging the vehicle settings (Ypage 239)
RChanging the convenience settings
(Ypage 239)
RRestoring the factory settings (Ypage 240)
Instrument cluster submenu
Selecting the distance unit
The Display Unit Speedometer / Odome‐ter:function allows you to choose whether
certain displays appear in kilometers or miles in
the multifunction display.
XPress the =or; button on the steering
wheel to select the Sett.menu.
XPress the:or9 button to select the
Instrument Clustersubmenu.
XPress ato confirm.
XPress the :or9 button to select the
Display Unit Speedometer / Odometer
function.
You will see the selected setting: kmormiles.
XPress the abutton to save the setting.
The selected unit of measurement for distance
applies to:
RDigital speedometer in the Tripmenu
ROdometer and the trip odometer
RTrip computer
RCurrent consumption and the range
RNavigation instructions in the Navimenu
RCruise control
RDistance Pilot DISTRONIC
RASSYST PLUS service interval display
Selecting permanent display
ThePermanent Display:function allows you
to choose whether the multifunction display
always shows the outside temperature or the
speed. The speed display is inverse to the speedome-
ter.
XPress the
=or; button on the steering
wheel to select the Sett.menu.
XPress the:or9 button to select the
Instrument Clustersubmenu.
XConfirm by pressing aon the steering
wheel.
XPress the :or9 button to select the
Permanent Display:function.
The current setting, Outside Temperature,
Speedometer [km/h]or Speedometer[mph]appears.
XTo change the setting: pressaagain.
Light submenu
Setting the daytime running lamps
This function is not available in Canada.
XPress the =or; button on the steering
wheel to select the Sett.menu.
XPress the:or9 button to select the
Lightsubmenu.
XPress ato confirm.
XPress :or9 to select the DaytimeRunning Lightsfunction.
If the DaytimeRunningLightsfunction has
been switched on, the cone of light and the
W symbol in the multifunction display are
shown in orange.
XPress the abutton to save the setting.
Further information on daytime running lamps
(
Ypage 110).
Switching the Intelligent Light System
on/off
XPress the =or; button on the steering
wheel to select the Sett.menu.
XPress the:or9 button to select the
Lightsubmenu.
XPress ato confirm.
XPress the :or9 button to select the
Intell. Light Systemfunction.
If the Intell. Light Systemfunction has
been switched on, the cone of light and the
L symbol in the multifunction display are
shown in orange.
XPress the abutton to save the setting.
When you activate Intell. Light System
,
you activate the following functions:
238Menus and submenus
On-board computer and displays
Page 268 of 398

Display messagesPossible causes/consequences andMSolutions
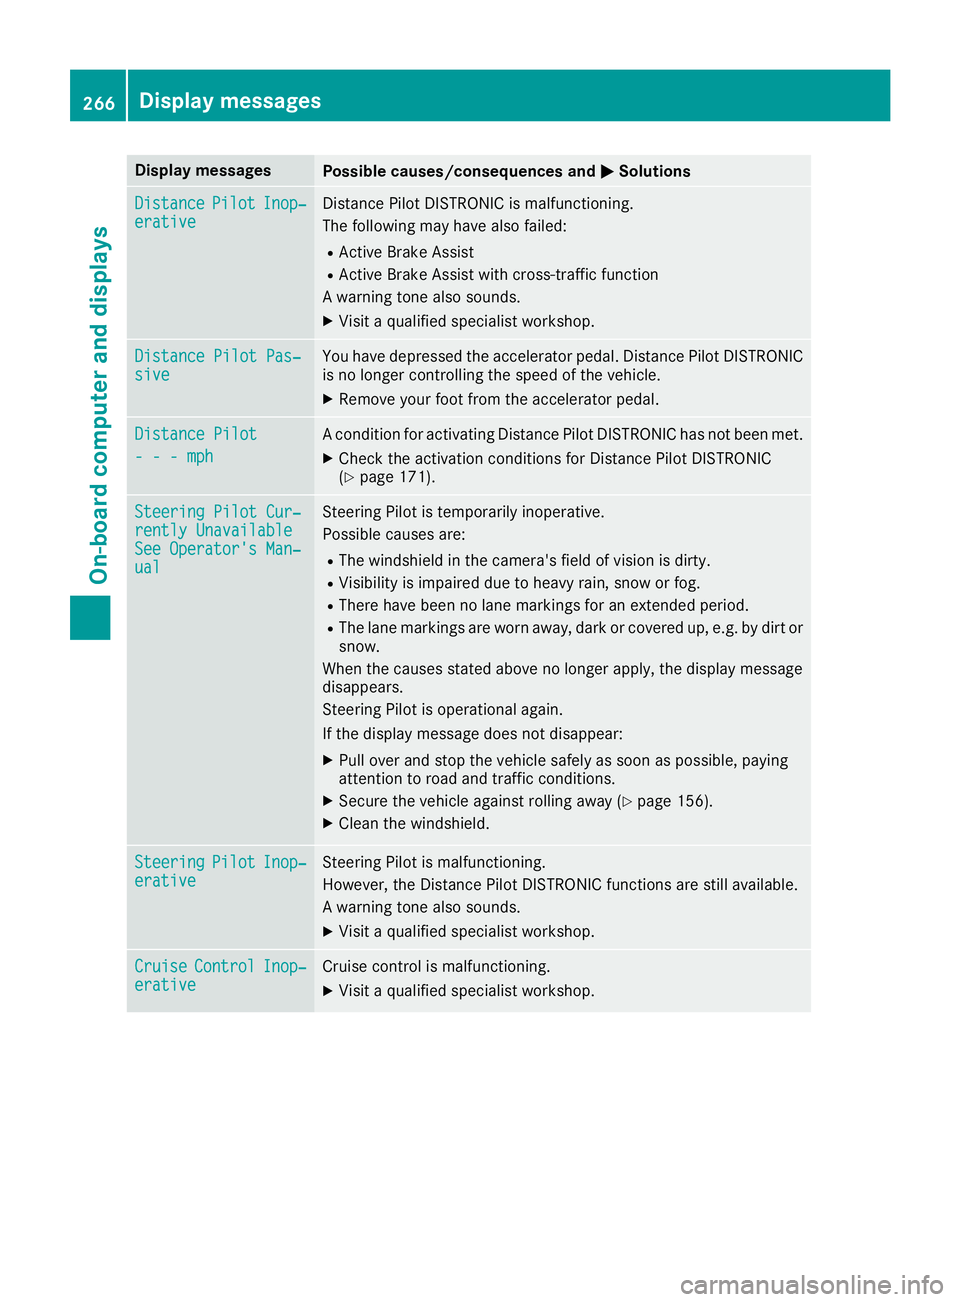
DistancePilotInop‐erativeDistanc ePilo tDISTRONI Cis malfunctioning .
The followin gmay hav ealso failed:
RActive Brake Assis t
RActive Brake Assistwit hcross-traffic function
A warning tone also sounds.
XVisit aqualified specialist workshop .
Distance Pilot Pas‐siveYou hav edepressed th eaccelerato rpedal .Distanc ePilo tDISTRONI C
is no longer controllin gth espeed of th evehicle.
XRemove your foo tfrom th eaccelerato rpedal .
Distance Pilot
- - - mph
Acondition for activating Distanc ePilo tDISTRONI Chas no tbeen met .
XCheckth eactivation condition sfor Distanc ePilo tDISTRONI C
(Ypage 171).
Steering Pilot Cur ‐rently UnavailableSee Operator'sMan ‐ual
Steering Pilo tis temporarily inoperative.
Possibl ecauses are:
RThe windshield in th ecamera' sfield of vision is dirty.
RVisibilit yis impaire ddue to heav yrain ,snow or fog .
RThere havebeen no lan emarking sfor an extended period.
RThe lan emarking sare wor naway, dark or covered up, e.g. by dir tor
snow.
Whe nth ecauses state dabov eno longer apply, th edisplay message
disappears.
Steering Pilo tis operational again .
If th edisplay message does no tdisappear :
XPull overand stop th evehicl esafely as soo nas possible, payin g
attention to roa dand traffic conditions.
XSecur eth evehicl eagainst rollin gaway (Ypage 156).
XClean th ewindshield.
SteeringPilotInop‐erativ eSteering Pilo tis malfunctioning .
However, th eDistanc ePilo tDISTRONI Cfunction sare still available.
A warning tone also sounds.
XVisit aqualified specialist workshop .
CruiseControlInop‐erativeCruisecontrol is malfunctioning .
XVisitaqualified specialist workshop .
266Display messages
On-board computer and displays
Page 269 of 398

Display messagesPossible causes/consequences andMSolutions
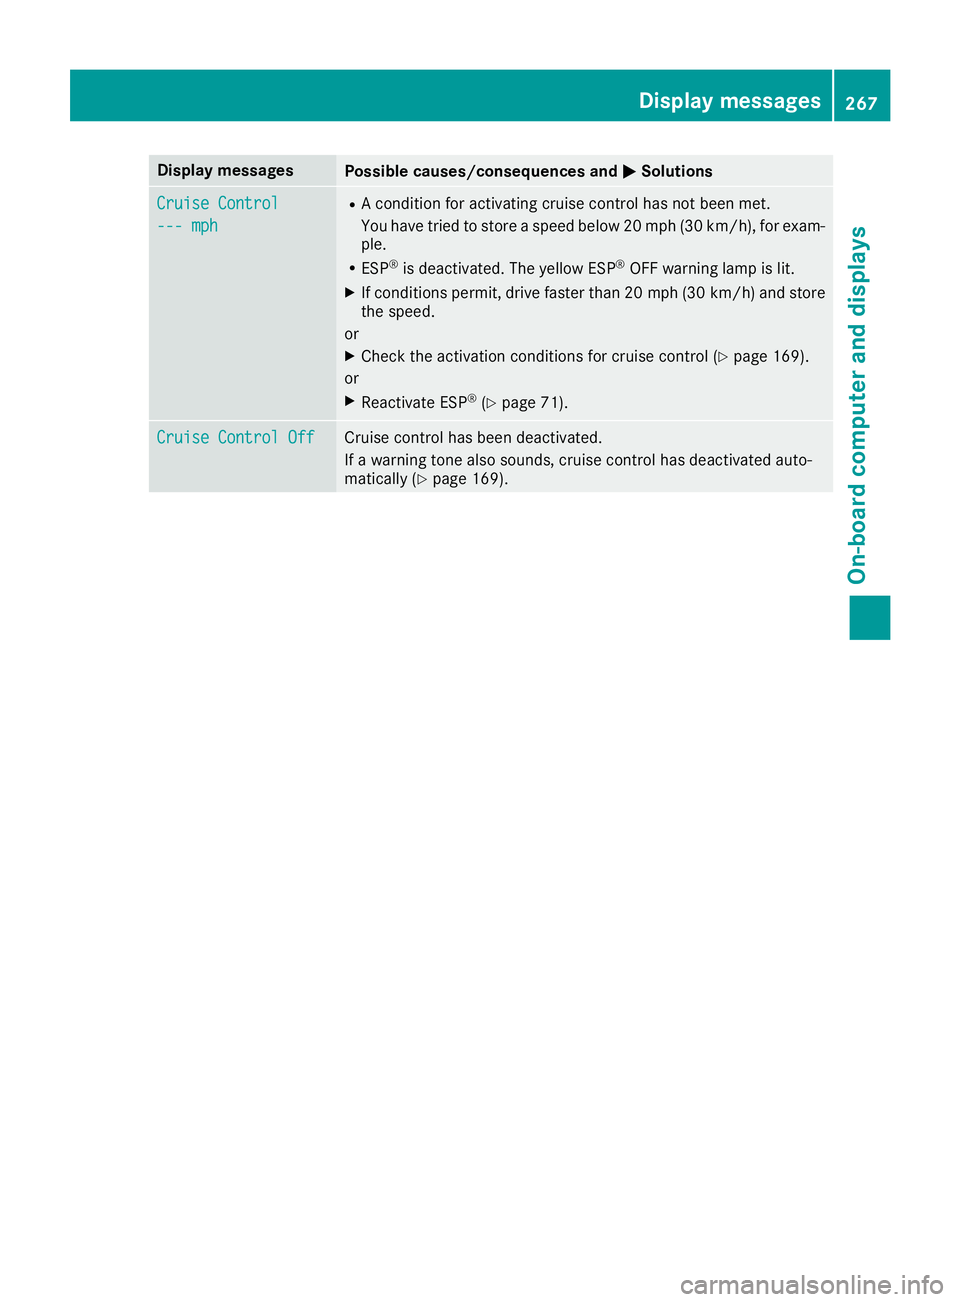
Cruise Control
--- mph
RAcondition for activating cruise control has no tbeen met .
You hav etried to store aspeed belo w20 mph (30 km/h), for exam-
ple.
RES P®is deactivated. The yello wES P®OF Fwarning lamp is lit .
XIf conditionspermit ,drive faste rthan 20 mph (30 km/h )and store
th espeed.
or
XChec kth eactivation condition sfor cruise control (Ypage 169).
or
XReactivat eES P®(Ypage 71) .
Cruise Contro lOffCruis econtrol has been deactivated.
If awarning tone also sounds, cruise control has deactivated auto -
matically (
Ypage 169).
Display messages267
On-board computer and displays
Z
Page 282 of 398

Warning/
indicator
lampNSignal type
Possible causes/consequences and M
Solutions
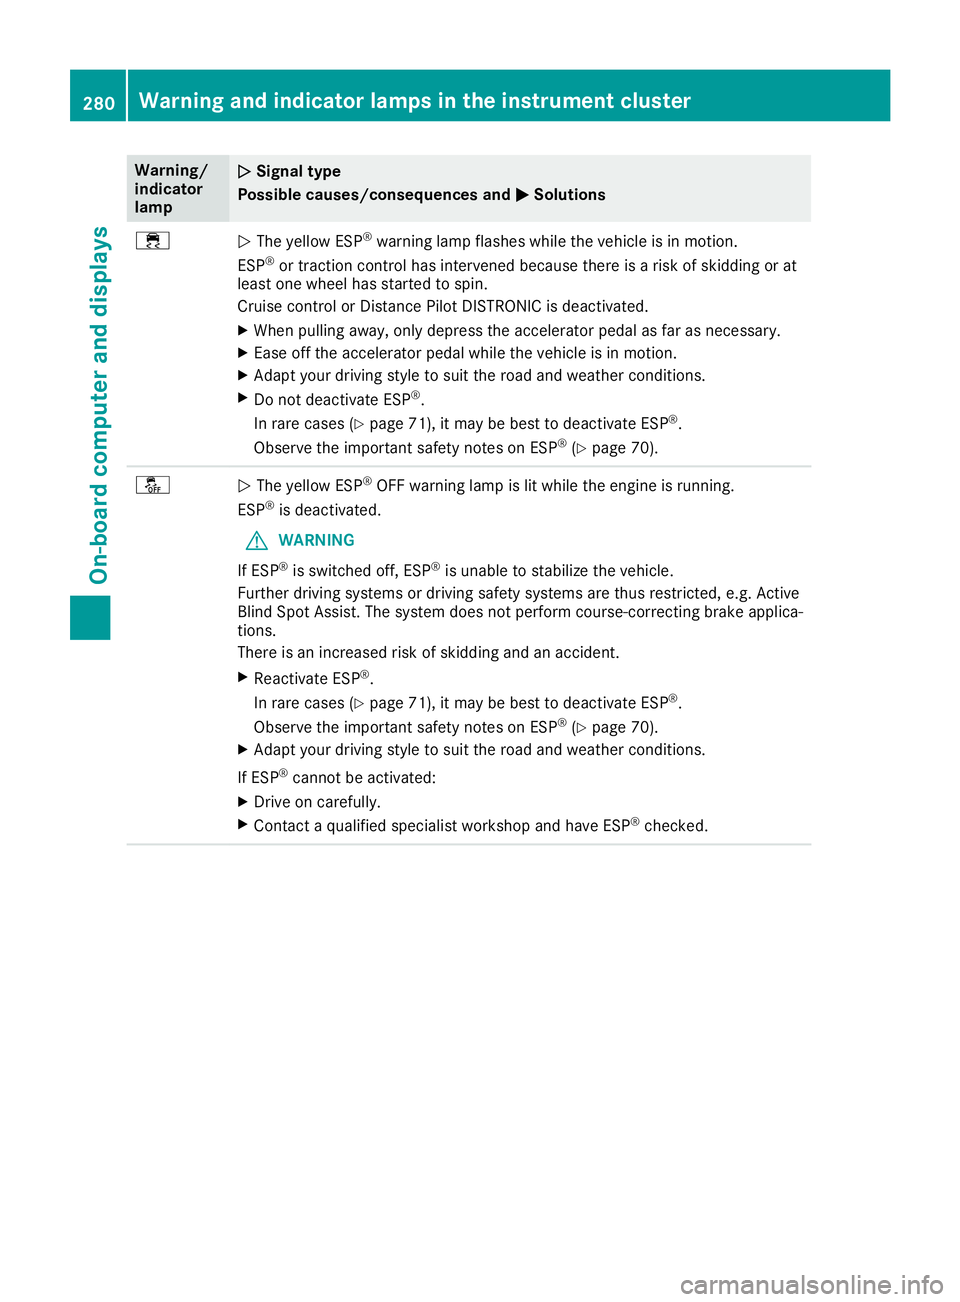
÷NThe yellow ESP®warning lamp flashes while the vehicle is in motion.
ESP®or traction control has intervened because there is a risk of skidding or at
least one wheel has started to spin.
Cruise control or Distance Pilot DISTRONIC is deactivated.
XWhen pulling away, only depress the accelerator pedal as far as necessary.
XEase off the accelerator pedal while the vehicle is in motion.
XAdapt your driving style to suit the road and weather conditions.
XDo not deactivate ESP®.
In rare cases (
Ypage 71), it may be best to deactivate ESP®.
Observe the important safety notes on ESP®(Ypage 70).
åN The yellow ESP®OFF warning lamp is lit while the engine is running.
ESP®is deactivated.
GWARNING
If ESP
®is switched off, ESP®is unable to stabilize the vehicle.
Further driving systems or driving safety systems are thus restricted, e.g. Active
Blind Spot Assist. The system does not perform course-correcting brake applica-
tions.
There is an increased risk of skidding and an accident.
XReactivate ESP®.
In rare cases (
Ypage 71), it may be best to deactivate ESP®.
Observe the important safety notes on ESP®(Ypage 70).
XAdapt your driving style to suit the road and weather conditions.
If ESP
®cannot be activated:
XDrive on carefully.
XContact a qualified specialist workshop and have ESP®checked.
280Warning and indicator lamps in the instrument cluster
On-board computer and displays