2018 MERCEDES-BENZ GLE fog light
[x] Cancel search: fog lightPage 180 of 398

with the curb or other road boundaries. Be par-
ticularly aware of other road users, e.g. cyclists,
that are directly next to your vehicle.
Obstacles such as traffic pylons on the lane or
projecting out into the lane are not detected.
An inappropriate steering intervention, e.g. after
intentionally driving over a lane marking, can be
corrected at any time if you steer slightly in the
opposite direction.
Distance Pilot DISTRONIC with Steering Pilot
cannot continuously keep your vehicle in lane. In
some cases, the steering intervention is not suf-
ficient to bring the vehicle back to the lane. In
such cases, you must steer the vehicle yourself
to ensure that it does not leave the lane.
The support provided by the system can be
impaired if: R
there is poor visibility, e.g. due to insufficient
illumination of the road, or due to snow, rain,
fog or heavy spray R
there is glare, e.g. from oncoming traffic, the
sun or reflections (e.g. when the road surface
is wet) R
the windshield is dirty, fogged up, damaged or
covered, for instance by a sticker, in the vicin-
ity of the camera R
there are no or several unclear lane markings
for one lane, e.g. roadworks R
the lane markings are worn away, dark or cov-
ered up, e.g. by dirt or snow R
the distance to the vehicle in front is too short
and thus the lane markings cannot be detec-
ted R
the lane markings change quickly, e.g. lanes
branch off, cross on e another or mergeR
the road is narrow and winding R
there are strong shadows cast on the road
The system is switched to passive and no longer
assists you by performing steering interventions
if: R
you actively change lane R
you switch on the turn signal R
take your hands off the steering wheel or do
not steer for a prolonged period of time
i After you have finished changing lanes,
Steering Pilot is automatically active once
more. Steering Pilot cannot provide assistance: R
on very sharp corners R
when towing a trailer R
when a loss of tire pressure or a defective tire
has been detected and displayed
Observe the important safety notes on Distance
Pilot DISTRONIC ( Y
page 171).
The steering interventions are carried out with a
limited steering moment. The system requires
the driver to keep his hands on the steering
wheel and to steer himself.
If you do not steer yourself or if you take your
hands off the steering wheel for a prolonged
period of time, the system will first alert you with
a visual warning. A steering wheel symbol
appears in the multifunction display. If you have
still not started to steer and have not taken hold
of the steering wheel after five seconds at the
latest, a warning tone also sounds to remind you
to take control of the vehicle. Steering Pilot is
then switched to passive. Distance Pilot
DISTRONIC remains active.
Activating Steering Pilot X
Activate Distance Pilot DISTRONIC with
Steering Pilot using the on-board computer
( Y
page 236).
The Steering Pilot On message appears
on the multifunction display. Steering Pilot is
activated.
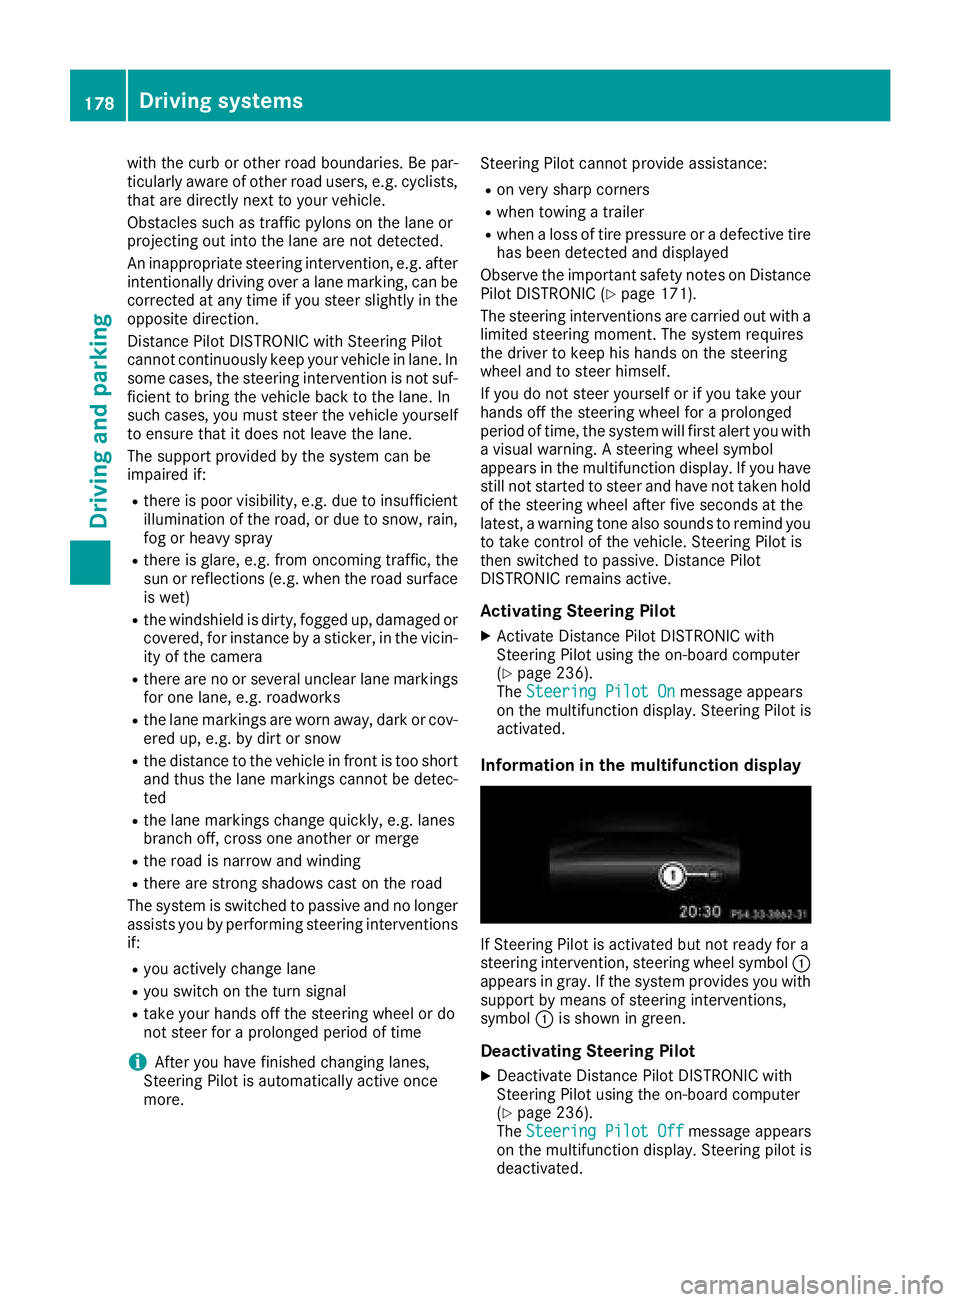
Information in the multifunction display
If Steering Pilot is activated but not ready for a
steering intervention, steering wheel symbol �C
appears in gray. If the system provides you with
support by means of steering interventions,
symbol �C is shown in green.
Deactivating Steering Pilot X
Deactivate Distance Pilot DISTRONIC with
Steering Pilot using the on-board computer
( Y
page 236).
The Steering Pilot Off message appears
on the multifunction display. Steering pilot is
deactivated.178
Driving systems
Driving and parking
Page 201 of 398

R
yello w brackets wit h thin lines: Parking Assis t
PARKTRONI C is activeR
yello w brackets wit h normal lines: an objec t is
presen t in close range of th e vehicl eR
red line: an objec t is presen t in th e immediat e
close range of th e vehicl e
i The camera in th e rear area is protected
from raindrops and dust by mean s of a flap .
Whe n th e camera is activated, this flap opens.
The flap closes again in th e followin g situa-
tions: R
you hav e finished th e maneuverin g processR
you switch th e engin e offR
you open th e cargo compartmen t
Observ e th e note s on cleaning ( Y
page 330).
Fo r technical reasons, th e flap may remain
open briefl y after th e camera has been deac -
tivated.
Impor tant safety notesThe 360°camera is only an aid and may sho w a
distorted vie w of obstacles, sho w them incor-
rectl y or no t at all. The 360°camera is no t a
substitut e for attentive driving.
You are always responsibl e for saf e maneuver-
in g and parking. Mak e sur e that there are no
persons, animals or objects in th e maneuverin g
area while maneuverin g and parkin g in parkin g
spaces.
You are always responsibl e for safet y and mus t
continue to pay attention to your immediat e
surroundings when parkin g and maneuvering.
This applies to th e area s behind , in fron t of and
beside th e vehicle. You could otherwise endan -
ger yourself and others.
The 360° camera will no t function or will func-
tion in a limite d manne r in th e followin g situa-
tions: R
th e doors are openR
th e exterio r mirror s are folded inR
th e tailgat e is openR
in heav y rain , snow or fogR
at night or in ver y dark placesR
th e cameras are exposed to ver y bright ligh tR
th e area is lit by fluorescent bulbs or LE D
lighting (the display may flicker) R
there is a sudden chang e in temperature,
suc h as when drivin g into a heated garage in
winte r R
th e camera lenses are dirty or covered R
th e vehicl e component s in whic h th e cameras
are installed a re damaged In this event , h av e
th e camera position and setting checke d at a
qualified specialist workshop
Do no t use th e 360° camera under suc h cir -
cumstances. You can otherwise injur e other s or
caus e damage to objects or th e vehicle.
Guide lines are always shown at roa d level. In
trailer mode, th e guide lines are shown at th e
level of th e trailer coupling.
The field of vision and other function s of th e
camera system may be restricted due to addi-
tional accessories on th e rear of th e vehicl e (e.g.
license plat e holder, bicycle rack) .
On vehicles wit h height-adjustable chassis,
dependin g on technical conditions, leavin g th e
standard height can result in :R
inaccuracies in th e guide linesR
inaccuracies in th e display of generated
images (top view)
Activati on conditionsThe 360° camera imag e can be displayed in th e
followin g situations: R
your vehicl e is equipped wit h a 360° cameraR
th e SmartKey is in ke y position �H in th e igni-
tion loc k R
th e multimedia system is switched on
Switching on the 360° camera X
Press th e �
Page 241 of 398

R
Highway mode R
Active light function R
Cornering light function R
Extended range fog lamps R
Off-road lights
Further information on the Intelligent Light Sys-
tem ( Y
page 112).
Vehicle submenu Activating/deactivating the automatic
door locking mechanism If you activate the Automatic Door Lock func-
tion, the vehicle is centrally locked above a
speed of approximately 9 mph (15 km/h). X
Press the �Y or �e button on the steering
wheel to select the Sett. menu.X
Press the �d or �c button to select the
Vehicle submenu.X
Press �v to confirm.X
Press the �d or �c button to select the
Automatic Door Lock function.
When the Automatic Door Lock function is
activated, the vehicle doors are displayed in
orange in the multifunction display. X
Press the �v button to save the setting.
For further information on the automatic locking
feature, see ( Y
page 84).
Activating/deactivating the acoustic
locking verification signal If you switch on the Acoustic Lock function, an
acoustic signal sounds when you lock the vehi-
cle. X
Press the �Y or �e button on the steering
wheel to select the Settings menu.X
Press the �d or �c button to select the
Vehicle submenu.X
Press �v to confirm.X
Press the �d or �c button to select the
Acoustic Lock function.
If the Acoustic Lock function is activated,
the �7 symbol in the multifunction display
lights up orange. X
Press the �v button to save the setting. Convenience submenu Activating/deactivating the EASY-
ENTRY/EXIT feature
G WARNING
When the EASY-ENTRY/EXIT feature adjusts
the steering wheel, you and other vehicle
occupants – particularly children – could
become trapped. There is a risk of injury.
While the EASY-ENTRY/EXIT feature is mak-
ing adjustments, make sure that no one has
any body parts in the sweep of the steering
wheel.
If somebody becomes trapped: R
press one of the memory function position
buttons, or R
move the switch for steering wheel adjust-
ment in the opposite direction to that in
which the steering wheel is moving.
The adjustment process is stopped. X
Press the �Y or �e button on the steering
wheel to select the Sett. menu.X
Press the �d or �c button to select the
Convenience submenu. X
Press �v to confirm. X
Using �d or �c , select the Easy Entry/
Exit function.
If the Easy Entry/Exit function is activated,
the vehicle steering wheel is displayed in
orange in the multifunction display. X
Press the �v button to save the setting.
Further information on the EASY-ENTRY/EXIT
feature ( Y
page 104).
Switching the seat belt adjustment on/off X
Press the �Y or �e button on the steering
wheel to select the Settings menu.X
Press the �d or �c button to select the
Convenience submenu. X
Press �v to confirm. X
Press the �d or �c button to select the
Belt Adjustment function.
If the Belt Adjustment function is activated,
the vehicle seat belt is shown in orange in the
multifunction display. X
Press the �v button to save the setting.Menus and submenus 239
On-board computer and displays Z
Page 258 of 398

Display messages
Possible causes/consequences and �P Solutions
�I Switch Off Lights You leav e th e vehicl e and th e lights are switched on . A warning tone
also sounds. X
Turn th e ligh t switch to th e �X position .
�I Switch On Headlamps You are drivin g wit h low-beam headlamp s switched off .X
Turn th e ligh t switch to th e �X or �X position .
Adaptive Highbeam
Assist Currently
Unavailable See
Operator' s Manual Adaptive Highbea m Assis t is deactivated and temporarily inoperative.
Possibl e causes are: R
The windshield in th e camera' s field of vision is dirty.R
Visibilit y is impaire d due to heav y rain , snow or fog .X
Clean th e windshield.
If th e system detects that th e camera is full y operational, th e Adap‐
tiv e Highbeam Assist Now Available message is displayed.
Adaptive Highbea m Assis t is operational again .
Adaptive Highbeam
Assist Inoperative Adaptive Highbea m Assis t is faulty.X
Visit a qualified specialist workshop .
Engine Display messages
Possible causes/consequences and �P Solutions
�