2018 MERCEDES-BENZ GLC fuse
[x] Cancel search: fusePage 5 of 390

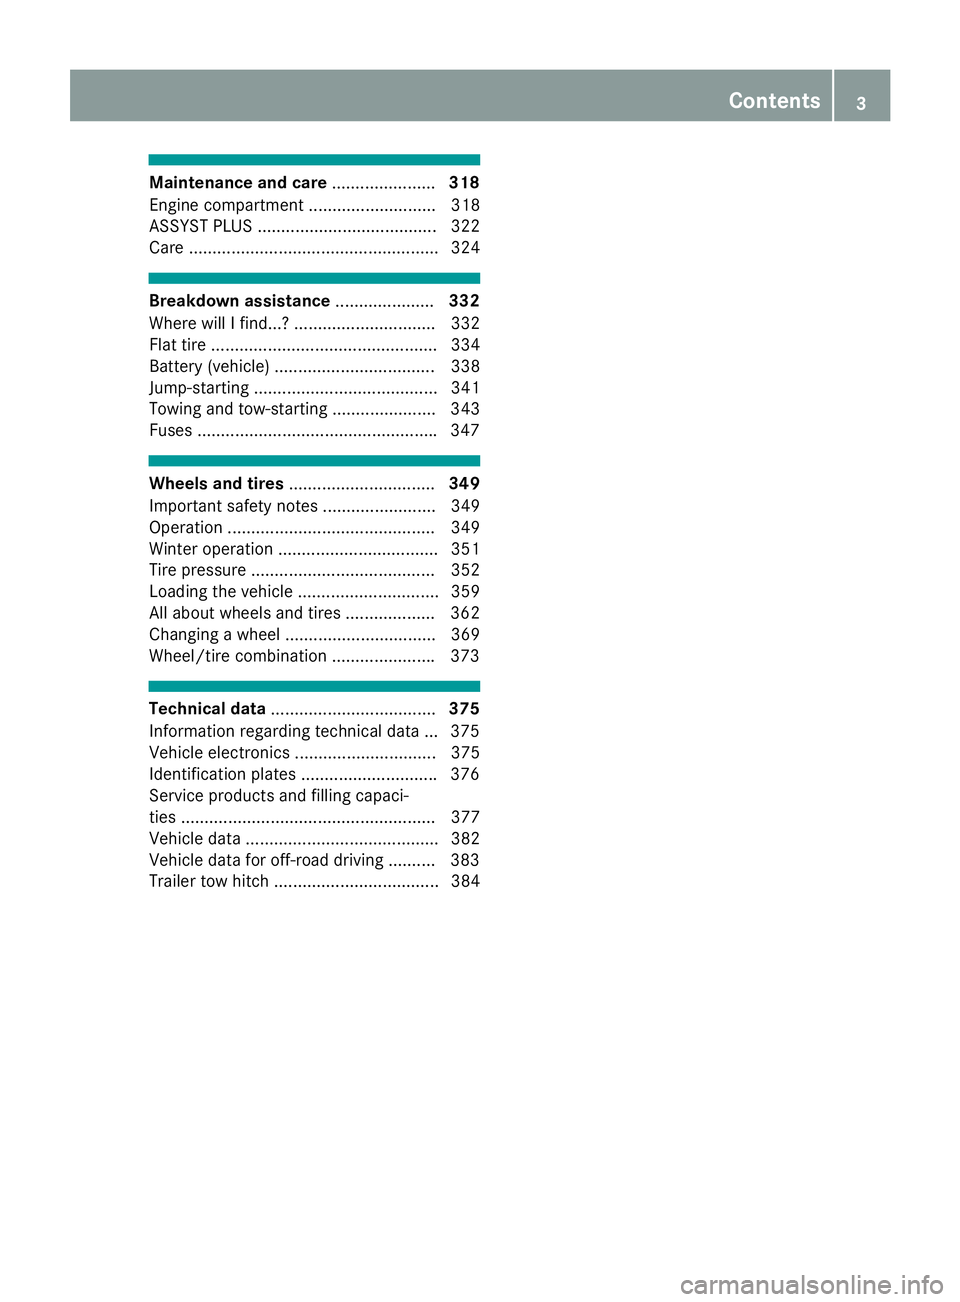
Maintenance and care ...................... 318
Engine compartment ........................... 318
ASSYST PLUS ...................................... 322
Care ..................................................... 324
Breakdown assistance ..................... 332
Where will I find...? .............................. 332
Flat tire ................................................ 334
Battery (vehicle) .................................. 338
Jump-starting ....................................... 341
Towing and tow-starting ...................... 343
Fuses .................................................. .3 47
Wheels and tires ............................... 349
Important safety notes ........................ 349
Operation ............................................ 349
Winter operation .................................. 351
Tire pressure ....................................... 352
Loading the vehicle .............................. 359
All about wheels and tires ................... 362
Changing a wheel ................................ 369
Wheel/tire combination ..................... .3 73
Technical data ................................... 375
Information regarding technical data ... 375
Vehicle electronics .............................. 375
Identification plates ............................ .3 76
Service products and filling capaci-
ties ...................................................... 377
Vehicle data ......................................... 382
Vehicle data for off-road driving .......... 383
Trailer tow hitch ................................... 384 Contents 3
Page 14 of 390

Exhaust pipe
Cleaning ........................................ .3 28
Exterior lighting
Cleaning ......................................... 327
Setting options .............................. 112
see Lights
Exterior mirrors
Adjusting ....................................... 107
Dipping (automatic) ....................... 108
Folding in/out (automatically) ....... 108
Folding in/out (electrically) ........... 108
Out of position (troubleshooting) ... 108
Setting ........................................... 108
Storing settings (memory func-
tion) ............................................... 110
Storing the parking position .......... 109
Eyeglasses compartment ................. 291
FFavorites
Overview ........................................ 283
Features ............................................. 302
Flat tire
Changing a wheel/mounting the
spare wheel ................................... 369
MOExtended tires .......................... 334
Preparing the vehicle ..................... 334
TIREFIT kit ...................................... 335
Floormats ........................................... 317
Frequencies
Mobile phone ................................. 375
Two-way radio ................................ 375
Front wheel arch
Removing/installing the cover ....... 118
Front wheel arch cover
Installing/removing ....................... 118
Fuel
Additives ........................................ 379
Consumption statistics .................. 225
Displaying the current consump-
tion ................................................ 225
Displaying the range ...................... 225
Driving tips .................................... 161
E10 ................................................ 378
Fuel gauge ....................................... 37
Gasoline ......................................... 378
Grade (gasoline) ............................ 378 Important safety notes .................. 378
Problem (malfunction) ................... 157
Refueling ........................................ 155
Tank content/reserve fuel ............. 378
Fuel level
Calling up the range (on-board
computer) ...................................... 225
Fuel tank
Capacity ........................................ 378
Problem (malfunction) ................... 157
Fuses
Allocation chart ............................. 348
Before changing ............................. 347
Dashboard fuse box ....................... 347
Fuse box in the cargo compart-
ment .............................................. 348
Fuse box in the engine compart-
ment .............................................. 348
Fuse box in the front-passenger
footwell .......................................... 347
Important safety notes .................. 347
G G-Meter (on-board computer,
Mercedes-AMG vehicles) .................. 236
Garage door opener
Clearing the memory ..................... 317
General notes ................................ 314
Important safety notes .................. 314
Opening/closing the garage doo r. .3 16
Problems when programming ....... .3 16
Programming (button in the rear-
view mirror) ................................... 315
Synchronizing the rolling code ....... 315
Gasoline ............................................. 378
Gear indicator (on-board com-
puter, Mercedes-AMG vehicles) ....... 235
Genuine parts ...................................... 28
Glove box .......................................... .2 91
Google™ Local Search
see also Digital Operator's Man-
ual ................................................. .2 80
H
Handling control system
see ESP ®
(Electronic Stability Program)12
Index
Page 176 of 390

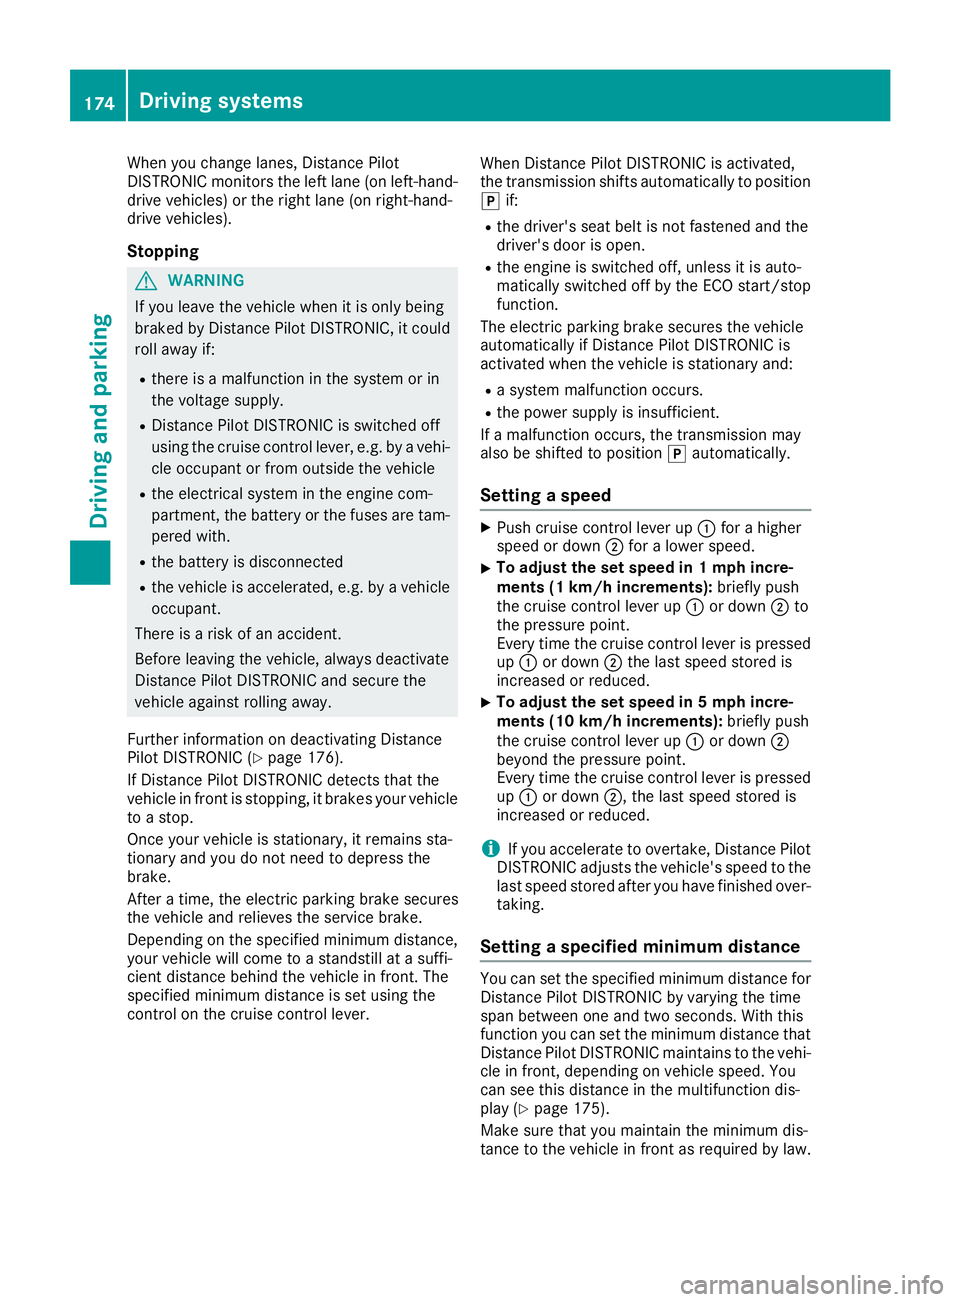
When you change lanes, Distance Pilot
DISTRONIC monitors the left lane (on left-hand-
drive vehicles) or the right lane (on right-hand-
drive vehicles).
Stopping
G WARNING
If you leave the vehicle when it is only being
braked by Distance Pilot DISTRONIC, it could
roll away if: R
there is a malfunction in the system or in
the voltage supply. R
Distance Pilot DISTRONIC is switched off
using the cruise control lever, e.g. by a vehi-
cle occupant or from outside the vehicle R
the electrical system in the engine com-
partment, the battery or the fuses are tam-
pered with. R
the battery is disconnected R
the vehicle is accelerated, e.g. by a vehicle
occupant.
There is a risk of an accident.
Before leaving the vehicle, always deactivate
Distance Pilot DISTRONIC and secure the
vehicle against rolling away.
Further information on deactivating Distance
Pilot DISTRONIC ( Y
page 176).
If Distance Pilot DISTRONIC detects that the
vehicle in front is stopping, it brakes your vehicle
to a stop.
Once your vehicle is stationary, it remains sta-
tionary and you do not need to depress the
brake.
After a time, the electric parking brake secures
the vehicle and relieves the service brake.
Depending on the specified minimum distance,
your vehicle will come to a standstill at a suffi-
cient distance behind the vehicle in front. The
specified minimum distance is set using the
control on the cruise control lever. When Distance Pilot DISTRONIC is activated,
the transmission shifts automatically to position
�] if: R
the driver's seat belt is not fastened and the
driver's door is open. R
the engine is switched off, unless it is auto-
matically switched off by the ECO start/stop
function.
The electric parking brake secures the vehicle
automatically if Distance Pilot DISTRONIC is
activated when the vehicle is stationary and: R
a system malfunction occurs. R
the power supply is insufficient.
If a malfunction occurs, the transmission may
also be shifted to position �] automatically.
Setting a speed X
Push cruise control lever up �C for a higher
speed or down �D for a lower speed.X
To adjust the set speed in 1 mph incre-
ments (1 km/h increments): briefly push
the cruise control lever up �C or down �D to
the pressure point.
Every time the cruise control lever is pressed
up �C or down �D the last speed stored is
increased or reduced. X
To adjust the set speed in 5 mph incre-
ments (10 km/h increments): briefly push
the cruise control lever up �C or down �D
beyond the pressure point.
Every time the cruise control lever is pressed
up �C or down �D , the last speed stored is
increased or reduced.
i If you accelerate to overtake, Distance Pilot
DISTRONIC adjusts the vehicle's speed to the
last speed stored after you have finished over-
taking.
Setting a specified minimum distance You can set the specified minimum distance for
Distance Pilot DISTRONIC by varying the time
span between one and two seconds. With this
function you can set the minimum distance that
Distance Pilot DISTRONIC maintains to the vehi-
cle in front, depending on vehicle speed. You
can see this distance in the multifunction dis-
play ( Y
page 175).
Make sure that you maintain the minimum dis-
tance to the vehicle in front as required by law.174
Driving systems
Driving and parking
Page 181 of 390

Important safety notes
G WARNIN G
If th e vehicl e is only braked usin g th e HOLD
function , th e vehicl e may rol l away in th e fol -
lowin g situation s when you leav e th e vehicle:R
if there is a malfunction in th e system or in
th e voltag e suppl yR
if th e HOLD function is deactivated by
depressing th e accelerato r pedal or brak e
pedal , e.g. by a vehicl e occupantR
if th e electrical system in th e engin e com-
partment, th e battery or th e fuses are tam -
pered wit h or th e battery is disconnected
Ther e is a ris k of an accident.
Always deactivat e th e HOLD function and
secure th e vehicl e against rollin g away before
you leav e it .
! When DISTRONI C PLU S or th e HOLD func-
tion is activated, th e vehicl e brakes automat -
ically in certain situations.
To avoi d damag e to th e vehicle, deactivat e
DISTRONI C PLU S and th e HOLD function in
th e followin g or similar situations:R
when towin g th e vehicl eR
in th e car wash
Deactivating th e HOLD function ( Y
page 179).
Activation conditions You can activat e th e HOLD function if all of th e
followin g condition s are fulfilled :R
th e vehicl e is stationary.R
th e engin e is runnin g or if it has been auto -
matically switched off by th e ECO start/sto p
function .R
th e driver' s door is closed or your seat belt is
fastened. R
th e electric parking brak e is released.R
th e transmission is in position �[ , �^ or �\\ .R
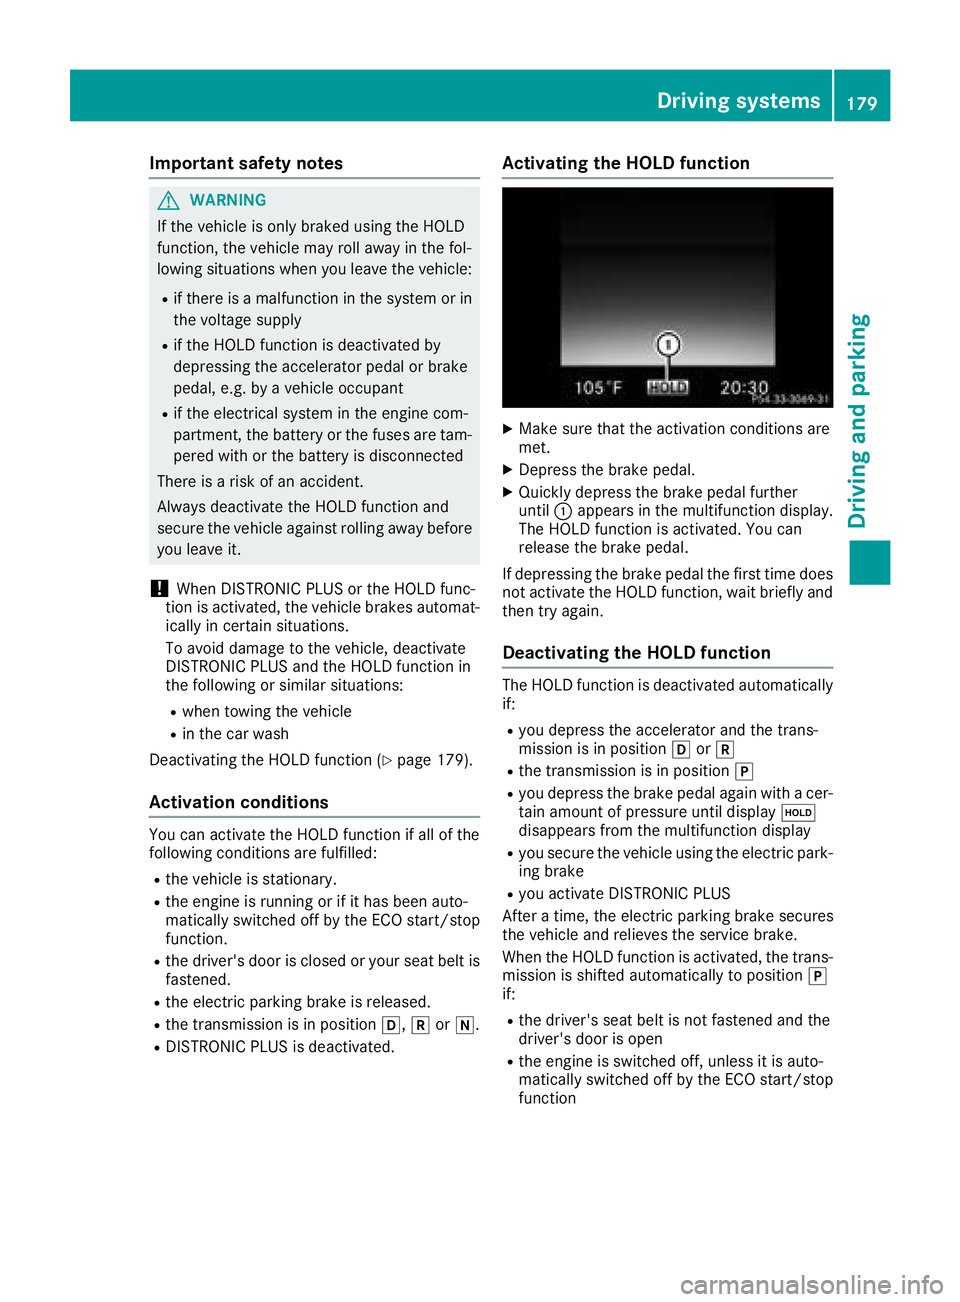
DISTRONI C PLU S is deactivated. Activating the HOLD function X
Mak e sur e that th e activation condition s are
met . X
Depress th e brak e pedal .X
Quickly depress th e brak e pedal further
until �C appear s in th e multifunction display.
The HOLD function is activated. You can
release th e brak e pedal .
If depressing th e brak e pedal th e first time does
no t activat e th e HOLD function , wait briefly and
then tr y again .
Deactivating the HOLD function The HOLD function is deactivated automatically
if: R
you depress th e accelerato r and th e trans -
mission is in position �[ or �^R
th e transmission is in position �]R
you depress th e brak e pedal again wit h a cer-
tai n amoun t of pressur e until display �
Page 253 of 390

Display messages
Possible causes/consequences and �P Solutions
Fo r further information about th e Occupant Classification System, see
( Y
page 52) .
Lights Display messages
Possible causes/consequences and �P Solutions
�I Check Lef t Low Bea m
(Example) The bulb in question is malfunctioning .X
Visit a qualified specialist workshop .
or X
Chec k whether you are permitte d to replace th e bulb yourself
( Y
page 117).
i LE D ligh t sources: th e display message for th e correspondin g
lamp only appear s when all th e LEDs in th e lamp hav e failed.
�I Active Headlamps
Inoperative The active ligh t function is malfunctioning .X
Visit a qualified specialist workshop .
�I Malfunction See
Operator’ s Manual The exterio r lighting is malfunctioning .X
Visit a qualified specialist workshop .
Vehicles wit h trailer to w hitch : a fus e may hav e blown .X
Pull ove r and stop th e vehicl e safely as soo n as possible, payin g
attention to roa d and traffic conditions.X
Secur e th e vehicl e against rollin g away ( Y
page 158).X
Chec k th e fuses ( Y
page 347).X
If necessary, replace th e blown fuse. Observ e th e warning notes.
If th e display message remain s on show:X
Visit a qualified specialist workshop .
�I Aut o Lam p Function
Inoperative The ligh t sensor is malfunctioning .X
Visit a qualified specialist workshop .
�I Switch Off Lights You leav e th e vehicl e and th e lights are switched on . A warning tone
also sounds. X
Turn th e ligh t switch to th e �X position .
�I Switch On Headlamps You are drivin g wit h low-beam headlamp s switched off .X
Turn th e ligh t switch to th e �X or �X position .Display messages 25 1
On-board computer and displays Z
Page 287 of 390

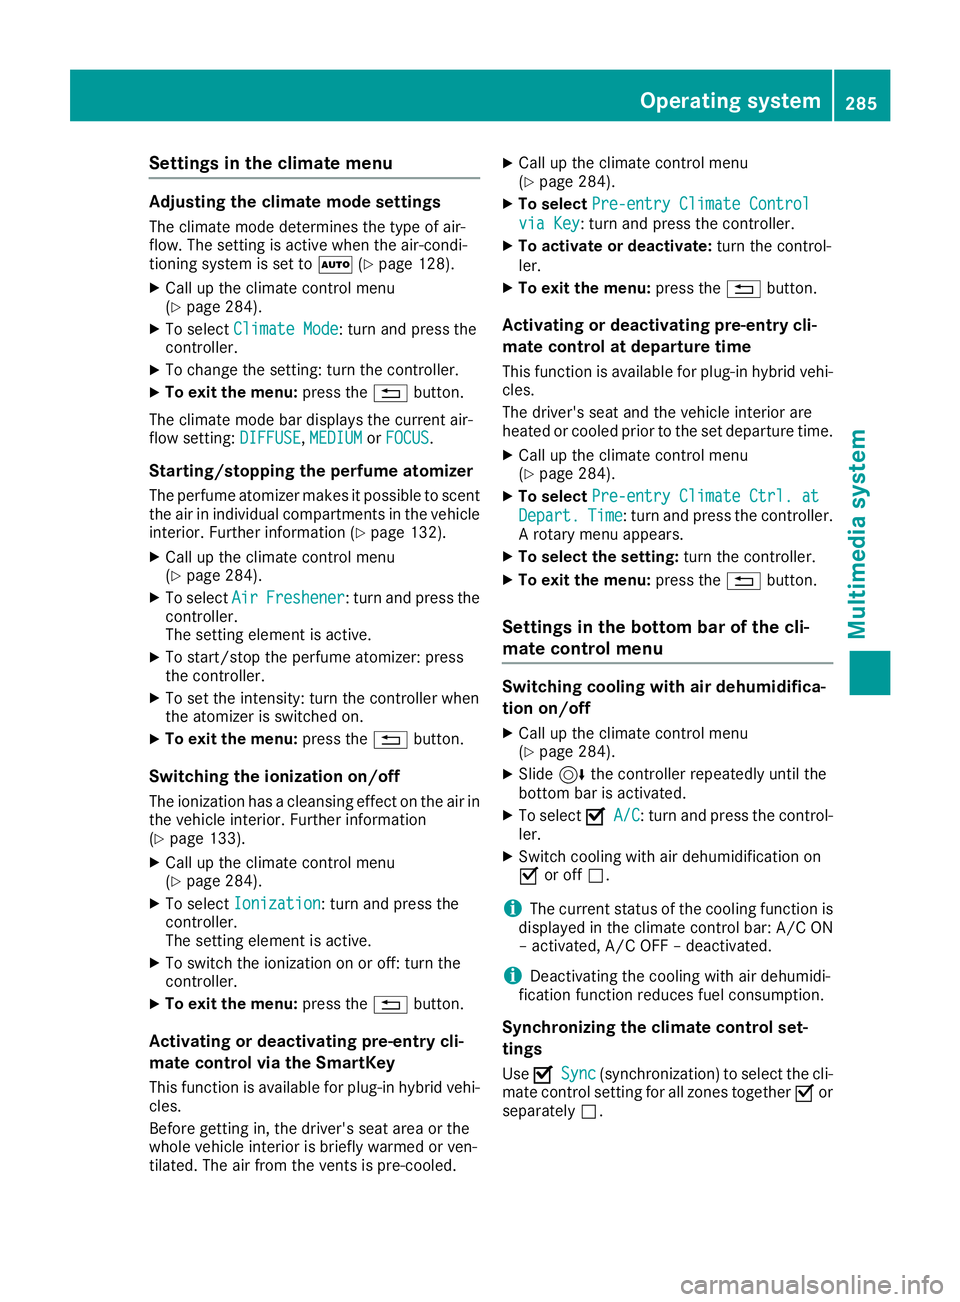
Settings in the climate menu Adjusting the climate mode settings The climate mode determines the type of air-
flow. The setting is active when the air-condi-
tioning system is set to �X ( Y
page 128).X
Call up the climate control menu
( Y
page 284). X
To select Climate Mode : turn and press the
controller. X
To change the setting: turn the controller. X
To exit the menu: press the �8 button.
The climate mode bar displays the current air-
flow setting: DIFFUSE , MEDIUM or FOCUS .
Starting/stopping the perfume atomizer The perfume atomizer makes it possible to scent
the air in individual compartments in the vehicle
interior. Further information ( Y
page 132).X
Call up the climate control menu
( Y
page 284). X
To select Air Freshener : turn and press the
controller.
The setting element is active. X
To start/stop the perfume atomizer: press
the controller. X
To set the intensity: turn the controller when
the atomizer is switched on. X
To exit the menu: press the �8 button.
Switching the ionization on/off The ionization has a cleansing effect on the air in
the vehicle interior. Further information
( Y
page 133). X
Call up the climate control menu
( Y
page 284). X
To select Ionization : turn and press the
controller.
The setting element is active. X
To switch the ionization on or off: turn the
controller. X
To exit the menu: press the �8 button.
Activating or deactivating pre-entry cli-
mate control via the SmartKey
This function is available for plug-in hybrid vehi-
cles.
Before getting in, the driver's seat area or the
whole vehicle interior is briefly warmed or ven-
tilated. The air from the vents is pre-cooled. X
Call up the climate control menu
( Y
page 284). X
To select Pre-entry Climate Control
via Key : turn and press the controller. X
To activate or deactivate: turn the control-
ler. X
To exit the menu: press the �8 button.
Activating or deactivating pre-entry cli-
mate control at departure time This function is available for plug-in hybrid vehi-
cles.
The driver's seat and the vehicle interior are
heated or cooled prior to the set departure time. X
Call up the climate control menu
( Y
page 284). X
To select Pre-entry Climate Ctrl. at
Depart. Time : turn and press the controller.
A rotary menu appears. X
To select the setting: turn the controller.X
To exit the menu: press the �8 button.
Settings in the bottom bar of the cli-
mate control menu
Switching cooling with air dehumidifica-
tion on/off X
Call up the climate control menu
( Y
page 284). X
Slide 6 the controller repeatedly until the
bottom bar is activated. X
To select �s A/C : turn and press the control-
ler. X
Switch cooling with air dehumidification on
�s or off �S .
i The current status of the cooling function is
displayed in the climate control bar: A/C ON
– activated, A/C OFF – deactivated.
i Deactivating the cooling with air dehumidi-
fication function reduces fuel consumption.
Synchronizing the climate control set-
tings
Use �s Sync (synchronization) to select the cli-
mate control setting for all zones together �s or
separately �S .Operating system 285
Multimedia system Z
Page 349 of 390

Tow-starting (emergency engine
starting)
! Vehicles with automatic transmission must
not be tow-started. You could otherwise dam-
age the automatic transmission.
i You can find information on "Jump-starting"
under ( Y
page 341).
Fuses
Important safety notes
G WARNING
If you manipulate or bridge a faulty fuse or if
you replace it with a fuse with a higher amper-
age, the electric cables could be overloaded.
This could result in a fire. There is a risk of an
accident and injury.
Always replace faulty fuses with the specified
new fuses having the correct amperage.
Blown fuses must be replaced with fuses of the
same rating, which you can recognize by the
color and value. The fuse ratings are listed in the
fuse allocation chart.
The fuse allocation chart is on the fuse box in the
cargo compartment ( Y
page 348).
If a newly inserted fuse also blows, have the
cause traced and rectified at a qualified special-
ist workshop, e.g. an authorized Mercedes-Benz
Center.
! Only use fuses that have been approved for
Mercedes-Benz vehicles and which have the
correct fuse rating for the system concerned.
Otherwise, components or systems could be
damaged.
! Make sure that no moisture can enter the
fuse box when the cover is open.
! When closing the cover, make sure that it is
lying correctly on the fuse box. Moisture seep-
ing in or dirt could otherwise impair the oper-
ation of the fu ses.
T h e fuses in your vehicle serve to close down
faulty circuits. If a fuse blows, all the compo-
nents on the circuit and their functions stop
operating. Before changing a fuse Observe the important safety notes
( Y
page 347) X
Switch off the engine. X
Switch off all electrical consumers. X
Make sure that the ignition is switched off
( Y
page 137).
or X
When using the SmartKey, turn the SmartKey
to position �
Page 350 of 390

X
To close: clip in cover �C at the rear.X
Fold cover �C forwards until it engages.
Fuse box in the engine compartment
G WARNING
When the hood is open and the windshield
wipers are set in motion, you can be injured by
the wiper linkage. There is a risk of injury.
Always switch off the windshield wipers and
the ignition before opening the hood.
X
Open the hood ( Y
page 318).X
To open: turn fasteners �D on cover �C coun-
ter-clockwise as far as they will go. X
Remove fuse box cover �C up.
X
Use a dry cloth to remove any moisture from
the fuse box. X
Loosen screws �