2018 MERCEDES-BENZ GLC check oil
[x] Cancel search: check oilPage 322 of 390

Depending on the engine, the oil dipstick may be
in a different location.
To check the engine oil level: R
park the vehicle on a level surface R
the engine should be switched off for approx-
imately five minutes if the engine is at normal
operating temperature
Checking the oil level using the oil dip-
stick
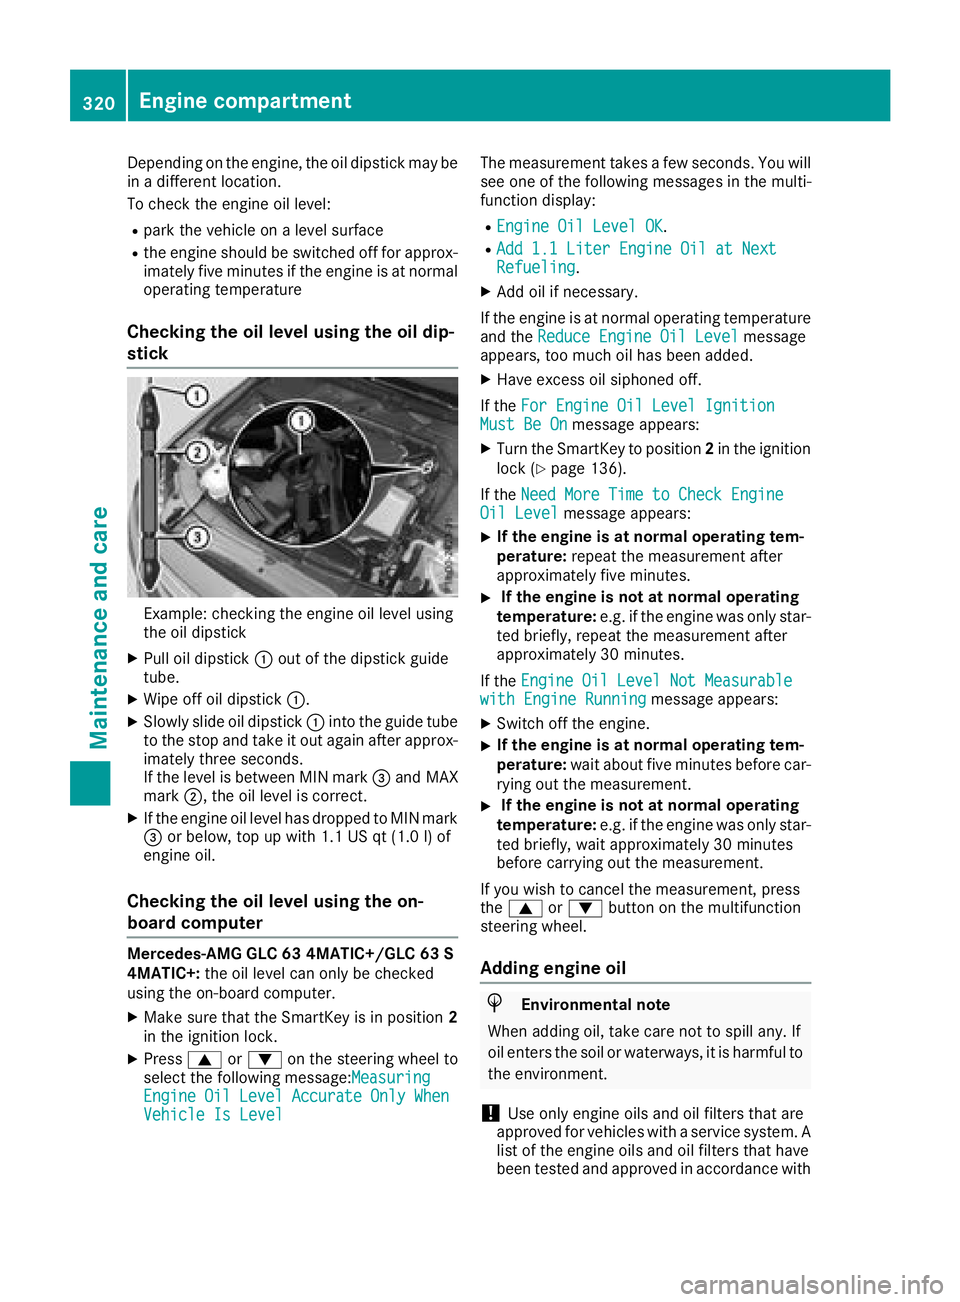
Example: checking the engine oil level using
the oil dipstick X
Pull oil dipstick �C out of the dipstick guide
tube. X
Wipe off oil dipstick �C .X
Slowly slide oil dipstick �C into the guide tube
to the stop and take it out again after approx-
imately three seconds.
If the level is between MIN mark �
Page 323 of 390

Mercedes-Benz Specifications for Service
Products is available at any authorized
Mercedes-Benz Center.
The following cause engine failure or damage
to the exhaust system: R
Use of engine oils and oil filters that have
not been expressly approved for the service
system R
Replacement of engine oil and oil filter after
the replacement interval specified by the
service system has expired R
Use of engine oil additives
! Do not add too much oil. adding too much
engine oil can result in damage to the engine
or to the catalytic converter. Have excess
engine oil siphoned off.
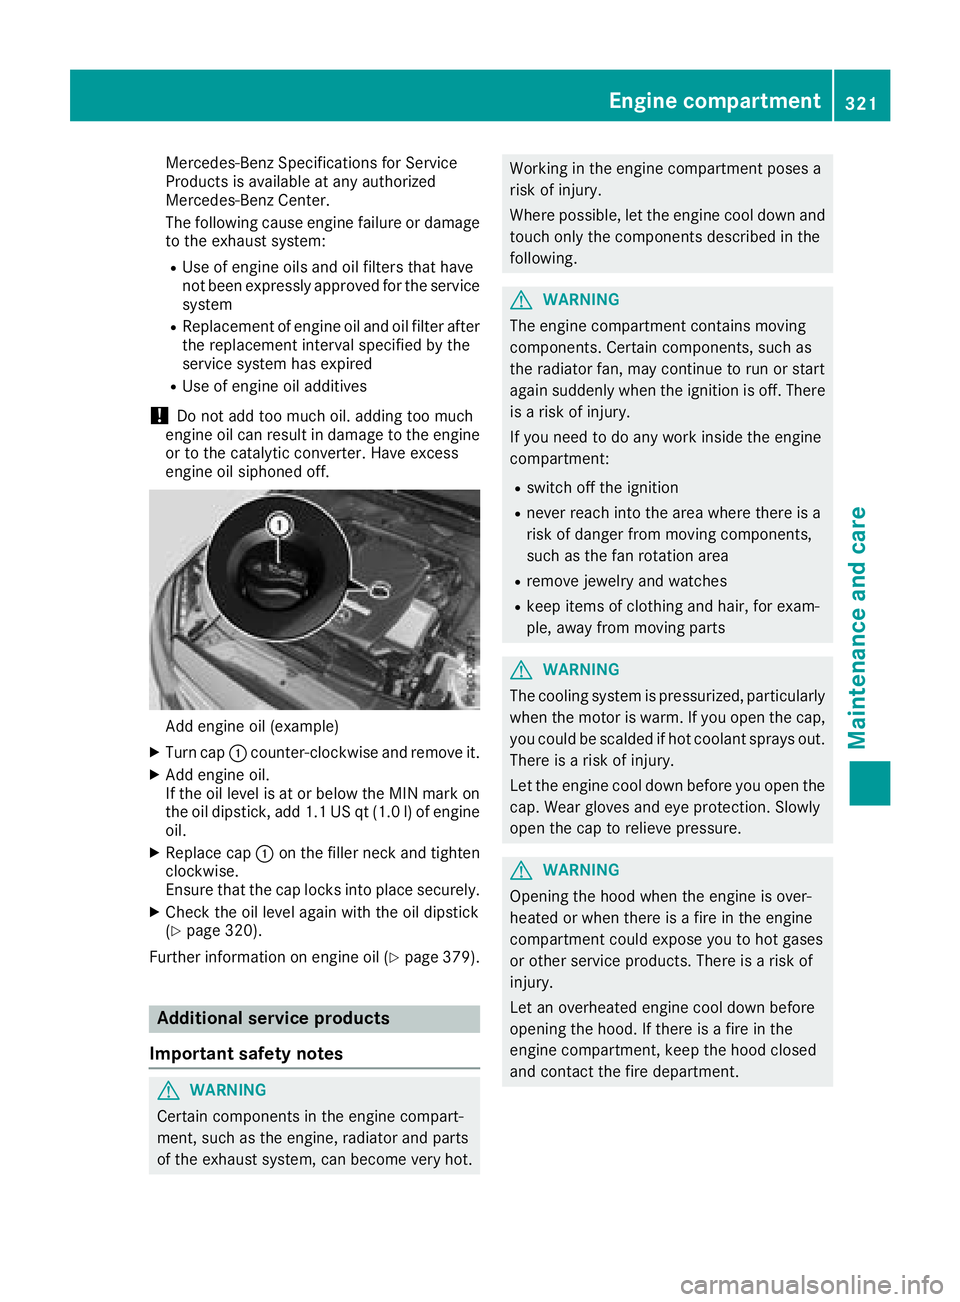
Add engine oil (example) X
Turn cap �C counter-clockwise and remove it.X
Add engine oil.
If the oil level is at or below the MIN mark on
the oil dipstick, add 1.1 US qt (1.0 l) of engine
oil. X
Replace cap �C on the filler neck and tighten
clockwise.
Ensure that the cap locks into place securely. X
Check the oil level again with the oil dipstick
( Y
page 320).
Further information on engine oil ( Y
page 379).
Additional service products
Important safety notes
G WARNING
Certain components in the engine compart-
ment, such as the engine, radiator and parts
of the exhaust system, can become very hot. Working in the engine compartment poses a
risk of injury.
Where possible, let the engine cool down and
touch only the components described in the
following.
G WARNING
The engine compartment contains moving
components. Certain components, such as
the radiator fan, may continue to run or start
again suddenly when the ignition is off. There
is a risk of injury.
If you need to do any work inside the engine
compartment: R
switch off the ignition R
never reach into the area where there is a
risk of danger from moving components,
such as the fan rotation area R
remove jewelry and watches R
keep items of clothing and hair, for exam-
ple, away from moving parts
G WARNING
The cooling system is pressurized, particularly
when the motor is warm. If you open the cap,
you could be scalded if hot coolant sprays out.
There is a risk of injury.
Let the engine cool down before you open the
cap. Wear gloves and eye protection. Slowly
open the cap to relieve pressure.
G WARNING
Opening the hood when the engine is over-
heated or when there is a fire in the engine
compartment could expose you to hot gases
or other service products. There is a risk of
injury.
Let an overheated engine cool down before
opening the hood. If there is a fire in the
engine compartment, keep the hood closed
and contact the fire department.Engine compartment 321
Maintenance and care Z
Page 331 of 390

available engine and care oils are suitable for
this.
For heavier soiling, you can apply a fine paint-
work polish with a microfiber cloth. Remove
the excess polish residue after polishing.
Impurities combined with the effects of road grit
and corrosive environmental factors may cause
flash rust to form on the surface. You can
restore the original shine of the exhaust pipe by
cleaning it regularly, especially in winter and
after washing. X
Clean the exhaust pipe with a care product
tested and approved by Mercedes-Benz.
Cleaning the trailer tow hitch
H Environmental note
Dispose of rags soaked in oil and grease in an
environmentally responsible manner.
! Please note the care instructions in the
trailer coupling manufacturer's operating
instructions.
The ball coupling must be cleaned if it becomes
dirty or corroded. X
Remove rust on the ball, e.g. with a wire
brush. X
Remove dirt with a clean, lint-free cloth or a
brush. X
After cleaning, lightly oil or grease the ball
coupling. X
Check that the vehicle's trailer tow hitch is
working properly.
You can also have the maintenance work on the
ball coupling and the trailer tow hitch carried out
by a qualified specialist workshop.
Interior care
Cleaning the display
! For cleaning, do not use any of the following: R
alcohol-based thinner or gasoline R
abrasive cleaning agents R
commercially-available household cleaning
agents
These may damage the display surface. Do
not put pressure on the display surface when cleaning. This could lead to irreparable dam-
age to the display. X
Before cleaning the display, make sure that it
is switched off and has cooled down. X
Clean the display surface using a commer-
cially available microfiber cloth and TFT/LCD
display cleaner. X
Dry the display surface using a dry microfiber
cloth.
Cleaning the plastic trim
G WARNING
Care products and cleaning agents containing
solvents cause surfaces in the cockpit to
become porous. As a result, plastic parts may
come loose in the event of air bag deploy-
ment. There is a risk of injury.
Do not use any care products and cleaning
agents to clean the cockpit.
! Never attach the following to plastic surfa-
ces: R
stickers R
films R
perfume oil container or similar
You could otherwise damage the plastic.
! Do not allow cosmetics, insect repellent or
sunscreen to come into contact with the plas-
tic trim. This maintains the high-quality look of
the surfaces. X
Wipe the plastic trim with a damp, lint-free
cloth, e.g. a microfiber cloth. X
Heavy soiling: use care and cleaning prod-
ucts recommended and approved by
Mercedes-Benz.
The surface may change color temporarily.
Wait until the surface is dry again.
Cleaning the steering wheel and selec-
tor lever X
Thoroughly wipe with a damp cloth or use
leather care agents that have been recom-
mended and approved by Mercedes-Benz. Care 329
Maintenance and care Z
Page 339 of 390

have attained a pressure of at least 200 kPa
(2.0 bar/29 psi).
If a pressure of 200 kPa (2.0 bar/29 psi) has
been attained after five minutes, see "Tire pres-
sure reached" ( Y
page 337).
If a tire pressure of 200 kPa (2.0 bar/29 psi) has
not been attained after five minutes, see "Tire
pressure not reached" ( Y
page 337).
If tire sealant has escaped, clean it off affected
areas as quickly as possible. Use plain water if
possible.
If your clothes are soiled with tire sealant, have
them cleaned with perchloroethylene at a dry
cleaner as soon as possible.
Tire pressure not reached If a tire pressure of 200 kPa (2.0 bar/29 psi) has
not been attained after ten minutes: X
Switch off the tire inflation compressor. X
Unscrew the filler hose from the valve of the
faulty tire.
Tire sealant may escape when the filler hose is
unscrewed. X
Very slowly drive forwards or reverse approx-
imately 30 ft (10 m). X
Pump up the tire again.
After a maximum of ten minutes, the tire pres-
sure must be at least 200 kPa (2.0 bar/
29 psi).
G WARNING
If the required tire pressure is not reached
after the specified time, the tire is too badly
damaged. The tire sealant cannot repair the
tire in this instance. Damaged tires and a tire
pressure that is too low can significantly
impair the vehicle's braking and driving char-
acteristics. There is a risk of accident.
Do not continue driving. Contact a qualified
specialist workshop.
Tire pressure reached
G WARNING
A tire temporarily sealed with tire sealant
impairs the driving characteristics and is not
suitable for higher speeds. There is a risk of
accident. You should therefore adapt your driving style
accordingly and drive carefully. Do not exceed
the specified maximum speed with a tire that
has been repaired using tire sealant.
The maximum permissible speed for a tire
sealed with tire sealant is 50 mph (80 km/h).
The upper part of the TIREFIT sticker must be
affixed to the instrument cluster in the driver's
field of vision.
If a tire pressure of 200 kPa (2.0 bar/29 psi) has
been attained after ten minutes: X
Switch off the tire inflation compressor. X
Unscrew the filler hose from the valve of the
faulty tire.
Tire sealant may escape when the filler hose is
unscrewed. X
Stow the tire sealant bottle and the tire infla-
tion compressor. X
Pull away immediately .X
Stop after driving for approximately ten
minutes and check the tire pressure with the
tire inflation compressor.
The tire pressure must now be at least
130 kPa (1.3 bar/19 psi).
G WARNING
If the required tire pressure is not reached
after driving for a short period, the tire is too
badly damaged. The tire sealant cannot repair
the tire in this instance. Damaged tires and a
tire pressure that is too low can significantly
impair the vehicle's braking and driving char-
acteristics. There is a risk of accident.
Do not continue driving. Contact a qualified
specialist workshop.
In cases such as the one mentioned above, con-
tact an authorized Mercedes-Benz Center. Or
call 1-800-FOR-MERCedes (in the USA) or
1-800-387-0100 (in Canada). X
Correct the tire pressure if it is still at least
130 kPa (1.3 bar/19 psi). See the Tire and
Loading Information placard on the B-pillar on
the driver's side or the tire pressure table in
the fuel filler flap for values. X
To increase the tire pressure: switch on the
tire inflation compressor. Flat tire 337
Breakdown assistance Z
Page 383 of 390

Comp ly wit h the impo rtant safety notes for ser-
vice products when han dlin g coolant
( Y
page 377).
The coolant is a mixture of water and ant i-
freeze/corrosion inh ibit or. It performs the fol-
lowin g tasks: R
anti-corrosion protection R
antifreeze protection R
raising the boilin g poin t
If the coolant has antifreeze protection down to
-35 ‡ (-37 †), the boilin g poin t of the coolant
during operation is appr oximately 266 ‡
(130 †).
The antifreeze concentrate /c orrosion inh ibit or
concentration in the engine co olin g system
sho uld: R
be at least 50 %. This will protect the engine
co olin g system against freezing down to
approximate ly -35 ‡ (-37 †).R
not exceed 55% (antifreeze protection down
to -49 ‡[ -45 †]). Otherwise, heat will not be
dissipated as effectively
Mercedes-Benz recommends an antifreeze/
corrosion inhibitor concentrate in accordance
with MB Specifications for Service Products
310.1.
i When the vehicle is first delivered, it is filled
with a coolant mixture that ensures adequate
antifreeze and anti-corrosion protection.
i The coolant is checked with every mainte-
nance interval at a qualified specialist work-
shop.
Filling capacities Model Capacity
Mercedes-AMG
GLC 43 4MATIC 12.2 US qt (11.5 l)
Mercedes-AMG
GLC 63 4MATIC+
Mercedes-AMG
GLC 63 S 4MATIC+ 11.7 US qt (11.1 l)
Al l ot her models
12.7 US qt (12.0 l) Windshield washer system
Important safety notes
G WARNING
Windshield washer concentrate could ignite if
it comes into contact with hot engine compo-
nents or the exhaust system. There is a risk of
fire and injury.
Make sure that no windshield washer con-
centrate is spilled next to the filler neck.
! Only use washer fluid that is suitable for
plastic lamp lenses, e.g. MB SummerFit or MB
WinterFit. Unsuitable washer fluid could dam-
age the plastic lenses of the headlamps.
! Only MB SummerFit and MB WinterFit
washer fluid should be mixed together. The
spray nozzles may otherwise become
blocked.
Do not use distilled or de-ionized water. Other-
wise, the level sensor may give a false reading.
When handling washer fluid, observe the impor-
tant safety notes on service products
( Y
page 377).
At temperatures above freezing: X
Fill the washer fluid reservoir with a mixture of
water and windshield washer fluid, e.g. MB
SummerFit.
Add 1 part MB SummerFit to 100 parts water.
At temperatures below freezing: X
Fill the washer fluid reservoir with a mixture of
water and washer fluid, e.g. MB WinterFit.
For the correct mixing ratio refer to the infor-
mation on the antifreeze reservoir.
i Add windshield washer fluid, e.g. MB Sum-
merFit or MB WinterFit, to the washer fluid all
year round.
Climate control system refrigerant
Important safety notes
The climate control system of your vehicle is fil-
led with refrigerant R ‑ 134a.
The instruction label regarding the refrigerant
type used can be found on the radiator cross
member.Service products and filling capacities 381
Technical data Z