2018 MERCEDES-BENZ G-CLASS service
[x] Cancel search: servicePage 168 of 294
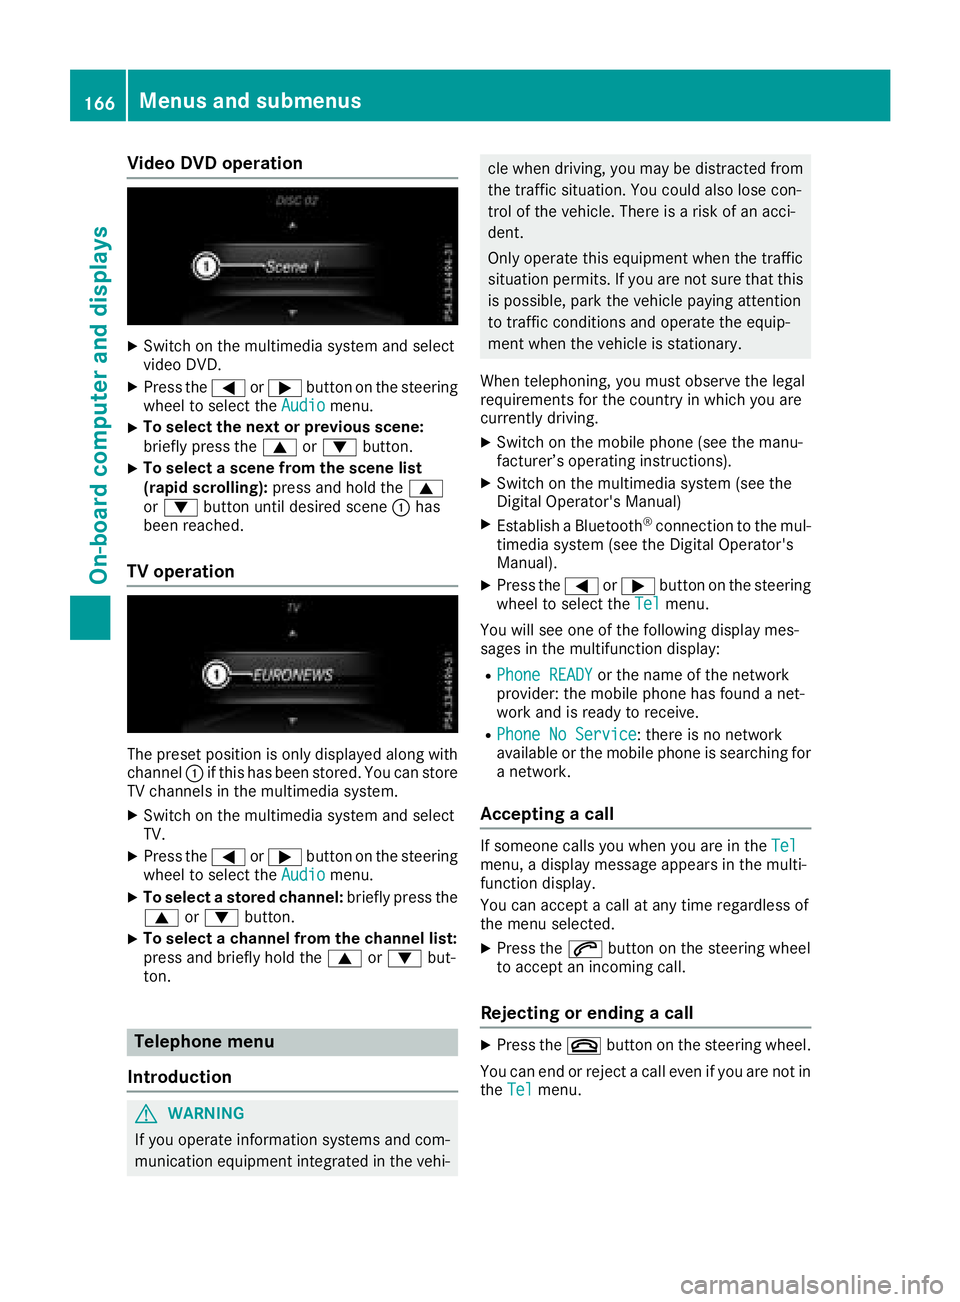
Video DVD operation
XSwitch on the multimedia system and select
video DVD.
XPress the=or; button on the steering
wheel to select the Audiomenu.
XTo select the next or previous scene:
briefly press the9or: button.
XTo select a scene from the scene list
(rapid scrolling): press and hold the 9
or : button until desired scene :has
been reached.
TV operation
The preset position is only displayed along with
channel :if this has been stored. You can store
TV channels in the multimedia system.
XSwitch on the multimedia system and select
TV.
XPress the =or; button on the steering
wheel to select the Audiomenu.
XTo select a stored channel: briefly press the
9 or: button.
XTo select a channel from the channel list:
press and briefly hold the 9or: but-
ton.
Telephone menu
Introduction
GWARNING
If you operate information systems and com-
munication equipment integrated in the vehi-
cle when driving, you may be distracted from
the traffic situation. You could also lose con-
trol of the vehicle. There is a risk of an acci-
dent.
Only operate this equipment when the traffic
situation permits. If you are not sure that this is possible, park the vehicle paying attention
to traffic conditions and operate the equip-
ment when the vehicle is stationary.
When telephoning, you must observe the legal
requirements for the country in which you are
currently driving.
XSwitch on the mobile phone (see the manu-
facturer’s operating instructions).
XSwitch on the multimedia system (see the
Digital Operator's Manual)
XEstablish a Bluetooth®connection to the mul-
timedia system (see the Digital Operator's
Manual).
XPress the =or; button on the steering
wheel to select the Telmenu.
You will see one of the following display mes-
sages in the multifunction display:
RPhone READYor the name of the network
provider: the mobile phone has found a net-
work and is ready to receive.
RPhone No Service: there is no network
available or the mobile phone is searching for
a network.
Accepting a call
If someone calls you when you are in the Telmenu, a display message appears in the multi-
function display.
You can accept a call at any time regardless of
the menu selected.
XPress the6button on the steering wheel
to accept an incoming call.
Rejecting or ending a call
XPress the ~button on the steering wheel.
You can end or reject a call even if you are not in
the Tel
menu.
166Menus and submenus
On-board computer and displays
Page 169 of 294

Dialinganumber from th ephone book
XPress th e= or; buttonon th esteerin g
whee lto selec tth eTelmenu.
XPress 9, :ora to switch to th e
phone book.
XAuthoriz eaccess to th ephone boo kon th e
phone .
XPress th e9 or: buttonto selec tth e
desire dname.
or
XTo star trapi dscrolling: press and hol d9
or : forlonger than on esecond.
Rapid scrollin gstops when you release th e
butto nor reach th een dof th elist .
XIf only one telephon enumber is stored for
a name :press th e6 ora buttonto
start dialing .
or
XIf ther eis more than one number for a
particular name :press th e6 ora
butto nto display th enumbers.
XPress th e9 or: buttonto selec tth e
number you wan tto dial.
XPress th e6 ora buttonto start dialing .
or
XTo exit th ephone book :press th e~ or
% button.
Redialing
The on-boar dcompute rsaves th elast names or
number sdiale din th eredial memory.
XPress th e= or; buttonon th esteerin g
whee lto selec tth eTelmenu.
XPress th e6 buttonto switch to th eredial
memory.
XPress th e9 or: buttonto selec tth e
desire dnam eor number .
XPress the6 ora buttonto start dialing .
or
XTo exit th eredial memory :press th e~
or % button.
Assistance menu
Introduction
In th eDriveAssistmenu, you hav eth efollow -
in g options:
RDisplayin gth eassistanc egraphi c
(Ypage 167)
RActivating/deactivatin gBlin dSpot Assis t
(Ypage 167)
Displaying th eassistance graphic
XPress th e= or; buttonon th esteerin g
whee lto selec tth eDriveAssistmenu.
XPress 9or: to selec tAssistanc eGraphic.
XPressa.
The DISTRONIC PLU Sdistanc edisplay
appears in th emultifunction display.
Activating/deactivating Blind Spot
Assis t
XPress th e= or; buttonon th esteerin g
whee lto selec tth eDriveAssistmenu.
XPress th e9 or: buttonto selec t
Blind Spo tAssist.
XPress a.
The curren tselection appears .
XTo activate/deactivate :press th ea but-
to nagain .
Fo rfurther information about Blind Spot Assist,
see (
Ypage 140).
Service menu
In th eServ.menu, you hav eth efollowin g
options:
RCallin gup display messages (Ypage 174)
RChecking thetire pressure electronically
(Ypage 264)
RCallin gup th eservic edue dat e
(Ypage 236)
RChecking th eengin eoil level (Ypage 232)
Menus and submenus167
On-board computer and displays
Z
Page 170 of 294
Settings menu
Introduction
In the Sett.menu, you have the following
options:
RChanging the instrument cluster settings
(Ypage 168)
RChanging the light settings (Ypage 169)
RChanging the vehicle settings (Ypage 170)
RChanging the convenience settings
(Ypage 170)
RRestoring the factory settings (Ypage 171)
Instrument cluster
Selecting the distance unit
The Display Unit Speed-/Odometer:func-
tion allows you to choose whether certain dis-
plays appear in kilometers or miles in the mul-
tifunction display.
You can determine whether the multifunction
display shows certain messages in miles or kilo-
meters.
XPress the =or; button on the steering
wheel to select the Sett.menu.
XPress the:or9 button to select the
Instrument Clustersubmenu.
XPress ato confirm.
XPress the :or9 button to select the
Display Unit Speed-/Odometerfunction.
You will see the selected setting: kmormiles.
XPress the abutton to save the setting.
The selected unit of measurement for distance
applies to:
Rdigital speedometer in the Tripmenu
Rthe odometer and the trip odometer
Rthe trip computer
Rthe current consumption and the range
Rthe navigation instructions in the Navimenu
Rcruise control
RDISTRONIC PLUS
Rthe service interval display
Selecting permanent display
You can determine whether the multifunction
display permanently shows your speed or the
outside temperature.
XPress the=or; button on the steering
wheel to select the Sett.menu.
XPress the:or9 button to select the
Instrument Clustersubmenu.
XPress ato confirm.
XPress the :or9 button to select the
Permanent Display:function.
You will see the selected setting: Outside
TemperatureorSpeedometer [mph].
XPress the abutton to save the setting.
iThe speed is displayed in mph.
Selecting the language
XPress the =or; button on the steering
wheel to select the Settingsmenu.
XPress the:or9 button to select the
Instr. Clustersubmenu.
XPress ato confirm.
XPress :or9 to select the Language:function.
You will see the current setting.
XPressato confirm.
XPress the :or9 button to change the
setting.
XPress the abutton to store the entry.
Time/date
Setting the date
XPress the =or; button on the steering
wheel to select the Settingsmenu.
XPress:or9 to select the Time/Datesubmenu.
XPressato confirm.
XPress :or9 to select the Date:func-
tion.
You will see the current setting.
XTo set the date: pressaagain.
XPress =or; to switch between the
day, month and year.
XPress :or9 to set the day, month or
year.
XPress ato store the entry.
The display shows the selected date.
168Menus and submenus
On-board computer and displays
Page 180 of 294
Display messagesPossible causes/consequences andMSolutions
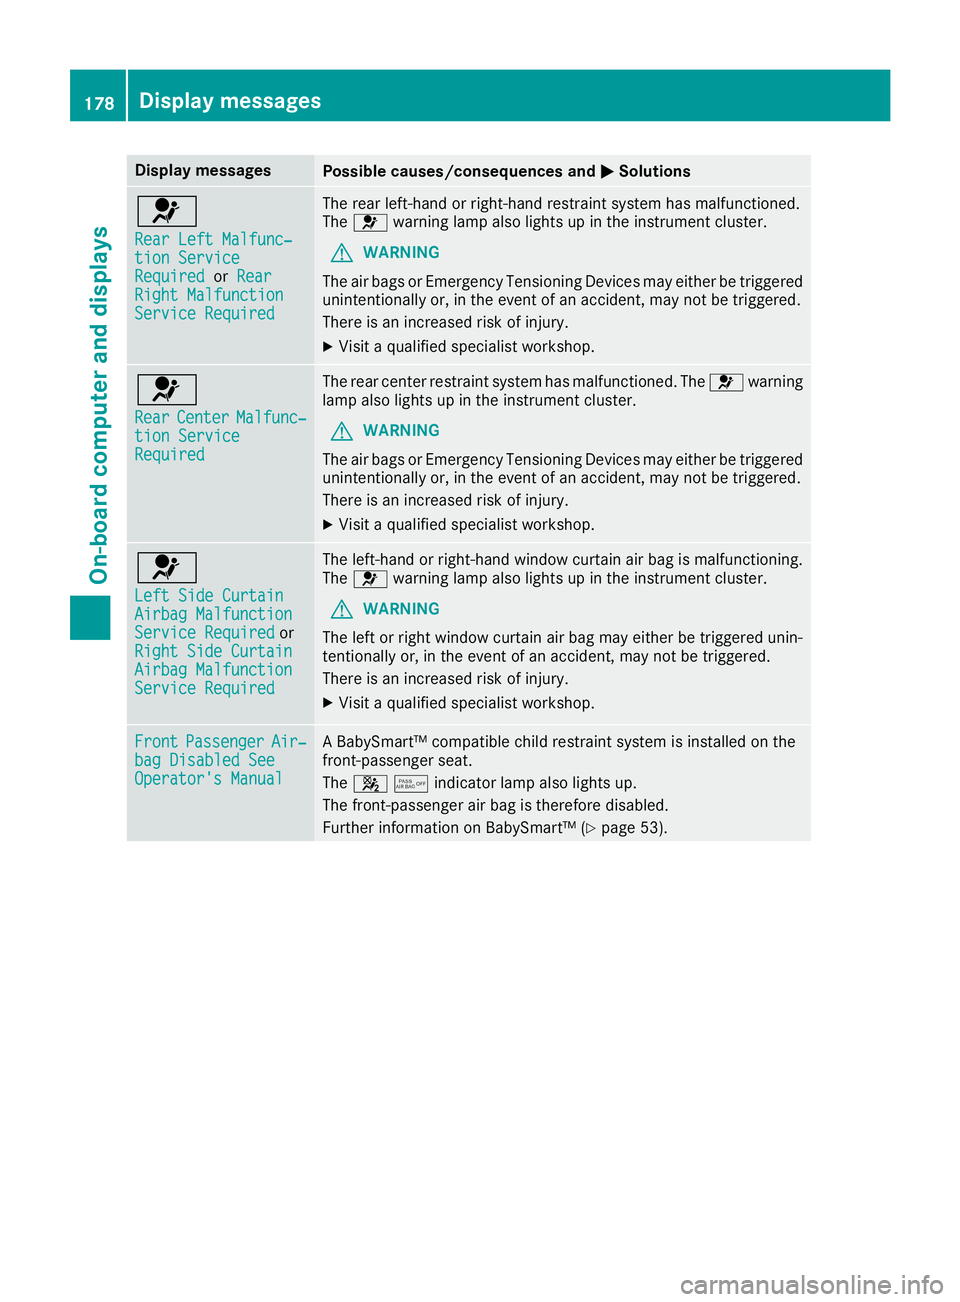
6
RearLef tMalfunc‐tio nServic eRequiredorRea rRight MalfunctionServic eRequired
The rear left-han dor right-hand restrain tsystem has malfunctioned.
The 6 warning lamp also lights up in th einstrumen tcluster.
GWARNIN G
The air bags or Emergency Tensioning Devices may either be triggered
unintentionally or, in th eevent of an accident, may no tbe triggered .
There is an increased ris kof injury.
XVisit aqualified specialist workshop .
6
RearCenterMalfunc‐tionServic eRequired
The rear center restrain tsystem has malfunctioned. The 6warning
lamp also lights up in th einstrumen tcluster.
GWARNIN G
The air bags or Emergency Tensioning Devices may either be triggered
unintentionally or, in th eevent of an accident, may no tbe triggered .
There is an increased ris kof injury.
XVisit aqualified specialist workshop .
6
LeftSid eCurtai nAirbag MalfunctionServiceRequiredor
Right Sid eCurtai n
Airbag MalfunctionServiceRequired
The left-han dor right-hand window curtai nair bag is malfunctioning .
The 6 warning lamp also lights up in th einstrumen tcluster.
GWARNIN G
The lef tor right window curtai nair bag may either be triggered unin-
tentionally or, in th eevent of an accident, may no tbe triggered .
There is an increased ris kof injury.
XVisit aqualified specialist workshop .
FrontPassengerAir‐bag Disabled SeeOperator' sManual
ABabySmart ™compatible child restrain tsystem is installed on th e
front-passenger seat .
The 45indicator lamp also lights up.
The front-passenger air bag is therefore disabled.
Further information on BabySmart™ (
Ypage 53).
178Display messages
On-board computer and displays
Page 193 of 294
Display messagesPossible causes/consequences andMSolutions
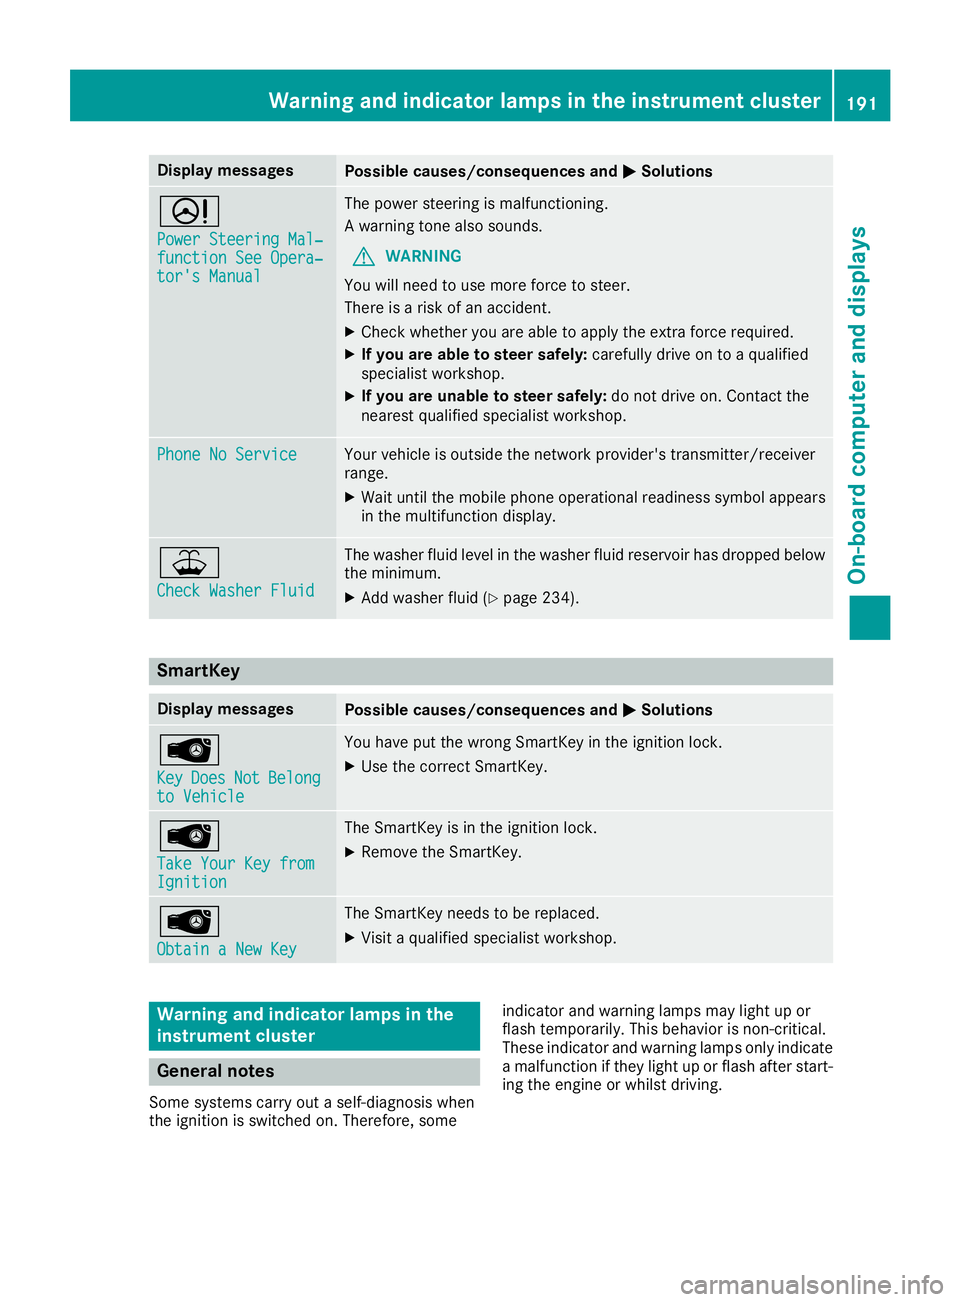
D
Power Steering Mal‐function See Opera‐tor's Manual
The powersteering is malfunctioning .
A warning tone also sounds.
GWARNIN G
You will need to use mor eforce to steer .
There is aris kof an accident.
XChec kwhether you are able to apply th eextr aforce required.
XIf you ar eabl eto steer safely: carefully drive on to aqualified
specialist workshop .
XIf you areunable to steer safely: do notdrive on .Contac tth e
neares tqualified specialist workshop .
Phone No ServiceYour vehicleis outside th enetwork provider' stransmitter/receiver
range.
XWait until th emobile phone operational readiness symbol appear s
in th emultifunction display.
¥
Check Washer Fluid
The washer flui dlevel in th ewasher flui dreservoir has dropped belo w
th eminimum .
XAddwasher flui d (Ypage 234).
SmartKey
Display messagesPossible causes/consequences and MSolutions
Â
KeyDoesNotBelongto Vehicl e
You haveput th ewrong SmartKey in th eignition lock.
XUse th ecorrec tSmartKey.
Â
Tak eYou rKey fro mIgnition
The SmartKey is in th eignition lock.
XRemove th eSmartKey.
Â
Obtain aNew Key
The SmartKey needs to be replaced.
XVisit aqualified specialist workshop .
Warning and indicat orlamps in the
instrume nt cluster
General notes
Some systems carry out aself-diagnosis when
th eignition is switched on .Therefore ,som e indicator and warning lamp
smay ligh tup or
flas htemporarily. This behavio ris non-critical .
These indicator and warning lamp sonly indicat e
a malfunction if they ligh tup or flas hafter start -
ing th eengin eor whils tdriving.
Warning and indicator lamps in the instrument cluster191
On-board computer and displays
Z
Page 221 of 294
Using the 115 V power socketXTo switch on:switch the ignition on.
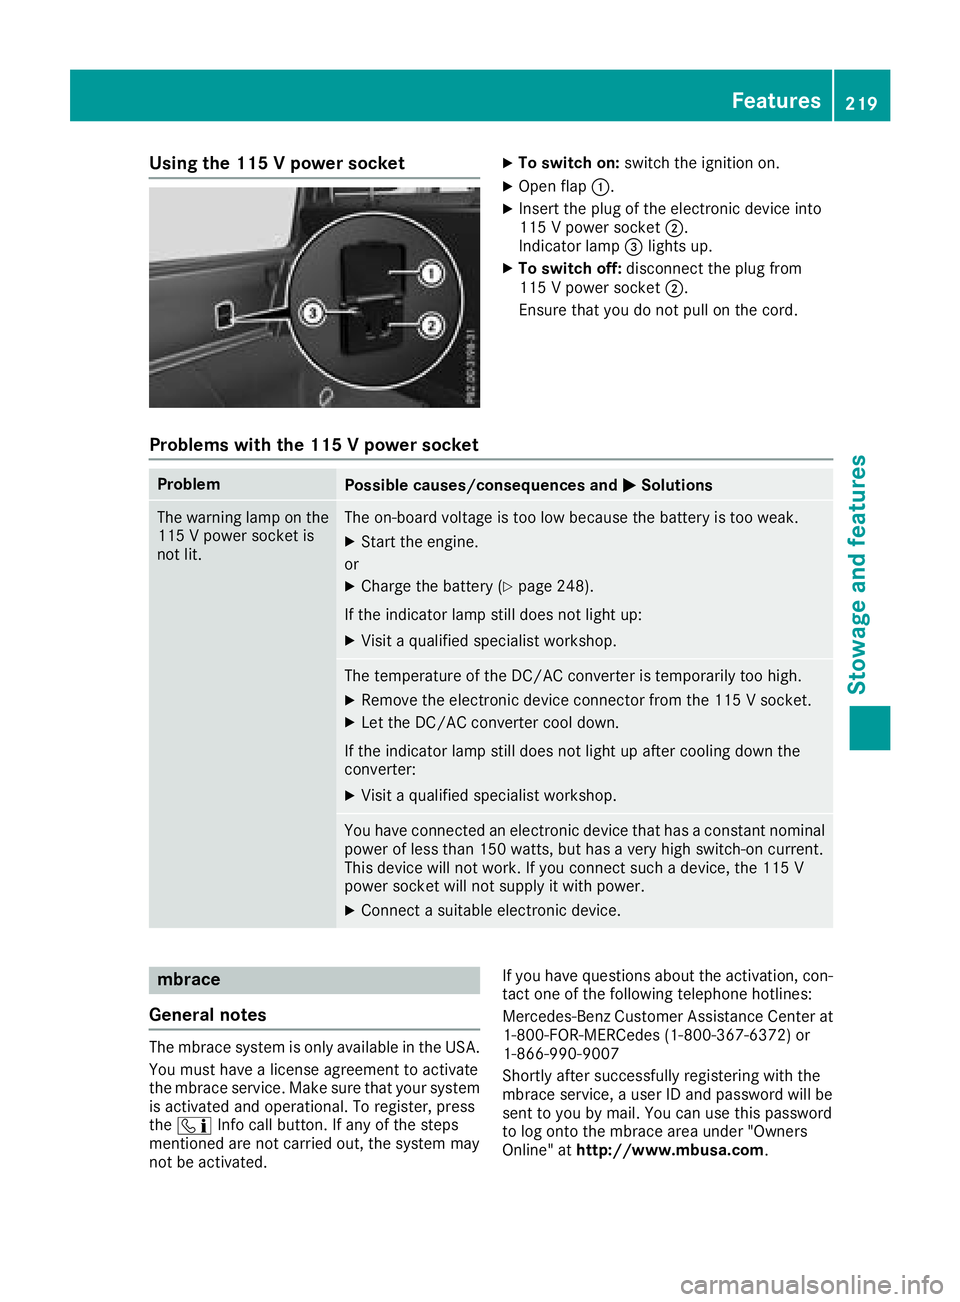
XOpen flap:.
XInsert the plug of the electronic device into
115 V power socket ;.
Indicator lamp =lights up.
XTo switch off: disconnect the plug from
115 V power socket ;.
Ensure that you do not pull on the cord.
Problems with the 115 V power socket
ProblemPossible causes/consequences and MSolutions
The warning lamp on the
115 V power socket is
not lit.The on-board voltage is too low because the battery is too weak.
XStart the engine.
or
XCharge the battery (Ypage 248).
If the indicator lamp still does not light up:
XVisit a qualified specialist workshop.
The temperature of the DC/AC converter is temporarily too high.
XRemove the electronic device connector from the 115 V socket.
XLet the DC/AC converter cool down.
If the indicator lamp still does not light up after cooling down the
converter:
XVisit a qualified specialist workshop.
You have connected an electronic device that has a constant nominal
power of less than 150 watts, but has a very high switch-on current.
This device will not work. If you connect such a device, the 115 V
power socket will not supply it with power.
XConnect a suitable electronic device.
mbrace
General notes
The mbrace system is only available in the USA.
You must have a license agreement to activate
the mbrace service. Make sure that your system
is activated and operational. To register, press
the ï Info call button. If any of the steps
mentioned are not carried out, the system may
not be activated. If you have questions about the activation, con-
tact one of the following telephone hotlines:
Mercedes-Benz Customer Assistance Center at 1-800-FOR-MERCedes (1-800-367-6372) or
1-866-990-9007
Shortly after successfully registering with the
mbrace service, a user ID and password will be
sent to you by mail. You can use this password
to log onto the mbrace area under "Owners
Online" at http://www.mbusa.com.
Features219
Stowage and features
Z
Page 222 of 294
The system is available if:
Rit has been activated and is operational
Rthe corresponding mobile phone network is
available for transmitting data to the Cus-
tomer Center
Ra service subscription is available
Determining the location of the vehicle on a map
is only possible if:
RGPS reception is available
Rthe vehicle position can be forwarded to the
Customer Assistance Center
The mbrace system
To adjust the volume during a call, proceed as
follows:
XPress the WorX button on the multi-
function steering wheel.
or
XUse the multimedia system volume control.
The system offers various services, e.g.:
RAutomatic and manual emergency call
RRoadside Assistance call
RInfo call
You can find information and a description of all
available features under "Owners Online" at
http://www.mbusa.com.
System self-test
After you have switched on the ignition, the sys- tem carries out a self-diagnosis.
A malfunction in the system has been detected
if one of the following occurs:
RThe indicator lamp in the SOS button does notcome on during the system self-test.
RThe indicator lamp in the FRoadside
Assistance button does not light up during
self-diagnosis of the system.
RThe indicator lamp in the ïInfo call button
does not light up during the system self-diag-
nosis
RThe indicator lamp in one or more of the fol-
lowing buttons continues to light up red after
the system self-diagnosis:
-SOS button
-F Roadside Assistance call button
-Info call button ï
RAfter the system self-diagnosis, the Inoper‐ativeorServiceNotActivatedmessage
appears in the multifunction display.
If a malfunction is indicated as outlined above,
the system may not operate as expected. In the
event of an emergency, help will have to be
summoned by other means.
Have the system checked at the nearest
Mercedes-Benz Service Center or contact the
following service hotlines:
Mercedes-Benz Customer Assistance Center at
1-800-FOR-MERCedes (1-800-367-6372) or
1-866-990-9007
Emergency call
Important safety notes
GWARNING
It can be dangerous to remain in the vehicle,
even if you have pressed the SOS button in an emergency if:
Ryou see smoke inside or outside of the vehi-
cle, e.g. if there is a fire after an accident
Rthe vehicle is on a dangerous section of
road
Rthe vehicle is not visible or cannot easily beseen by other road users, particularly when
dark or in poor visibility conditions
There is a risk of an accident and injury.
Leave the vehicle immediately in this or simi-
lar situations as soon as it is safe to do so.
Move to a safe location along with other vehi-
cle occupants. In such situations, secure the
vehicle in accordance with national regula-
tions, e. g. with a warning triangle.
General notes
Observe the notes on system activation
(Ypage 219).
An emergency call is dialed automatically if an
air bag or Emergency Tensioning Device is trig-
220Features
Stowage and features
Page 224 of 294
multifunction display. The audio output is
muted.
If a connection can be made, the Call
Connec‐tedmessage appears in the multifunction dis-
play.
If a mobile phone network and GPS reception
are available, the system transfers data to the
Mercedes-Benz Customer Assistance Center,
for example:
RCurrent location of the vehicle
RVehicle identification number
The multimedia system display indicates that a
call is active. During the call, you can change to
the navigation menu by pressing the NAVI but-
ton on the multimedia system, for example.
Voice output is not available in this case.
A voice connection is established between the
Mercedes-Benz Customer Assistance Center
and the vehicle occupants.
From the remote malfunction diagnosis, the
Mercedes-Benz Customer Assistance Center
can ascertain the nature of the problem
(
Ypage 225).
The Mercedes-Benz Customer Assistance Cen-
ter either sends a qualified Mercedes-Benz tech-
nician or makes arrangements for your vehicle
to be transported to the nearest Mercedes-Benz
Service Center.
You may be charged for services such as repair
work and/or towing.
You can find more information in the separate
mbrace manual.
The system has not been able to initiate a Road- side Assistance call, if:
Rthe F indicator lamp for the Roadside
Assistance call button is flashing continu-
ously.
Rno voice connection to the Mercedes-Benz
Customer Assistance Center was estab-
lished.
This can occur if the relevant mobile phone net-
work is not available, for example.
The Call Failed
message appears in the mul-
tifunction display.
XTo end a call: press the~button on the
multifunction steering wheel.
or
XPress the corresponding multimedia system
button for ending a phone call.
Info call button
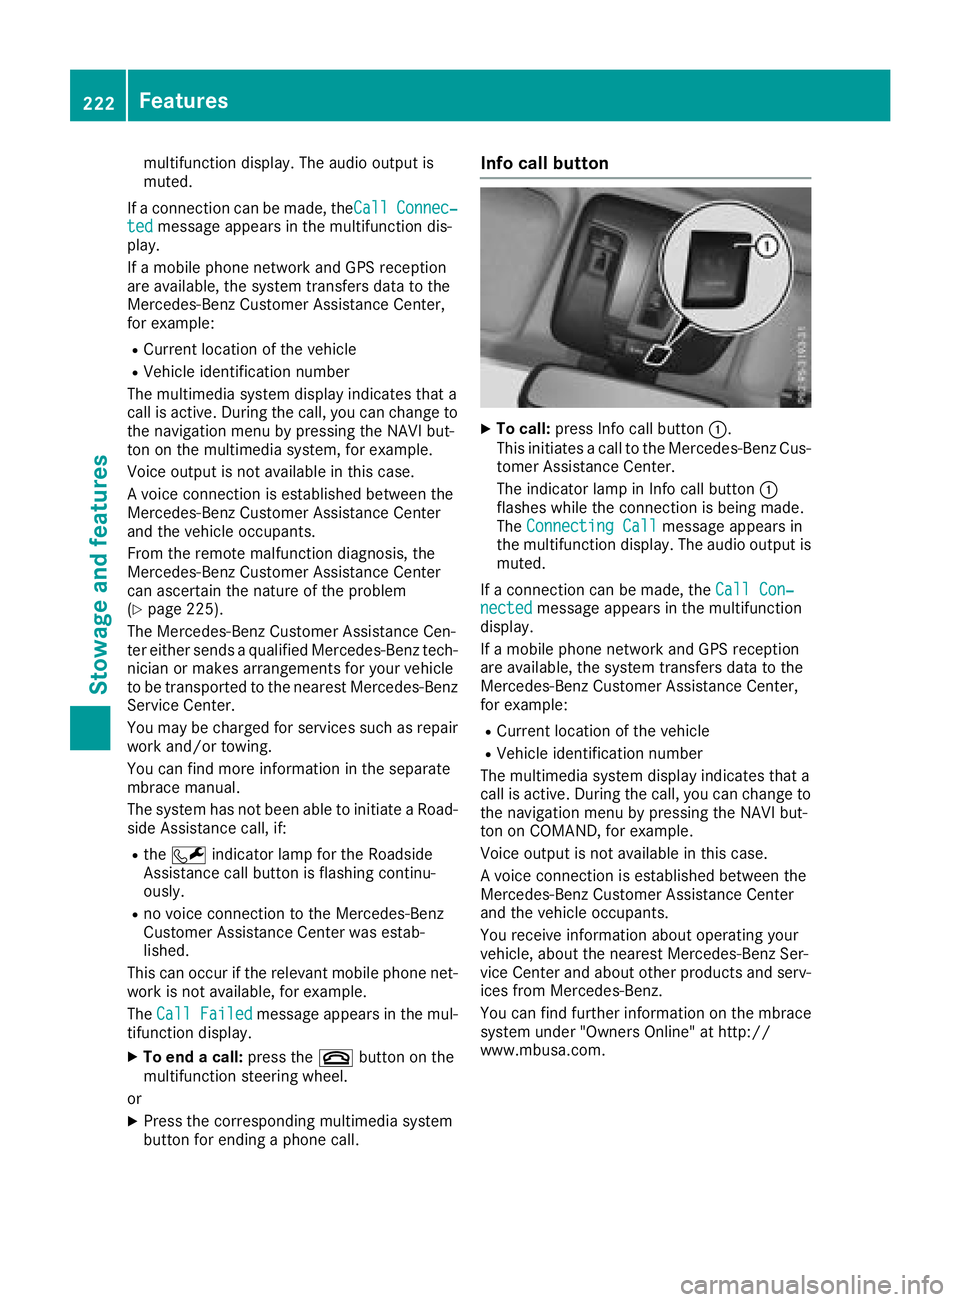
XTo call: press Info call button :.
This initiates a call to the Mercedes-Benz Cus-
tomer Assistance Center.
The indicator lamp in Info call button :
flashes while the connection is being made.
The Connecting Call
message appears in
the multifunction display. The audio output is muted.
If a connection can be made, the Call Con‐
nectedmessage appears in the multifunction
display.
If a mobile phone network and GPS reception
are available, the system transfers data to the
Mercedes-Benz Customer Assistance Center,
for example:
RCurrent location of the vehicle
RVehicle identification number
The multimedia system display indicates that a
call is active. During the call, you can change to
the navigation menu by pressing the NAVI but-
ton on COMAND, for example.
Voice output is not available in this case.
A voice connection is established between the
Mercedes-Benz Customer Assistance Center
and the vehicle occupants.
You receive information about operating your
vehicle, about the nearest Mercedes-Benz Ser-
vice Center and about other products and serv-
ices from Mercedes-Benz.
You can find further information on the mbrace
system under "Owners Online" at http://
www.mbusa.com.
222Features
Stowage and features