2018 MERCEDES-BENZ CLS turn signal
[x] Cancel search: turn signalPage 9 of 334
Windows ....................................... .2 73
Wiper blades .................................. 273
Wooden trim .................................. 275
Cargo tie down rings ......................... 246
CD
see also Digital Operator's Man-
ual ................................................. .2 36
CD player (on-board computer) ....... .1 93
Center console
Lower section .................................. 37
Lower section (AMG vehicles) .......... 38
Upper section .................................. 36
Central locking
Automatic locking (on-board com-
puter) ............................................. 199
Locking/unlocking (SmartKey) ....... .7 6
Child
Restraint system .............................. 59
Child seat
Forward-facing restraint system ...... 62
LATCH-type (ISOFIX) child seat
anchors ............................................ 60
On the front-passenger seat ............ 61
Rearward-facing restraint system .... 62
Top Tether ...................................... .6 0
Child-proof locks
Important safety notes .................... 62
Rear doors ...................................... .6 3
Children
Special seat belt retractor .............. .5 8
Cigarette lighter ................................ 252
Cleaning
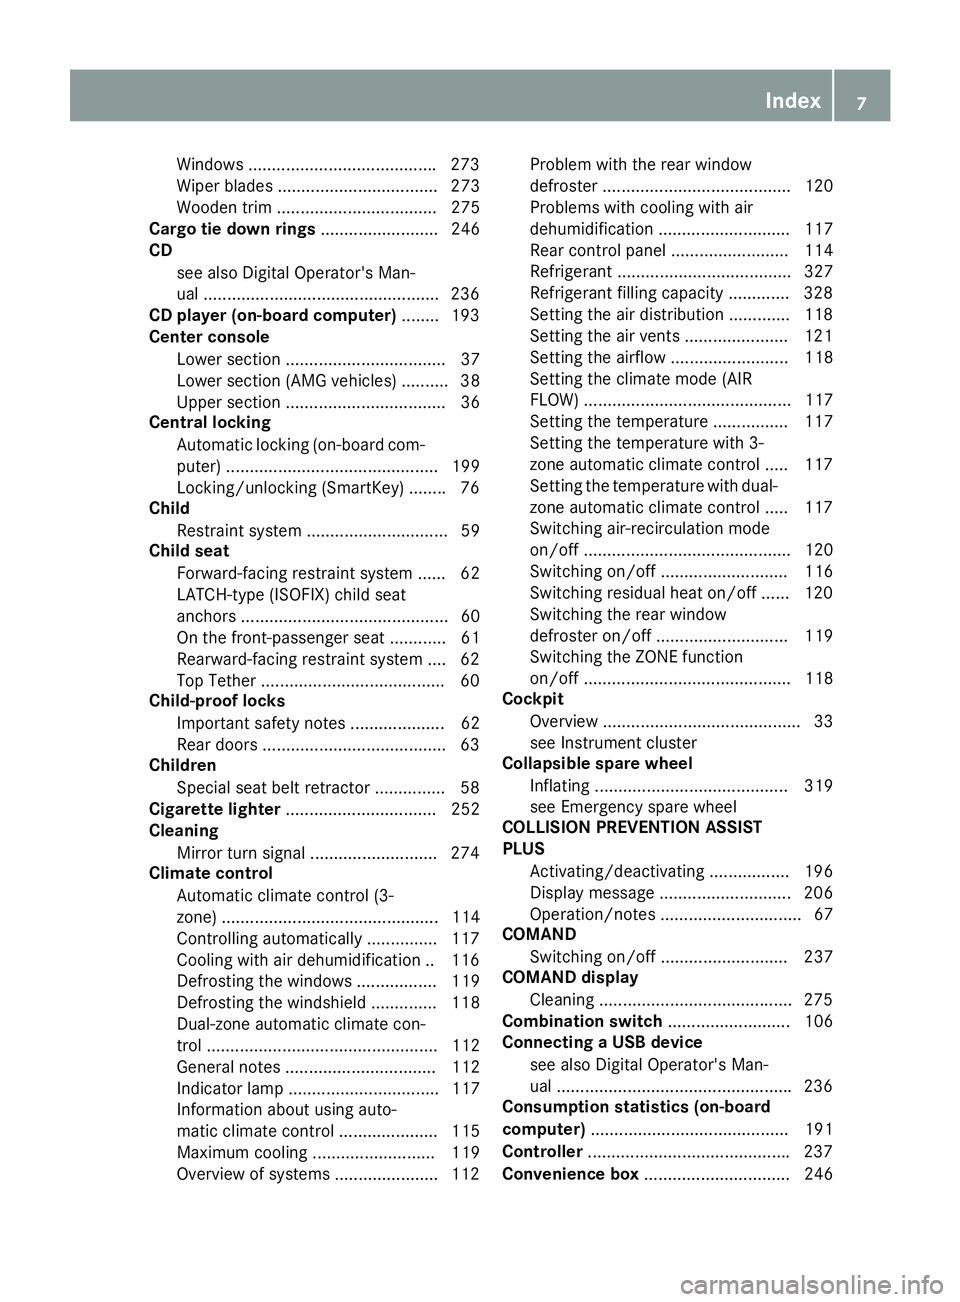
Mirror turn signal .......................... .2 74
Climate control
Automatic climate control (3-
zone) .............................................. 114
Controlling automatically .............. .1 17
Coo ling w ith air dehumidification .. 116
Defrosti
ng the windows ................. 119
Defrosting the windshield .............. 118
Dual-zone automatic climate con-
trol ................................................. 112
General notes ................................ 112
Indicator lamp ................................ 117
Information about using auto-
matic climate control ..................... 115
Maximum cooling .......................... 119
Overview of systems ..................... .1 12 Problem with the rear window
defroster ........................................ 120
Problems with cooling with air
dehumidification ............................ 117
Rear control panel ......................... 114
Refrigerant ..................................... 327
Refrigerant filling capacity ............. 328
Setting the air distribution ............. 118
Setting the air vents ..................... .1 21
Setting the airflow ......................... 118
Setting the climate mode (AIR
FLOW) ............................................ 117
Setting the temperature ................ 117
Setting the temperature with 3-
zone automatic climate control ..... 117
Setting the temperature with dual-
zone automatic climate control ..... 117
Switching air-recirculation mode
on/off ............................................ 120
Switching on/off ........................... 116
Switching residual heat on/off ...... 120
Switching the rear window
defroster on/off ............................ 119
Switching the ZONE function
on/off ............................................ 118
Cockpit
Overview .......................................... 33
see Instrument cluster
Collapsible spare wheel
Inflating ......................................... 319
see Emergency spare wheel
COLLISION PREVENTION ASSIST
PLUS
Activating/deactivating ................. 196
Display message ............................ 206
Operation/notes .............................. 67
COMAND
Switching on/off ........................... 237
COMAND display
Cleaning ................................... ...... 275
C o mbination switch .......................... 106
Connecting a USB device
see also Digital Operator's Man-
ual ................................................. .2 36
Consumption statistics (on-board
computer) .......................................... 191
Controller .......................................... .2 37
Convenience box ............................... 246Index 7
Page 14 of 334
Head restraints
Adjusting ........................................ .9 5
Adjusting (electrically) ..................... 95
Adjusting (rear) ................................ 95
Installing/removing (rear) ................ 96
Luxury .............................................. 95
see NECK-PRO head restraints
see NECK-PRO luxury head restraints
Headlamps
Fogging up .................................... .1 08
see Automatic headlamp mode
Heating
see Climate control
High beam flasher ............................ .1 06
High-beam headlamps
Adaptive Highbeam Assist ............. 107
Display message ............................ 212
Switching on/off ........................... 106
Hill start assist .................................. 126
HOLD function
Activating ....................................... 158
Deactivating ................................... 158
Display message ............................ 216
Function/notes ............................ .1 57
Home address
see also Digital Operator's Man-
ual ................................................. .2 36
Hood
Closing .......................................... .2 66
Display message ............................ 224
Important safety notes .................. 265
Opening ......................................... 265
Horn ...................................................... 33
Hydroplaning ..................................... 147
I
Ignition lock
see Key positions
Immobilizer .......................................... 74
Indicator and warning lamps
COLLISION PREVENTION ASSIST
PLUS .............................................. 234
Indicator lamps
see Warning and indicator lamps
Indicators
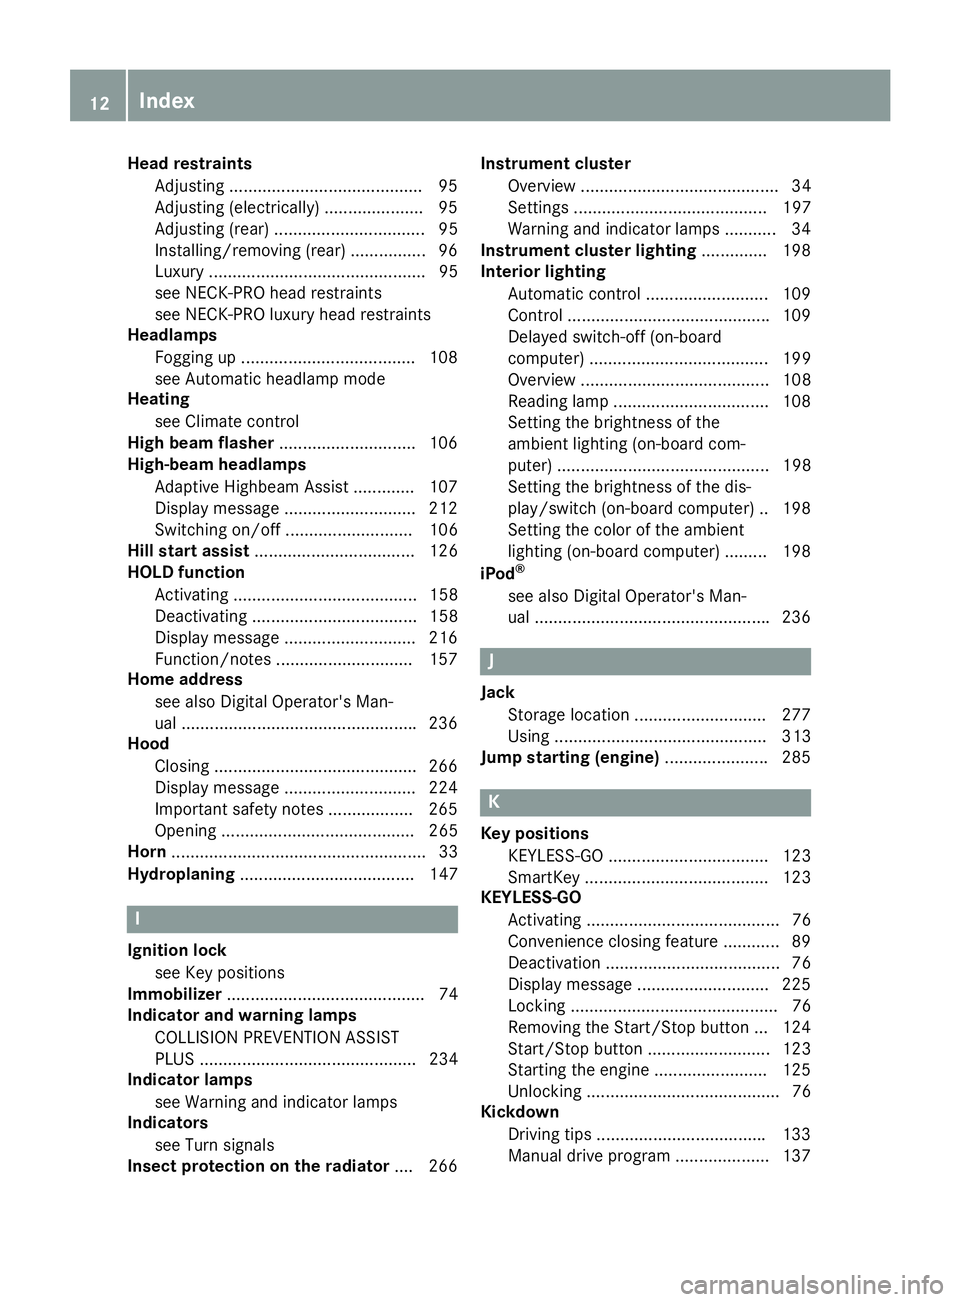
see Turn signals
Insect protection on the radiator .... 266 Instrument cluster
Overview .......................................... 34
Settings ......................................... 197
Warning and indicator lamps ........... 34
Instrument cluster lighting .............. 198
Interior lighting
Automatic control .......................... 109
Control .......................................... .1 09
Delayed switch-off (on-board
computer) ...................................... 199
Overview ........................................ 108
Reading lamp ................................. 108
Setting the brightness of the
ambient lighting (on-board com-
puter) ............................................. 198
Setting the brightness of the dis-
play/switch (on-board computer) .. 198
Setting the color of the ambient
lighting (on-board computer) ......... 198
iPod ®
see also Digital Operator's Man-
ual ................................................. .2 36
J Jack
Storage location ............................ 277
Using ............................................. 313
Jump starting (engine) ..................... .2 85
K
Key positions
KEYLESS-GO .................................. 123
SmartKey ....................................... 123
KEYLESS-GO
Activating ......................................... 76
Convenience closing feature ............ 89
Deactivation ..................................... 76
Display message ............................ 225
Locking ............................................ 76
Removing the Start/Stop button ... 124
Start/Stop button .......................... 123
Starting the engine ........................ 125
Unlocking ......................................... 76
Kickdown
Driving tips ................................... .1 33
Manual drive program .................... 13712
Index
Page 15 of 334

Knee bag .............................................. 47
L Lamps
see Warning and indicator lamps
Lane Keeping Assist
Activating/deactivating ................ .1 97
Display message ............................ 217
Function/information .................... 181
Lane Tracking package ..................... 179
Lap time (RACETIMER) ...................... 201
LATCH-type (ISOFIX) child seat
anchors ................................................ 60
License plate lamp (display mes-
sage) ................................................... 212
Light function, active
Display message ............................ 212
Light sensor (display message) ....... 212
Lights
Activating/deactivating the inte-
rior lighting delayed switch-off ....... 199
Adaptive Highbeam Assist ............. 107
Automatic headlamp mode ............ 105
Cornering light function ................. 107
Fogged up headlamps .................... 108
General notes ................................ 105
Hazard warning lamps ................... 107
High beam flasher .......................... 106
High-beam headlamps ................... 106
Light switch ................................... 105
Low-beam headlamps .................... 106
Parking lamps ................................ 106
Setting exterior lighting ................. 105
Setting the brightness of the
ambient lighting (on-board com-
puter) ............................................. 198
Setting the brightness of the dis-
play/switch (on-board computer) .. 198
Setting the color of the ambient
lighting (on-board computer) ......... 198
Standing lamps .............................. 106
Switching the daytime running
lamps on/off (on-board com-
puter) ............................................. 198
Switching the exterior lighting
delayed switch-off on/off (on-
board computer) ............................ 198 Switching the surround lighting
on/off (on-board computer) .......... 198
Turn signals ................................... 106
see Interior lighting
Loading guidelines ............................ 242
Loc king
se
e Central locking
Locking (doors)
Automatic ........................................ 82
Emergency locking ........................... 83
From inside (central locking but-
ton) .................................................. 82
Locking centrally
see Central locking
Locking verification signal (on-
board computer) ............................... 199
Low-beam headlamps
Display message ............................ 212
Switching on/off ........................... 106
Lumbar support
Adjusting the 4-way lumbar sup-
port .................................................. 97
Luxury head restraints ....................... 95
M
M+S tires ............................................ 294
Malfunction message
see Display messages
Matte finish (cleaning instruc-
tions) .................................................. 272
mbrace
Call priority .................................... 257
Display message ............................ 206
Downloading destinations
(COMAND) ..................................... 257
Downloading routes ....................... 260
Emergency call .............................. 255
General notes ................................ 254
Geo fencing ................................... 261
Locating a stolen vehicle ............... 259
MB info call button ........................ 257
Remote fault diagnosis .................. 259
Remote vehicle locking .................. 259
Roadside assistance button ........... 256
Search & Send ............................... 258
Self-test ......................................... 254
Speed alert .................................... 260 Index 13
Page 23 of 334
Tire pressures (recommended) ...... 310
Tire size (data) .............................. .3 17
Tire size designation, load-bearing
capacity, speed rating .................... 307
Tire tread ....................................... 293
Tire tread (definition) ..................... 311
Total load limit (definition) ............. 312
Traction ......................................... 306
Traction (definition) ....................... 312
Tread wear ..................................... 306
Uniform Tire Quality Grading
Standards ...................................... 305
Uniform Tire Quality Grading
Standards (definition) .................... 310
Wear indicator (definition) ............. 312
Wheel and tire combination ........... 317
Wheel rim (definition) .................... 310
see Flat tire
Top Tether ............................................ 60
Tow-starting
Emergency engine starting ............ 290
Important safety notes .................. 287
Towing a trailer
ESP ®
(Electronic Stability Pro-
gram) ............................................... 72
Towing away
Important safety guidelines ........... 287
Installing the towing eye ................ 288
Removing the towing eye ............... 289
Transporting the vehicle ................ 289
With both axles on the ground ....... 289
With the rear axle raised ................ 289
Towing eye ......................................... 277
Traffic reports
see also Digital Operator's Man-
ual .................................................. 236
Traffic Sign Assist
Display message ............................ 216
Function/notes ............................. 178
Important safety notes .................. 178
Instrument cluster display ............. 178
Transfer case ..................................... 138
Transmission
see Automatic transmission
Transmission position display ......... 130
Transmission position display
(DIRECT SELECT lever) ...................... 130 Transporting the vehicle .................. 289
Trim pieces (cleaning instruc-
tion s) .................................................. 275
Trip computer (on-board com-
puter) .................................................. 191
Trip odometer
Calling up ....................................... 190
Resetting (on-board computer) ...... 191
Trunk
Emergency release .......................... 86
Important safety notes .................... 83
Opening/closing (automatically
from inside) ...................................... 85
Opening/closing (automatically
from outside) ................................... 84
Opening/closing (manually from
outside) ............................................ 84
Trunk lid
Display message ............................ 224
Opening dimensions ...................... 328
Trunk load (maximum) ...................... 328
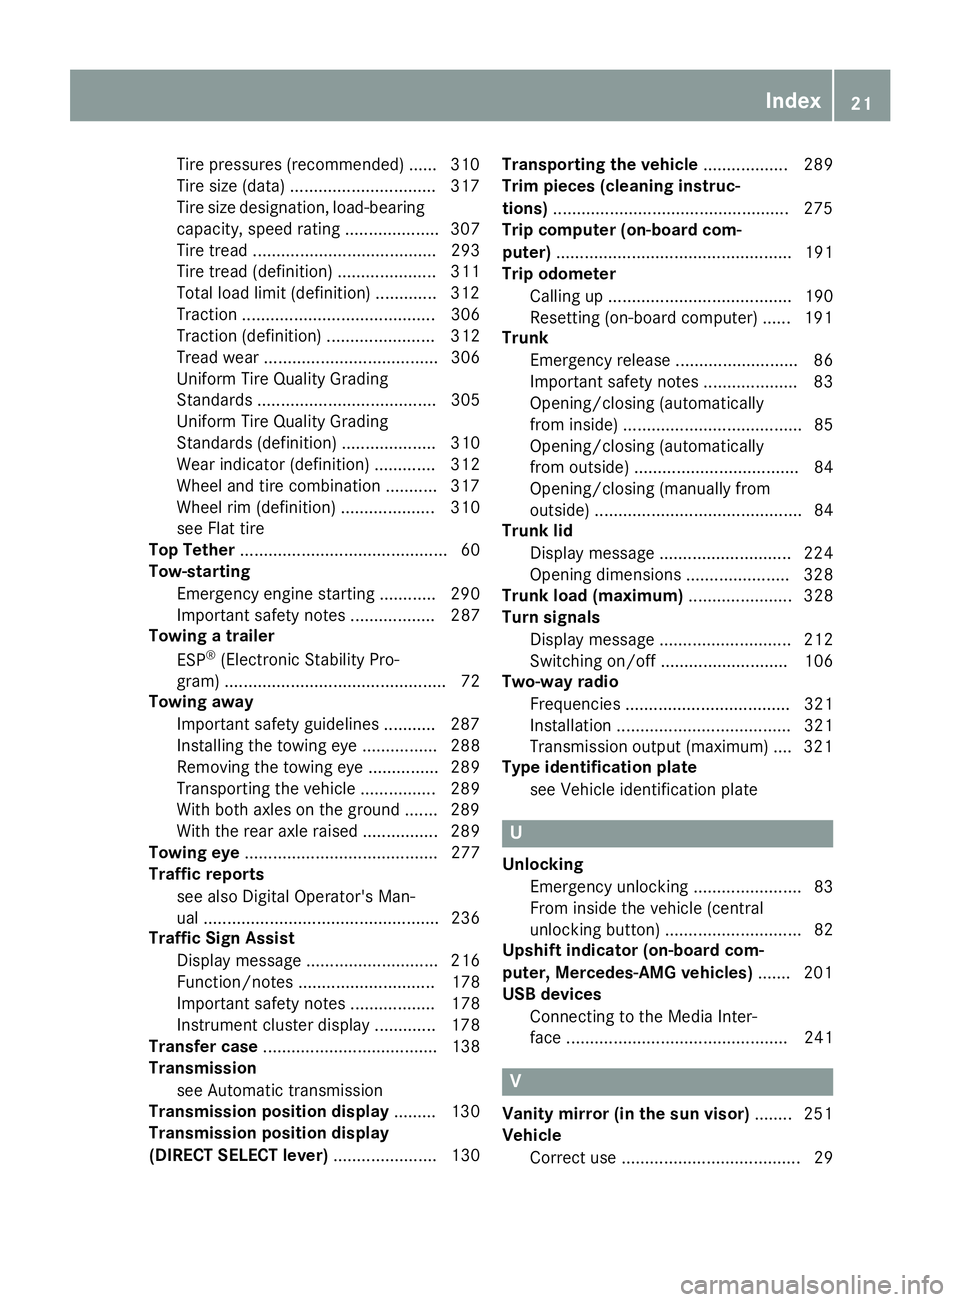
Turn signals
Display message ............................ 212
Switching on/off ........................... 106
Two-way radio
Frequencies ................................... 321
Installation ..................................... 321
Transmission output (maximum) .... 321
Type identification plate
see Vehicle identification plate
U
Unlocking
Emergency unlocking ....................... 83
From inside the vehicle (central
unlocking button) ............................. 82
Upshift indicator (on-board com-
puter, Mercedes-AMG vehicles) ....... 201
USB devices
Connecting to the Media Inter-
face ............................................... 241
V
Vanity mirror (in the sun visor) ........ 251
Vehicle
Correct use ...................................... 29 Index 21
Page 108 of 334

USA only: the daytime running lamps improve
the visibility of your vehicle during the day. To do
this, the Daytime running lamps
function
must be switched on using the on-board com-
puter ( Y
page 198).
If the engine is running and you turn the light
switch to the �` or �X position, the manual
settings take precedence over the daytime run-
ning lamps.
Low-beam headlamps
G WARNING
When the light switch is set to �X , the low-
beam headlamps may not be switched on
automatically if there is fog, snow or other
causes of poor visibility due to the weather
conditions such as spray. There is a risk of an
accident.
In such situations, turn the light switch to
�X .
Even if the light sensor does not detect that it is
dark, the parking lamps and low-beam head-
lamps switch on when the ignition is switched on
and the light switch is set to the �X position.
This is a particularly useful function in the event
of rain and fog. X
To switch on the low beam headlamps:
turn the SmartKey in the ignition lock to posi-
tion 2 or start the engine.X
Turn the light switch to the �X position.
The green �X indicator lamp in the instru-
ment cluster lights up.
Parking lamps
! If the battery charge is very low, the parking
lamps or standing lamps are automatically
switched off to enable the next engine start.
Always park your vehicle safely and in a well lit
area, in accordance with the relevant legal
stipulations. Avoid using the �` parking
lamps over a period of several hours. If pos-
sible, switch on the right-hand �d or left-
hand �c standing lamps.X
To switch on the parking lamps: turn the
light switch to the �` position.
The green �` indicator lamp on the instru-
ment cluster lights up. Standing lamps Switching on the standing lamps ensures the
corresponding side of the vehicle is illuminated. X
To switch on the standing lamps: turn the
SmartKey to position 0 in the ignition lock or
remove the SmartKey. X
Turn the light switch to the �c (left-hand
side of the vehicle) or �d (right-hand side of
the vehicle) position.
Combination switch
�C
High-beam headlamps �D
Turn signal, right �
Page 158 of 334
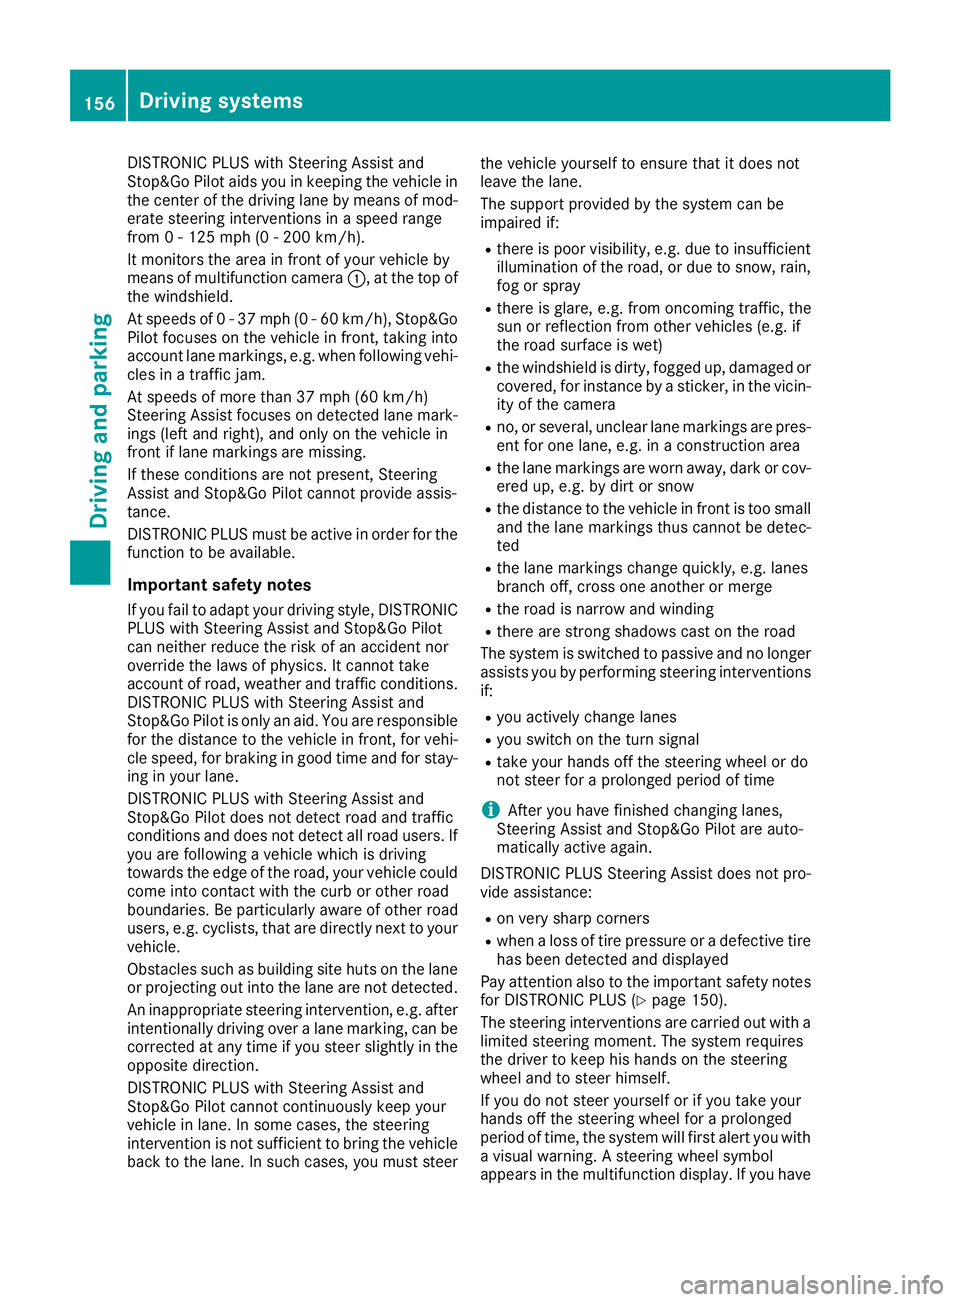
DISTRONIC PLUS with Steering Assist and
Stop&Go Pilot aids you in keeping the vehicle in
the center of the driving lane by means of mod-
erate steering interventions in a speed range
from 0 - 125 mph (0 - 200 km/h).
It monitors the area in front of your vehicle by
means of multifunction camera �C , at the top of
the windshield.
At speeds of 0 - 37 mph (0 - 60 km/h), Stop&Go
Pilot focuses on the vehicle in front, taking into
account lane markings, e.g. when following vehi-
cles in a traffic jam.
At speeds of more than 37 mph (60 km/h)
Steering Assist focuses on detected lane mark-
ings (left and right), and only on the vehicle in
front if lane markings are missing.
If these conditions are not present, Steering
Assist and Stop&Go Pilot cannot provide assis-
tance.
DISTRONIC PLUS must be active in order for the
function to be available.
Important safety notes If you fail to adapt your driving style, DISTRONIC
PLUS with Steering Assist and Stop&Go Pilot
can neither reduce the risk of an accident nor
override the laws of physics. It cannot take
account of road, weather and traffic conditions.
DISTRONIC PLUS with Steering Assist and
Stop&Go Pilot is only an aid. Yo u a re responsible
fo
r the distance to the vehicle in front, for vehi-
cle speed, for braking in good time and for stay-
ing in your lane.
DISTRONIC PLUS with Steering Assist and
Stop&Go Pilot does not detect road and traffic
conditions and does not detect all road users. If
you are following a vehicle which is driving
towards the edge of the road, your vehicle could
come into contact with the curb or other road
boundaries. Be particularly aware of other road
users, e.g. cyclists, that are directly next to your
vehicle.
Obstacles such as building site huts on the lane
or projecting out into the lane are not detected.
An inappropriate steering intervention, e.g. after
intentionally driving over a lane marking, can be
corrected at any time if you steer slightly in the
opposite direction.
DISTRONIC PLUS with Steering Assist and
Stop&Go Pilot cannot continuously keep your
vehicle in lane. In some cases, the steering
intervention is not sufficient to bring the vehicle
back to the lane. In such cases, you must steer the vehicle yourself to ensure that it does not
leave the lane.
The support provided by the system can be
impaired if: R
there is poor visibility, e.g. due to insufficient
i llumination of the road, or due to snow, rain,
fog or spray R
there is glare, e.g. from oncoming traffic, the
sun or reflection from other vehicles (e.g. if
the road surface is wet) R
the windshield is dirty, fogged up, damaged or
covered, for instance by a sticker, in the vicin-
ity of the camera R
no, or several, unclear lane markings are pres-
ent for one lane, e.g. in a construction area R
the lane markings are worn away, dark or cov-
ered up, e.g. by dirt or snow R
the distance to the vehicle in front is too small
and the lane markings thus cannot be detec-
ted R
the lane markings change quickly, e.g. lanes
branch off, cross one another or merge R
the road is narrow and winding R
there are strong shadows cast on the road
The system is switched to passive and no longer
assists you by performing steering interventions
if: R
you actively change lanes R
you switch on the turn signal R
take your hands off the steering wheel or do
not steer for a prolonged period of time
i After you have finished changing lanes,
Steering Assist and Stop&Go Pilot are auto-
matically active again.
DISTRONIC PLUS Stee ring As sist does not pro-
vi
de assistance: R
on very sharp corners R
when a loss of tire pressure or a defective tire
has been detected and displayed
Pay attention also to the important safety notes
for DISTRONIC PLUS ( Y
page 150).
The steering interventions are carried out with a
limited steering moment. The system requires
the driver to keep his hands on the steering
wheel and to steer himself.
If you do not steer yourself or if you take your
hands off the steering wheel for a prolonged
period of time, the system will first alert you with
a visual warning. A steering wheel symbol
appears in the multifunction display. If you have156
Driving system s
Dr ivi ng an d parking
Page 170 of 334
X
Let go of the multifunction steering wheel. X
Back up the vehicle, being ready to brake at all
times. When backing up, drive at a speed
below approximately 6 mph (10 km/h). Oth-
erwise Active Parking Assist will be canceled.
Active Parking Assist brakes the vehicle to a
standstill when the vehicle approaches the
rear border of the parking space.
Maneuvering may be required in tight parking
spaces.
The Park Assist Active Select D
Observe Surroundings message appears in
the multifunction display. X
Shift the transmission to position D while the
vehicle is stationary.
Active Parking Assist immediately steers in
the other direction.
The Park Assist Active Accelerate
and Brake Observe Surroundings mes-
sage appears in the multifunction display.
i You will achieve the best results by waiting
for the steering procedure to complete before
pulling away. X
Drive forwards and be ready to brake at all
times.
Active Parking Assist brakes the vehicle to a
standstill when the vehicle approaches the
rear border of the parking space.
The Park Assist Active Select R
Observe Surroundings message appears in
the multifunction display.
Further transmission shifts may be necessary.
As soon as the parking procedure is complete,
the Park Assist Finished message appears
in the multifunction display and you will hear a
tone. The vehicle is now parked. The vehicle is
kept stationary without the driver having to
depress the brake pedal. The braking effect is
canceled when you depress the accelerator
pedal.
Active Parking Assist no longer supports you
with steering interventions and brake applica-
tions. When Active Parking Assist is finished,
you must steer and brake again yourself.
PARKTRONIC is still available. X
Maneuver if necessary. X
Always observe the warning messages dis-
played by PARKTRONIC ( Y
page 164).
Parking tips: R
The way your vehicle is positioned in the park-
ing space after parking is dependent on vari- ous factors. These include the position and
shape of the vehicles parked in front and
behind it and the conditions of the location. It
may be the case that Active Parking Assist
guides you too far into a parking space, or not
far enough into it. In some cases, it may also
lead you across or onto the curb. If necessary,
you should cancel the parking procedure with
Active Parking Assist. R
You can also select preselect transmission
position D . The vehicle redirects and does not
drive as far into the parking space. Should the
transmission change take place too early, the
parking procedure will be canceled. A sensi-
ble parking position can no longer be ach-
ieved from this position.
Exiting a parking space In order that Active Parking Assist can support
you when exiting the parking space: R
the border of the parking space must be high
enough at the front and the rear. A curb is too
small, for example. R
the border of the parking space must not be
too wide. Your vehicle can be maneuvered
into a position at a maximum of 45° to the
starting position in the parking space. R
a maneuvering distance of at least 3.3 ft
(1.0 m) must be available.
i If PARKTRONIC detects obstacles, Active
Parking Assist brakes automatically whilst the
vehicle exits the parking space. You are
responsible for braking in good time.
Active Parking Assist can only assist you with
exiting a parking space if you have parked the
vehicle parallel to the direction of travel using
Active Parking Assist. X
Start the engine. X
Release the parking brake. X
Switch on the turn signal in the direction you
are pulling away. X
Shift the transmission to position D or R .
The Start Park Assist? Yes: OK No:
�8 message appears in the multifunction
display. X
To cancel the procedure: press the �8
button on the multifunction steering wheel or
pull away.
or168
Driving systems
Driving and parking
Page 186 of 334
given when a vehicle enters the blind spot mon-
itoring range from behind or from the side. When
you overtake a vehicle, the warning only occurs
if the difference in speed is less than 7 mph
(12 km/h).
The yellow indicator lamp goes out if reverse
gear is engaged. Active Blind Spot Assist is not
operational.
The brightness of the warning lamps is auto-
matically adapted to the brightness of the sur-
roundings.
Visual and acoustic collision warning If you switch on the turn signals to change lanes
and a vehicle is detected in the side monitoring
range, you receive a visual and acoustic collision
warning. You then hear a double warning tone
and red warning lamp �C flashes. If the turn sig-
nal remains on, detected vehicles are indicated
by the flashing of red warning lamp �C . There are
no further warning tones.
Course-correcting brake application If Active Blind Spot Assist detects a risk of a lat-
eral collision in the monitoring range, a course-
correcting brake application is carried out. This
is meant to assist you in avoiding a collision.
G WARNING
A course-correcting brake application cannot
always prevent a collision. There is a risk of an
accident.
Always steer, brake or accelerate yourself,
especially if Active Blind Spot Assist warns
you or makes a course-correcting brake appli-
cation. Always maintain a safe distance at the
sides.
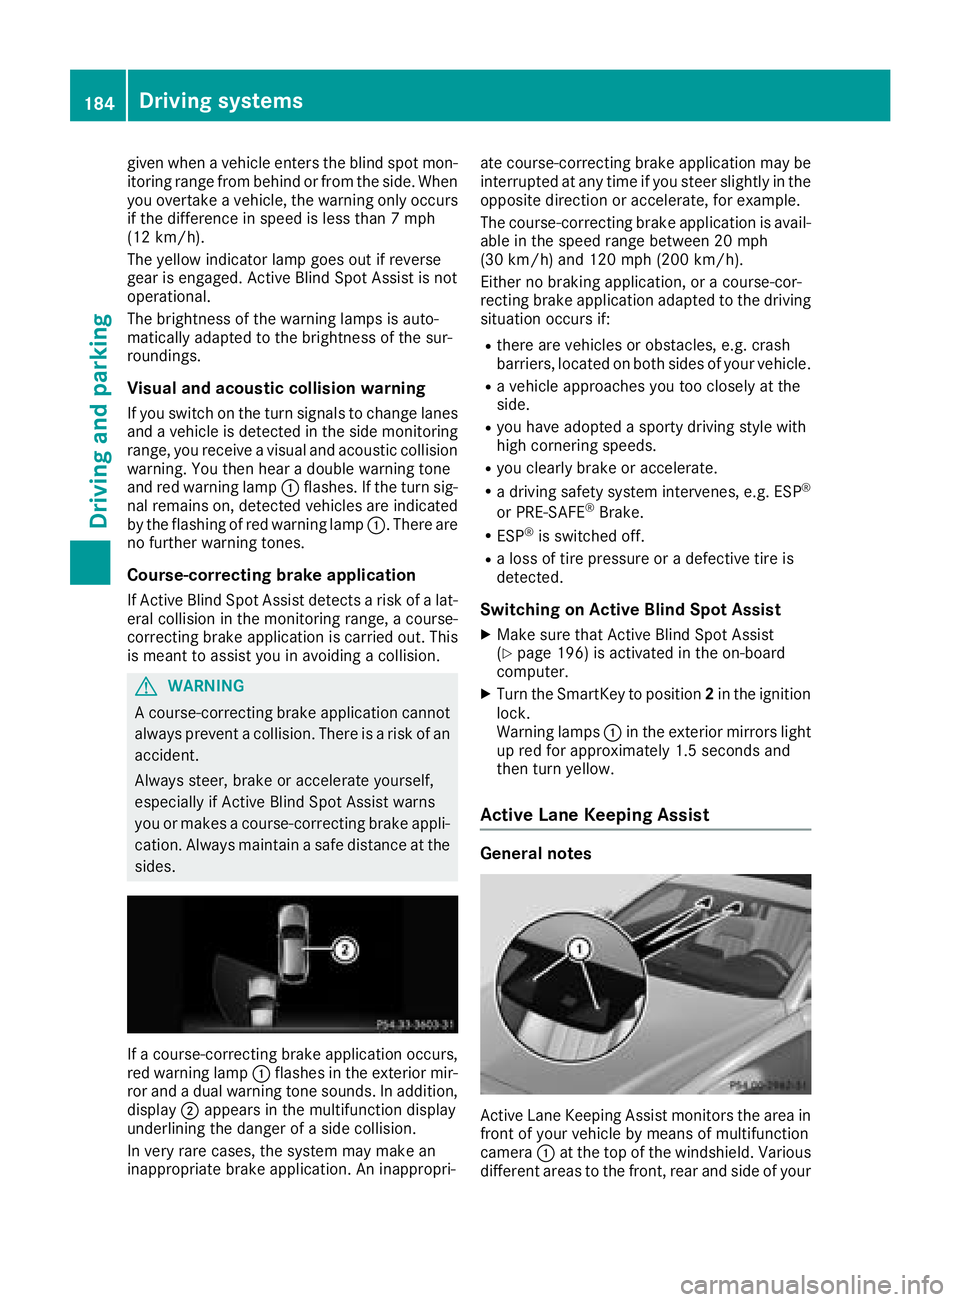
If a course-correcting brake application occurs,
red warning lamp �C flashes in the exterior mir-
ror and a dual warning tone sounds. In addition,
display �D appears in the multifunction display
underlining the danger of a side collision.
In very rare cases, the system may make an
inappropriate brake application. An inappropri- ate course-correcting brake application may be
interrupted at any time if you steer slightly in the
opposite direction or accelerate, for example.
The course-correcting brake application is avail-
able in the speed range between 20 mph
(30 km/h) and 120 mph (200 km/h).
Either no braking application, or a course-cor-
recting brake application adapted to the driving
situation occurs if: R
there are vehicles or obstacles, e.g. crash
barriers, located on both sides of your vehicle. R
a vehicle approaches you too closely at the
side. R
you have adopted a sporty driving style with
high cornering speeds. R
you clearly brake or accelerate. R
a driving safety system intervenes, e.g. ESP ®
or PRE-SAFE ®
Brake. R
ESP ®
is switched off. R
a loss of tire pressure or a defective tire is
detected.
Switching on Active Blind Spot Assist X
Make sure that Active Blind Spot Assist
( Y
page 196) is activated in the on-board
computer. X
Turn the SmartKey to position 2 in the ignition
lock.
Warning lamps �C in the exterior mirrors light
up red for approximately 1.5 seconds and
then turn yellow.
Active Lane Keeping Assist
General notes
Active Lane Keeping Assist monitors the area in
front of your vehicle by means of multifunction
camera �C at the top of the windshield. Various
different areas to the front, rear and side of your184
Driving systems
Driving and parking