2018 MERCEDES-BENZ AMG GT ROADSTER reset
[x] Cancel search: resetPage 107 of 174
Displaying sub-entry information
XCall up theaddress boo k (Ypage 102).
XSelectan entry: turn and press th econtroller .
The details fo rth econtact are displayed.
XTo highlight th edesire dentry: turn th econ-
troller.
XTo selec tG: slide9 thecontroller .
XTo selectDetail s:turn and press th econ-
troller.
The display is shown in full .
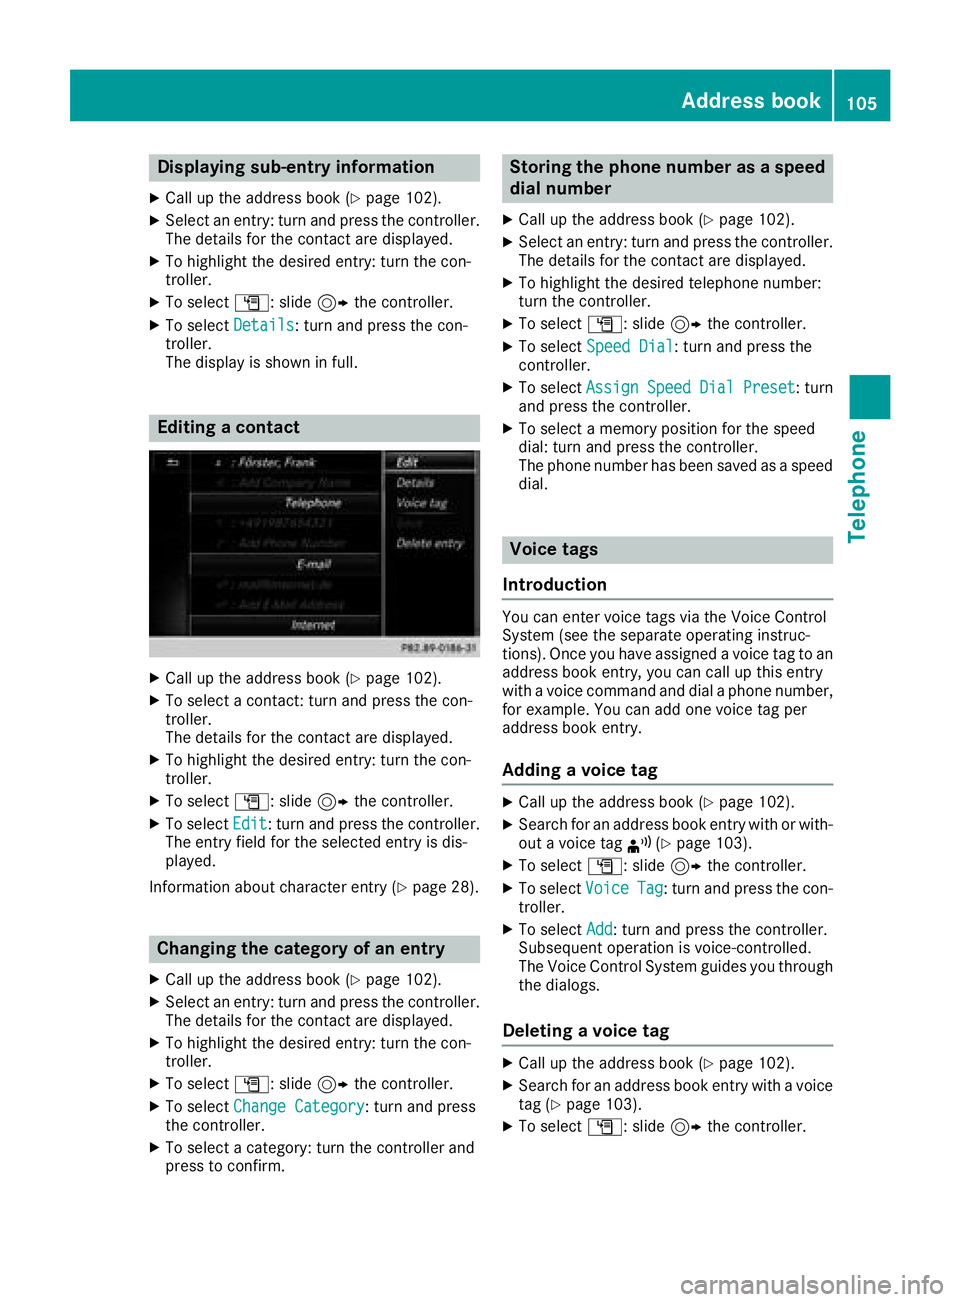
Editingacontact
XCall up th eaddress boo k (Ypage 102).
XTo select acontact :turn and press th econ-
troller.
The details fo rth econtact are displayed.
XTo highlight th edesire dentry: turn th econ-
troller.
XTo selec tG: slide9 thecontroller .
XTo selectEdi t:turn and press th econtroller .
The entr yfield fo rth eselecte dentr yis dis -
played.
Information about characte rentr y (
Ypage 28).
Changin gth ecategor yof an entry
XCall up th eaddress boo k (Ypage 102).
XSelectan entry: turn and press th econtroller .
The details fo rth econtact are displayed.
XTo highlight th edesire dentry: turn th econ-
troller.
XTo selec tG: slide9 thecontroller .
XTo selectChange Category:turn and press
th econtroller .
XTo select acategory: turn th econtroller and
press to confirm .
Storing thephone number as aspeed
dial number
XCall up th eaddress boo k (Ypage 102).
XSelectan entry: turn and press th econtroller .
The details fo rth econtact are displayed.
XTo highlight th edesire dtelephon enumber :
turn th econtroller .
XTo selectG: slide9 thecontroller .
XTo selectSpeed Dia l:turn and press th e
controller .
XTo selectAssignSpeedDia lPreset:turn
and press th econtroller .
XTo select amemor yposition fo rth espeed
dial: turn and press th econtroller .
The phone number has bee nsaved as aspeed
dial.
Voice tags
Introduction
You can ente rvoic etags via th eVoice Control
Syste m(se eth eseparat eoperatin ginstruc -
tions). Once you hav eassigned avoic eta gto an
address boo kentry, you can cal lup this entr y
wit h a voic ecommand and dial aphone number ,
fo rexample. You can add on evoic eta gper
address boo kentry.
Adding avoice ta g
XCall up th eaddress boo k (Ypage 102).
XSearchfo ran address boo kentr ywit hor with-
out avoic eta g¦ (Ypage 103).
XTo selec tG: slide9 thecontroller .
XTo selectVoiceTag:turn and press th econ-
troller.
XTo selec tAdd:turn and press th econtroller .
Subsequen toperation is voice-controlled .
The Voice Control Syste mguides you through
th edialogs.
Deleting avoice ta g
XCall up th eaddress boo k (Ypage 102).
XSearchfo ran address boo kentr ywit h a voic e
ta g (Ypage 103).
XTo selec tG: slide9 thecontroller .
Address book105
Telephone
Z
Page 112 of 174
Overwriting an entry
XTo selectYes: turn and press the controller.
A list of the existing five numbers is displayed.
XTo select the number to be overwritten from
the list: turn the controller and press to con-
firm.
The entry is overwritten with the new tele-
phone number.
Canceling the overwriting of an entry
XTo select No: turn and press the controller.
The process is canceled.
Deleting call lists
Call lists which are generated and managed by
the multimedia system can be deleted in the
multimedia system.
You cannot delete call lists from the multimedia
system which are displayed on a mobile phone
that supports the PBAP Bluetooth
®.
XTo show the main function bar: slide 5the
controller.
XTo select Phone: turn and press the controller.
The telephone menu is displayed.
XTo switch to the menu bar: slide 6the con-
troller.
XTo select Call Lists: turn and press the
controller.
XSelect Delete Call Lists.
A prompt appears asking whether you wish to
delete all call lists.
XTo select Yes: turn and press the controller.
The call lists are deleted.
iIf you delete call lists from the mobile phone
(see the manufacturer's operating instruc-
tions), the multimedia system updates the
call list display the next time it connects.
Speed dial lists
Setting up
XTo show the main function bar: slide 5the
controller.
XTo select Phone: turn and press the controller.
The telephone menu is displayed.
XTo call up the menu bar: slide 6the con-
troller.
XTo select Call Lists: turn and press the
controller.
XSelect Speed Dial Preset List.
The speed dial list is displayed.
XTo highlight a memory position for the speed
dial: turn the controller.
If you highlight an entry that already exists in the speed dial list, this is overwritten with the
new entry.
XTo select G: slide 9the controller.
XSelect Assign Speed Dial Preset.
The phone book is displayed.
XSearch for a contact (Ypage 100).
XTo select a contact: turn and press the con-
troller.
The phone number has been saved as a speed
dial.
Deleting
Deleting a speed dial preset
XTo show the main function bar: slide 5the
controller.
XTo select Phone: turn and press the controller.
The telephone menu is displayed.
XTo call up the menu bar: slide 6the con-
troller.
XTo select Call Lists: turn and press the
controller.
XSelect Speed Dial Preset List.
The speed dial list is displayed.
XTo highlight the memory position you want to
delete: turn the controller.
XTo select G: slide 9the controller.
XTo select DeleteSpeedDialPreset: turn
and press the controller.
XTo select Yes: turn and press the controller.
The speed dial preset has been deleted.
Deleting all speed dial presets
XTo show the main function bar: slide 5the
controller.
XTo select Phone: turn and press the controller.
The telephone menu is displayed.
XTo call up the menu bar: slide 6the con-
troller.
XTo select Call Lists: turn and press the
controller.
110Speed dial lists
Telephone
Page 113 of 174
XSelectSpeed Dial Preset List.
The speed dial list is displayed.
XTo select G: slide 9the controller.
XTo select Delete All Speed Dial Pre‐sets: turn and press the controller.
XTo selectYes: turn and press the controller.
All speed dials are deleted.
Messages
General notes
New messages are identified by the /sym-
bol in the display of the multimedia system and
an audible signal. Once you have read all the
messages, the symbol is no longer displayed.
The multimedia system displays the 100 newest
text messages and e-mails.
The ú symbol is displayed when the mobile
phone's message memory is full. The symbol is
no longer displayed if you delete messages on
the mobile phone.
Function restrictions
Text messages cannot be written while the vehi-
cle is in motion.
Requirements
To use the message functions, the connected
mobile phone must support the MAP Bluetooth®
profile. The prompt for the MAP Bluetooth®pro-
file may have to be confirmed on the mobile
phone.
With some mobile phones, some settings still
have to be made after connecting to the multi-
media system (see the manufacturer's operat-
ing instructions). The messages are then dis-
played the next time you connect to the multi-
media system.
An e-mail account must be set up on the mobile
phone for the e-mail function (see the manufac-
turer’s operating instructions).
To read and write e-mails in the multimedia sys- tem, the e-mail account first needs to be con-
figured (
Ypage 112). Some mobile phones with the MAP Bluetooth
®
profile:
Ronly show new text messages
Rdo not support the deleting or editing of text
messages
Rdo not support the drafts folder for text mes-
sages
Rdo not support the sending of text messages
Rdo not support the e-mail function
Rdo not send messages when in a locked sta-
tus
Not all mobile phones available on the market
are equally suitable. Further information about
settings and supported functions of Bluetooth
®-
capable mobile phones can be found on the
Internet at
http://www.mercedes-benz.com/connect .
Or call the Mercedes-Benz Customer Assistance
Center at 1-800-FOR-MERCedes
(1-800-367-6372) (
for the USA) or Customer
Relations at 1-800-387-0100 (for Canada).
Settings
Calling up the settings menu for mes-
sages
XTo show the main function bar: slide 5the
controller.
XTo select Phone: turn and press the controller.
The telephone menu is displayed.
XTo switch to the menu bar: slide 6the con-
troller.
XTo select 1: turn and press the controller.
The message menu is displayed.
XTo switch to the menu bar: slide 6the con-
troller.
XTo select Settings: turn and press the con-
troller.
The text message settings and the available e-
mail accounts of the connected mobile phone
will be displayed.
Configuring the text messages dis-
played
XCall up the settings menu for messages
(Ypage 111).
XTo highlight Text Message: turn the control-
ler.
Messages111
Telephone
Z
Page 124 of 174
now no longer be used by the system for
Internet functions.
Setting automatic disconnection of
the Internet connection
If a preset time has elapsed during which the
Internet functions have not been used, the Inter-
net automatically disconnects.
XCall up the device list (Ypage 121).
XTo highlight the desired mobile phone in the
device list: turn the controller.
XTo selectG: slide 9the controller.
XTo select Disconnect AutomaticallyWhen Inactive: turn and press the control-
ler.
XTo select 5 Minutes,10 Minutesor 20Minutes: turn and press the controller.
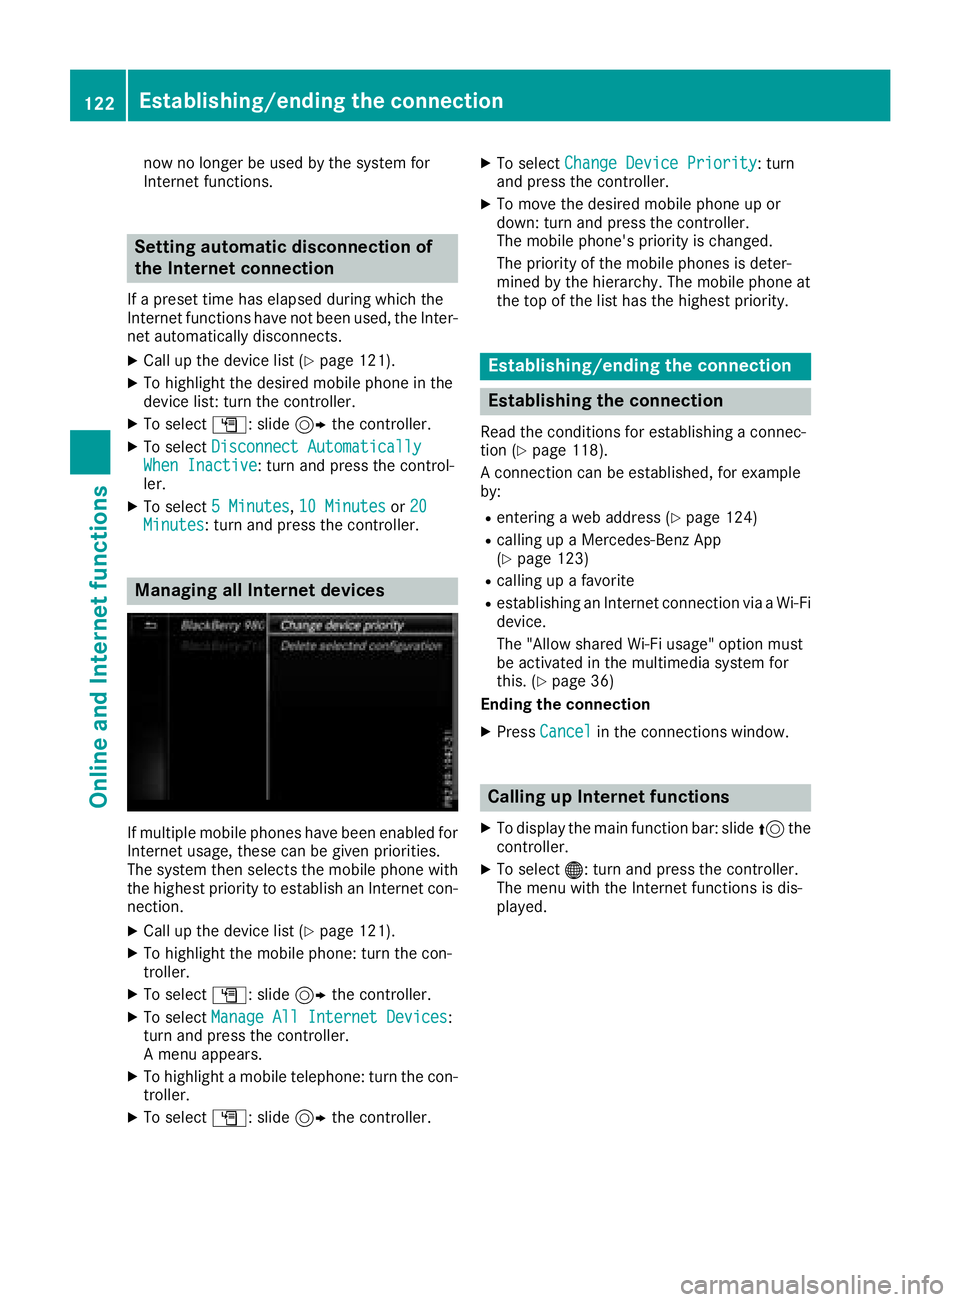
Managing all Internet devices
If multiple mobile phones have been enabled for
Internet usage, these can be given priorities.
The system then selects the mobile phone with
the highest priority to establish an Internet con-
nection.
XCall up the device list (Ypage 121).
XTo highlight the mobile phone: turn the con-
troller.
XTo select G: slide 9the controller.
XTo select Manage All Internet Devices:
turn and press the controller.
A menu appears.
XTo highlight a mobile telephone: turn the con-
troller.
XTo select G: slide 9the controller.
XTo select Change Device Priority: turn
and press the controller.
XTo move the desired mobile phone up or
down: turn and press the controller.
The mobile phone's priority is changed.
The priority of the mobile phones is deter-
mined by the hierarchy. The mobile phone at
the top of the list has the highest priority.
Establishing/ending the connection
Establishing the connection
Read the conditions for establishing a connec-
tion (Ypage 118).
A connection can be established, for example
by:
Rentering a web address (Ypage 124)
Rcalling up a Mercedes-Benz App
(Ypage 123)
Rcalling up a favorite
Restablishing an Internet connection via a Wi-Fi
device.
The "Allow shared Wi-Fi usage" option must
be activated in the multimedia system for
this. (
Ypage 36)
Ending the connection
XPress Cancelin the connections window.
Calling up Internet functions
XTo display the main function bar: slide 5the
controller.
XTo select ®: turn and press the controller.
The menu with the Internet functions is dis-
played.
122Establishing/ending the connection
Online and Internet functions
Page 129 of 174
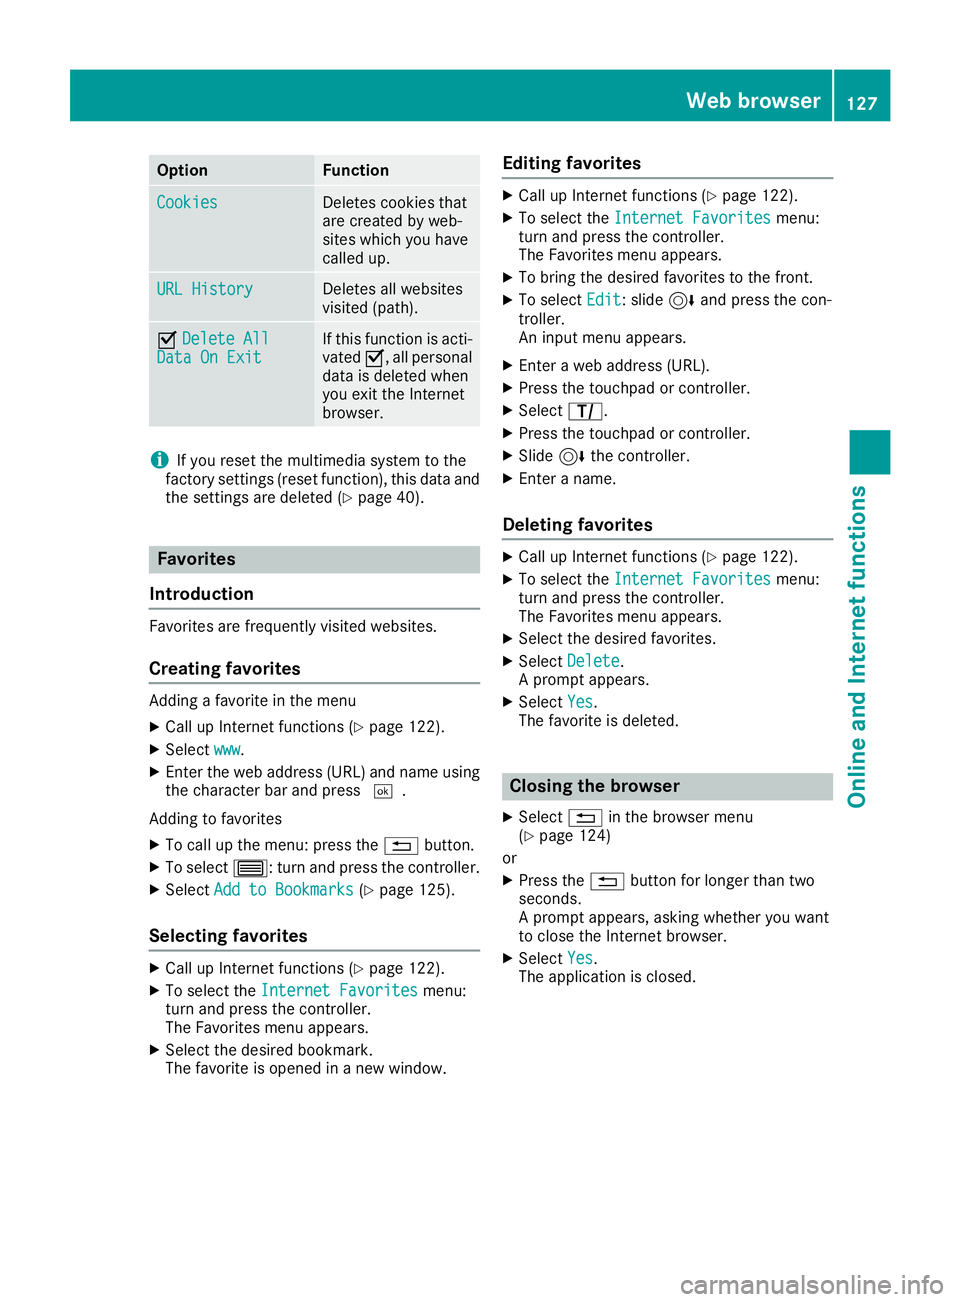
OptionFunction
CookiesDeletes cookies that
are created by web-
sites which you have
called up.
URL HistoryDeletes all websites
visited (path).
ODelete AllData On ExitIf this function is acti-
vated O, all personal
data is deleted when
you exit the Internet
browser.
iIf you reset the multimedia system to the
factory settings (reset function), this data and
the settings are deleted (
Ypage 40).
Favorites
Introduction
Favorites are frequently visited websites.
Creating favorites
Adding a favorite in the menu
XCall up Internet functions (Ypage 122).
XSelect www.
XEnter the web address (URL) and name using
the character bar and press ¬.
Adding to favorites
XTo call up the menu: press the %button.
XTo select 3: turn and press the controller.
XSelectAdd to Bookmarks(Ypage 125).
Selecting favorites
XCall up Internet functions (Ypage 122).
XTo select the Internet Favoritesmenu:
turn and press the controller.
The Favorites menu appears.
XSelect the desired bookmark.
The favorite is opened in a new window.
Editing favorites
XCall up Internet functions (Ypage 122).
XTo select the Internet Favoritesmenu:
turn and press the controller.
The Favorites menu appears.
XTo bring the desired favorites to the front.
XTo select Edit: slide6and press the con-
troller.
An input menu appears.
XEnter a web address (URL).
XPress the touchpad or controller.
XSelect p.
XPress the touchpad or controller.
XSlide6the controller.
XEnter a name.
Deleting favorites
XCall up Internet functions (Ypage 122).
XTo select the Internet Favoritesmenu:
turn and press the controller.
The Favorites menu appears.
XSelect the desired favorites.
XSelect Delete.
A prompt appears.
XSelect Yes.
The favorite is deleted.
Closing the browser
XSelect %in the browser menu
(Ypage 124)
or
XPress the %button for longer than two
seconds.
A prompt appears, asking whether you want
to close the Internet browser.
XSelect Yes.
The application is closed.
Web browser127
Online and Internet functions
Z
Page 130 of 174

Your multimediasyste mequipment
These operatin ginstruction sdescribe all th e
standar dan doptional equipment of your multi-
media system, as available at th etime of going
to press. Country-specifi cdifference sare pos -
sible. Bear in min dthat your vehicle may no t
feature all function sdescribed here. Thi salso
applies to safety-relevan tsystems an dfunc-
tions.
Read th einformation on qualifie dspecialis t
workshop sin th evehicle Operator's Manual.
Switchin gon th eradi o
XTo display th emain function bar :slid e5 the
controller .
XTo selectRadio:turn an dpress th econtroller .
The Radio men uappears .You will hear th e
last station set on th ewaveban dselecte d
last .
Switching HD Radi oon/of f
XIn radio mode: slid e6 thecontroller .
XTo selectOption s:turn an dpress th econ-
troller.
XSwitch HD RadioonO or of fª .
If HD
Radiois switched off, th esyste mdoe sno t
switch to digita lradio an dit is no tpossible to
selec tan ysub-channels.
iHD Radio ™an dth eHD ,HD Radio ,an d“Arc ”
logos are proprietary trademark sof iBiquit y
Digital Corp.
Overview
:Main function bar
;Status bar wit hcompass display
=Main display field wit havailable station san d
relevant information
?Display of radio station selecte d
ARadio menubar
Th efollowin gfunctions ar eavailable using
th eradi omain function bar:
RHD Radi oFM:HD FM radio mode
RHD Radi oAM:HD MW radio mode
RSa tRadi o:satellite radio
RRadio Statio nPreset s:10 0preset posi-
tion sfo rradio station s
RInfo on Radi o:information on radio in th e
Digital Operator's Manual
Th efollowin gfunctions ar eavailable using
th eradi omenu bar:
ROption s:radio option s
Rè:searches fo rstation sby name
RPreset:station preset smen u
RBand:waveban dselection
RInfo:displays additional information about
th ecurren tstation (radio text )
Rà:sound setting s
128Overview
Radio
Page 131 of 174
Setting the waveband
Using the main function bar
XIn radio mode: slide5the controller.
The radio main function bar and menu bar
appear. Radio
is active.
XPress the controller.
A menu appears with a selection of HD
RadioFM,HDRadioAM,SatRadio,RadioStation Presetsand Info on Radio.
XTo select the desired waveband: turn and
press the controller.
Using the menu bar
XIn radio mode: slide 6the controller.
The radio menu bar appears.
XTo select Band: turn and press the controller.
A menu appears with a selection of HD
Radio FM,HD Radio AMand Sat Radio.
XTo select the desired waveband: turn and
press the controller.
Station
Selecting a station
Setting a station from the main display
field
All currently available stations are displayed.
XIn radio mode, turn the controller until the
desired station is in the center.
Setting a station from the current sta-
tion list
iThe station list is available in HD FM radio
mode or HD AM radio mode. It includes all
stations that can be received.
XIn radio mode, press the controller.
The station list appears with the stations cur-
rently available.
XTo select the desired station: turn and press
the controller.
Entering the station frequency
XIn radio mode: slide 6the controller.
The radio menu bar appears.
XTo select Options: turn and press the con-
troller.
XSelect Direct Entry.
An additional menu appears.
HD FM radio mode:
XTo select the HDFM Frequencyoption: turn
and press the controller.
XEnter the frequency of the desired station in
the entry field.
HD MW radio mode:
XTo select the HDAM Frequencyoption: turn
and press the controller.
XEnter the frequency of the desired station in
the entry field.
Satellite radio operation
XTo select the SatRadioChanneloption: turn
and press the controller.
XEnter the number of the desired channel in
the entry field.
Station presets:
XTo select the Radio Station Presetsoption: turn and press the controller.
XEnter the station preset of the desired station.
Finding a station
XIn radio mode: slide 6the controller.
The radio menu bar appears.
XSelect èand enter the first letters of the
required station using the controller.
XPress OKto confirm.
The multimedia system displays a list of avail-
able stations.
XTo select stations from the list: turn the con-
troller and press to confirm.
Entering a preset
XIn radio mode: slide 6the controller.
XTo select Preset: turn and press the control-
ler.
XTo select Enter Preset: turn and press the
controller.
XEnter the station preset of the desired station.
Station129
Radio
Page 132 of 174
Station list
XIn radio mode, press the controller.
The station list appears with the stations cur-
rently available.
Saving a station
Storing current stations
XIn radio mode: slide6the controller.
The radio menu bar appears.
XTo select Preset: press the controller.
XTo select the SaveCurrentStation/Chan‐neloption: turn and press the controller.
XTo select the position of the required preset
entry: turn and press the controller.
The currently set station is stored in the selec-
ted preset position. A tone signals a success-
ful preset entry.
Storing a station using the controller
XSet the desired station in radio mode.
XPress and hold the controller until the preset
list appears.
XTo select the preset number: turn and press
the controller.
iFrequencies have already been stored in the
multimedia system. There are 100 preset
positions available.
Moving highlighted stations
XIn radio mode: slide 6the controller.
The radio menu bar appears.
XTo select Preset: press the controller.
XSelectEdit Station Preset.
XTo select the required preset entry: turn the
controller.
XSlide9the controller.
An additional menu appears.
XTo select Move Highlighted Station/Channel: turn and press the controller.
The list of stored stations appears again.
XTo move the highlighted station to the new
position: turn the controller and press to con-
firm.
Deleting highlighted stations
XIn radio mode: slide 6the controller.
The radio menu bar appears.
XTo select Preset: turn and press the control-
ler.
XSelect Edit Station Preset.
XTo select the required preset entry: turn the
controller.
XSlide9the controller.
XTo select Delete Highlighted Station/Channel: turn and press the controller.
XTo selectYes: turn and press the controller.
The highlighted station is deleted.
Activating/deactivating the station
presets display
You can use this function to change to the sta-
tion presets display.
Activating
XIn radio mode: slide 6the controller.
XTo select Preset: turn and press the control-
ler.
XTo select Station Preset View: On: turn
and press the controller.
The station preset display appears.
XTo switch between the stored stations: turn
the controller.
Deactivating
XIn radio mode: slide 6the controller.
XTo select Preset: turn and press the control-
ler.
XTo select StationPresetView:Off: turn
and press the controller.
The view of the last heard waveband appears.
Tagging music tracks
If an Apple®device is connected, the music
tracks and artist displayed in the radio text can be stored. You have the option of purchasing
this track using iTunes Store
®. Not all radio sta-
tions support this function.
130Tagging music tracks
Radio