2018 MERCEDES-BENZ AMG GT COUPE phone
[x] Cancel search: phonePage 276 of 465

Setting Internet
radio options
Multimedia sy stem:
4 Radio 5
Þ Radio source
5 TuneIn radio 5
Z Options
The following options are available:
R Select stream : selectthest re am qualit y.
R Login to TuneIn account: log in to your
Tu neIn user account.
R Log out of account : log out ofyour TuneIn
user account. #
Select an option. Media
Au
dio mode In
fo rm ation on the audio mode &
WARNING Risk of di stra ction when han‐
dling da tastorage media
If yo u handle a data storage medium while
driving, your attention is diver ted from the traf
fic conditions. This could also cause you
to lose control of theve hicle. #
Only handle a data storage medium
when theve hicle is stationar y. Pe
rm issible file sy stems:
R FAT32
R exFAT
R NTFS
Pe rm issible data storage medium:
R SD card
R USB storage device
R iPod ®
/iPhone ®
R MTP devices
R Blue tooth ®
audio equipment
% Obse rveth efo llowing no tes:
R The multimedia sy stem supports a total
of up to50,000 files.
R Data storage media up to2 TB are sup‐
por ted (32‑bit address space). Suppor
tedfo rm ats:
R MP3
R WMA
R AAC
R WAV
R FLAC
R ALAC
% Obser vethefo llowing no tes:
R Due tothe lar gevariet y of available
music files rega rding encoders, sampling
ra tes and data rates, playback cannot
alw ays be guaranteed.
R Due tothe wide range of USB devices
av ailable on the mar ket, pl ayback cann ot
be guaranteed for all USB devices.
R Cop y-pr otected music files or DRM
enc rypte dfiles cannot be pla yed bac k.
R MP3 pla yers must support Media Trans‐
fe r Pr otocol (MTP). Multimedia sy
stem 273
Page 283 of 465
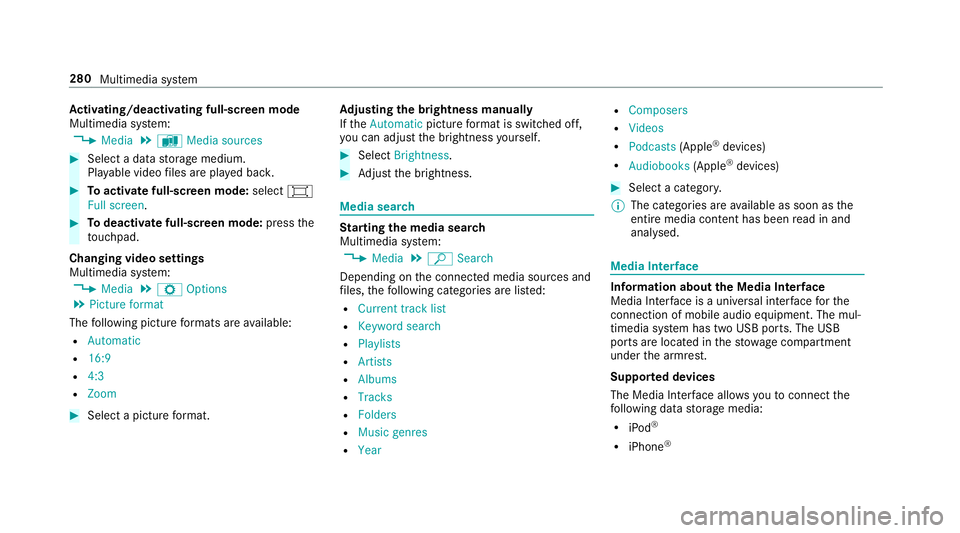
Ac
tivating/deactivating full-screen mode
Multimedia sy stem:
4 Media 5
à Media sources #
Select a data storage medium.
Pla yable video files are pla yed bac k. #
Toactivate full-screen mode: select#
Full screen. #
Todeactivate full-sc reen mode: pressthe
to uchpad.
Changing video settings
Multimedia sy stem:
4 Media 5
Z Options
5 Picture format
The following picture form ats are available:
R Automatic
R 16:9
R 4:3
R Zoom #
Select a picture form at. Ad
justing the brightness manually
If th eAutomatic pictureform at is swit ched off,
yo u can adjust the brightness yourself. #
Select Brightness. #
Adjust the brightness. Media sear
ch St
arting the media sear ch
Multimedia sy stem:
4 Media 5
ª Search
Depending on the connected media sources and
fi les, thefo llowing categories are lis ted:
R Current track list
R Keyword search
R Playlists
R Artists
R Albums
R Tracks
R Folders
R Music genres
R Year R
Composers
R Videos
R Podcasts (Apple®
devices)
R Audiobooks (Apple®
devices) #
Select a categor y.
% The categories are available as soon as the
entire media conte nt has beenread in and
anal ysed. Media Inter
face Information about
the Media Inter face
Media In terface is a universal inter face forthe
connection of mobile audio equipment. The mul‐
timedia sy stem has two USB ports. The USB
ports are located in thestow age compartment
under the armrest.
Suppor ted devices
The Media Inter face allo wsyouto connect the
fo llowing data storage media:
R iPod ®
R iPhone ® 280
Multimedia sy stem
Page 288 of 465
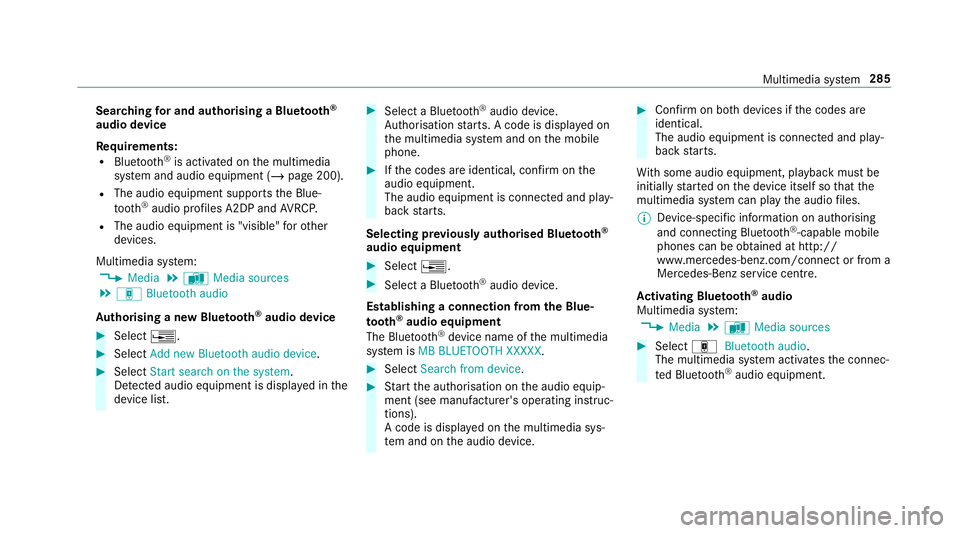
Sear
ching for and authorising a Blue tooth ®
audio device
Requ irements:
R Blue tooth ®
is activated on the multimedia
sy stem and audio equipment (/ page 200).
R The audio equipment supports the Blue‐
to oth ®
audio profiles A2DP and AVRC P.
R The audio equipment is "visible" forot her
devices.
Multimedia sy stem:
4 Media 5
à Media sources
5 á Bluetooth audio
Au thorising a new Blu etoo th®
audio device #
Select ¥. #
Select Add new Bluetooth audio device. #
Select Start search on the system .
De tected audio equipment is displ ayed in the
device list. #
Select a Blue tooth®
audio device.
Auth orisation starts. A code is displa yed on
th e multimedia sy stem and on the mobile
phone. #
Ifth e codes are identical, confi rmonthe
audio equipment.
The audio equipment is connec ted and play‐
back starts.
Selecting pr eviously authorised Blue tooth ®
audio equipment #
Select ¥. #
Select a Blue tooth®
audio device.
Establishing a connection from the Blue‐
to oth ®
audio equipment
The Blue tooth®
device name of the multimedia
sy stem is MB BLUETOOTH XXXXX. #
Select Search from device. #
Start the authorisation on the audio equip‐
ment (see manufacturer's operating instruc‐
tions).
A code is displa yed on the multimedia sys‐
te m and on the audio device. #
Confirm on bo thdevices if the codes are
identical.
The audio equipment is connected and play‐
back starts.
Wi th some audio equipment, playback must be
initially star ted on the device itself so that the
multimedia sy stem can play the audio files.
% Device-specific information on authorising
and connecting Blue tooth®
-capable mobile
phones can be ob tained at http://
www.me rcedes-benz.com/connect or from a
Mercedes-Benz service cent re.
Ac tivating Blue tooth ®
audio
Multimedia sy stem:
4 Media 5
à Media sources #
Select áBluetooth audio.
The multimedia sy stem activates the connec‐
te d Blue tooth®
audio equipment. Multimedia sy
stem 285
Page 289 of 465

Selecting
the media pla yer on the Blue tooth ®
audio device
Multimedia sy stem:
4 Media 5
ª #
Select theBluetooth audio players category.
If multiple media pla yers are present on the
Blu etoo th®
audio equipment a list appears. #
Select a media pla yer.
Playback starts.
% The function is not suppo rted byeve ry
mobile phone.
Sear ching for a music track on the Blue‐
to oth ®
audio device
Multimedia sy stem:
4 Media 5
à Media sources
5 á Bluetooth audio #
Select ª. #
Select a categor y.
A track li stappears. #
Select a trac k.
% The function is only available when the
mobile phone and the media pla yer selected
on the mobile phone support this function.
Disconnecting Blu etoo th®
audio equipment
Multimedia sy stem:
4 Telephone 5
á Media sources #
Select thei symbol in the line of the
mobile phone.
The disconnection of the mobile phone takes
place without a con firm ation prom pt. The
mobile phone remains auth orised inthe sys‐
te m. Ra
dio Switching on the
radio Multimedia sy
stem:
4 Radio #
Alternatively: press the$ button.
The radio display appears. You will hear the
last station pla yed on the last frequency
band selected. 286
Multimedia sy stem
Page 328 of 465
#
Pull away immediatel y. #
Stop driving af ter appro ximately ten minu tes
and check the tyre pressure using the tyre
inflation compressor.
The tyre pressure must now be at least
13 0 kPa (1.3 bar/19 psi). &
WARNING Risk of accident due tothe
specified tyre pressure not being ach‐
ie ved
If th e specified tyre pressure is not achie ved
af te r a brief drive, the tyre is too badly dam‐
aged. The tyre sealant cannot repair the tyre
in this ins tance.
Dama ged tyres and a tyre pressure that is
to o low can significantly impair braking and
handling characteristics. #
Do not drive on. #
Consult a qualified specialist workshop. Countries
that ha veMercedes-Benz
Service24h: you will find a sticke r with thete le‐
phone number, e.g. on the B‑pillar on the driver's
side. #
Cor rect the tyre pressure if it is still at least
13 0 kPa (1.3 bar/19 psi). See the tyre pres‐
sure table on the fuel filler flap forva lues. #
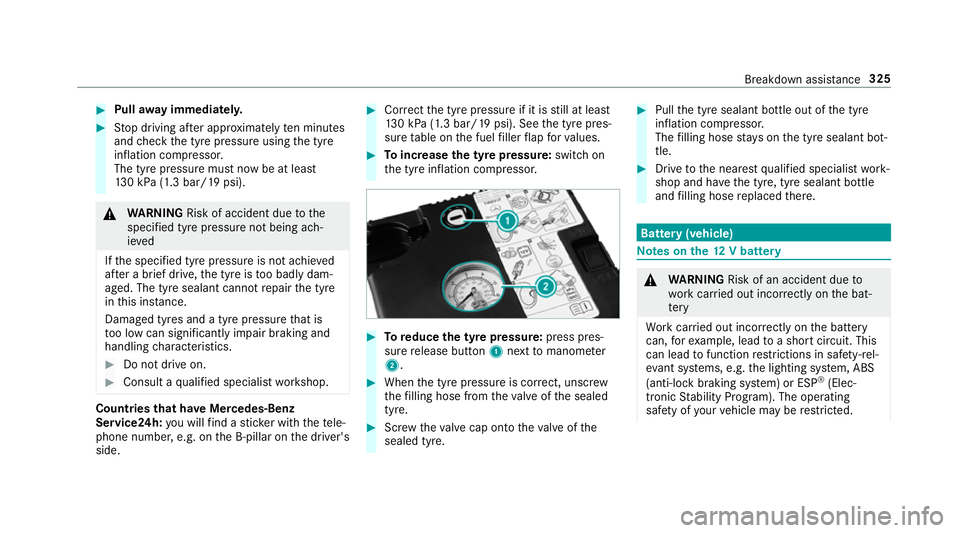
Toincrease the ty repressure: switch on
th e tyre inflation compressor. #
Toreduce the tyre pressure: press pres‐
su re re lease button 1next tomanome ter
2 . #
When the tyre pressure is cor rect, unscr ew
th efilling hose from theva lve of the sealed
tyre. #
Screw theva lve cap onto theva lve of the
sealed tyre. #
Pull the tyre sealant bottle out of the tyre
inflation compressor.
The filling hose stay s on the tyre sealant bot‐
tle. #
Drive tothe nearest qualified specialist work‐
shop and ha vethe tyre, tyre sealant bottle
and filling hose replaced there. Batte
ry(vehicle) Note
s onthe12 V battery &
WARNING Risk of an accident due to
wo rkcar ried out incor rectly on the bat‐
te ry
Wo rkcar ried out incor rectly on the battery
can, forex ample, lead toa short circuit. This
can lead tofunction restrictions in saf ety-re l‐
eva nt sy stems, e.g. the lighting sy stem, ABS
(anti-lock braking sy stem) or ESP ®
(Elec‐
tronic Stability Prog ram). The operating
saf ety of your vehicle may be restricted. Breakdown assis
tance 325
Page 395 of 465
Display messages
Possible causes/consequences and M
MSolutions
8 Reserve fuel level *T
he fuel supply has dropped into there ser verange. #
Refuel. Engine oil
Display messages
Possible causes/consequences and M
MSolutions
5 Engine oil level cannot be
measured *T
he electrical connection tothe oil le vel sensor has been inter rupte d or the oil le vel sensor is faulty. #
Consult a qualified specialist workshop.
4 Engine oil level Reduce oil
level *D
isplay message only for cer tain engines:
The engine oil le vel is too high.
* NO
TEEngine dama gecaused bydriving with excess engine oil #
Avoid long journe yswith excess engine oil. #
Consult a qualified specialist workshop immediately and ha vethe engine oil siphoned off. 392
Display messages and warning/indicator lamps
Page 431 of 465
AMG TR
ACKPA CE
Configuring .......................................... 211
Drag Race ............................................ 210
Gene ral information ............................ 208
Te lemetry display ................................ .211
Tr ack Race ........................................... 209
Android Auto ............................................ 256
Connecting a mobile phone ................. 256
Ending ................................................. 257
Information .......................................... 256
Overview ............................................. 256
Sound settings .................................... 257
Tr ans ferred vehicle data ......................2 57
Animals Pets in theve hicle ................................. 53
Anti-lock braking sy stem
see ABS (Anti-lock Braking Sy stem)
Anti-skid chains
see Snow chains
Anti-theft ala rmsystem
see ATA (anti-theft alarm sy stem)
Anti-theft pr otection
Ad ditional door lock .............................. 58
Immobiliser ...........................................70 Anti-theft pr
otection
see ATA (anti-theft alarm sy stem)
Anticipatory occupant pr otection
see PRE- SAFE®
(anticipatory occu‐
pant pr otection)
Apple CarPlay™ ....................................... 254
Connecting an iPhone ®
....................... 255
Ending .................................................2 55
No tes .................................................. 255
Overview ............................................. 254
Sound settings .................................... 255
Tr ans ferred vehicle data ......................2 57
Asht ray
Fr ont centre console ............................ .89
Assistance sy stems
see Driving saf ety sy stem
Assistant display Menu (on-board computer) .................. 16 8
ASS YST PLUS ........................................... 301
Battery disconnection pe riods .............3 02
Displ aying the service due date ........... 301
Fu nction/no tes ................................... 301
Re gular maintenance work .................. 301
Special service requirements .............. 301 ATA
(anti-theft ala rmsystem) .................. 70
Deactivating the alarm ........................... 71
Fu nction ................................................ 70
Fu nction of interior pr otection ............... 72
Priming/deactivating interior pr otec‐
tion ........................................................ 73
Priming/deactivating tow- aw ay pro‐
te ction ................................................... 72
To w- aw ay protection function ................71
AT TENTION ASSI ST.......................... 157, 15 8
Fu nction .............................................. 157
Setting ................................................. 15 8
Sy stem limitations ...............................1 57
At tention assistant
see ATTENTION ASSIST
Au dio mode
Connecting USB devices ..................... 277
Copyrights .......................................... .274
Information ..........................................2 73
Inserting/removing an SD card ........... 274
Media sear ch....................................... 280
Overview .............................................. 276
Pa use and playback function .............. .277
Selecting a track ................................. 277
Selecting pl ayback options .................. 277428
Index
Page 435 of 465
Secu
ring on the front passenger seat ....52
Child ren
Av oiding dangers in theve hicle .............42
Basic instructions .................................. 41
Chock ...................................................... .350
St orage location ..................................3 50
Cho ck
see Chock
CI+ module ............................................... 297
Calling up a menu ................................ 297
CI+ module (TV) Inserting a Smart Card ........................ 297
Cigar ette lighter
Fr ont centre console ............................. 90
Cleaning see Ca re
Climate control Activating/deactivating the A/C
function (cont rol panel) ...................... .104
Ac tivating/deactivating the A/C
function (multimedia sy stem) .............. 105
Ac tivating/deactivating the synchro‐
nisation function (cont rol panel) .......... 105Ac
tivating/deactivating the synchro‐
nisation function (multimedia sys‐
te m) ..................................................... 106
Air di stribution settings .......................1 05
Air-recirculation mode ......................... 106
Au tomatic control ................................ 105
Climate style function .......................... 105
Demi sting windo ws............................. 106
Fr ont air vents ..................................... 106
No te .................................................... 104
Setting the climate style ......................1 05
Switching on/off ................................. 104
THERMOTRONIC contro l panel ............104
Ve ntilating theve hicle (con venience
opening) ................................................ 68
Climate style
Fu nction .............................................. 105
Setting ................................................. 105
Cockpit ........................................................ .6
Overview .................................................6
Cof fee cup symbol
see ATTENTION ASSIST
Collapsible spare wheel .......................... 356
Inflating ............................................... 357 No
tes .................................................. 356
Re moving ............................................ 356
COMAND Online see Multimedia sy stem
COMAND Touch
Managing devices ................................ 202
Combination switch .................................. 94
Compass .................................................. 237
Compu ter
see On-board computer
Connection status
Displ aying ............................................ 268
Overview ............................................ .268
Connectivity Setting up a hotspot via business tel‐
ephony ................................................ .199
Switching transmission of theve hicle
position on/off .................................... 19 9
Contacts .................................................. .248
Calling up ............................................ 24 8
Del eting .............................................. .250
Downloading (from mobile phone) ....... 24 8
Importing ............................................. 24 9432
Index