2018 MERCEDES-BENZ AMG GT COUPE change time
[x] Cancel search: change timePage 93 of 174
On the mobile phone
XSwitch on the mobile phone and enter the PIN
when prompted to do so (see the manufac-
turer's operating instructions).
XActivate Bluetooth®and, if necessary, Blue-
tooth®visibility for other devices (see the
manufacturer's operating instructions).
This visibility is for restricted periods of time
on some mobile phones (see the manufactur-
er's operating instructions).
XSet the Bluetooth®device name for the
mobile phone if necessary.
The Bluetooth
®device names for all of one man-
ufacturer's products might be identical. To
make it possible to clearly identify your mobile
phone, change the device name (see the man-
ufacturer's operating instructions). The name
can be freely selected.
If the mobile phone supports the PBAP (Phone
Book Access Profile) and MAP (M essage
Access Profile) Bluetooth
®profiles, the follow-
ing information will be transmitted after you
connect:
RPhone book
RCall lists
RMessages
Further information on allowing or suppressing
the automatic download of the phone book
(
Ypage 106).
The battery of the mobile phone should always
be kept sufficiently charged in order to prevent
malfunctions.
iNot all mobile phones available on the mar-
ket are equally suitable. You can obtain fur-
ther information about suitable mobile
phones and about the connection between
the mobile phone and the multimedia system
on the Internet at http://www.mercedes-
benz.com/connect .
You can also obtain more information by call-
ing.
In the USA, you can get in touch with the
Mercedes-Benz Customer Assistance Center
on 1-800-FOR-MERCedes (1-800-367-6372).
In Canada, you can get in touch with the Cus-
tomer Relations Center on 1-800-387-0100.
iSome displays (e.g. the signal strength)
depend on the supported version of the
Hands-Free Profile.
Procedure and general information
Searching for and authorizing (connecting)
a mobile phone
Before using your mobile phone with the multi-
media system for the first time, you will need to search for the phone (
Ypage 92) and then
authorize it (Ypage 92). Depending on the
mobile phone, authorization either takes place
by means of Secure Simple Pairing or by enter-
ing a passkey. The multimedia system automat-
ically makes the procedure that is relevant for
your mobile phone available. You can recognize
Secure Simple Pairing by the fact that a code is
displayed on the mobile phone and on the mul-
timedia system. You can recognize the passkey
system by the fact that you have to enter a code
on the mobile phone and on the multimedia sys-
tem. The mobile phone is always connected
automatically after authorization.
If the multimedia system does not detect your
mobile phone, this may be due to particular
security settings on your mobile phone. You can
also start the search procedure and authoriza-
tion on the mobile phone (
Ypage 93).
Device-specific information on authorizing and
connecting Bluetooth
®-capable mobile phones
can be found on the Internet at http://
www.mercedes-benz.com/connect .
You can authorize up to 15 mobile phones. After authorization, the connection of the last two tel-
ephones used always functions automatically.
Only one mobile phone can be connected to the
multimedia system at any one time.
De-authorizing (disconnecting) a mobile
phone
The connection is terminated automatically if
you leave the receiver range of the multimedia
system or deactivate Bluetooth
®on your mobile
phone.
If you no longer want the Bluetooth
®connection
to be established automatically, the mobile
phone must be de-authorized (disconnected)
(
Ypage 94).
Connecting/disconnecting a mobile phone91
Telephone
Z
Page 102 of 174
Sym-
bolExplanation
ÃContact that was called up from a
mobile phone
¯Contact imported from the SD mem-
ory card or USB device
®Contact imported via the Bluetooth®
interface
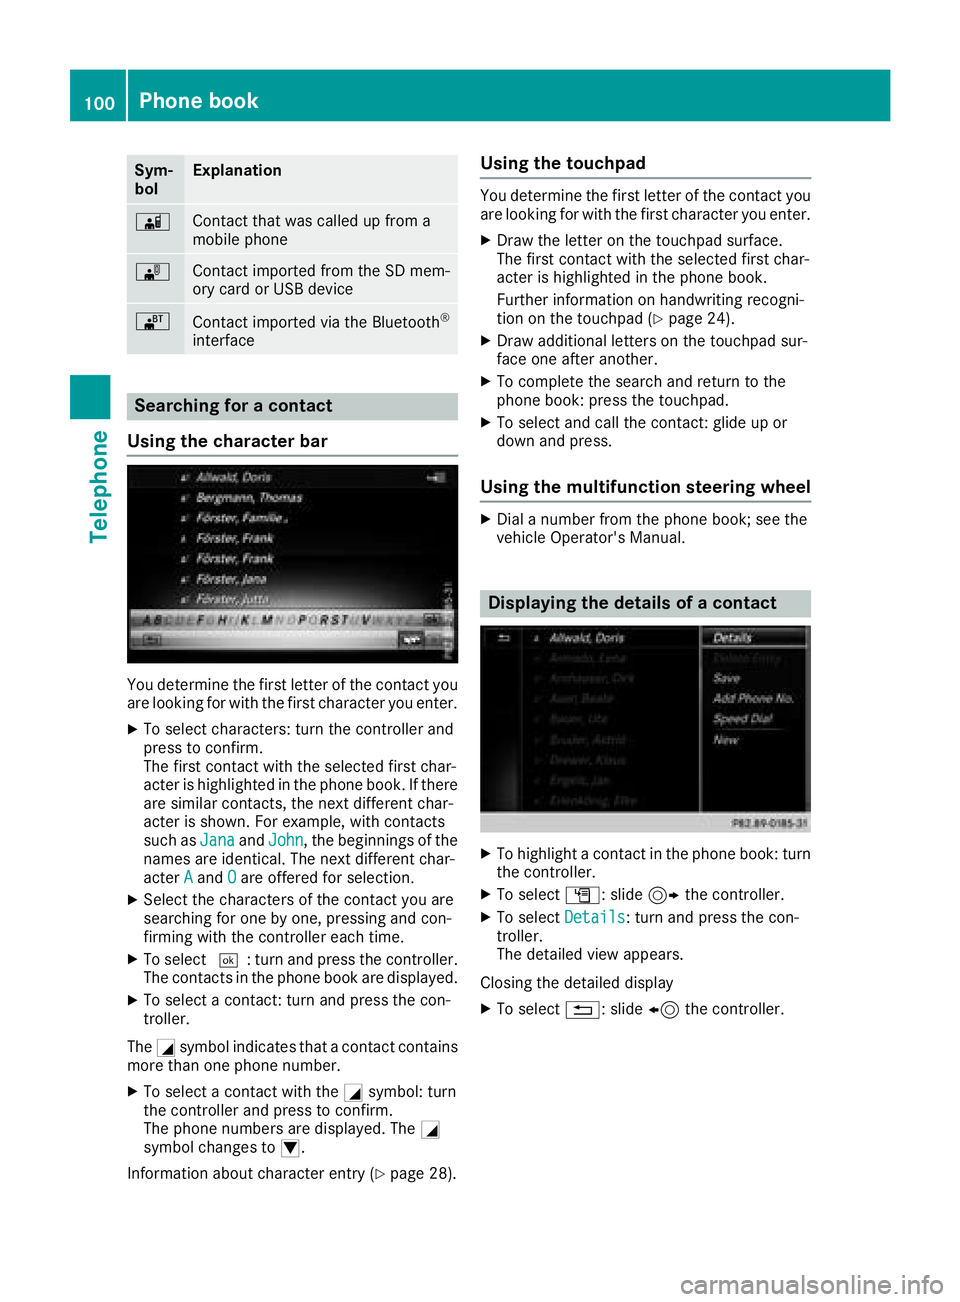
Searching for a contact
Using the character bar
You determine the first letter of the contact you
are looking for with the first character you enter.
XTo select characters: turn the controller and
press to confirm.
The first contact with the selected first char-
acter is highlighted in the phone book. If there
are similar contacts, the next different char-
acter is shown. For example, with contacts
such as Jana
andJohn, the beginnings of the
names are identical. The next different char-
acter A
andOare offered for selection.
XSelect the characters of the contact you are
searching for one by one, pressing and con-
firming with the controller each time.
XTo select ¬: turn and press the controller.
The contacts in the phone book are displayed.
XTo select a contact: turn and press the con-
troller.
The Gsymbol indicates that a contact contains
more than one phone number.
XTo select a contact with the Gsymbol: turn
the controller and press to confirm.
The phone numbers are displayed. The G
symbol changes to I.
Information about character entry (
Ypage 28).
Using the touchpad
You determine the first letter of the contact you
are looking for with the first character you enter.
XDraw the letter on the touchpad surface.
The first contact with the selected first char-
acter is highlighted in the phone book.
Further information on handwriting recogni-
tion on the touchpad (
Ypage 24).
XDraw additional letters on the touchpad sur-
face one after another.
XTo complete the search and return to the
phone book: press the touchpad.
XTo select and call the contact: glide up or
down and press.
Using the multifunction steering wheel
XDial a number from the phone book; see the
vehicle Operator's Manual.
Displaying the details of a contact
XTo highlight a contact in the phone book: turn
the controller.
XTo select G: slide 9the controller.
XTo select Details: turn and press the con-
troller.
The detailed view appears.
Closing the detailed display
XTo select %: slide 8the controller.
100Phone book
Telephone
Page 103 of 174

Adding a new contact
XSlide5thecontroller repeatedly in th e
phone book until th eselection list appears.
XTo select G:slide9 thecontroller .
XTo select New:tur nand press th econtroller .
XTo select acategory for th enumber ,e.g.
Hom e:tur nth econtroller and press to confirm .
XTo selectatelephon ecategory, e.g. MobilePhone:tur nth econtroller and press to con-
firm.
If you hav emarke d anumber as favored, it
appear sat th eto pof th elist and is highligh -
ted.
XTo select Continue:tur nand press th econ-
troller .
The input men uwit hinput lines is displayed.
XEnte rcharacters usin gth econtroller
(Ypage 28 )or th etouchpad (Ypage 24).
XTo finish and sav ean entry: select ¬.
The contact is created in th ephone book and
in th eaddress book .
Adding inform ation to a contact
You can addatelephon enumber to an existing
contact .
XTo highligh t acontact in th ephone book :tur n
th econtroller .
XTo select G:slide9 thecontroller .
XTo selectAddPhoneNo.:tur nand press th e
controller .
XTo select acategory for th enumber ,e.g.
Hom e:tur nth econtroller and press to confirm .
XTo selectatelephon ecategory, e.g. MobilePhone:tur nth econtroller and press to con-
firm. If you hav
emarke d anumber as favored, it
appear sat th eto pof th elist and is highligh -
ted.
XTo select Continue:tur nand press th econ-
troller .
An input lin eappears.
XEnte rth etelephon enumber .
XSelect¬.
A maximum of fiv eentries can be saved for on e
category.
If fiv enumber sare already store dfor th eentr y
you are searching for , aprompt will appear ask -
ing whether you wish to overwrit eon eof th e
existing numbers.
Overwriting an entry
XTo select Yes:tur nand press th econtroller .
A list of th eexisting fiv ephone number sis
displayed.
XTo select th enumber to be overwritte nfrom
th elist :tur nth econtroller and press to con-
firm.
The entr yfield for th ene wphone number is
displayed.
XEnte rcharacters usin gth econtroller
(Ypage 28 )or th etouchpad (Ypage 24).
Canceling th eoverwriting of an entry
XTo select No:tur nand press th econtroller .
The process is canceled.
Saving a contact
Saved contact sare indicated in th ephone book
by differen tsymbols (Ypage 99).
XSearchfor acontact on th emobile phone d
(Ypage 100).
XTo select G:slide9 thecontroller .
XTo selectSave:tur nand press th econtroller .
The contact has no wbeen saved. The contact
is identifie dby th e¥ symbol in th ephone
book .
iSaved contact sare also displayed in th e
address book .
Saving or editing th econtact dat ain th emul-
timedia system does no tchang eth econtact s
on th emobile phone .If automatic calling-up
of phone contact sis activated, th emultime -
dia system displays th ecopy ¥withth e
changed data.
Phone book101
Telephone
Z
Page 108 of 174
XTo selectVoiceTag: turn and press the con-
troller.
XTo select Delete: turn and press the control-
ler.
XTo select Yes: turn and press the controller.
The voice tag is deleted.
Listening to a voice tag
XSearch for an address book entry with a voice
tag (Ypage 103).
XTo select G: slide 9the controller.
XTo select VoiceTag: turn and press the con-
troller.
XTo select Listen: turn and press the control-
ler.
You hear the voice tag.
Changing the display and sorting cri-
teria for contacts
XCall up the address book (Ypage 102).
XTo show the menu bar: slide 6the control-
ler.
XTo select Options: turn and press the con-
troller.
XTo select Display and Sorting: turn and
press the controller.
You have the following options:
RLast Name, First Name(default setting)
The contacts are sorted by surname and dis-
played with a comma.
RLast Name First Name
The contacts are sorted by surname and dis-
played without a comma.
RFirst Name Last Name
The contacts are sorted by first name and dis-
played without a comma.
XTo select the required option: turn and press
the controller.
The contacts are sorted and displayed
according to the selection.
Automatically importing contacts
from the phone
Depending on the mobile phone used, you can
set whether the contacts should be called up automatically after the mobile phone is connec-
ted to the multimedia system.
XConnect a mobile phone (Ypage 90).
XCall up the address book (Ypage 102).
XTo show the menu bar: slide
6the control-
ler.
XTo select Options: turn and press the con-
troller.
XTo select Automatically Import Con‐tacts from Phone: turn and press the con-
troller.
You can allow Oor deactivate ªthe auto-
matic download.
Saving a contact
Saved contacts are indicated in the phone book
by different symbols (Ypage 99).
XCall up the address book (Ypage 102).
XTo select a contact: turn and press the con-
troller.
The details for the contact are displayed.
XTo select G: slide 9the controller.
XTo select Save: turn and press the controller.
The contact has now been saved.
iIf the saved address book entry contains a
phone number, the entry is also displayed in
the phone book.
Saving or editing the contact data in the mul-
timedia system does not change the contacts
on the mobile phone. If automatic download-
ing of phone contacts is activated, the multi-
media system displays the copy ¥with the
changed data. To add additional data, such as additional phone numbers or e-mail
addresses, select this contact. In this way,
you avoid creating additional copies of the
mobile phone entry.
Deleting a name
XCall up the address book (Ypage 102).
XSearch for a contact (Ypage 103).
XTo select G: slide 9the controller.
XTo select Delete Entry: turn and press the
controller.
XTo select Yes: turn and press the controller.
The contact is deleted.
106Address book
Telephone
Page 124 of 174
now no longer be used by the system for
Internet functions.
Setting automatic disconnection of
the Internet connection
If a preset time has elapsed during which the
Internet functions have not been used, the Inter-
net automatically disconnects.
XCall up the device list (Ypage 121).
XTo highlight the desired mobile phone in the
device list: turn the controller.
XTo selectG: slide 9the controller.
XTo select Disconnect AutomaticallyWhen Inactive: turn and press the control-
ler.
XTo select 5 Minutes,10 Minutesor 20Minutes: turn and press the controller.
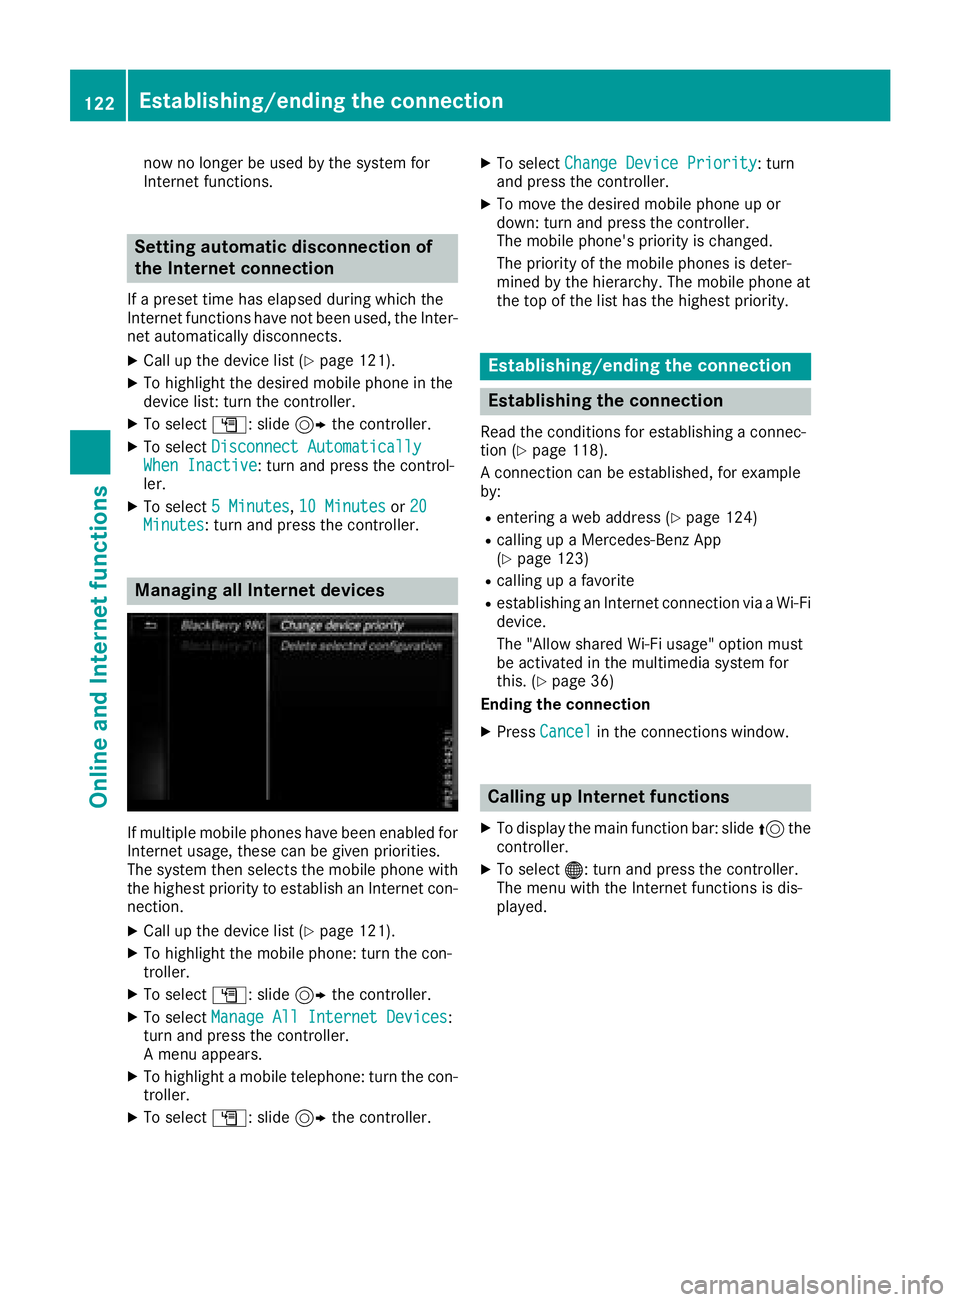
Managing all Internet devices
If multiple mobile phones have been enabled for
Internet usage, these can be given priorities.
The system then selects the mobile phone with
the highest priority to establish an Internet con-
nection.
XCall up the device list (Ypage 121).
XTo highlight the mobile phone: turn the con-
troller.
XTo select G: slide 9the controller.
XTo select Manage All Internet Devices:
turn and press the controller.
A menu appears.
XTo highlight a mobile telephone: turn the con-
troller.
XTo select G: slide 9the controller.
XTo select Change Device Priority: turn
and press the controller.
XTo move the desired mobile phone up or
down: turn and press the controller.
The mobile phone's priority is changed.
The priority of the mobile phones is deter-
mined by the hierarchy. The mobile phone at
the top of the list has the highest priority.
Establishing/ending the connection
Establishing the connection
Read the conditions for establishing a connec-
tion (Ypage 118).
A connection can be established, for example
by:
Rentering a web address (Ypage 124)
Rcalling up a Mercedes-Benz App
(Ypage 123)
Rcalling up a favorite
Restablishing an Internet connection via a Wi-Fi
device.
The "Allow shared Wi-Fi usage" option must
be activated in the multimedia system for
this. (
Ypage 36)
Ending the connection
XPress Cancelin the connections window.
Calling up Internet functions
XTo display the main function bar: slide 5the
controller.
XTo select ®: turn and press the controller.
The menu with the Internet functions is dis-
played.
122Establishing/ending the connection
Online and Internet functions
Page 128 of 174
Settings
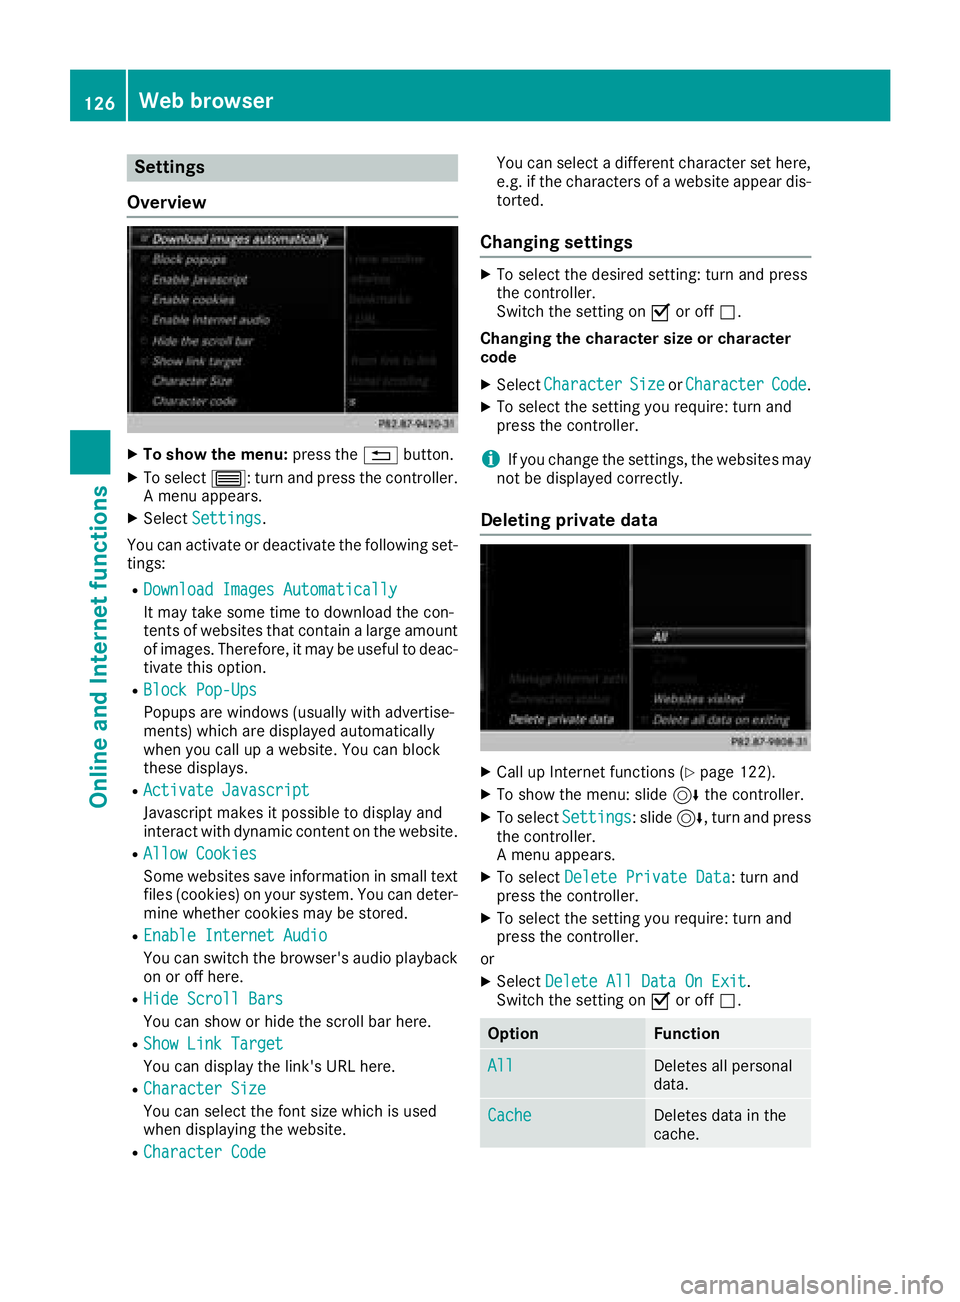
Overview
XTo show the menu: press the%button.
XTo select 3: turn and press the controller.
A menu appears.
XSelect Settings.
You can activate or deactivate the following set-
tings:
RDownload Images Automatically
It may take some time to download the con-
tents of websites that contain a large amount
of images. Therefore, it may be useful to deac-
tivate this option.
RBlock Pop-Ups
Popups are windows (usually with advertise-
ments) which are displayed automatically
when you call up a website. You can block
these displays.
RActivate Javascript
Javascript makes it possible to display and
interact with dynamic content on the website.
RAllow Cookies
Some websites save information in small text
files (cookies) on your system. You can deter-
mine whether cookies may be stored.
REnable Internet Audio
You can switch the browser's audio playback
on or off here.
RHide Scroll Bars
You can show or hide the scroll bar here.
RShow Link Target
You can display the link's URL here.
RCharacter Size
You can select the font size which is used
when displaying the website.
RCharacter Code
You can select a different character set here,
e.g. if the characters of a website appear dis-
torted.
Changing settings
XTo select the desired setting: turn and press
the controller.
Switch the setting on Oor off ª.
Changing the character size or character
code
XSelect CharacterSizeorCharacterCode.
XTo select the setting you require: turn and
press the controller.
iIf you change the settings, the websites may
not be displayed correctly.
Deleting private data
XCall up Internet functions (Ypage 122).
XTo show the menu: slide 6the controller.
XTo select Settings: slide6, turn and press
the controller.
A menu appears.
XTo select Delete Private Data: turn and
press the controller.
XTo select the setting you require: turn and
press the controller.
or
XSelect Delete All Data On Exit.
Switch the setting on Oor off ª.
OptionFunction
AllDeletes all personal
data.
CacheDeletes data in the
cache.
126Web browser
Online and Internet functions
Page 132 of 174
Station list
XIn radio mode, press the controller.
The station list appears with the stations cur-
rently available.
Saving a station
Storing current stations
XIn radio mode: slide6the controller.
The radio menu bar appears.
XTo select Preset: press the controller.
XTo select the SaveCurrentStation/Chan‐neloption: turn and press the controller.
XTo select the position of the required preset
entry: turn and press the controller.
The currently set station is stored in the selec-
ted preset position. A tone signals a success-
ful preset entry.
Storing a station using the controller
XSet the desired station in radio mode.
XPress and hold the controller until the preset
list appears.
XTo select the preset number: turn and press
the controller.
iFrequencies have already been stored in the
multimedia system. There are 100 preset
positions available.
Moving highlighted stations
XIn radio mode: slide 6the controller.
The radio menu bar appears.
XTo select Preset: press the controller.
XSelectEdit Station Preset.
XTo select the required preset entry: turn the
controller.
XSlide9the controller.
An additional menu appears.
XTo select Move Highlighted Station/Channel: turn and press the controller.
The list of stored stations appears again.
XTo move the highlighted station to the new
position: turn the controller and press to con-
firm.
Deleting highlighted stations
XIn radio mode: slide 6the controller.
The radio menu bar appears.
XTo select Preset: turn and press the control-
ler.
XSelect Edit Station Preset.
XTo select the required preset entry: turn the
controller.
XSlide9the controller.
XTo select Delete Highlighted Station/Channel: turn and press the controller.
XTo selectYes: turn and press the controller.
The highlighted station is deleted.
Activating/deactivating the station
presets display
You can use this function to change to the sta-
tion presets display.
Activating
XIn radio mode: slide 6the controller.
XTo select Preset: turn and press the control-
ler.
XTo select Station Preset View: On: turn
and press the controller.
The station preset display appears.
XTo switch between the stored stations: turn
the controller.
Deactivating
XIn radio mode: slide 6the controller.
XTo select Preset: turn and press the control-
ler.
XTo select StationPresetView:Off: turn
and press the controller.
The view of the last heard waveband appears.
Tagging music tracks
If an Apple®device is connected, the music
tracks and artist displayed in the radio text can be stored. You have the option of purchasing
this track using iTunes Store
®. Not all radio sta-
tions support this function.
130Tagging music tracks
Radio
Page 135 of 174
XTo call up the category list:selectCate‐
goryin the menu bar by turning and pressing
the controller.
The category list appears.
XTo select a category: turn and press the
controller.
The category selected is shown in the display.
You hear the channel last selected for this
category.
The #dot indicates the current setting.
At the beginning of the category list, the All
Channelscategory appears. This category
enables you to browse all available channels.
Selecting a channel
Channel search
XWhen the display/section window is selec-
ted, slide 8or9 the controller.
The multimedia system searches in both
directions (ascending and descending) and
stops at the next channel found in the selec-
ted category.
Entering channel numbers directly
XTo select Options: turn and press the con-
troller.
XTo select Direct Entry: turn and press the
controller.
An input menu appears.
XTo select a channel number: turn and press
the controller.
XThe multimedia system sets the selected
channel.
iYou can only select currently permitted dig-
its.
Selecting a channel via the satellite
radio station list
You can select the channel using the station list
displaying the artists and tracks that are cur-
rently playing.
XTo select Options: turn and press the con-
troller.
XTo select Current Station List withArtist&Title: turn and press the control-
ler.
The channel list appears.
XSelect the desired channel
Keyword search
XTo select the keyword search èin the
menu bar: turn and press the controller.
XTo enter the required search term: turn and
press the controller.
Direct and indirect results are shown.
XSelect the required result.
The relevant channel is played.
Memory functions
Quick save:
XSet the desired channel in satellite radio
mode.
XPress and hold the controller until the preset
list appears.
XTo select the preset number: turn and press
the controller.
A tone confirms that the storing process was
successful.
Saving a channel using the edit function:
XIn satellite radio mode, slide 6the control-
ler.
XTo select Preset: turn and press the control-
ler.
XTo select Edit Station Preset: turn and
press the controller.
The list of saved channels appears.
XTo select the preset: turn the controller and
press for about two seconds.
The newly saved channel overwrites the exist-
ing preset.
iThere are 100 presets available.
Activating/deactivating the station
presets display
You can use this function to change to the sta-
tion presets display.
Satellite radio133
Radio