Page 137 of 490
465
Features of your vehicle
- If the engine is running, even whenthe vehicle is not in motion, the infor-
mation will be accumulated.LCD Modes (for type B cluster)
(1) Trip Computer mode
This mode displays driving informa-
tion like the tripmeter, fuel economy,
and so on.
❈ For more details, refer to “Trip
Computer” in this chapter.
(2) User Setting mode
On this mode, you can change set-
tings of the doors, lamps and so on. (3) Master warning mode
This mode informs of warning mes-
sages related to TPMS fail, low pres-
sure (if equipped) or Low engine oil
(if equipped).
❈
For controlling the LCD modes,
refer to “LCD window Control” in
this chapter.
OSC046119
Page 162 of 490
Features of your vehicle
90
4
Never place anything over the sensor
(1) located on the instrument panel.
This will ensure better auto-light sys-
tem control.
Do not clean the sensor using a win-
dow cleaner, the cleaner may leave a
light film which could interfere with
sensor operation.
If your vehicle has window tint or
other types of metallic coating on the
front windshield, the Auto light sys-
tem may not work properly.High beam operation
To turn on the high beam headlights,
push the lever away from you. Pull it
back for low beams.
The high-beam indicator will light
when the headlight high beams are
switched on. To prevent the battery from being
discharged, do not leave the lights
on for a prolonged time while the
engine is not running.
WARNING - High beams
Do not use high beam when
there are other vehicles. Using
high beam could obstruct the
other driver's vision.
OSC047418N
OSC047404N
■ Type A
■ Type B
Page 168 of 490

Features of your vehicle
96
4
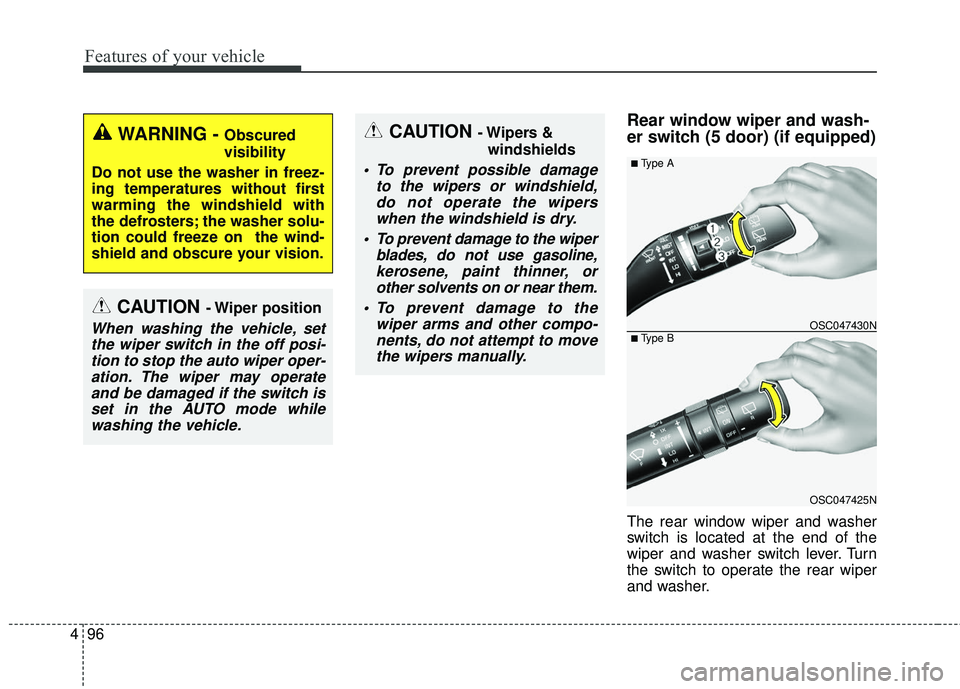
Rear window wiper and wash-
er switch (5 door) (if equipped)
The rear window wiper and washer
switch is located at the end of the
wiper and washer switch lever. Turn
the switch to operate the rear wiper
and washer.
CAUTION - Wiper position
When washing the vehicle, set
the wiper switch in the off posi-tion to stop the auto wiper oper-ation. The wiper may operateand be damaged if the switch isset in the AUTO mode whilewashing the vehicle.
CAUTION - Wipers &
windshields
To prevent possible damage to the wipers or windshield,do not operate the wiperswhen the windshield is dry.
To prevent damage to the wiper blades, do not use gasoline,kerosene, paint thinner, orother solvents on or near them.
To prevent damage to the wiper arms and other compo-nents, do not attempt to movethe wipers manually.
WARNING - Obscured
visibility
Do not use the washer in freez-
ing temperatures without first
warming the windshield with
the defrosters; the washer solu-
tion could freeze on the wind-
shield and obscure your vision.
OSC047425N
OSC047430N
■ Type A
■ Type B
Page 175 of 490

4103
Features of your vehicle
If you want to defrost and defog the
front windshield, refer to “Windshield
Defrosting and Defogging” in this
section.
Rear window defroster
The defroster heats the window to
remove frost, fog and thin ice from
the interior and exterior of the rear
window, while the engine is running.
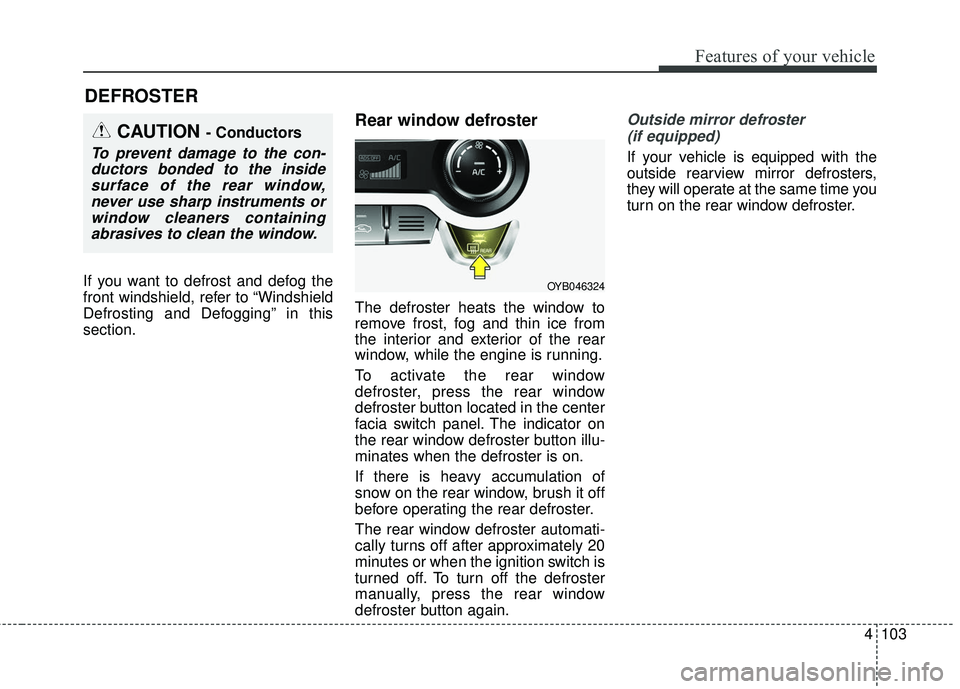
To activate the rear window
defroster, press the rear window
defroster button located in the center
facia switch panel. The indicator on
the rear window defroster button illu-
minates when the defroster is on.
If there is heavy accumulation of
snow on the rear window, brush it off
before operating the rear defroster.
The rear window defroster automati-
cally turns off after approximately 20
minutes or when the ignition switch is
turned off. To turn off the defroster
manually, press the rear window
defroster button again.
Outside mirror defroster (if equipped)
If your vehicle is equipped with the
outside rearview mirror defrosters,
they will operate at the same time you
turn on the rear window defroster.
DEFROSTER
OYB046324
CAUTION - Conductors
To prevent damage to the con-ductors bonded to the insidesurface of the rear window,never use sharp instruments orwindow cleaners containingabrasives to clean the window.
Page 176 of 490
Features of your vehicle
104
4
MANUAL CLIMATE CONTROL SYSTEM
1. Fan speed control knob
2. Mode selection knob
3. Temperature control knob
4. Air conditioning button
(if equipped)
5. Rear window defroster button
6. Air intake control button
OSC047300N/OSC047301N
■ ■ Type A
■ ■Type B
Page 178 of 490

Features of your vehicle
106
4
Mode selection
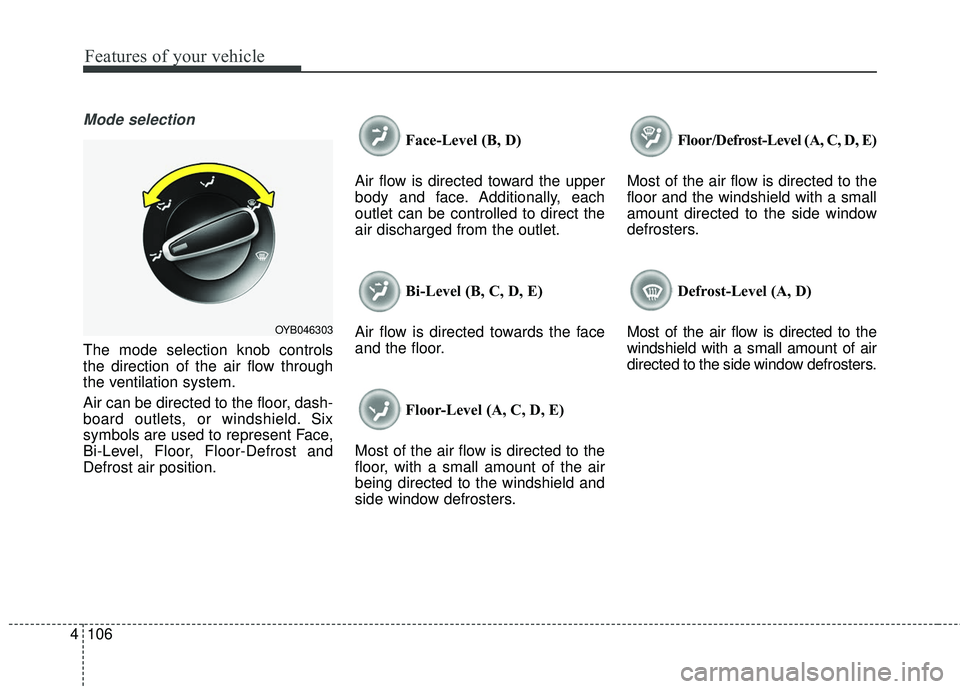
The mode selection knob controls
the direction of the air flow through
the ventilation system.
Air can be directed to the floor, dash-
board outlets, or windshield. Six
symbols are used to represent Face,
Bi-Level, Floor, Floor-Defrost and
Defrost air position. Face-Level (B, D)
Air flow is directed toward the upper
body and face. Additionally, each
outlet can be controlled to direct the
air discharged from the outlet.
Bi-Level (B, C, D, E)
Air flow is directed towards the face
and the floor.
Floor-Level (A, C, D, E)
Most of the air flow is directed to the
floor, with a small amount of the air
being directed to the windshield and
side window defrosters. Floor/Defrost-Level (A, C, D, E)
Most of the air flow is directed to the
floor and the windshield with a small
amount directed to the side window
defrosters.
Defrost-Level (A, D)
Most of the air flow is directed to the
windshield with a small amount of air
directed to the side window defrosters.
OYB046303
Page 183 of 490

4111
Features of your vehicle
Air conditioning (if equipped)
Kia Air Conditioning Systems are
filled with R-1234yf refrigerant.
1. Start the engine. Push the air con-ditioning button.
2. Set the mode to the position.
3. Set the air intake control to the recirculated air position. However,
prolonged operation in the recircu-
lated air position will excessively
dry the air. In this case, change the
air position.
4. Adjust the fan speed control and temperature control to maintain
maximum comfort.
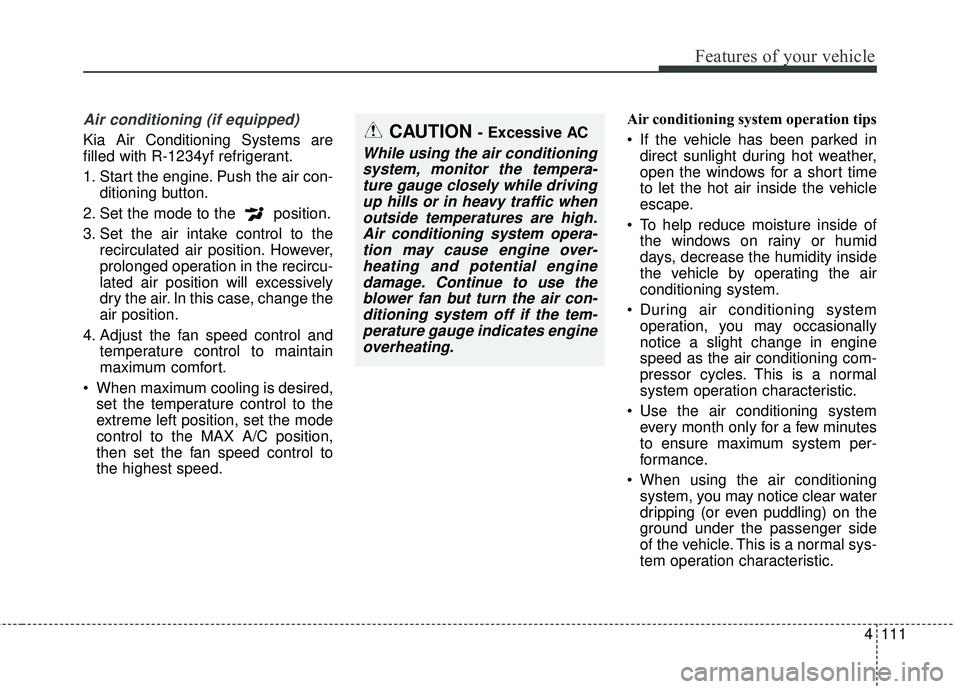
When maximum cooling is desired, set the temperature control to the
extreme left position, set the mode
control to the MAX A/C position,
then set the fan speed control to
the highest speed. Air conditioning system operation tips
If the vehicle has been parked in
direct sunlight during hot weather,
open the windows for a short time
to let the hot air inside the vehicle
escape.
To help reduce moisture inside of the windows on rainy or humid
days, decrease the humidity inside
the vehicle by operating the air
conditioning system.
During air conditioning system operation, you may occasionally
notice a slight change in engine
speed as the air conditioning com-
pressor cycles. This is a normal
system operation characteristic.
Use the air conditioning system every month only for a few minutes
to ensure maximum system per-
formance.
When using the air conditioning system, you may notice clear water
dripping (or even puddling) on the
ground under the passenger side
of the vehicle. This is a normal sys-
tem operation characteristic.CAUTION - Excessive AC
While using the air conditioningsystem, monitor the tempera-ture gauge closely while drivingup hills or in heavy traffic whenoutside temperatures are high.Air conditioning system opera-tion may cause engine over-heating and potential enginedamage. Continue to use theblower fan but turn the air con-ditioning system off if the tem-perature gauge indicates engineoverheating.
Page 186 of 490
Features of your vehicle
114
4
AUTOMATIC CLIMATE CONTROL SYSTEM (IF EQUIPPED)
OYB046300
1. Temperature control knob
2. AUTO (automatic control) button
3. Climate control display
4. Fan speed control knob
5. OFF button
6. Front windshield defroster button
7. Rear window defroster button
8. Mode selection button
9. Air conditioning button (if equipped)
10. Air intake control button
CAUTION
Operating the blower when the
ignition switch is in the ON posi-tion could cause the battery todischarge. It is best to operate theblower when the engine is run-ning.