Page 376 of 490
819
Maintenance
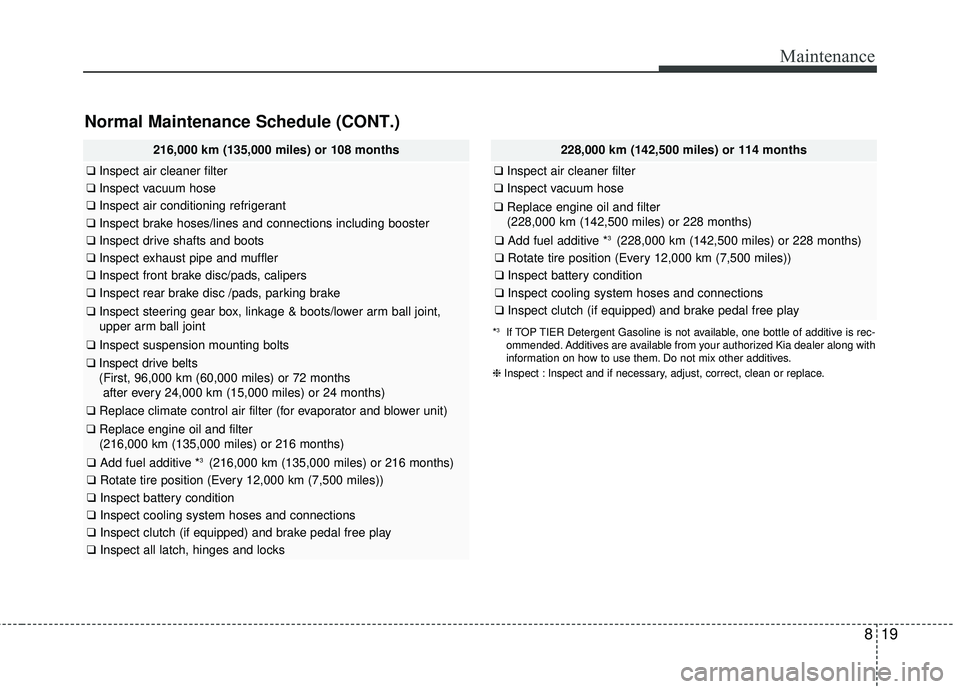
Normal Maintenance Schedule (CONT.)
216,000 km (135,000 miles) or 108 months
❑Inspect air cleaner filter
❑Inspect vacuum hose
❑Inspect air conditioning refrigerant
❑Inspect brake hoses/lines and connections including booster
❑Inspect drive shafts and boots
❑Inspect exhaust pipe and muffler
❑Inspect front brake disc/pads, calipers
❑Inspect rear brake disc /pads, parking brake
❑Inspect steering gear box, linkage & boots/lower arm ball joint,
upper arm ball joint
❑ Inspect suspension mounting bolts
❑Inspect drive belts
(First, 96,000 km (60,000 miles) or 72 months
after every 24,000 km (15,000 miles) or 24 months)
❑ Replace climate control air filter (for evaporator and blower unit)
❑Replace engine oil and filter
(216,000 km (135,000 miles) or 216 months)
❑ Add fuel additive *3 (216,000 km (135,000 miles) or 216 months)
❑Rotate tire position (Every 12,000 km (7,500 miles))
❑Inspect battery condition
❑Inspect cooling system hoses and connections
❑Inspect clutch (if equipped) and brake pedal free play
❑Inspect all latch, hinges and locks
228,000 km (142,500 miles) or 114 months
❑Inspect air cleaner filter
❑Inspect vacuum hose
❑Replace engine oil and filter
(228,000 km (142,500 miles) or 228 months)
❑ Add fuel additive *3 (228,000 km (142,500 miles) or 228 months)
❑Rotate tire position (Every 12,000 km (7,500 miles))
❑Inspect battery condition
❑Inspect cooling system hoses and connections
❑Inspect clutch (if equipped) and brake pedal free play
*3If TOP TIER Detergent Gasoline is not available, one bottle of additive is rec-
ommended. Additives are available from your authorized Kia dealer along with
information on how to use them. Do not mix other additives.
❈ Inspect : Inspect and if necessary, adjust, correct, clean or replace.
Page 377 of 490
Maintenance
20
8
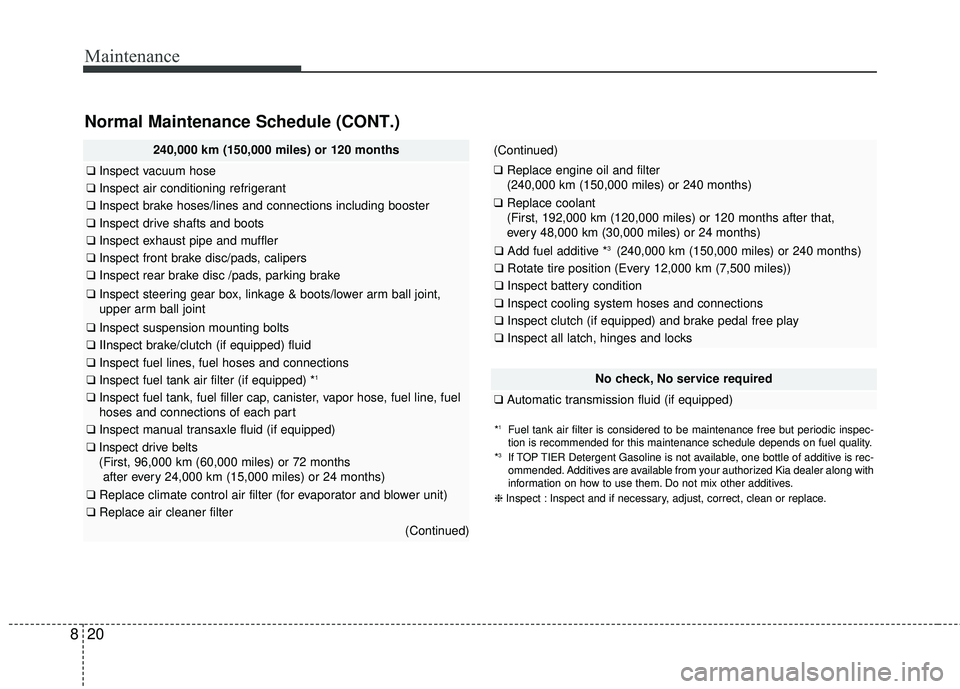
Normal Maintenance Schedule (CONT.)
240,000 km (150,000 miles) or 120 months
❑ Inspect vacuum hose
❑Inspect air conditioning refrigerant
❑Inspect brake hoses/lines and connections including booster
❑Inspect drive shafts and boots
❑Inspect exhaust pipe and muffler
❑Inspect front brake disc/pads, calipers
❑Inspect rear brake disc /pads, parking brake
❑Inspect steering gear box, linkage & boots/lower arm ball joint,
upper arm ball joint
❑ Inspect suspension mounting bolts
❑IInspect brake/clutch (if equipped) fluid
❑Inspect fuel lines, fuel hoses and connections
❑Inspect fuel tank air filter (if equipped) *1
❑Inspect fuel tank, fuel filler cap, canister, vapor hose, fuel line, fuel
hoses and connections of each part
❑ Inspect manual transaxle fluid (if equipped)
❑Inspect drive belts
(First, 96,000 km (60,000 miles) or 72 months
after every 24,000 km (15,000 miles) or 24 months)
❑ Replace climate control air filter (for evaporator and blower unit)
❑Replace air cleaner filter
(Continued)
(Continued)
❑Replace engine oil and filter
(240,000 km (150,000 miles) or 240 months)
❑Replace coolant
(First, 192,000 km (120,000 miles) or 120 months after that,
every 48,000 km (30,000 miles) or 24 months)
❑ Add fuel additive *3 (240,000 km (150,000 miles) or 240 months)
❑Rotate tire position (Every 12,000 km (7,500 miles))
❑Inspect battery condition
❑Inspect cooling system hoses and connections
❑Inspect clutch (if equipped) and brake pedal free play
❑Inspect all latch, hinges and locks
No check, No service required
❑Automatic transmission fluid (if equipped)
*1Fuel tank air filter is considered to be maintenance free but periodic inspec-
tion is recommended for this maintenance schedule depends on fuel quality.
*
3If TOP TIER Detergent Gasoline is not available, one bottle of additive is rec-
ommended. Additives are available from your authorized Kia dealer along with
information on how to use them. Do not mix other additives.
❈ Inspect : Inspect and if necessary, adjust, correct, clean or replace.
Page 386 of 490
829
Maintenance
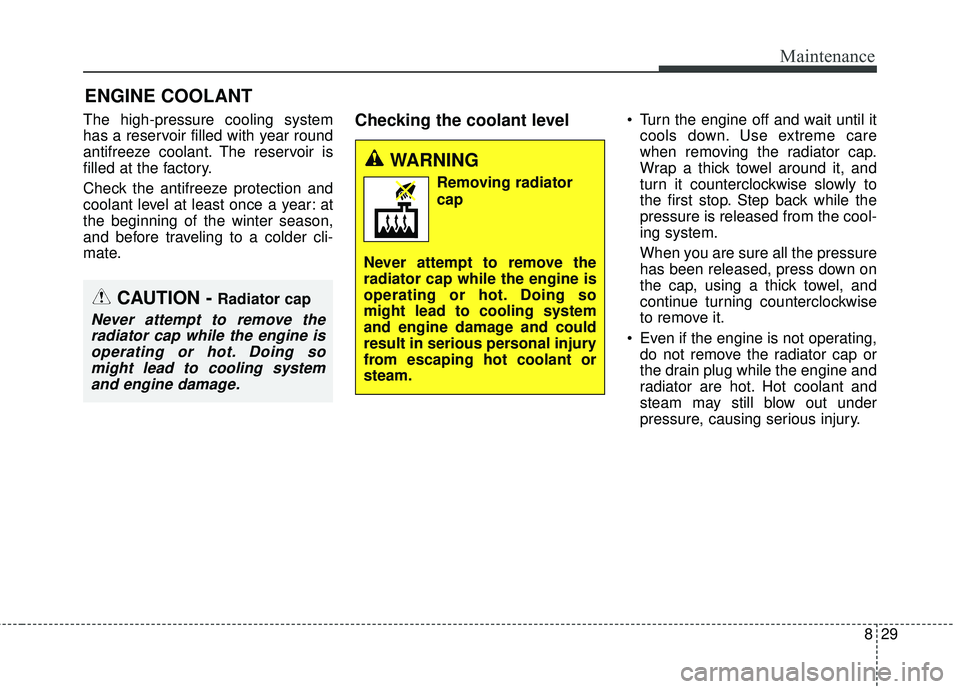
ENGINE COOLANT
The high-pressure cooling system
has a reservoir filled with year round
antifreeze coolant. The reservoir is
filled at the factory.
Check the antifreeze protection and
coolant level at least once a year: at
the beginning of the winter season,
and before traveling to a colder cli-
mate.Checking the coolant level Turn the engine off and wait until itcools down. Use extreme care
when removing the radiator cap.
Wrap a thick towel around it, and
turn it counterclockwise slowly to
the first stop. Step back while the
pressure is released from the cool-
ing system.
When you are sure all the pressure
has been released, press down on
the cap, using a thick towel, and
continue turning counterclockwise
to remove it.
Even if the engine is not operating, do not remove the radiator cap or
the drain plug while the engine and
radiator are hot. Hot coolant and
steam may still blow out under
pressure, causing serious injury.
WARNING
Removing radiator
cap
Never attempt to remove the
radiator cap while the engine is
operating or hot. Doing so
might lead to cooling system
and engine damage and could
result in serious personal injury
from escaping hot coolant or
steam.
CAUTION - Radiator cap
Never attempt to remove the radiator cap while the engine isoperating or hot. Doing somight lead to cooling systemand engine damage.
Page 392 of 490
835
Maintenance
AIR CLEANER
Filter replacement
It must be replaced when necessary,
and should not be washed.
You can clean the filter when inspect-
ing the air cleaner element.
Clean the filter by using compressed
air.1. Loosen the air cleaner cover
attaching clips and open the cover. 2. Wipe the inside of the air cleaner.
3. Replace the air cleaner filter.
4. Lock the cover with the cover
attaching clips.
OYB076018
OYB076020OYB076021
Page 395 of 490
Maintenance
38
8
3. Remove the climate control air fil-
ter cover while pressing the lock
on the both sides of the cover. 4. Replace the climate control air fil-
ter.
5. Reassemble in the reverse order of disassembly.
When replacing the climate control
air filter install it properly. Otherwise,
the system may produce noise and
the effectiveness of the filter may be
reduced.
OSC076007OQL075021
Page 397 of 490
Maintenance
40
8
Type A
1. Raise the wiper arm and turn the
wiper blade assembly to expose
the plastic locking clip.
2. Compress the clip (1) and slidethe blade assembly downward (2).
3. Lift it off the arm.
4. Install the blade assembly in the reverse order of removal. Type B
1. Raise the wiper arm.
1LDA5023
1JBA7037
1JBA7038
OHM078059
Page 406 of 490
849
Maintenance
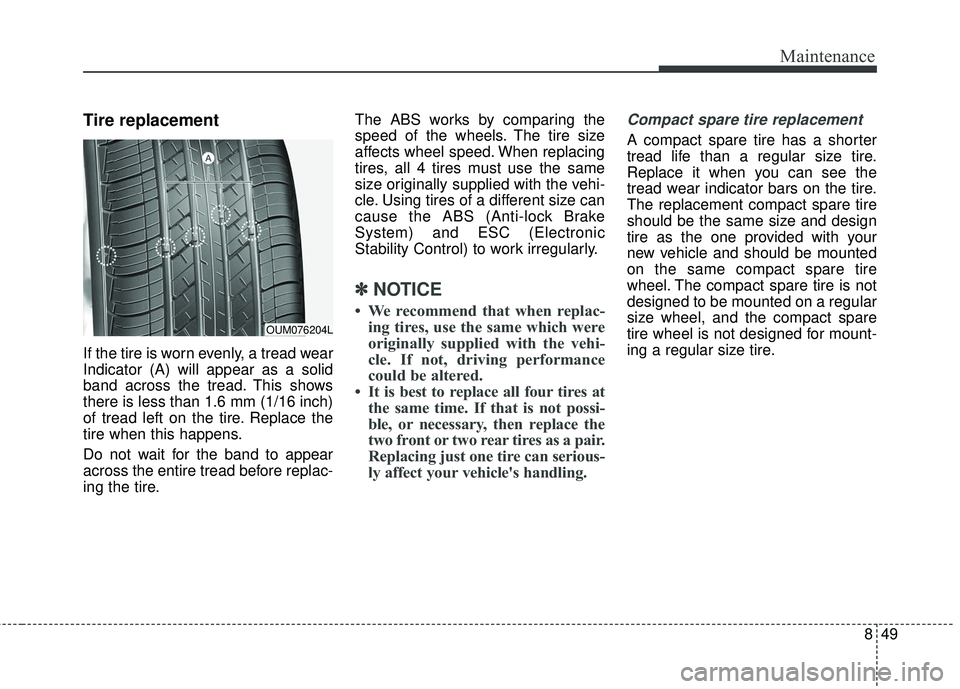
Tire replacement
If the tire is worn evenly, a tread wear
Indicator (A) will appear as a solid
band across the tread. This shows
there is less than 1.6 mm (1/16 inch)
of tread left on the tire. Replace the
tire when this happens.
Do not wait for the band to appear
across the entire tread before replac-
ing the tire.The ABS works by comparing the
speed of the wheels. The tire size
affects wheel speed. When replacing
tires, all 4 tires must use the same
size originally supplied with the vehi-
cle. Using tires of a different size can
cause the ABS (Anti-lock Brake
System) and ESC (Electronic
Stability Control) to work irregularly.
✽ ✽
NOTICE
• We recommend that when replac-
ing tires, use the same which were
originally supplied with the vehi-
cle. If not, driving performance
could be altered.
• It is best to replace all four tires at the same time. If that is not possi-
ble, or necessary, then replace the
two front or two rear tires as a pair.
Replacing just one tire can serious-
ly affect your vehicle's handling.
Compact spare tire replacement
A compact spare tire has a shorter
tread life than a regular size tire.
Replace it when you can see the
tread wear indicator bars on the tire.
The replacement compact spare tire
should be the same size and design
tire as the one provided with your
new vehicle and should be mounted
on the same compact spare tire
wheel. The compact spare tire is not
designed to be mounted on a regular
size wheel, and the compact spare
tire wheel is not designed for mount-
ing a regular size tire.
OUM076204L
Page 418 of 490
861
Maintenance
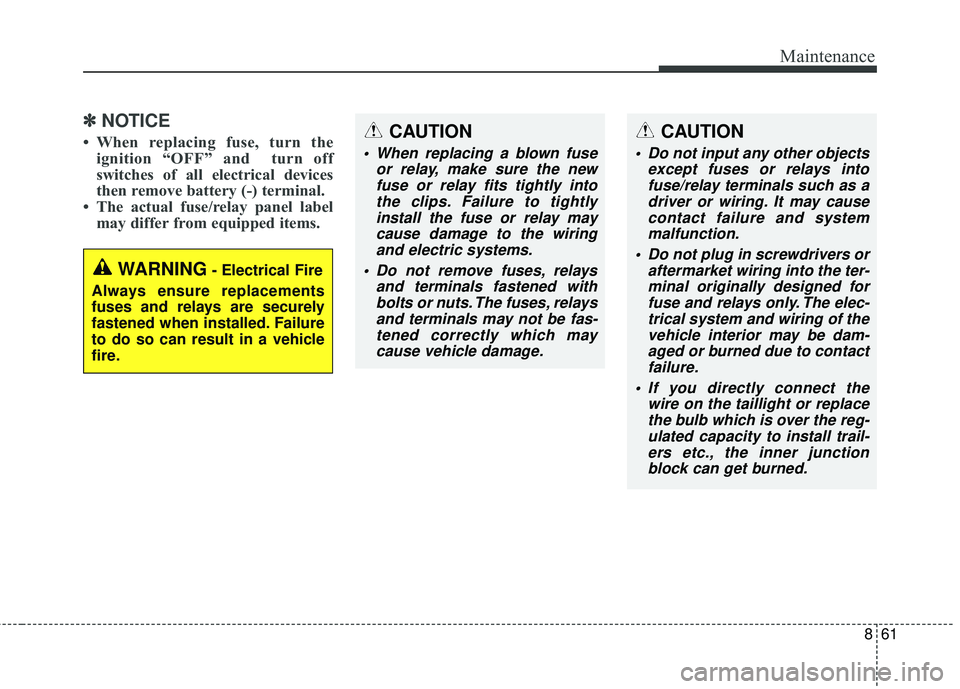
✽ ✽NOTICE
• When replacing fuse, turn the
ignition “OFF” and turn off
switches of all electrical devices
then remove battery (-) terminal.
• The actual fuse/relay panel label may differ from equipped items.
WARNING- Electrical Fire
Always ensure replacements
fuses and relays are securely
fastened when installed. Failure
to do so can result in a vehicle
fire.
CAUTION
When replacing a blown fuse or relay, make sure the newfuse or relay fits tightly intothe clips. Failure to tightlyinstall the fuse or relay maycause damage to the wiringand electric systems.
Do not remove fuses, relays and terminals fastened withbolts or nuts. The fuses, relaysand terminals may not be fas-tened correctly which maycause vehicle damage.
CAUTION
Do not input any other objects except fuses or relays intofuse/relay terminals such as adriver or wiring. It may causecontact failure and systemmalfunction.
Do not plug in screwdrivers or aftermarket wiring into the ter-minal originally designed forfuse and relays only. The elec-trical system and wiring of thevehicle interior may be dam-aged or burned due to contactfailure.
If you directly connect the wire on the taillight or replacethe bulb which is over the reg-ulated capacity to install trail-ers etc., the inner junctionblock can get burned.