2018 KIA CADENZA trip computer
[x] Cancel search: trip computerPage 83 of 502
Steering wheel . . . . . . . . . . . . . . . . . . . . . . . . . . . . . 4-47
• Electric power steering (EPS) . . . . . . . . . . . . . . . . . . 4-47
• Tilt and telescopic steering . . . . . . . . . . . . . . . . . . . . 4-48
• Heated steering wheel . . . . . . . . . . . . . . . . . . . . . . . . . 4-50
• Horn . . . . . . . . . . . . . . . . . . . . . . . . . . . . . . . . . . . . \
. . . 4-51
Mirrors . . . . . . . . . . . . . . . . . . . . . . . . . . . . . . . . . . 4-52\
• Inside rearview mirror . . . . . . . . . . . . . . . . . . . . . . . . 4-52
• Automatic-dimming function . . . . . . . . . . . . . . . . . . . 4-54
• Compass function . . . . . . . . . . . . . . . . . . . . . . . . . . . . 4-55
• Programming HomeLink
®. . . . . . . . . . . . . . . . . . . . . 4-57
• Standard programming . . . . . . . . . . . . . . . . . . . . . . . 4-57
• Rolling code programming . . . . . . . . . . . . . . . . . . . . . 4-58
• Gate operator & Canadian programming . . . . . . . . 4-59
• Operating HomeLink
®. . . . . . . . . . . . . . . . . . . . . . . . 4-59
• Reprogramming a single HomeLink
®button. . . . . . 4-60
• Erasing HomeLink
®buttons . . . . . . . . . . . . . . . . . . . 4-60
• Outside rearview mirror. . . . . . . . . . . . . . . . . . . . . . . 4-61
Instrument cluster . . . . . . . . . . . . . . . . . . . . . . . . . 4-64
• Instrument cluster control . . . . . . . . . . . . . . . . . . . . . 4-65
• LCD display control . . . . . . . . . . . . . . . . . . . . . . . . . . 4-65
• Gauges . . . . . . . . . . . . . . . . . . . . . . . . . . . . . . . . . . . . \
. 4-66
• Transaxle shift indicator . . . . . . . . . . . . . . . . . . . . . . . 4-69
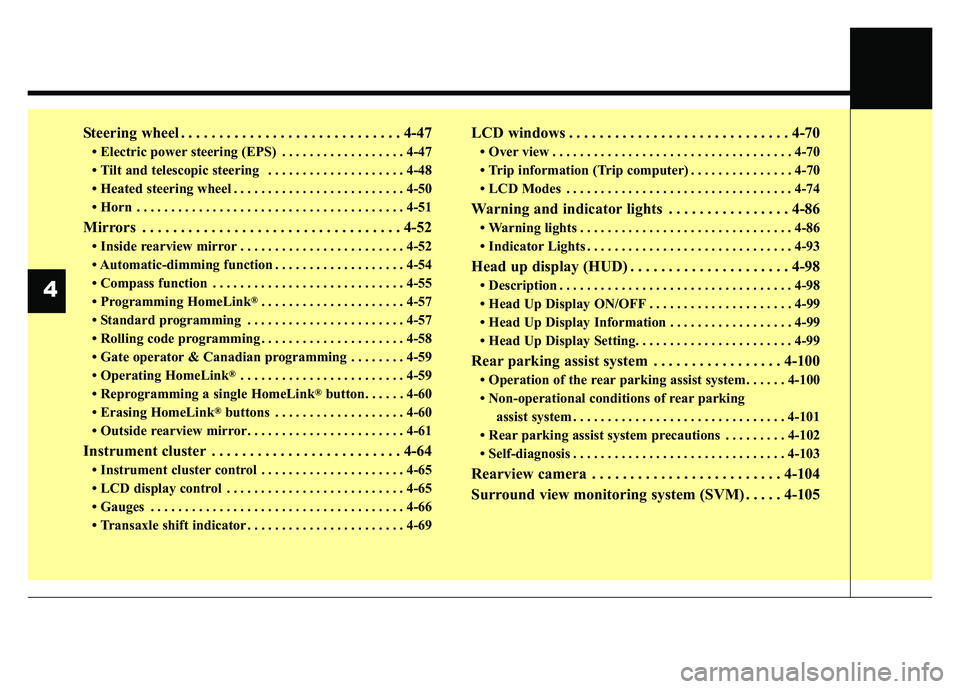
LCD windows . . . . . . . . . . . . . . . . . . . . . . . . . . . . . 4-70
• Over view . . . . . . . . . . . . . . . . . . . . . . . . . . . . . . . . . . . 4-\
70
• Trip information (Trip computer) . . . . . . . . . . . . . . . 4-70
• LCD Modes . . . . . . . . . . . . . . . . . . . . . . . . . . . . . . . . . 4-74
Warning and indicator lights . . . . . . . . . . . . . . . . 4-86
• Warning lights . . . . . . . . . . . . . . . . . . . . . . . . . . . . . . . 4-86
• Indicator Lights . . . . . . . . . . . . . . . . . . . . . . . . . . . . . . 4-93
Head up display (HUD) . . . . . . . . . . . . . . . . . . . . . 4-98
• Description . . . . . . . . . . . . . . . . . . . . . . . . . . . . . . . . . . 4-98\
• Head Up Display ON/OFF . . . . . . . . . . . . . . . . . . . . . 4-99
• Head Up Display Information . . . . . . . . . . . . . . . . . . 4-99
• Head Up Display Setting. . . . . . . . . . . . . . . . . . . . . . . 4-99
Rear parking assist system . . . . . . . . . . . . . . . . . 4-100
• Operation of the rear parking assist system . . . . . . 4-100
• Non-operational conditions of rear parking assist system . . . . . . . . . . . . . . . . . . . . . . . . . . . . . . . 4-101
• Rear parking assist system precautions . . . . . . . . . 4-102
• Self-diagnosis . . . . . . . . . . . . . . . . . . . . . . . . . . . . . . . 4-103
Rearview camera . . . . . . . . . . . . . . . . . . . . . . . . . 4-104
Surround view monitoring system (SVM) . . . . . 4-105
4
Page 151 of 502
Features of your vehicle
70
4
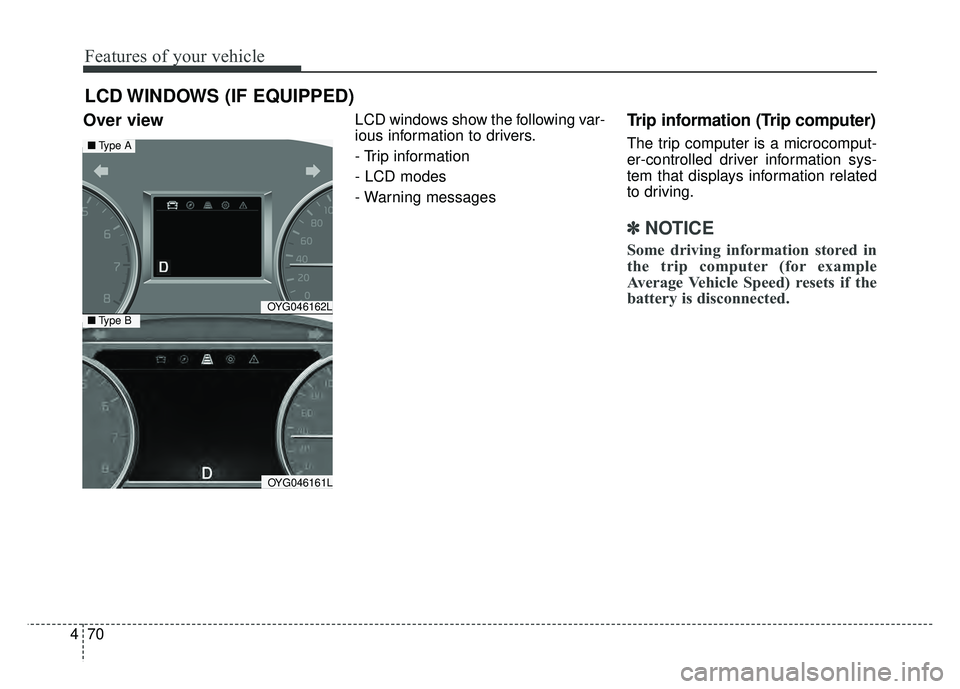
Over view LCD windows show the following var-
ious information to drivers.
- Trip information
- LCD modes
- Warning messagesTrip information (Trip computer)
The trip computer is a microcomput-
er-controlled driver information sys-
tem that displays information related
to driving.
✽ ✽
NOTICE
Some driving information stored in
the trip computer (for example
Average Vehicle Speed) resets if the
battery is disconnected.
LCD WINDOWS (IF EQUIPPED)
OYG046162L
OYG046161L
■ Type A
■Type B
Page 152 of 502
471
Features of your vehicle
Trip Modes Fuel Economy
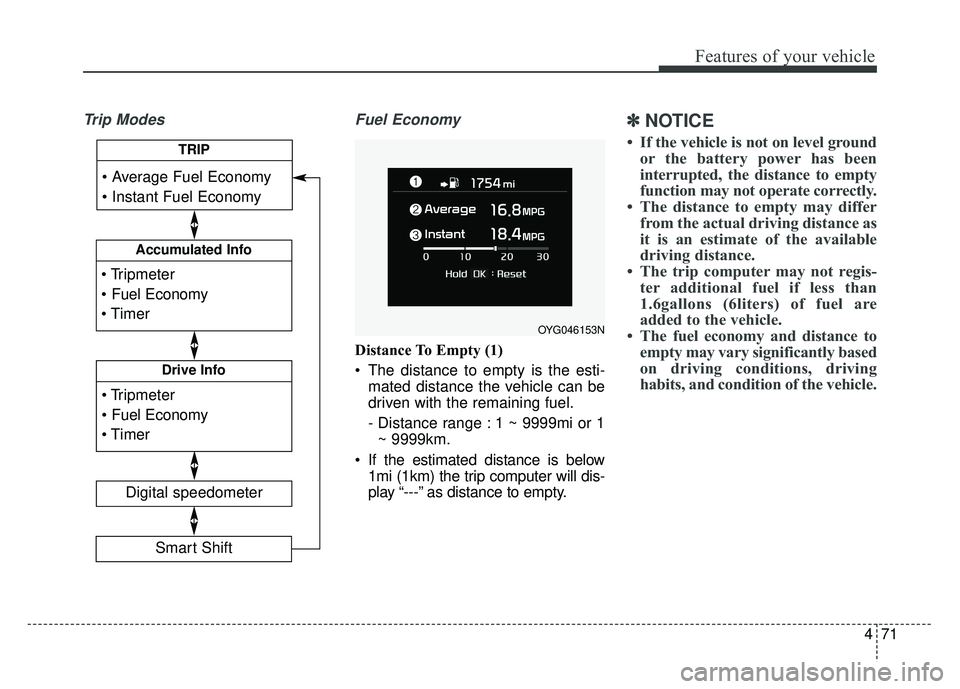
Distance To Empty (1)
The distance to empty is the esti-
mated distance the vehicle can be
driven with the remaining fuel.
- Distance range : 1 ~ 9999mi or 1~ 9999km.
If the estimated distance is below 1mi (1km) the trip computer will dis-
play “---” as distance to empty.
✽ ✽ NOTICE
• If the vehicle is not on level ground
or the battery power has been
interrupted, the distance to empty
function may not operate correctly.
• The distance to empty may differ from the actual driving distance as
it is an estimate of the available
driving distance.
• The trip computer may not regis- ter additional fuel if less than
1.6gallons (6liters) of fuel are
added to the vehicle.
• The fuel economy and distance to empty may vary significantly based
on driving conditions, driving
habits, and condition of the vehicle.
OYG046153N
Accumulated Info
Digital speedometer
Drive Info
TRIP
Smart Shift
Page 155 of 502

Features of your vehicle
74
4
Digital speedometer
This mode displays the current
speed of the vehicle.
LCD Modes
(1) Trip Computer mode
This mode displays driving informa-
tion like the tripmeter, fuel economy,
and so on.
❈ For more details, refer to “Trip
Computer” in this chapter.
(2) Turn By Turn mode (if equipped)
This mode displays the state of the
navigation. (3) ASCC/LDWS (if equipped)
This mode displays the state of the
Advanced Smart Cruise Control
(ASCC) and Lane Departure
Warning System (LDWS).
(4) User Setting mode
On this mode, you can change set-
tings of the doors, lamps and so on.
(5) Master warning mode
This mode informs of warning mes-
sages related to washer fluid or mal-
function of Blind Spot Detection sys-
tem (BSD) and so on.
❈
For controlling the LCD modes,
refer to “LCD window Control” in
this chapter.
OYG048156NOYG046453L
Page 162 of 502

481
Features of your vehicle
Fuel Economy Auto Reset
- Off : The average fuel economy
will not reset automatically when-
ever refueling.
- After Ignition : The average fuel economy will reset automatically
whenever it has passed 4 hours
after turning OFF the engine.
- After Refueling : The average fuel economy will reset automatically
when refueling.
❈ For more details, refer to “Trip
Computer” in this chapter.
Fuel Economy Unit : Choose the
fuel economy unit. (US gallon, UK
gallon)
Temperature Unit : Choose the tem-
perature unit. (°C,°F)
Tire Pressure Unit (if equipped) :
Choose the tire pressure unit. (psi,
kPa, Bar)
Language : Choose the language.Warning messages
Warning messages appear on the
LCD to warn the driver. It is located in
the center of the instrument cluster.
The warning message may appear
differently depending on the type of
instrument cluster and some may not
show the warning message at all.
The warning message is shown in
either symbol, symbol and text, or
text type only.
Door or Trunk open
It means that any door or trunk is
open.
OYG046144
Page 311 of 502
Driving your vehicle
72
5
DRIVE MODE Indicator Screen
The DRIVE MODE indicator screen
can be displayed by using the trip com-
puter button on the steering wheel.
DRIVE MODE indicator screen dis-
plays status of current drive mode.
DRIVE MODE button is located on
the lower part of the transmission
lever for selecting drive mode.
If drive mode is selected manually
by the user, the drive mode indica-
tor screen will show user-selected
drive mode. (COMFORT, ECO, or
SPORT)
If SMART MODE is selected by
DRIVE MODE button, the drive
mode indicator screen will show
current drive mode automatically
selected by SMART MODE sys-
tem. (SMART COMFORT, SMART
ECO, or SMART SPORT) When the trip computer mode is
selected to show DRIVE MODE
and the SMART MODE is in oper-
ation, an automatically selected
driving mode SMART ECO,
SMART COMFORT, or SMART
SPORT, will be selected on the
cluster's center.
And right below is the horizontal
driving style gauge which reflects
the driving style in real time.
If you drive carefully and slowly in SMART MODE, the left side of the
driving style gauge will illuminate,
and be automatically shifted to the
SMART ECO MODE.
When the driver accelerates more
frequently, the right side of the driv-
ing style gauge will fill up, and shift
to SMART COMFORT MODE.
In addition, if the rate of accelera-
tion and speed is high, drive mode
will change to SMART SPORT
MODE. If the auto cruise control function is
operated or the transmission is
shifted to manual mode while
SMART MODE is on, the SMART
MODE will stop temporarily, and
the DRIVE MODE will be displayed
as OFF. The driving style gauge
light will be turned off accordingly.
If the trip computer is not set to show DRIVE MODE indicator
screen, and you want to know the
on/off status of the SMART MODE,
simply check whether the letters
'SMART' is lighten up on the
screen or not (green - ECO MODE,
white - COMFORT MODE, red -
SPORT MODE).
Page 312 of 502
573
Driving your vehicle
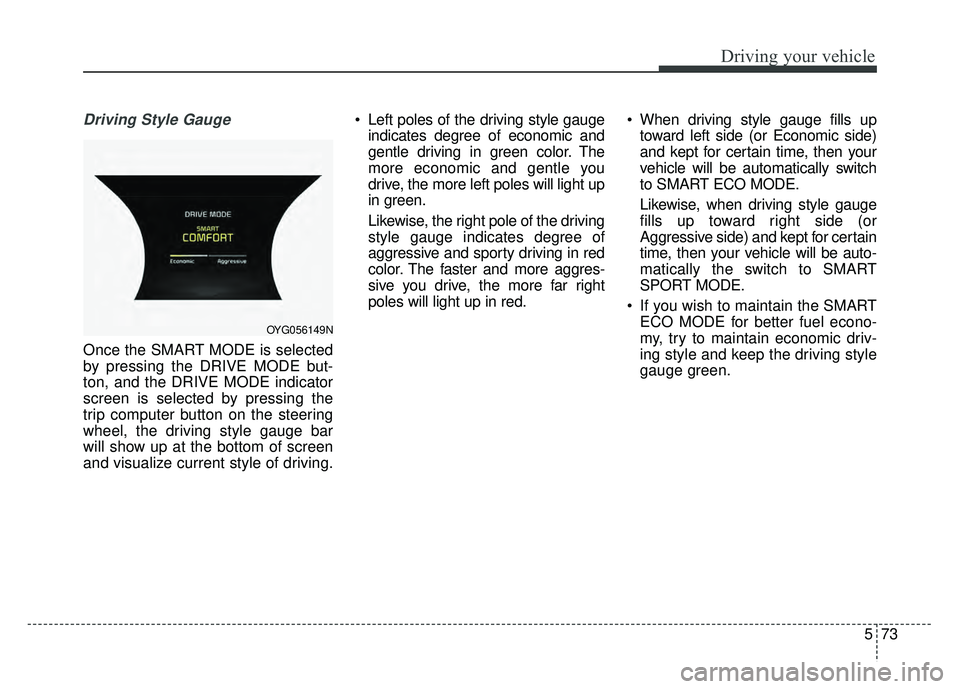
Driving Style Gauge
Once the SMART MODE is selected
by pressing the DRIVE MODE but-
ton, and the DRIVE MODE indicator
screen is selected by pressing the
trip computer button on the steering
wheel, the driving style gauge bar
will show up at the bottom of screen
and visualize current style of driving. Left poles of the driving style gauge
indicates degree of economic and
gentle driving in green color. The
more economic and gentle you
drive, the more left poles will light up
in green.
Likewise, the right pole of the driving
style gauge indicates degree of
aggressive and sporty driving in red
color. The faster and more aggres-
sive you drive, the more far right
poles will light up in red. When driving style gauge fills up
toward left side (or Economic side)
and kept for certain time, then your
vehicle will be automatically switch
to SMART ECO MODE.
Likewise, when driving style gauge
fills up toward right side (or
Aggressive side) and kept for certain
time, then your vehicle will be auto-
matically the switch to SMART
SPORT MODE.
If you wish to maintain the SMART ECO MODE for better fuel econo-
my, try to maintain economic driv-
ing style and keep the driving style
gauge green.
OYG056149N
Page 415 of 502

Maintenance
42
7
When recharging the battery,
observe the following precautions:
The battery must be removed from
the vehicle and placed in an area
with good ventilation.
Do not allow cigarettes, sparks, or flame near the battery.
Watch the battery during charging, and stop or reduce the charging
rate if the battery cells begin
gassing (boiling) violently or if the
temperature of the electrolyte of
any cell exceeds 120°F (49°C).
Wear eye protection when check- ing the battery during charging.
Disconnect the battery charger in the following order.
1. Turn off the battery charger main switch.
2. Unhook the negative clamp from the negative battery terminal.
3. Unhook the positive clamp from the positive battery terminal. Before performing maintenance or
recharging the battery, turn off all
accessories and stop the engine.
The negative battery cable must be removed first and installed last
when the battery is disconnected.Reset items
Items should be reset after the bat-
tery has been discharged or the bat-
tery has been disconnected.
Auto up/down window (See chapter 4)
Sunroof (See chapter 4)
Trip computer (See chapter 4)
Climate control system (See chapter 4)
Driver position memory system (See chapter 3)