Page 299 of 522

5-49
Driving your vehicle
5
ECO mode
When the Drive Mode isset to ECO mode, the
engine and transmission
control logic are changed
to maximize fuel efficiency.
When the ECO mode is selected by pressing the DRIVE MODE but-
ton, the ECO indicator will illumi-
nate.
If the vehicle is set to ECO mode, when the engine is turned OFF
and restarted the Drive Mode set-
ting will remain in ECO mode.
Information
Fuel efficiency depends on the driver's
driving habit and road condition. When ECO mode is activated:
The acceleration response may be
slightly reduced as the accelerator
pedal is depressed moderately.
The air conditioner performance may be limited.
The shift pattern of the automatic transmission may change.
The engine noise may get louder.
The above situations are normal
conditions when ECO mode is acti-
vated to improve fuel efficiency. Limitation of ECO mode opera-
tion:
If the following conditions occur while
ECO mode is operating, the system
operation is limited even though
there is no change in ECO indicator.
When the coolant temperature is
low:
The system will be limited until
engine performance becomes nor-
mal.
When driving up a hill: The system will be limited to gain
power when driving uphill because
engine torque is restricted.
When driving the vehicle with the automatic transmission gear shift
lever in manual shift mode:
The system will be limited accord-
ing to the shift location.
When the accelerator pedal is deeply depressed for a few seconds:
The system will be limited, judging
that the driver wants to speed up.
i
Page 351 of 522

5-101
Driving your vehicle
5
Emergency braking (3rdwarning)
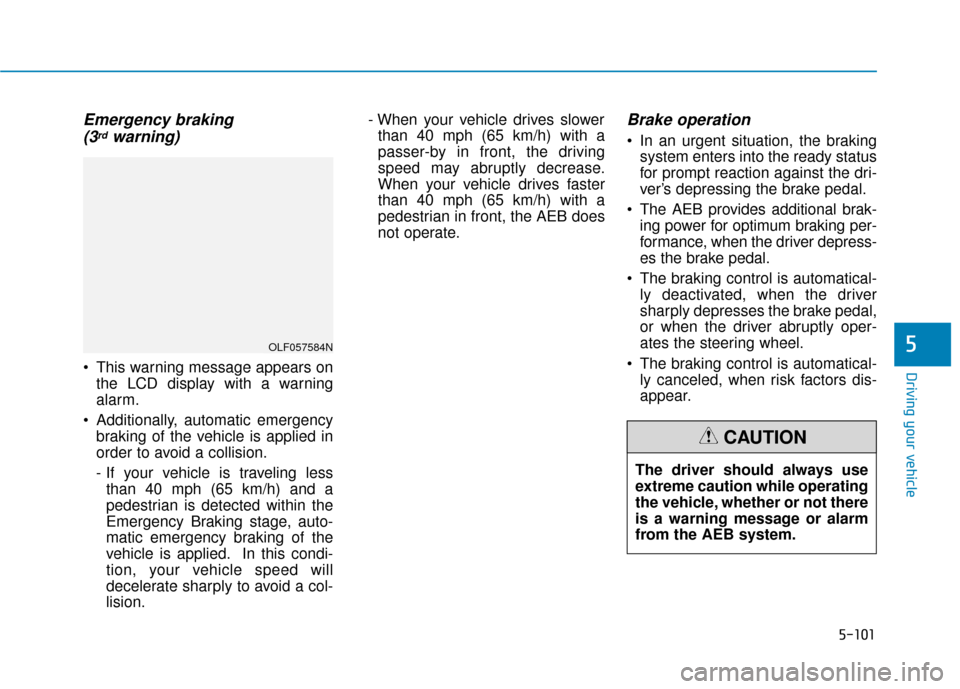
This warning message appears on
the LCD display with a warning
alarm.
Additionally, automatic emergency braking of the vehicle is applied in
order to avoid a collision.
- If your vehicle is traveling lessthan 40 mph (65 km/h) and a
pedestrian is detected within the
Emergency Braking stage, auto-
matic emergency braking of the
vehicle is applied. In this condi-
tion, your vehicle speed will
decelerate sharply to avoid a col-
lision. - When your vehicle drives slower
than 40 mph (65 km/h) with a
passer-by in front, the driving
speed may abruptly decrease.
When your vehicle drives faster
than 40 mph (65 km/h) with a
pedestrian in front, the AEB does
not operate.
Brake operation
In an urgent situation, the braking system enters into the ready status
for prompt reaction against the dri-
ver’s depressing the brake pedal.
The AEB provides additional brak- ing power for optimum braking per-
formance, when the driver depress-
es the brake pedal.
The braking control is automatical- ly deactivated, when the driver
sharply depresses the brake pedal,
or when the driver abruptly oper-
ates the steering wheel.
The braking control is automatical- ly canceled, when risk factors dis-
appear.
OLF057584N
The driver should always use
extreme caution while operating
the vehicle, whether or not there
is a warning message or alarm
from the AEB system.
CAUTION
Page 376 of 522

6-5
What to do in an emergency
6
Information
An inappropriately disposedbattery can be harmful to the
environment and human
health. Dispose the battery
according to your local law(s)
or regulations.
To prevent damage to your vehi-
cle:
Only use a 12-volt power supply (battery or jumper system) to
jump start your vehicle.
Do not attempt to jump start your vehicle by push-starting.
Jump starting procedure
1. Position the vehicles close enough that the jumper cables will reach,
but do not allow the vehicles to
touch.
2. Avoid fans or any moving parts in the engine compartment at all
times, even when the vehicles are
turned off.
3. Turn off all electrical devices such as radios, lights, air conditioning,
etc. Put the vehicles in P (Park)
and set the parking brakes. Turn
both vehicles OFF.
NOTICE
i
Pb
(Continued)
NEVER attempt to recharge
the battery when the vehicle’s
battery cables are connected
to the battery.
The electrical ignition system
works with high voltage.
NEVER touch these compo-
nents with the engine running
or when the ignition switch is
in the ON position.
Page 378 of 522

6-7
What to do in an emergency
6
If your temperature gauge indicates
overheating, you experience a loss
of power, or hear loud pinging or
knocking, the engine may be over-
heating. If this happens, you should:
1. Pull off the road and stop as soonas it is safe to do so.
2. Place the shift lever in P (Park) and set the parking brake. If the air
conditioning is ON, turn it OFF.
3. If engine coolant is running out under the vehicle or steam is com-
ing out from the hood, stop the
engine. Do not open the hood until
the coolant has stopped running
or the steaming has stopped. If
there is no visible loss of engine
coolant and no steam, leave the
engine running and check to be
sure the engine cooling fan is
operating. If the fan is not running,
turn the engine off. 4. Check for coolant leaking from the
radiator, hoses or under the vehi-
cle. (If the air conditioning had
been in use, it is normal for cold
water to be draining from it when
you stop.)
5. If engine coolant is leaking out, stop the engine immediately and
call the nearest authorized
HYUNDAI dealer for assistance.
I IF
F
T
T H
H E
E
E
E N
N G
GI
IN
N E
E
O
O V
VE
ER
R H
H E
EA
A T
TS
S
While the engine is
running, keep hands,
clothing and tools
away from the mov-
ing parts such as the
cooling fan and drive
belt to prevent seri-
ous injury.
WARNING
Page 384 of 522

6-13
What to do in an emergency
6
The TPMS Malfunction Indicator
may illuminate after blinking for
one minute if the vehicle is near
electric power supply cables or
radio transmitters such as police
stations, government and public
offices, broadcasting stations,
military installations, airports,
transmitting towers, etc.
Additionally, the TPMS Malfunction
Indicator may illuminate if snow
chains are used or electronic
devices such as computers, charg-
ers, remote starters, navigation,
etc. This may interfere with normal
operation of the TPMS.
Changing a Tire with TPMS
If you have a flat tire, the Low Tire
Pressure and Position telltales will
come on. Have the flat tire repaired
by an authorized HYUNDAI dealer
as soon as possible or replace the
flat tire with the spare tire.
The spare tire (if equipped) does not
come with a tire pressure monitoring
sensor. When the low pressure tire or
the flat tire is replaced with the spare
tire, the Low Tire Pressure Telltale
will remain on. Also, the TPMS
Malfunction Indicator will illuminate
after blinking for one minute if the
vehicle is driven at speed above 15.5
mph (25 km/h) for approximately 20
minutes.Once the original tire equipped with
a tire pressure monitoring sensor is
reinflated to the recommended pres-
sure and reinstalled on the vehicle,
the Low Tire Pressure Telltale and
TPMS Malfunction Indicator will go
off within a few minutes of driving.
If the indicators do not extinguish
after a few minutes, please visit an
authorized HYUNDAI dealer.
Each wheel is equipped with a tire
pressure sensor mounted inside the
tire behind the valve stem (except for
the spare tire). You must use TPMS
specific wheels. It is recommended
that you always have your tires serv-
iced by an authorized HYUNDAI
dealer.
You may not be able to identify a tire
with low pressure by simply looking
at it. Always use a good quality tire
pressure gauge to measure. Please
note that a tire that is hot (from being
driven) will have a higher pressure
measurement than a tire that is cold.
NOTICE
Never use a puncture-repairing
agent not approved by
HYUNDAI dealer to repair and/
or inflate a low pressure tire.
Tire sealant not approved by
HYUNDAI dealer may damage
the tire pressure sensor.
CAUTION
Page 396 of 522
6-25
What to do in an emergency
0. Speed restriction label
1. Sealant bottle and label withspeed restriction
2. Filling hose from sealant bottle to wheel
3. Connectors and cable for power outlet direct connection 4. Holder for the sealant bottle
5. Compressor
6. ON/OFF switch
7. Pressure gauge for displaying the
tire inflation pressure
8. Screw cap for reducing tire infla- tion pressure 9. Hose to connect compressor and
sealant bottle or compressor and
wheel
Connectors, cable and connection
hose are stored in the compressor
housing.
Strictly follow the specified
sequence, otherwise the sealant
may escape under high pressure.
6
Components of the Tire Mobility Kit
OEL069020
Do not use the tire sealant after
the sealant has expired (i.e.
pasted the expiration date on
the sealant container). This can
increase the risk of tire failure.
WARNING
Keep out of reach of children.
Avoid contact with eyes.
Do not swallow.
WARNING
Page 398 of 522
6-27
What to do in an emergency
5. Insert the sealant bottle into thehousing (4) of the compressor so
that the bottle is upright.
6. Ensure that the compressor is switched off, position 0. 7. Plug the compressor power cord
(3) into the vehicle power outlet.
8. With the ignition switch in the ON position, switch on the compres-
sor and let it run for approximately
5~7 minutes to fill the sealant up
to proper pressure. (refer to the
Tire and Wheels, chapter 8). The
inflation pressure of the tire after
filling is unimportant and will be
checked/corrected later.
Be careful not to overinflate the
tire and stay away from the tire
when filling it.
6
OLMF064105OLF067019
Securely install the sealant fill-
ing hose to the valve. If not,
sealant may flow backward,
possibly clogging the filling
hose.
CAUTION
OLF067033
Page 399 of 522

6-28
9. Switch off the compressor.
10. Detach the hoses from thesealant bottle connector and
from the tire valve.
Return the Tire Mobility Kit to its stor-
age location in the vehicle.
Distributing the sealant
11. Immediately drive approximately 4~6 miles (7~10 km or about 10
minutes) to evenly distribute the
sealant in the tire.
Do not exceed a speed of 50 mph
(80 km/h). If possible, do not fall
below a speed of 12 mph (20 km/h).
While driving, if you experience any
unusual vibration, ride disturbance or
noise, reduce your speed and drive
with caution until you can safely pull
off of the side of the road.
Call for road side service or towing.
When you use the Tire Mobility Kit,
the tire pressure sensors and wheel
may be damaged by sealant, have it
inspected at an authorized dealer. Checking the tire inflation pres-
sure
1. After driving approximately
4~6 miles (7~10 km or about
10 minutes), stop at a safe loca-
tion.
2. Connect hose (9) of the compres- sor directly to the tire valve.
3. Plug the compressor power cord into the vehicle power outlet.
What to do in an emergency
OLF067020
Do not attempt to drive your
vehicle if the tire pressure is
below 29 psi (200 kpa). This
could result in an accident due
to sudden tire failure.
CAUTION
Do not leave your vehicle run-
ning in a poorly ventilated area
for extended periods of time.
Carbon monoxide poisoning
and suffocation can occur.
WARNING