Page 137 of 570
Features of your vehicle
34
4
Smart Liftgate (Smart Tailgate)
(if equipped)
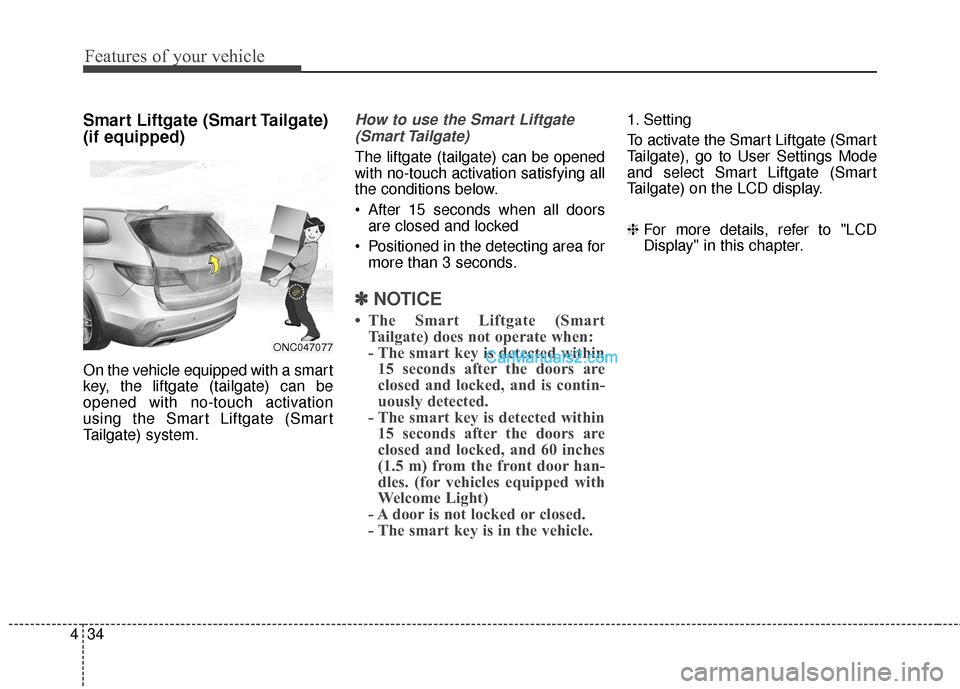
On the vehicle equipped with a smart
key, the liftgate (tailgate) can be
opened with no-touch activation
using the Smart Liftgate (Smart
Tailgate) system.
How to use the Smart Liftgate
(Smart Tailgate)
The liftgate (tailgate) can be opened
with no-touch activation satisfying all
the conditions below.
After 15 seconds when all doors are closed and locked
Positioned in the detecting area for more than 3 seconds.
✽ ✽ NOTICE
• The Smart Liftgate (Smart
Tailgate) does not operate when:
- The smart key is detected within15 seconds after the doors are
closed and locked, and is contin-
uously detected.
- The smart key is detected within 15 seconds after the doors are
closed and locked, and 60 inches
(1.5 m) from the front door han-
dles. (for vehicles equipped with
Welcome Light)
- A door is not locked or closed.
- The smart key is in the vehicle.
1. Setting
To activate the Smart Liftgate (Smart
Tailgate), go to User Settings Mode
and select Smart Liftgate (Smart
Tailgate) on the LCD display.
❈ For more details, refer to "LCD
Display" in this chapter.
ONC047077
Page 138 of 570
435
Features of your vehicle
2. Detect and Alert
If you are positioned in the detecting
area (50 ~100 cm (20 ~ 40 in.)
behind the vehicle) carrying a smart
key, the hazard warning lights will
blink and chime will sound to alert
you the smart key has been detected
and the tailgate will open.
✽ ✽NOTICE
Do not approach the detecting area
if you do not want the liftgate (tail-
gate) to open. If you have uninten-
tionally entered the detecting area
and the hazard warning lights and
chime starts to operate, leave the
detecting area with the smart key.
The liftgate (tailgate) will stay
closed.
3. Automatic opening
The hazard warning lights will blink
and chime will sound 6 times and
then the liftgate (tailgate) will slowly
open.
ONC047078ONC047079
Page 143 of 570
Features of your vehicle
40
4
Power windows
The ignition switch must be in the ON
position for power windows to operate.
Each door has a power window
switch that controls that door's win-
dow. The driver has a power window
lock switch which can block the oper-
ation of passenger windows. The dri-
ver’s door has a master power win-
dow switch that controls all the win-
dows in the vehicle. The power win-
dows can be operated for approxi-
mately 30 seconds after the ignition
key is removed or turned to the ACC
or LOCK position. However, if the
front doors open, the power windows
cannot be operated within the 30
second period.
✽ ✽
NOTICE
• In cold and wet climates, power
windows may not work properly
due to freezing conditions.
• While driving with the rear win- dows down or with the sunroof (if
equipped) in an open (or partially
open) position, your vehicle may
demonstrate a wind buffeting or
pulsation noise. This noise is a
normal occurrence and can be
reduced or eliminated by taking
the following actions. If the noise
occurs with one or both of the
rear windows down, partially
lower both front windows
approximately one inch. If you
experience the noise with the sun-
roof open, slightly reduce the size
of the sunroof opening.
Window opening and closing
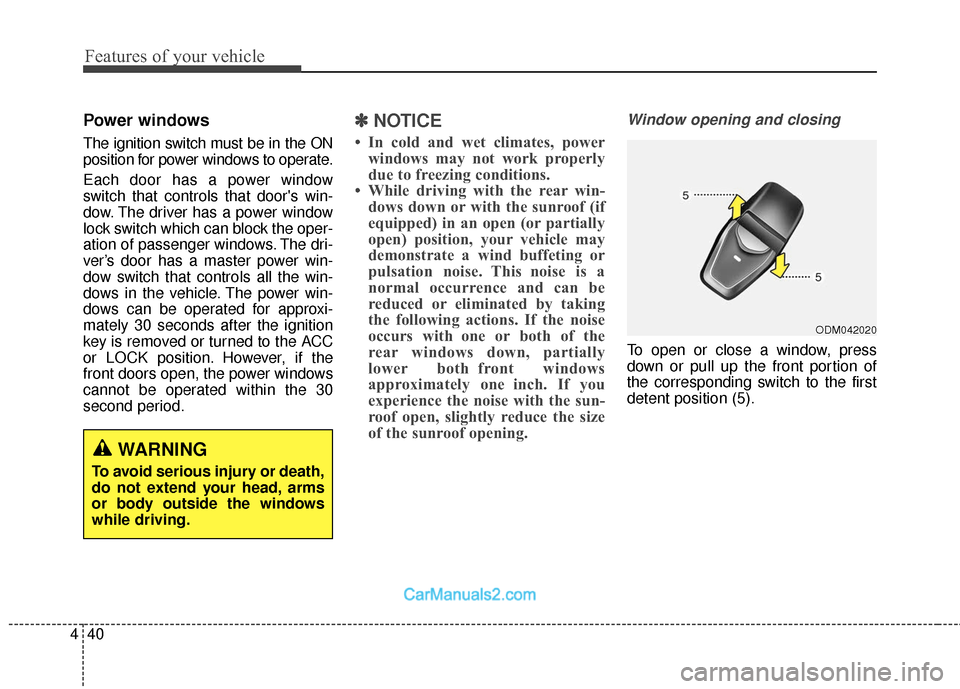
To open or close a window, press
down or pull up the front portion of
the corresponding switch to the first
detent position (5).
ODM042020
WARNING
To avoid serious injury or death,
do not extend your head, arms
or body outside the windows
while driving.
Page 147 of 570
Features of your vehicle
44
4
Opening the hood
1. Pull the release lever to unlatch
the hood. The hood should pop
open slightly. 2. Go to the front of the vehicle, raise
the hood slightly, pull the second-
ary latch (1) inside of the hood up
and lift the hood (2).
3. Raise the hood. It will raise com- pletely by itself after it has been
raised about halfway.
HOOD
WARNING
Open the hood after turning off
the engine on a flat surface,
shifting the shift lever to the P
(Park) position, and setting the
parking brake.
ODM042023
ONC046082
WARNING
When you check the engine
compartment, please make sure
your head is not injured by the
hood safety hook which is
located inside of the hood.
ODMNMC2034
Page 148 of 570
445
Features of your vehicle
Closing the hood
1. Before closing the hood, check thefollowing:
ment must be correctly installed.
bustible material must be
removed from the engine com-
partment.
2. Lower the hood halfway (lifted approximately 30cm from the
closed position) and push down to
securely lock in place. Then dou-
ble check to be sure the hood is
secure.WARNING
Before closing the hood,ensure that all obstructions
are removed from the hood
opening. Closing the hood
with an obstruction present in
the hood opening may result
in property damage or severe
personal injury.
Do not leave gloves, rags or any other combustible materi-
al in the engine compartment.
Doing so may cause a heat-
induced fire.
Always double check to be sure that the hood is firmly
latched before driving away.
Check there is no hood open
warning light displayed on the
instrument cluster. Driving
with the hood opened may
cause a total loss of visibility,
which might result in an acci-
dent.
Do not move the vehicle with the hood in the raised posi-
tion, as vision is obstructed
and the hood could fall or be
damaged.
Page 149 of 570
Features of your vehicle
46
4
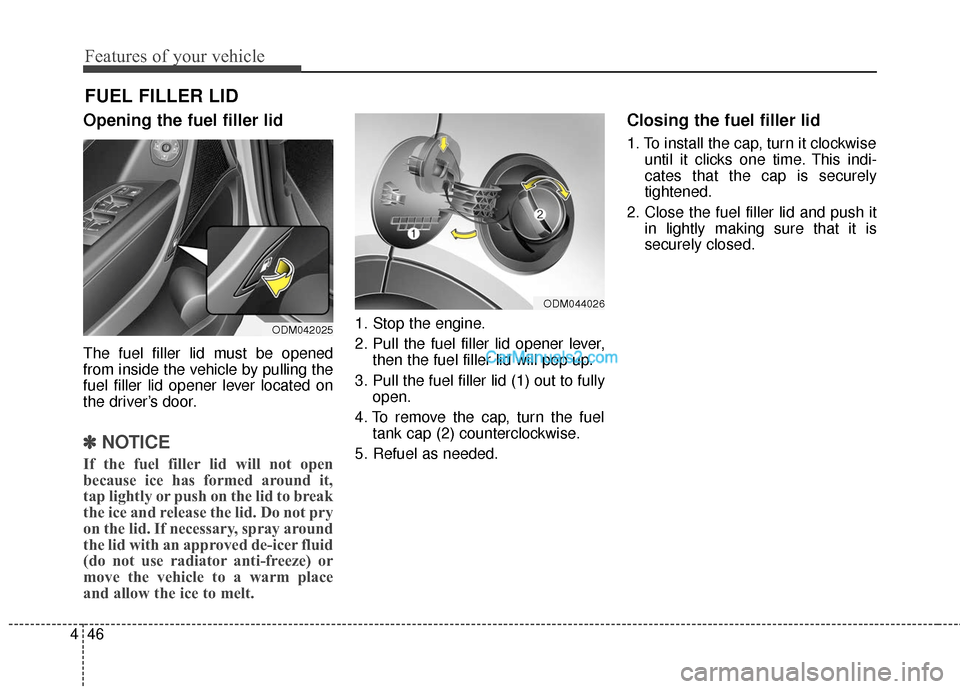
Opening the fuel filler lid
The fuel filler lid must be opened
from inside the vehicle by pulling the
fuel filler lid opener lever located on
the driver’s door.
✽ ✽
NOTICE
If the fuel filler lid will not open
because ice has formed around it,
tap lightly or push on the lid to break
the ice and release the lid. Do not pry
on the lid. If necessary, spray around
the lid with an approved de-icer fluid
(do not use radiator anti-freeze) or
move the vehicle to a warm place
and allow the ice to melt.
1. Stop the engine.
2. Pull the fuel filler lid opener lever,
then the fuel filler lid will pop up.
3. Pull the fuel filler lid (1) out to fully open.
4. To remove the cap, turn the fuel tank cap (2) counterclockwise.
5. Refuel as needed.
Closing the fuel filler lid
1. To install the cap, turn it clockwise until it clicks one time. This indi-
cates that the cap is securely
tightened.
2. Close the fuel filler lid and push it in lightly making sure that it is
securely closed.
FUEL FILLER LID
ODM042025
ODM044026
Page 151 of 570
Features of your vehicle
48
4
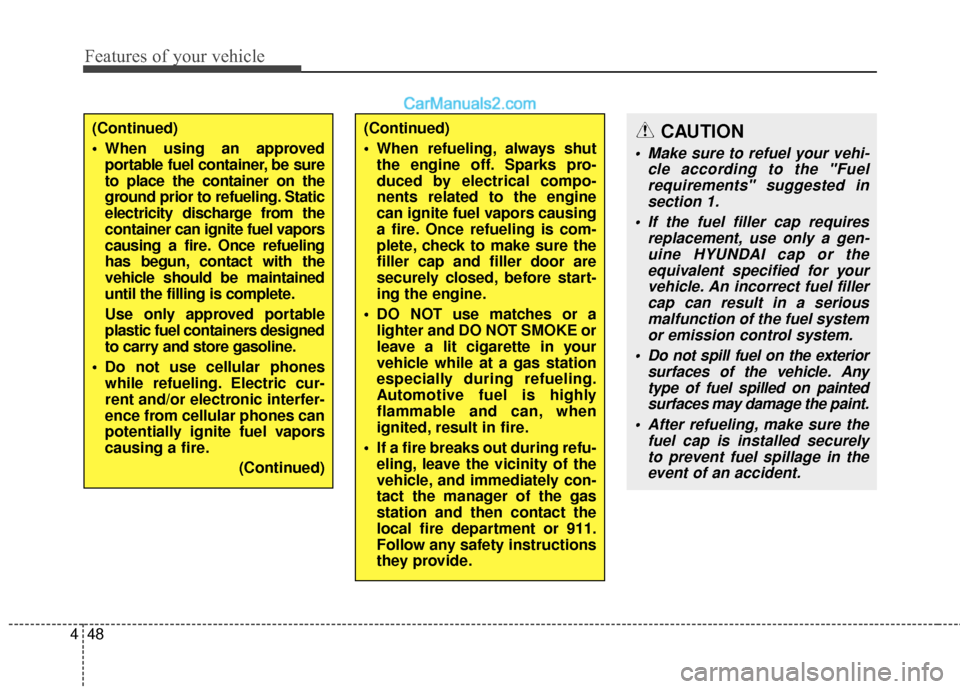
(Continued)
When refueling, always shut
the engine off. Sparks pro-
duced by electrical compo-
nents related to the engine
can ignite fuel vapors causing
a fire. Once refueling is com-
plete, check to make sure the
filler cap and filler door are
securely closed, before start-
ing the engine.
DO NOT use matches or a lighter and DO NOT SMOKE or
leave a lit cigarette in your
vehicle while at a gas station
especially during refueling.
Automotive fuel is highly
flammable and can, when
ignited, result in fire.
If a fire breaks out during refu- eling, leave the vicinity of the
vehicle, and immediately con-
tact the manager of the gas
station and then contact the
local fire department or 911.
Follow any safety instructions
they provide.(Continued)
When using an approvedportable fuel container, be sure
to place the container on the
ground prior to refueling. Static
electricity discharge from the
container can ignite fuel vapors
causing a fire. Once refueling
has begun, contact with the
vehicle should be maintained
until the filling is complete.
Use only approved portable
plastic fuel containers designed
to carry and store gasoline.
Do not use cellular phones while refueling. Electric cur-
rent and/or electronic interfer-
ence from cellular phones can
potentially ignite fuel vapors
causing a fire.
(Continued)CAUTION
Make sure to refuel your vehi-cle according to the "Fuelrequirements" suggested insection 1.
If the fuel filler cap requires replacement, use only a gen-uine HYUNDAI cap or theequivalent specified for yourvehicle. An incorrect fuel fillercap can result in a seriousmalfunction of the fuel systemor emission control system.
Do not spill fuel on the exterior surfaces of the vehicle. Anytype of fuel spilled on paintedsurfaces may damage the paint.
After refueling, make sure the fuel cap is installed securelyto prevent fuel spillage in theevent of an accident.
Page 152 of 570
449
Features of your vehicle
Emergency fuel filler door
release
If the fuel filler door does not open
using the remote fuel filler door
release, you can open it manually.
Unsnap and remove the panel in the
cargo area. Pull the handle outward
slightly.
ODM042027
CAUTION
Do not pull the handle exces-sively, otherwise the luggagearea trim or release handle maybe damaged.