2018 Hyundai Kona Tire Pressure Gauge
[x] Cancel search: Tire Pressure GaugePage 407 of 523
6-40
What to do in an emergency
Checking the tire inflation pressure
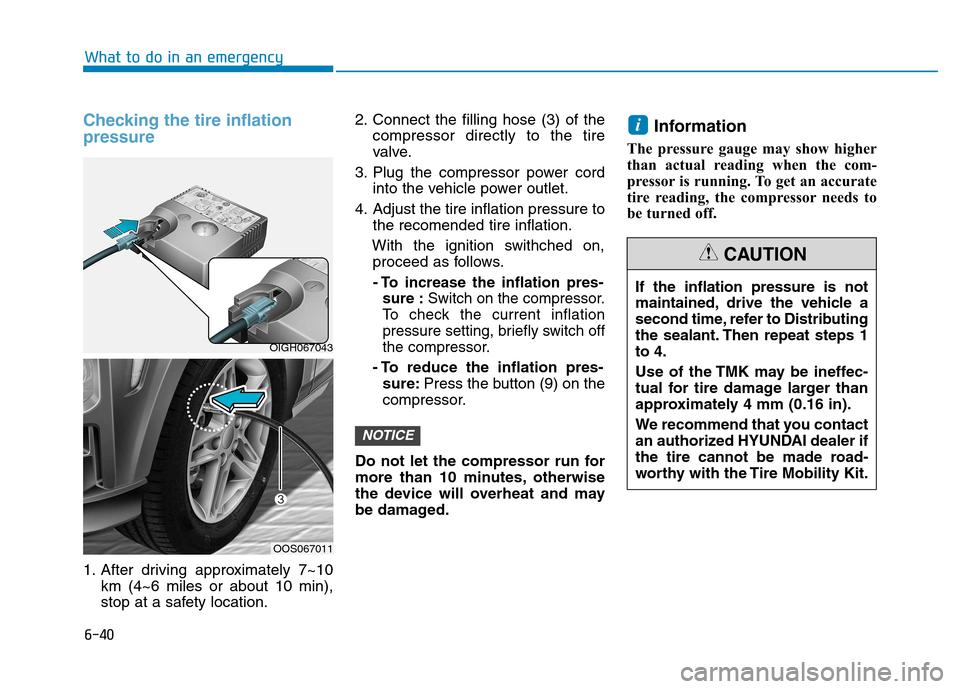
1. After driving approximately 7~10km (4~6 miles or about 10 min),
stop at a safety location. 2. Connect the filling hose (3) of the
compressor directly to the tire
valve.
3. Plug the compressor power cord into the vehicle power outlet.
4. Adjust the tire inflation pressure to the recomended tire inflation.
With the ignition swithched on, proceed as follows.
- To increase the inflation pres- sure : Switch on the compressor.
To check the current inflation
pressure setting, briefly switch off
the compressor.
- To reduce the inflation pres- sure: Press the button (9) on the
compressor.
Do not let the compressor run for
more than 10 minutes, otherwise
the device will overheat and may
be damaged. Information
The pressure gauge may show higher
than actual reading when the com-
pressor is running. To get an accurate
tire reading, the compressor needs to
be turned off.
i
NOTICE
OIGH067043
OOS067011 If the inflation pressure is not
maintained, drive the vehicle a
second time, refer to Distributing
the sealant. Then repeat steps 1to 4.
Use of the TMK may be ineffec-
tual for tire damage larger than
approximately 4 mm (0.16 in).
We recommend that you contact
an authorized HYUNDAI dealer if
the tire cannot be made road-
worthy with the Tire Mobility Kit.
CAUTION
Page 412 of 523
6-45
What to do in an emergency
6
Your vehicle is equipped with emer-
gency commodities to help yourespond to emergency situation.
Fire extinguisher
If there is small fire and you know
how to use the fire extinguisher, fol-
low these steps carefully.
1. Pull out the safety pin at the top ofthe extinguisher that keeps the handle from being accidentallypressed.
2. Aim the nozzle towards the base of the fire.
3. Stand approximately 2.5 m (8 ft) away from the fire and squeeze
the handle to discharge the extin-
guisher. If you release the handle,
the discharge will stop.
4. Sweep the nozzle back and forth at the base of the fire. After the fire
appears to be out, watch carefully
since it may re-ignite.
First aid kit
Supplies for use in giving first aid
such as scissors, bandage and
adhesive tape, etc. are provided.
Triangle reflector
Place the triangle reflector on the
road to warn oncoming vehicles dur-
ing emergencies, such as when the
vehicle is parked by the roadside due
to problems.
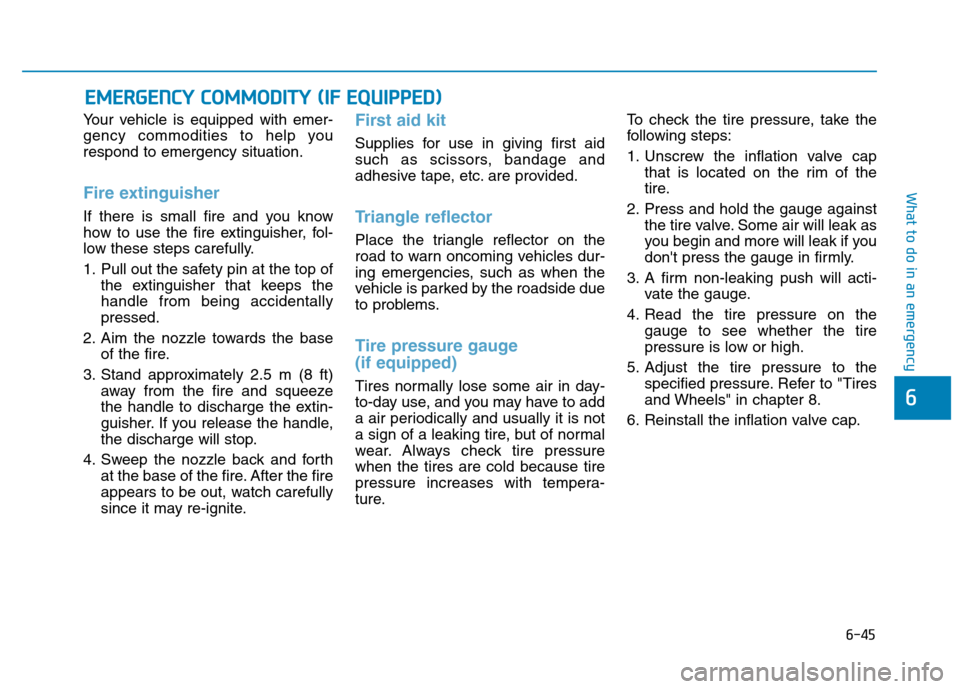
Tire pressure gauge (if equipped)
Tires normally lose some air in day-
to-day use, and you may have to add
a air periodically and usually it is not
a sign of a leaking tire, but of normal
wear. Always check tire pressurewhen the tires are cold because tire
pressure increases with tempera-
ture. To check the tire pressure, take the
following steps:
1. Unscrew the inflation valve cap
that is located on the rim of the
tire.
2. Press and hold the gauge against the tire valve. Some air will leak as
you begin and more will leak if you
don't press the gauge in firmly.
3. A firm non-leaking push will acti- vate the gauge.
4. Read the tire pressure on the gauge to see whether the tire
pressure is low or high.
5. Adjust the tire pressure to the specified pressure. Refer to "Tires
and Wheels" in chapter 8.
6. Reinstall the inflation valve cap.
EE MM EERR GG EENN CCYY CC OO MM MMOODDIITT YY (( IIFF EE QQ UUIIPP PPEEDD ))
Page 448 of 523
7-36
MaintenanceT
T IIRR EESS AA NN DD WW HHEEEELLSS
Tire care
For proper maintenance, safety, and
maximum fuel economy, you must
always maintain recommended tire
inflation pressures and stay within the
load limits and weight distribution rec-
ommended for your vehicle.
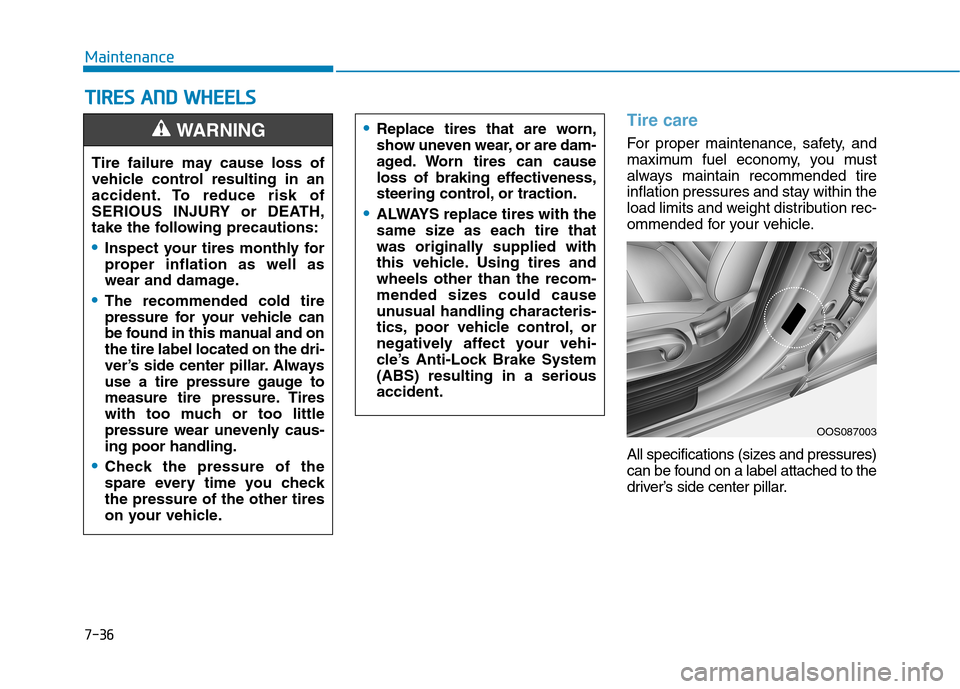
All specifications (sizes and pressures)
can be found on a label attached to the
driver’s side center pillar.Replace tires that are worn,
show uneven wear, or are dam-
aged. Worn tires can cause
loss of braking effectiveness,
steering control, or traction.
ALWAYS replace tires with the
same size as each tire that
was originally supplied with
this vehicle. Using tires andwheels other than the recom-
mended sizes could cause
unusual handling characteris-
tics, poor vehicle control, or
negatively affect your vehi-
cle’s Anti-Lock Brake System(ABS) resulting in a seriousaccident.
Tire failure may cause loss of
vehicle control resulting in an
accident. To reduce risk of
SERIOUS INJURY or DEATH,
take the following precautions:
Inspect your tires monthly for
proper inflation as well as
wear and damage.
The recommended cold tire
pressure for your vehicle can
be found in this manual and onthe tire label located on the dri-
ver’s side center pillar. Always
use a tire pressure gauge to
measure tire pressure. Tires
with too much or too little
pressure wear unevenly caus-ing poor handling.
Check the pressure of the
spare every time you checkthe pressure of the other tires
on your vehicle.
WARNING
OOS087003
Page 450 of 523
7-38
Maintenance
Check tire inflation pressure
Check your tires, including the spare
tire, once a month or more.
How to check
Use a good quality tire pressure
gauge to check tire pressure. You
can not tell if your tires are properly
inflated simply by looking at them.
Radial tires may look properly inflat-
ed when they are under-inflated.
Remove the valve cap from the tire
valve stem. Press the tire gauge firm-
ly onto the valve to get a pressure
measurement. If the cold tire inflationpressure matches the recommendedpressure on the tire and loading
information label, no further adjust-
ment is necessary. If the pressure is
low, add air until you reach the rec-
ommended pressure. Make sure to
put the valve caps back on the valve
stems. Without the valve cap, dirt or
moisture could get into the valve
core and cause air leakage. If a valve
cap is missing, install a new one as
soon as possible.If you overfill the tire, release air bypushing on the metal stem in the
center of the tire valve. Recheck the
tire pressure with the tire gauge. Be
sure to put the valve caps back on
the valve stems. Without the valve
cap, dirt or moisture could get into
the valve core and cause air leakage.
If a valve cap is missing, install a new
one as soon as possible.
Tire rotation
To equalize tread wear, HYUNDAI recommends that the tires be rotated
every 12,000 km (7,500 miles) or
sooner if irregular wear develops.
During rotation, check the tires for
correct balance.
When rotating tires, check for uneven
wear and damage. Abnormal wear is
usually caused by incorrect tire pres-
sure, improper wheel alignment, out-
of-balance wheels, severe braking or
severe cornering. Look for bumps or
bulges in the tread or side of the tire.
Replace the tire if you find any of
these conditions. Replace the tire if
fabric or cord is visible. After rotation,
be sure to bring the front and rear tire
pressures to specification and check
lug nut tightness (proper torque is 11~13 kgf·m [79~94 lbf·ft]).
Page 520 of 523
I-9
Normal maintenance schedule (for Europe) .................7-8
Normal maintenance schedule (except Europe) ...........7-13
Odometer ......................................................................3-40
Oil (Engine) ..................................................................7-21
Outside rearview mirror ...............................................3-20
Outside temperature gauge ...........................................3-40
Owner maintenance ........................................................7-5
Parking brake ................................................................5-29
Parking Distance Warning (Reverse) system .............3-100
Parking Distance Warning (Reverse/Forward) system3-104
Passenger's front air bag ON/OFF switch ....................2-49
Passenger's front air bag ...............................................2-48
Position lamp position ..................................................3-84
Power brakes.................................................................5-28
Power outlet ................................................................3-132
Power steering ..............................................................3-17
Power window lock switch...........................................3-26
Pre-tensioner seat belt...................................................2-28
Rear center seat belt .....................................................2-27
Rear fog lamp ...............................................................3-89
Rear seat adjustment .....................................................2-12
Folding the rear seat.................................................2-12
Armrest.....................................................................2-14
Rear seat headrests .......................................................2-18 Adjusting the height up and down ...........................2-19
Rear view monitor ........................................................3-99
Rear window wiper and washer switch........................3-98
Recommended cold tire inflation pressures .................7-37
Recommended lubricants and capacities........................8-7
Refrigerant label ...........................................................8-12
Remote key .....................................................................3-3 Locking ......................................................................3-3
Unlocking ...................................................................3-3
Tailgate unlocking ......................................................3-3
Mechanical key ..........................................................3-4
Battery replacement ...................................................3-5
Removable towing hook ...............................................6-42
Replacement light bulb .................................................7-64
Returning used vehicles ................................................F-9
Rocking the vehicle ......................................................5-96
Rotation (Tire) ..............................................................7-38
I
Index
N
O
P
R