Page 118 of 534

3-33
Convenient features of your vehicle
3
- If the indicator (4) or (6) does notturn to Green, it indicates that the
last status of garage door was
not received properly. The
HomeLink mirror tries to receive
the last known status of the
garage door for a few seconds.Recalling Garage Door Status
Homelink mirror with two way com-
munication provides a way to viewthe last stored message from the
garage door opener. In order to recall
the last known status of the last acti-
vated device, press the buttons "1
and 2" OR "2 and 3" simultaneously.
If the indicator (4) is ON continu- ously in Green, it indicates that the
last activated device was "closed"
properly.
If the indicator (6) is ON continu- ously in Green, it indicates that the
last activated device was "open"
properly.
Information
Two way communication range dis-
tance between "vehicle" and "garage
door opener" is 100m.
The range may be reduced or
increased a little due to obstacle con-
ditions around the garage door open-
er, such as houses or trees.
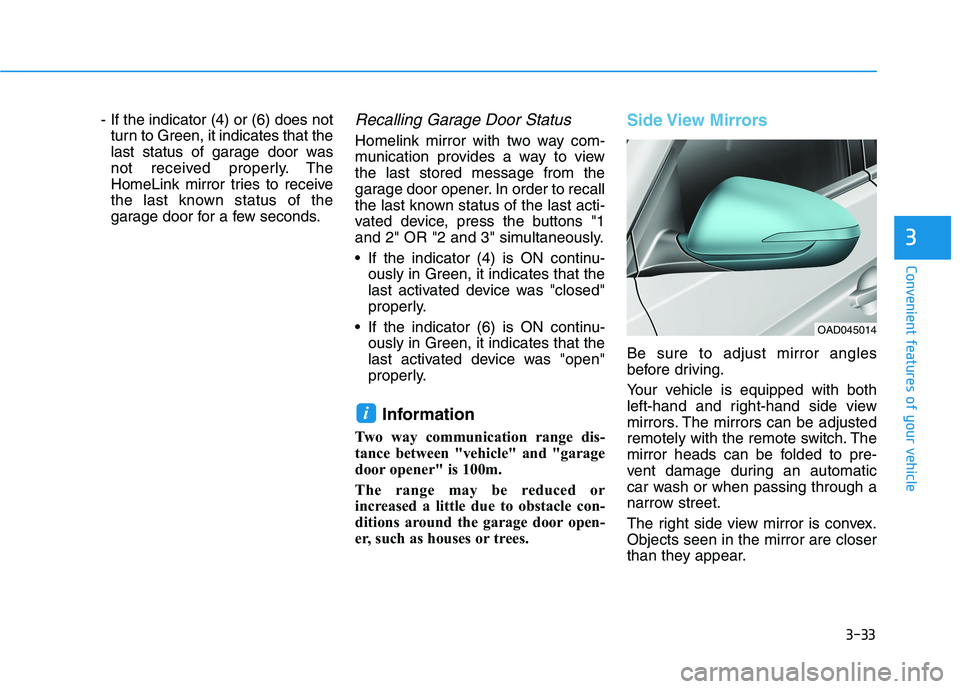
Side View Mirrors
Be sure to adjust mirror angles
before driving.
Your vehicle is equipped with both
left-hand and right-hand side view
mirrors. The mirrors can be adjusted
remotely with the remote switch. The
mirror heads can be folded to pre-
vent damage during an automatic
car wash or when passing through a
narrow street.
The right side view mirror is convex. Objects seen in the mirror are closer
than they appear.
i
OAD045014
Page 166 of 534
3-81
Convenient features of your vehicle
3
LCD Display ControlThe LCD display modes can be
changed by using the control buttons
on the steering wheel.
(1) : MODE button for changingmodes
(2) ▲, ▼ : MOVE switch for chang-
ing items
(3) OK : SELECT/RESET button for setting or resetting the selected item
LLCC DD DD IISS PP LLAA YY (( FF OO RR SS UU PPEERR VV IISS IIOO NN CC LLUU SSTT EERR ))
OAD048548N/OAD048109N
■Type A
■Type B
■Type C
Page 215 of 534

3-130
Convenient features of your vehicle
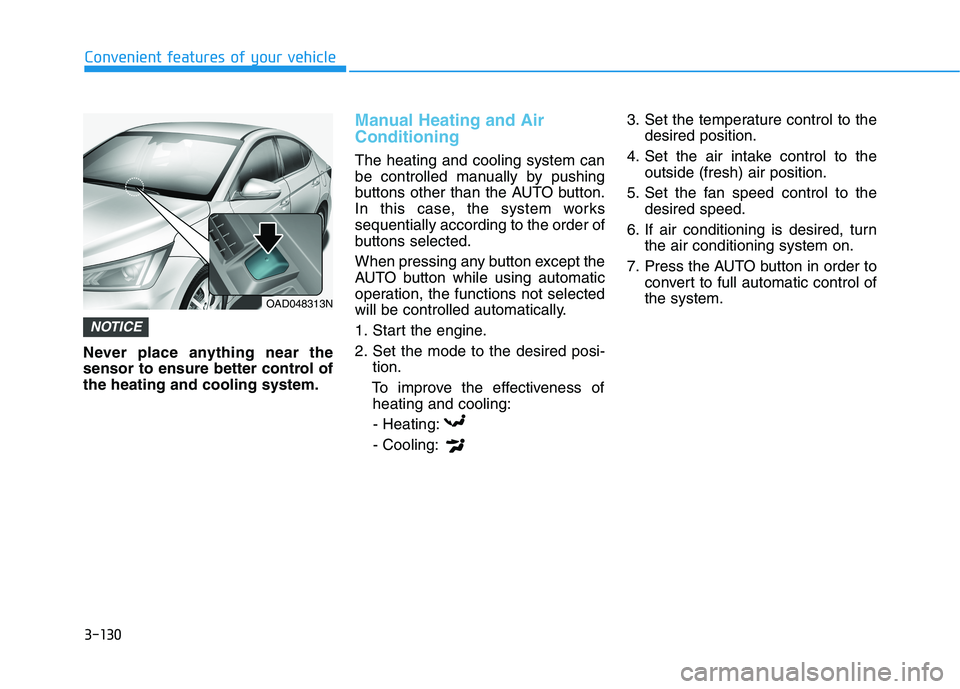
Never place anything near the
sensor to ensure better control ofthe heating and cooling system.
Manual Heating and Air Conditioning
The heating and cooling system can
be controlled manually by pushing
buttons other than the AUTO button.
In this case, the system workssequentially according to the order of
buttons selected.
When pressing any button except the
AUTO button while using automatic
operation, the functions not selected
will be controlled automatically.
1. Start the engine.
2. Set the mode to the desired posi-tion.
To improve the effectiveness of heating and cooling:
- Heating:- Cooling: 3. Set the temperature control to the
desired position.
4. Set the air intake control to the outside (fresh) air position.
5. Set the fan speed control to the desired speed.
6. If air conditioning is desired, turn the air conditioning system on.
7. Press the AUTO button in order to convert to full automatic control of the system.
NOTICE
OAD048313N
Page 221 of 534

3-136
Convenient features of your vehicle
OFF mode
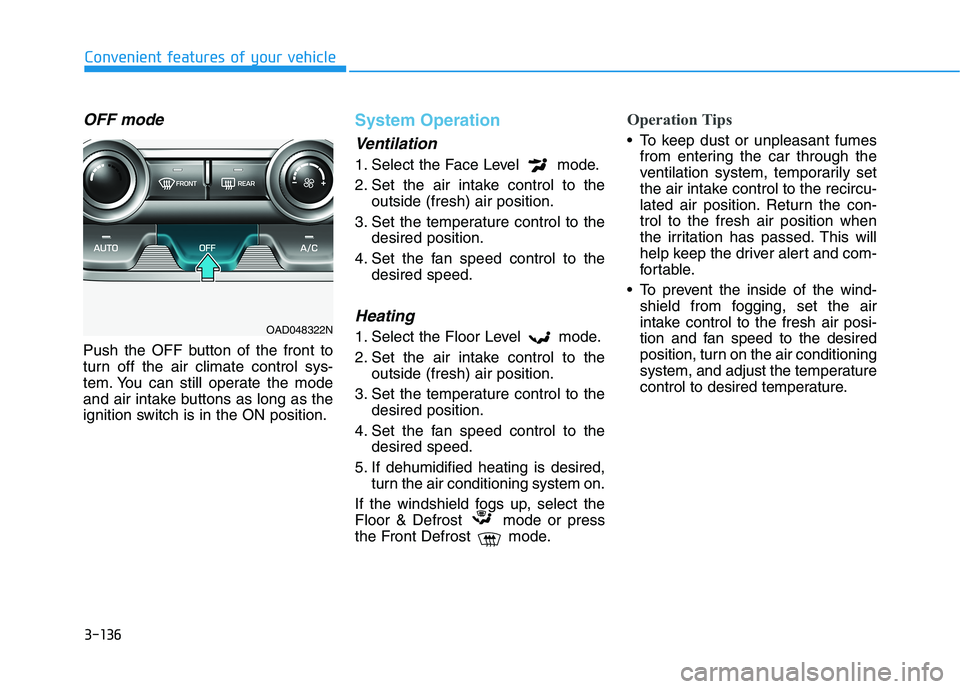
Push the OFF button of the front to
turn off the air climate control sys-
tem. You can still operate the mode
and air intake buttons as long as the
ignition switch is in the ON position.
System Operation
Ventilation
1. Select the Face Level mode.
2. Set the air intake control to theoutside (fresh) air position.
3. Set the temperature control to the desired position.
4. Set the fan speed control to the desired speed.
Heating
1. Select the Floor Level mode.
2. Set the air intake control to theoutside (fresh) air position.
3. Set the temperature control to the desired position.
4. Set the fan speed control to the desired speed.
5. If dehumidified heating is desired, turn the air conditioning system on.
If the windshield fogs up, select the
Floor & Defrost mode or press
the Front Defrost mode.
Operation Tips
To keep dust or unpleasant fumes from entering the car through the
ventilation system, temporarily set
the air intake control to the recircu-
lated air position. Return the con-trol to the fresh air position when
the irritation has passed. This will
help keep the driver alert and com-
fortable.
To prevent the inside of the wind- shield from fogging, set the air
intake control to the fresh air posi-
tion and fan speed to the desired
position, turn on the air conditioning
system, and adjust the temperature
control to desired temperature.
OAD048322N
Page 240 of 534

4-3
Multimedia System
4
To prevent damage to the rearglass antenna, never use sharp
instruments or window cleaner
containing abrasives to clean
the window. Clean the inside
surface of the rear glass window
with a piece of soft cloth.
Avoid adding metallic coatings to the rear glass window. These
can degrade AM and FM broad-cast signals.
Steering Wheel Audio Control
Do not operate multiple audio
remote control buttons simultane-
ously.
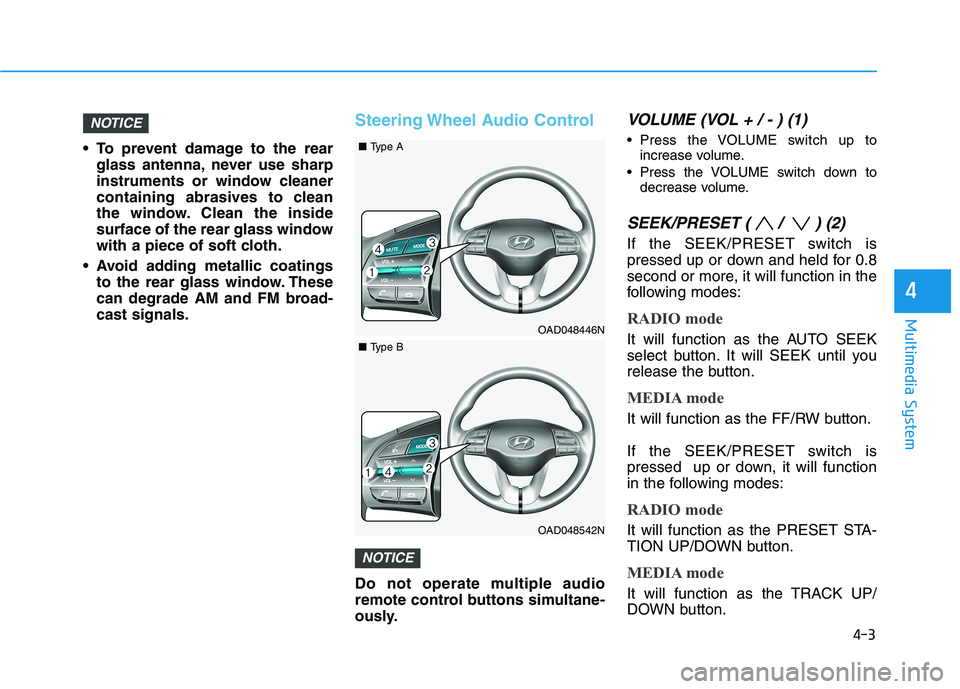
VOLUME (VOL + / - ) (1)
Press the VOLUME switch up toincrease volume.
Press the VOLUME switch down to decrease volume.
SEEK/PRESET ( / ) (2)
If the SEEK/PRESET switch is
pressed up or down and held for 0.8
second or more, it will function in the
following modes:
RADIO mode
It will function as the AUTO SEEK
select button. It will SEEK until you
release the button.
MEDIA mode
It will function as the FF/RW button.
If the SEEK/PRESET switch is
pressed up or down, it will function
in the following modes:
RADIO mode
It will function as the PRESET STA-
TION UP/DOWN button.
MEDIA mode
It will function as the TRACK UP/
DOWN button.
NOTICE
NOTICE
OAD048446N
■Type A
OAD048542N
■Type B
Page 241 of 534
4-4
Multimedia System
MODE (3)
Press the MODE button to toggle
through Radio, XM or AUX modes.
MUTE ( ) (4)
Press the MUTE button to mute thesound.
Press the MUTE button again to activate the sound.
Information
Detailed information for audio control
buttons is described later in this chap-
ter or in the Car Multimedia User's
Manual that was supplied with this
vehicle
Bluetooth®Wireless
Technology Hands-Free
You can use the phone wirelessly by using the Bluetooth®Wireless
Technology. (1) Call / Answer button
(2) Call end button(3) Microphone
Detailed information for the
Bluetooth®Wireless Technology
hands-free is described later in this chapter or in the Car Multimedia
User's Manual.
Audio (Display Audio) / Video /
Navigation System (AVN)
Detailed information for the AVN sys-
tem is described in the Car
Multimedia User's Manual.
i
OAD048447N
■ Type A
OAD045430
■Type B