2018 HONDA CLARITY PLUG-IN Door
[x] Cancel search: DoorPage 501 of 591

499
Maintenance
Checking and Maintaining Tires
Checking Tires
To safely operate your vehicle, your tires must be of the proper type and size, in
good condition with adequate tread, and properly inflated.
■Inflation guidelines
Properly inflated tires provid e the best combination of hand ling, tread life, and comfort.
Refer to the driver’s doorjamb label or spec ifications page for the specified pressure.
Underinflated tires wear unev enly, adversely affect handling and fuel economy, and
are more likely to fail from overheating.
Overinflated tires make your vehicle ride ha rshly, are more prone to road hazards,
and wear unevenly.
Every day before you drive, look at each of the tires. If one looks lower than the
others, check the pressure with a tire gauge.
At least once a month or before long trips , use a gauge to measure the pressure in
all tires. Even tires in good condition can lose 1–2 psi (10–20 kPa, 0.1–0.2 kgf/cm
2)
per month.
■Inspection guidelines
Every time you check inflation, also examine the tires and valve stems.
Look for:
• Bumps or bulges on the side or in the tread. Replace the tire if you find any cuts,
splits, or cracks in the side of the tire . Replace it if you see fabric or cord.
• Remove any foreign objects and inspect for air leaks.
• Uneven tread wear. Have an authorized H onda Clarity Plug-In Hybrid dealer check
the wheel alignment.
• Excessive tread wear.
2 Wear Indicators P. 504
•Cracks or other damage around valve stem.
1Checking Tires
Measure the air pressure when tires are cold. This
means the vehicle has been parked for at least three
hours, or driven less than 1 mile (1.6 km). If
necessary, add or releas e air until the specified
pressure is reached.
If checked when hot, tire pressure can be as much as
4–6 psi (30–40 kPa, 0.3–0.4 kgf/cm
2) higher than if
checked when cold.
Whenever tire pressure is adjusted, you must
calibrate the TPMS. 2 TPMS Calibration P. 425
Have an authorized Honda Clarity Plug-In Hybrid
dealer check the tires if you feel a consistent vibration
while driving. New tires and any that have been
removed and reinstalled sh ould be properly balanced.
3WARNING
Using tires that are excessively worn or
improperly inflated can cause a crash in
which you can be seriously hurt or killed.
Follow all instructions in this owner’s
manual regarding ti re inflation and
maintenance.
18 CLARITY PHEV CSS-31TRW6000.book 499 ページ 2017年12月25日 月曜日 午後2時22分
Page 502 of 591

500
uuChecking and Maintaining Tires uTire and Loading Information Label
Maintenance
Tire and Loading Information Label
The label attached to the driver’s doorj amb provides necessary tire and loading
information.
Tire Labeling
The tires that came on your vehicle have a
number of markings. Those you should be
aware of are described as shown.
Whenever tires are replaced, they should be replaced with tires of the same size.
1 Tire and Loading Information Label
The tire and loading informat ion label attached to the
driver’s doorjamb contains:
aThe number of people your vehicle can carry.bThe total weight your vehicle can carry. Do not
exceed this weight.
cThe original tire sizes for front, rear, and spare, if
equipped.
dThe proper cold tire pressure for front, rear, and
spare, if equipped.
Label
Example
Example Tire Size
Tire
Identification
Number (TIN)
Maximum
Tire Load
Maximum
Tire Pressure
Tire Size
■Tire Sizes
1 Tire Sizes
Following is an example of tire size with an
explanation of what each component means.
235/45R18 94V
235: Tire width in millimeters.
45: Aspect ratio (the tire’s section height as a
percentage of its width).
R: Tire construction code (R indicates radial).
18: Rim diameter in inches.
94: Load index (a numerical code associated with the
maximum load the tire can carry).
V: Speed symbol (an alphab etical code indicating the
maximum speed rating).
18 CLARITY PHEV CSS-31TRW6000.book 500 ページ 2017年12月25日 月曜日 午後2時22分
Page 505 of 591
503
uuChecking and Maintaining Tires uDOT Tire Quality Grading (U.S. Vehicles)
Maintenance
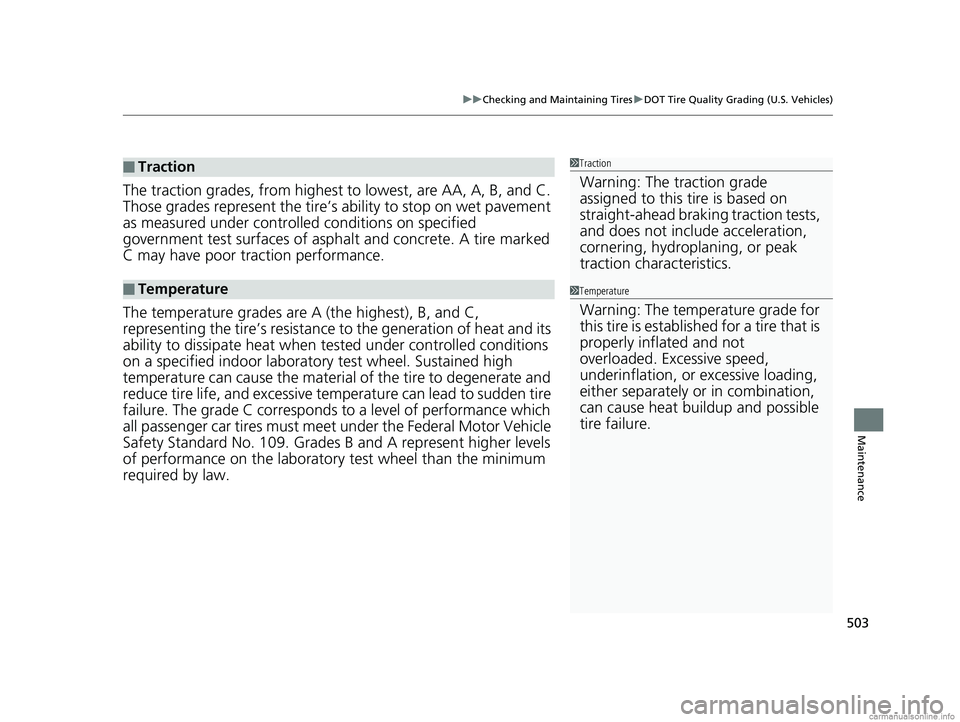
The traction grades, from highest to lowest, are AA, A, B, and C.
Those grades represent the tire’s ability to stop on wet pavement
as measured under controlled conditions on specified
government test surfaces of asph alt and concrete. A tire marked
C may have poor traction performance.
The temperature grades are A (the highest), B, and C,
representing the tire’s resistance to the generation of heat and its
ability to dissipate heat when te sted under controlled conditions
on a specified indoor laboratory test wheel. Sustained high
temperature can cause the material of the tire to degenerate and
reduce tire life, and ex cessive temperature can lead to sudden tire
failure. The grade C corresponds to a level of performance which
all passenger car tires must meet under the Federal Motor Vehicle
Safety Standard No. 109. Grades B and A represent higher levels
of performance on the laboratory test wheel than the minimum
required by law.
■Traction
■Temperature
1 Traction
Warning: The traction grade
assigned to this tire is based on
straight-ahead braking traction tests,
and does not include acceleration,
cornering, hydroplaning, or peak
traction characteristics.
1Temperature
Warning: The temperature grade for
this tire is establishe d for a tire that is
properly inflated and not
overloaded. Excessive speed,
underinflation, or excessive loading,
either separately or in combination,
can cause heat buildup and possible
tire failure.
18 CLARITY PHEV CSS-31TRW6000.book 503 ページ 2017年12月25日 月曜日 午後2時22分
Page 517 of 591
515
uuCleaning uExterior Care
Continued
Maintenance
Exterior Care
Dust off the vehicle body afte r you drive. Regularly inspect your vehicle for scratches
on painted surfaces. A scratch on a painted surface can result in body rust. If you
find a scratch, promptly repair it.
Wash the vehicle regularly. Wash more fr equently when driving in the following
conditions:
• If driving on roads with road salt.
• If driving in coastal areas.
• If tar, soot, bird droppings, insects, or tree sap are stuck to painted surfaces.
• Make sure to follow the instructions indicated on the automated car wash.
• Fold in the door mirrors.
■Washing the Vehicle
■Using an Automated Car Wash
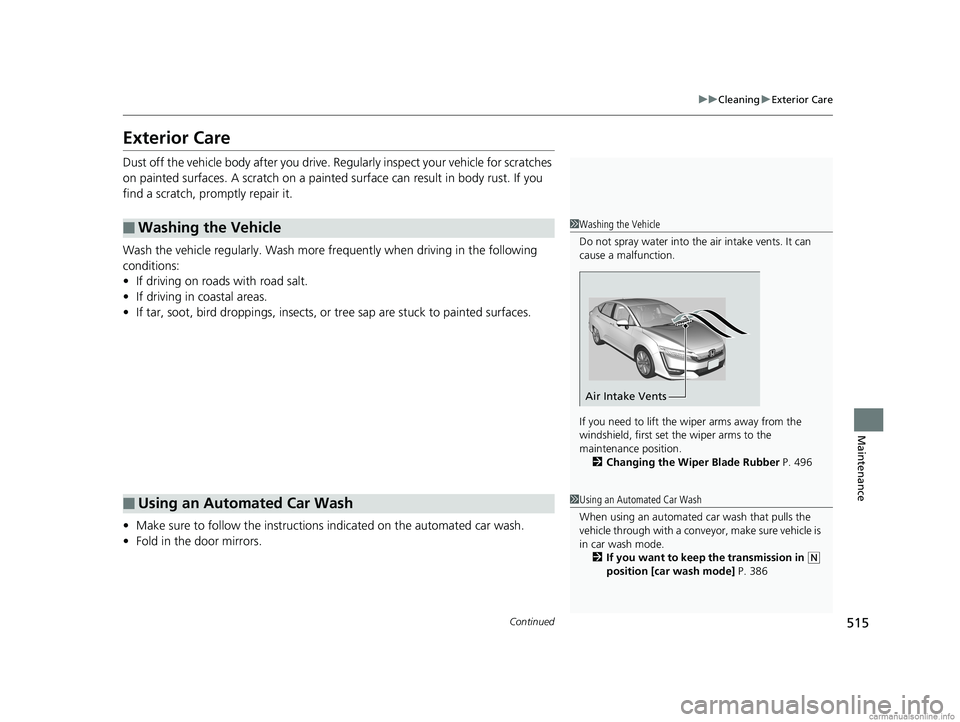
1Washing the Vehicle
Do not spray water into the air intake vents. It can
cause a malfunction.
If you need to lift the wiper arms away from the
windshield, first set the wiper arms to the
maintenance position. 2 Changing the Wiper Blade Rubber P. 496
Air Intake Vents
1Using an Automated Car Wash
When using an automated car wash that pulls the
vehicle through with a convey or, make sure vehicle is
in car wash mode. 2 If you want to keep the transmission in
(N
position [car wash mode] P. 386
18 CLARITY PHEV CSS-31TRW6000.book 515 ページ 2017年12月25日 月曜日 午後2時22分
Page 520 of 591
uuCleaning uExterior Care
518
Maintenance
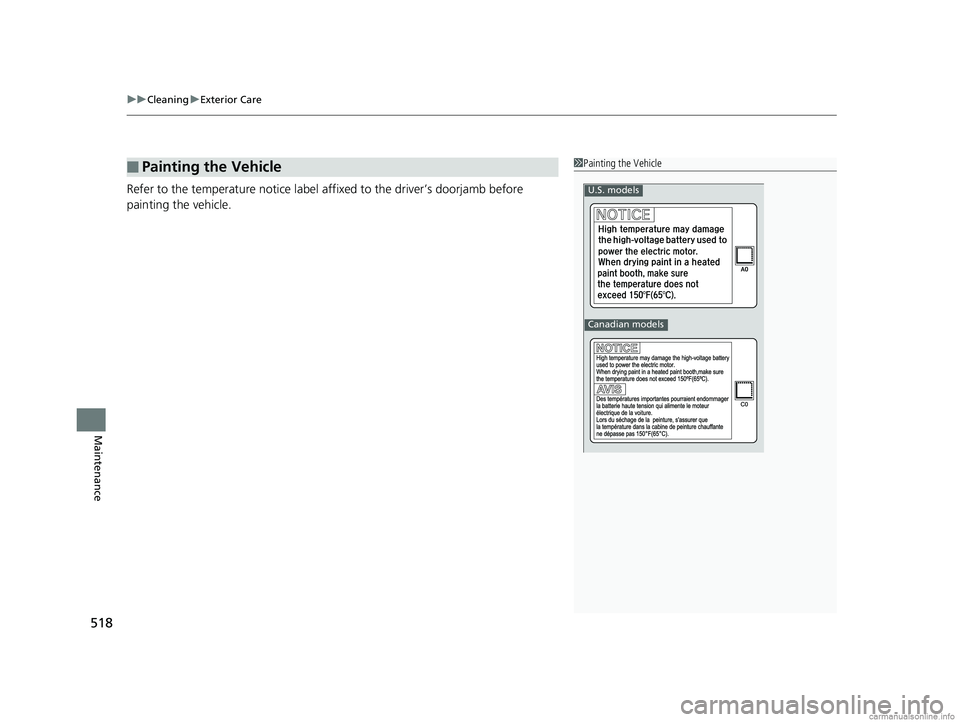
Refer to the temperature notice label a ffixed to the driver’s doorjamb before
painting the vehicle.
■Painting the Vehicle1 Painting the Vehicle
U.S. models
Canadian models
18 CLARITY PHEV CSS-31TRW6000.book 518 ページ 2017年12月25日 月曜日 午後2時22分
Page 523 of 591
521
Handling the Unexpected
This chapter explains how to handle unexpected troubles.
If a Tire Goes FlatTemporarily Repairi ng a Flat Tire....... 522
Handling of the Jack ......................... 534
Power System Won’t Start Checking the Procedure ................... 535
If the Smart Entry Remote Battery is Weak .......................................... 537
Emergency Power System Off........... 538
Jump Starting .................................... 539
Overheating How to Handle Overheating ............. 542
Indicator, Coming On/Blinking
If the Low Oil Pressure Warning Appears .. 545
If the 12-Volt Battery Charging System Indicator Comes On ....................... 546
If the Malfunction Indicator Lamp Comes
On or Blinks ..................................... 547
If the Brake System Indicator (Red) Comes On or Blinks ....................................... 548
If the Electric Power Steering (EPS) System Indicator Comes On ........................... 549
If the Brake System Indicator (Red) Comes On or Blinks at the Same Time
When the Brake System Indicator
(Amber) Comes On ...................... 550
If the Low Tire Pressure/TPMS Indicator
Comes On or Blinks ....................... 551
If the Transmission System Indicator Blinks
along with the Warning Message .... 552
Fuses Fuse Locations ................................. 553
Inspecting and Changing Fuses ........ 560
Emergency Towing ........................... 561
When You Cannot Unlock the Fuel Fill
Door ................................................. 562
When You Cannot Open the Charge
Lid ................................................. 563
When You Cannot Open the Trunk .. 564
18 CLARITY PHEV CSS-31TRW6000.book 521 ページ 2017年12月25日 月曜日 午後2時22分
Page 528 of 591
uuIf a Tire Goes Flat uTemporarily Repairing a Flat Tire
526
Handling the Unexpected
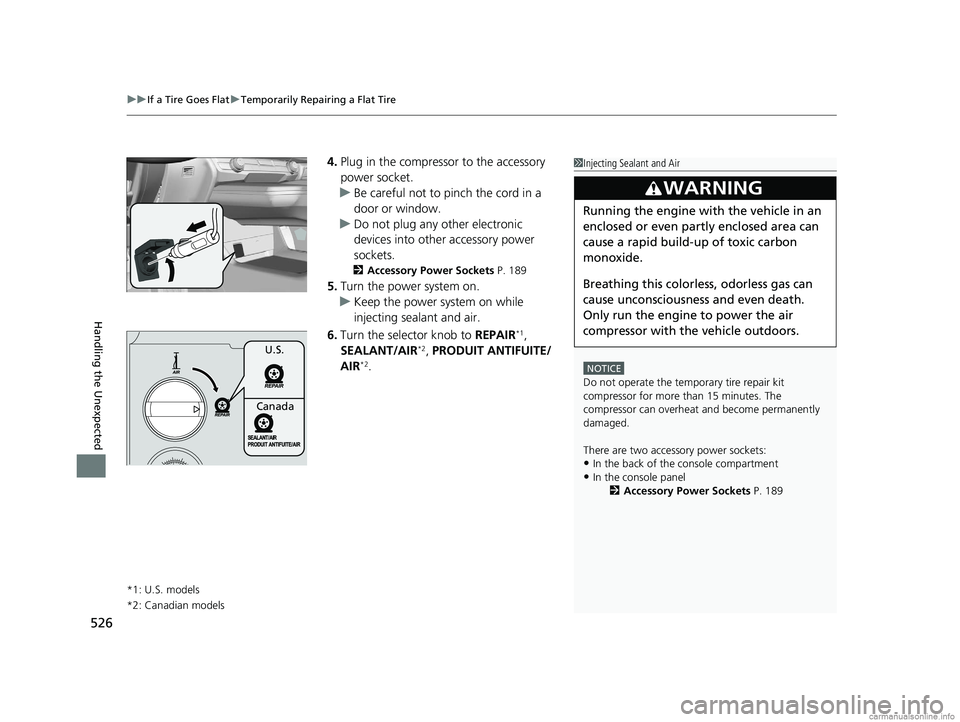
4. Plug in the compressor to the accessory
power socket.
u Be careful not to pinch the cord in a
door or window.
u Do not plug any other electronic
devices into other accessory power
sockets.
2 Accessory Power Sockets P. 189
5.Turn the power system on.
u Keep the power system on while
injecting sealant and air.
6. Turn the selector knob to REPAIR
*1,
SEALANT/AIR*2, PRODUIT ANTIFUITE/
AIR*2.
*1: U.S. models
*2: Canadian models
1 Injecting Sealant and Air
NOTICE
Do not operate the temporary tire repair kit
compressor for more than 15 minutes. The
compressor can overheat and become permanently
damaged.
There are two accessory power sockets:
•In the back of the console compartment
•In the console panel 2Accessory Power Sockets P. 189
3WARNING
Running the engine with the vehicle in an
enclosed or even partly enclosed area can
cause a rapid build-up of toxic carbon
monoxide.
Breathing this colorless, odorless gas can
cause unconsciousness and even death.
Only run the engine to power the air
compressor with th e vehicle outdoors.
U.S.
Canada
18 CLARITY PHEV CSS-31TRW6000.book 526 ページ 2017年12月25日 月曜日 午後2時22分
Page 532 of 591
uuIf a Tire Goes Flat uTemporarily Repairing a Flat Tire
530
Handling the Unexpected
• Greater than 25 psi (175 kPa), but less
than 36 psi (250 kPa):
Turn the air compressor on to inflate the
tire until the tire pressure reaches 36 psi
(250 kPa).
2 Inflating an Under-inflated Tire P. 531
Then drive carefully for 10 more minutes
or until you reach the nearest service
station, whichever is sooner. Do not
exceed 50 mph (80 km/h). If you have not
reached a service station after 10 minutes,
stop in a safe place and check the tire
pressure.
u You should repeat this procedure as
long as the air pressure is within this
range.
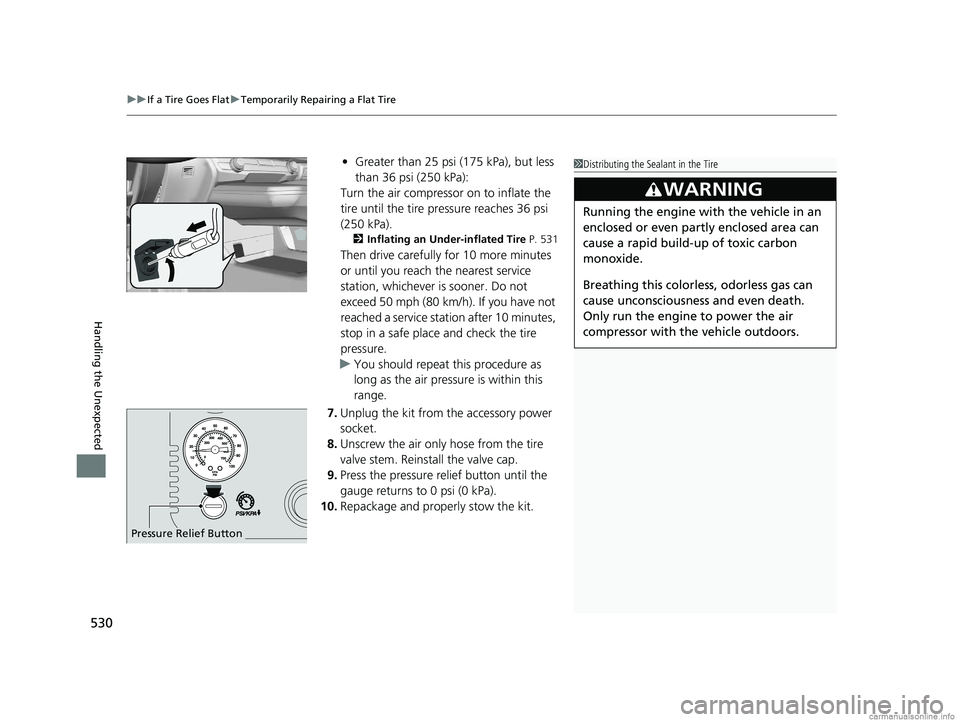
7. Unplug the kit from the accessory power
socket.
8. Unscrew the air only hose from the tire
valve stem. Reinstall the valve cap.
9. Press the pressure relief button until the
gauge returns to 0 psi (0 kPa).
10. Repackage and proper ly stow the kit.
Pressure Relief Button
1Distributing the Sealant in the Tire
3WARNING
Running the engine with the vehicle in an
enclosed or even partly enclosed area can
cause a rapid build-up of toxic carbon
monoxide.
Breathing this colorless, odorless gas can
cause unconsciousness and even death.
Only run the engine to power the air
compressor with th e vehicle outdoors.
18 CLARITY PHEV CSS-31TRW6000.book 530 ページ 2017年12月25日 月曜日 午後2時22分