2018 HONDA CLARITY FUEL CELL key
[x] Cancel search: keyPage 76 of 551
uuChild Safety uSafety of Infants and Small Children
74
Safe DrivingMost child seats are LATCH-compatible (L ower Anchors and Tethers for CHildren).
Some have a rigid-type conn ector while others have a flexible-type connector. Both
are equally easy to use. Some existing and previously owned child seats can only be
installed using the seat belt. Whichever type you choose, follow the child seat
manufacturer’s use and care instructions including recommended expiration dates
as well as the instructions in this manual. Proper installation is key to maximizing
your child’s safety.
In seating positions and vehicles not equipped with LATCH, a LATCH-compatible
child seat can be installed using the seat belt and a top tether for added security.
This is because all child seats are required to be designed so that they can be secured
with a lap belt or the lap part of a lap/sh oulder belt. In addition, the child seat
manufacturer may advise that a seat belt be used to attach a LATCH-compatible seat
once a child reaches a specified weight. Please read the child seat owner’s manual
for proper installation instructions.
■Important consideration wh en selecting a child seat
Make sure the child seat meets th e following three requirements:
• The child seat is the correct type and size for the child.
• The child seat is the correct type for the seating position.
• The child seat is compliant with Fede ral Motor Vehicle Safety Standard 213.
■Selecting a Child Seat1Selecting a Child Seat
Installation of a LATCH-compatible child seat is
simple.
LATCH-compatible child s eats have been developed
to simplify the installati on process and reduce the
likelihood of injuries caused by incorrect installation.
18 CLARITY FUEL CELL PPO-31TRT6100.book 74 ページ 2017年11月21日 火曜日 午後3時3分
Page 98 of 551
96
uuIndicators u
Instrument Panel
IndicatorNameOn/BlinkingExplanationMessage
Turn Signal and
Hazard Warning
Indicators
●Blinks when you operate the turn
signal lever.
●Blinks along with all turn signals
when you press the hazard
warning button.
●Does not blink or blinks rapidly -
Have your vehicle checked by an
authorized Honda Clarity Fuel Cell dealer
immediately.
—
High Beam
Indicator●Comes on when the high beam
headlights are on.——
Lights On
Indicator
●Comes on when the light switch in
a position other than OFF or when
the switch is set to AUTO and the
exterior lights come on.●If you set the power mode to
ACCESSORY or VEHICLE OFF while the
exterior lights are on, a chime sounds
when the driver’s door is opened.
—
Immobilizer
System Indicator
●Blinks if the immobilizer system
cannot recognize the key
information.●Blinks - You cannot start the power
system. Set the power mode to VEHICLE
OFF, then select the ON mode again.
●Repeatedly blinks - The system may be
malfunctioning. Have your vehicle
checked by an author ized Honda Clarity
Fuel Cell dealer.
●Do not attempt to alter this system or add
other devices to it. Electrical problems can
occur.
—
Indicator
18 CLARITY FUEL CELL PPO-31TRT6100.book 96 ページ 2017年11月21日 火曜日 午後3時3分
Page 105 of 551
103
uuIndicators uDriver Information Interface Wa rning and Information Messages
Continued
Instrument Panel
MessageConditionExplanation
●Appears after the driver’s door is opened when the
power mode is in ACCESSORY.●Press the POWER button twice with your foot off the
brake pedal to change the power mode to VEHICLE
OFF.
●Appears when the power mode is in ACCESSORY.
—
●Appears when you close th e door with the power
mode in ON without the smart entry remote inside
the vehicle.●Disappears when you bring the smart entry remote back
inside the vehicle and close the door.
2 Smart Entry Remote Reminder P. 156
●Appears when the smart entry remote battery
becomes weak.●Replace the battery as soon as possible.
2 Replacing the Button Battery P. 479
●Appears if the smart entry remote’s battery is too
weak to turn on the power system or the key is not
within operating range to turn on the power system.
A beeper sounds six times.●Bring the back of the smart entry remote into contact
with the POWER button.
2If the Smart Entry Remote Battery is Weak P. 504
●Appears when you set the power mode to
ACCESSORY or ON.
2Turning on the Power P. 370
18 CLARITY FUEL CELL PPO-31TRT6100.book 103 ページ 2017年11月21日 火曜日 午後3時3分
Page 129 of 551
127
uuGauges and Driver Information Interface uHead-Up Display
Continued
Instrument Panel
Head-Up Display
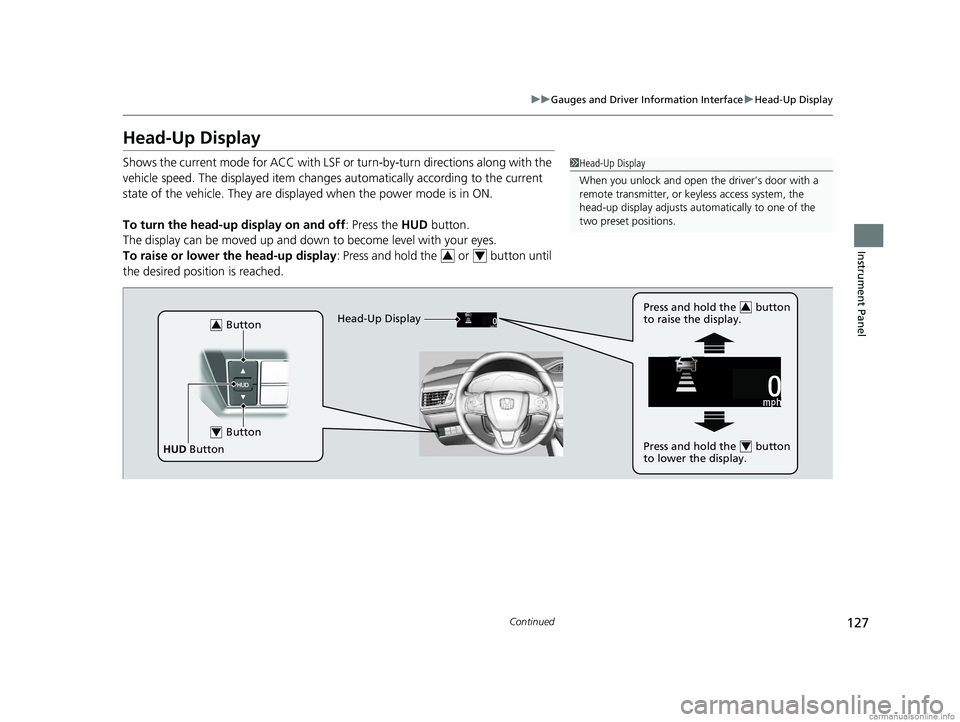
Shows the current mode for ACC with LSF or turn-by-turn directions along with the
vehicle speed. The displaye d item changes automaticall y according to the current
state of the vehicle. They are displa yed when the power mode is in ON.
To turn the head-up display on and off: Press the HUD button.
The display can be moved up and down to become level with your eyes.
To raise or lower the head-up display : Press and hold the or button until
the desired position is reached.1 Head-Up Display
When you unlock and open the driver’s door with a
remote transmitter, or keyless access system, the
head-up display adjusts auto matically to one of the
two preset positions.
34
Button3
Button4
HUD Button Head-Up Display
Press and hold the button
to raise the display.
3
Press and hold the button
to lower the display.4
18 CLARITY FUEL CELL PPO-31TRT6100.book 127 ページ 2017年11月21日 火曜日 午後3時3分
Page 133 of 551
131
Controls
This chapter explains how to operate the various controls necessary for driving.
Clock.................................................. 132
Locking and Unlocking the Doors Key Types and Functions .................. 133
Low Smart Entry Remote Signal Strength .. 134Locking/Unlocking the Doors from the Outside .......................................... 135
Locking/Unlocking the Doors from the Inside ............................................. 142
Childproof Door Locks ..................... 144
Auto Door Locking/Unlocking .......... 145
Opening and Closing the Trunk ....... 146
Security System ................................ 149
Immobilizer System .......................... 149 Security System Alarm...................... 149
Opening and Closing the Windows ... 152
Operating the Switches Around the
Steering Wheel POWER Button................................. 154
Turn Signals ..................................... 157
Light Switches.................................. 158
Daytime Running Lights ................... 161
Wipers and Washers ........................ 162
Brightness Control ........................... 164
Rear Defogger Button ...................... 166
Driving Position Memory System ...... 167
Adjusting the Steering Wheel........... 169 Adjusting the Mirrors
....................... 170
Interior Rearview Mirror ................... 170
Power Door Mirrors ......................... 171
Adjusting the Seats .......................... 172
Front Seats ...................................... 172
Interior Lights/Interior Convenience
Items ................................................ 178
Interior Lights .................................. 178
Interior Convenience Items .............. 180
Climate Control System ................... 188
Using Automatic Climate Control .... 188
Automatic Climate Control Sensors ... 196
18 CLARITY FUEL CELL PPO-31TRT6100.book 131 ページ 2017年11月21日 火曜日 午後3時3分
Page 135 of 551
133Continued
Controls
Locking and Unlocking the Doors
Key Types and Functions
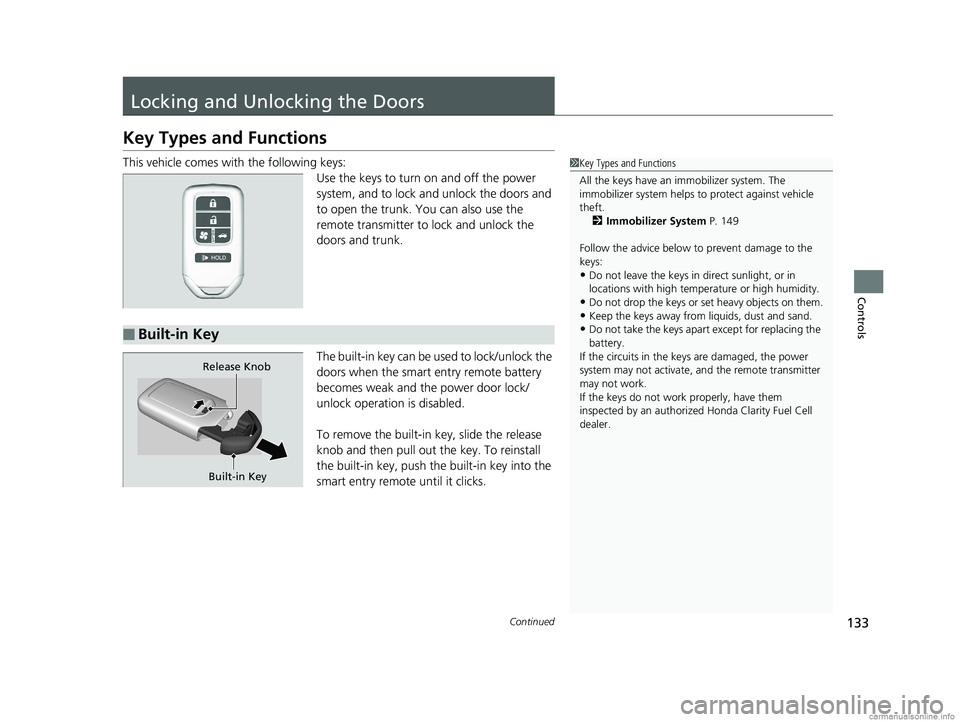
This vehicle comes with the following keys:
Use the keys to turn on and off the power
system, and to lock and unlock the doors and
to open the trunk. You can also use the
remote transmitter to lock and unlock the
doors and trunk.
The built-in key can be us ed to lock/unlock the
doors when the smart entry remote battery
becomes weak and the power door lock/
unlock operation is disabled.
To remove the built-in key, slide the release
knob and then pull out the key. To reinstall
the built-in key, push the built-in key into the
smart entry remote until it clicks.1 Key Types and Functions
All the keys have an immobilizer system. The
immobilizer system helps to protect against vehicle
theft. 2 Immobilizer System P. 149
Follow the advice below to prevent damage to the
keys:
•Do not leave the keys in direct sunlight, or in
locations with high temperature or high humidity.
•Do not drop the keys or set heavy objects on them.•Keep the keys away from liquids, dust and sand.
•Do not take the keys apart except for replacing the
battery.
If the circuits in the keys are damaged, the power
system may not activate, and the remote transmitter
may not work.
If the keys do not work properly, have them
inspected by an authorized Honda Clarity Fuel Cell
dealer.■Built-in Key
Built-in Key
Release Knob
18 CLARITY FUEL CELL PPO-31TRT6100.book 133 ページ 2017年11月21日 火曜日 午後3時3分
Page 136 of 551
uuLocking and Unlocking the Doors uLow Smart Entry Remote Signal Strength
134
Controls
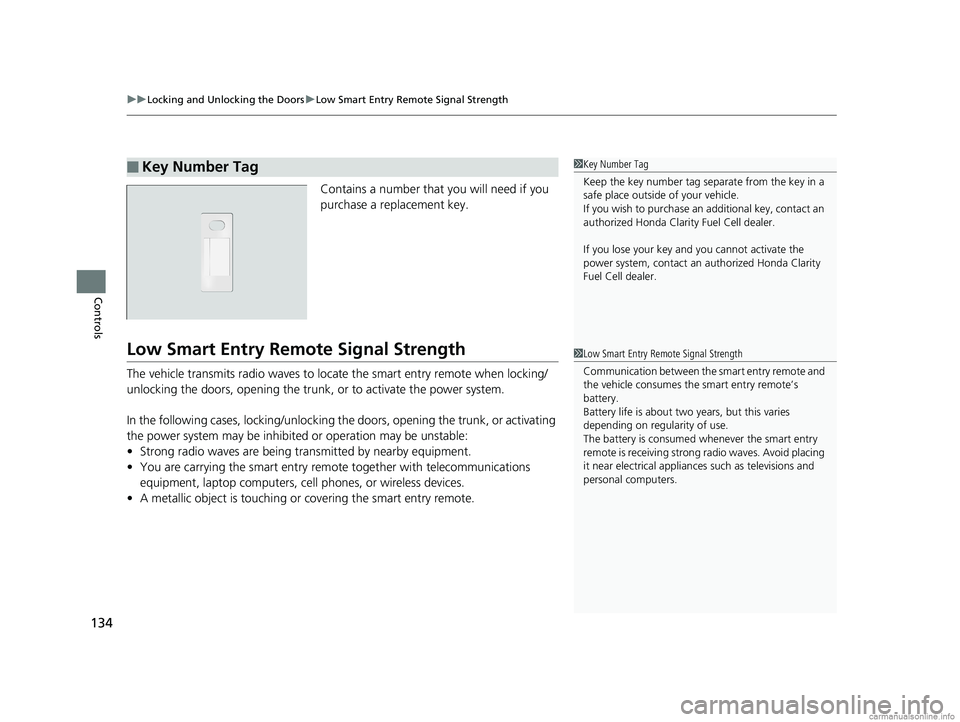
Contains a number that you will need if you
purchase a replacement key.
Low Smart Entry Remo te Signal Strength
The vehicle transmits radio waves to loca te the smart entry remote when locking/
unlocking the doors, opening the trunk, or to activate the power system.
In the following cases, locking/unlocking the doors, opening the trunk, or activating
the power system may be inhibited or operation may be unstable:
• Strong radio waves are being tra nsmitted by nearby equipment.
• You are carrying the smart entry remote together with telecommunications
equipment, laptop computers, ce ll phones, or wireless devices.
• A metallic object is touching or covering the smart entry remote.
■Key Number Tag1Key Number Tag
Keep the key number tag separate from the key in a
safe place outside of your vehicle.
If you wish to purchase an additional key, contact an
authorized Honda Clarit y Fuel Cell dealer.
If you lose your key and you cannot activate the
power system, contact an authorized Honda Clarity
Fuel Cell dealer.
1 Low Smart Entry Remote Signal Strength
Communication between the smart entry remote and
the vehicle consumes the smart entry remote’s
battery.
Battery life is about two years, but this varies
depending on re gularity of use.
The battery is consumed whenever the smart entry
remote is receivi ng strong radio wave s. Avoid placing
it near electrical appliances such as televisions and
personal computers.
18 CLARITY FUEL CELL PPO-31TRT6100.book 134 ページ 2017年11月21日 火曜日 午後3時3分
Page 142 of 551
uuLocking and Unlocking the Doors uLocking/Unlocking the Doors from the Outside
140
Controls
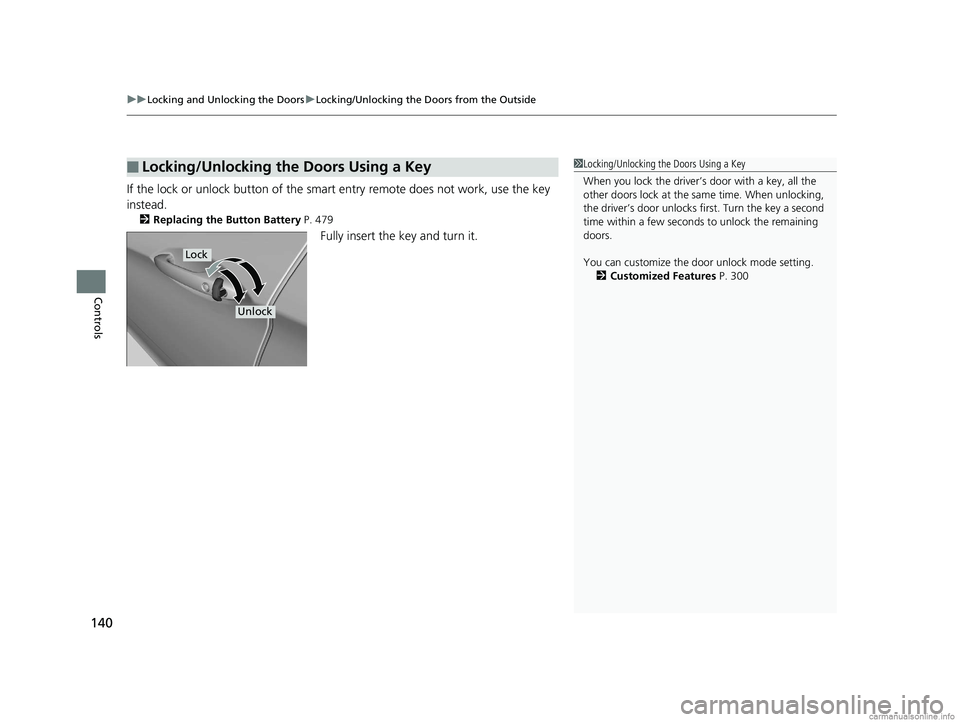
If the lock or unlock button of the sma rt entry remote does not work, use the key
instead.
2 Replacing the Button Battery P. 479
Fully insert the key and turn it.
■Locking/Unlocking the Doors Using a Key1Locking/Unlocking the Doors Using a Key
When you lock the driver’s door with a key, all the
other doors lock at the sa me time. When unlocking,
the driver’s door unlocks first. Turn the key a second
time within a few seconds to unlock the remaining
doors.
You can customize the door unlock mode setting. 2 Customized Features P. 300
Lock
Unlock
18 CLARITY FUEL CELL PPO-31TRT6100.book 140 ページ 2017年11月21日 火曜日 午後3時3分