2018 FORD F-450 towing
[x] Cancel search: towingPage 189 of 660
FUEL QUALITY - E85
Choosing the Right Fuel - Flex Fuel
Vehicles
Flex fuel vehicles have one of the following
identifiers:
•
Yellow fuel filler cap.
• Yellow bezel around the fuel filler inlet.
• Yellow fuel filler housing.
• Yellow E85 label on the fuel tank filler
door. Your vehicle is designed to operate on
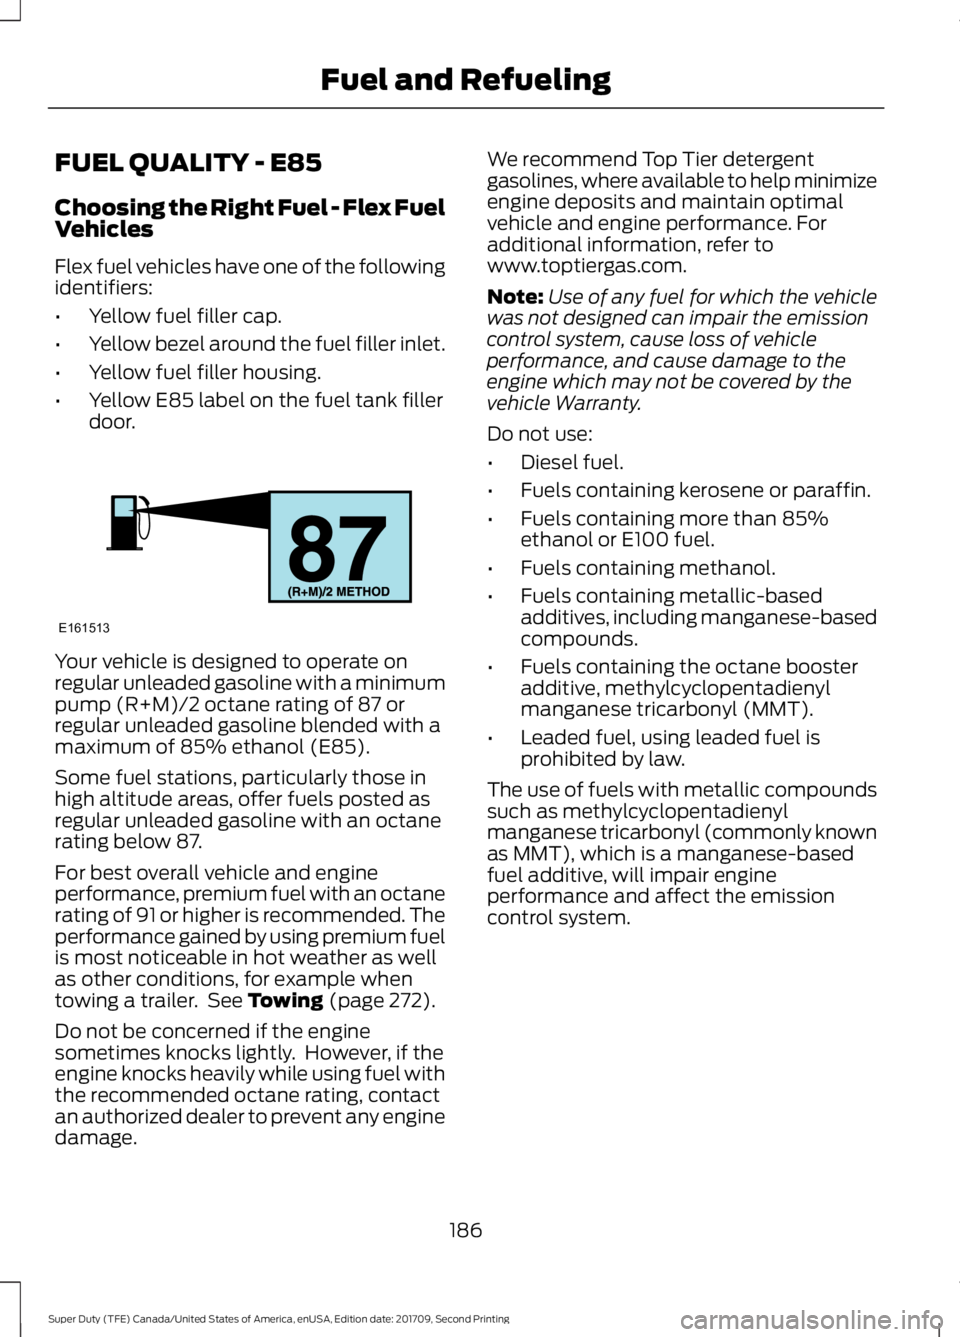
regular unleaded gasoline with a minimum
pump (R+M)/2 octane rating of 87 or
regular unleaded gasoline blended with a
maximum of 85% ethanol (E85).
Some fuel stations, particularly those in
high altitude areas, offer fuels posted as
regular unleaded gasoline with an octane
rating below 87.
For best overall vehicle and engine
performance, premium fuel with an octane
rating of 91 or higher is recommended. The
performance gained by using premium fuel
is most noticeable in hot weather as well
as other conditions, for example when
towing a trailer. See Towing (page 272).
Do not be concerned if the engine
sometimes knocks lightly. However, if the
engine knocks heavily while using fuel with
the recommended octane rating, contact
an authorized dealer to prevent any engine
damage. We recommend Top Tier detergent
gasolines, where available to help minimize
engine deposits and maintain optimal
vehicle and engine performance. For
additional information, refer to
www.toptiergas.com.
Note:
Use of any fuel for which the vehicle
was not designed can impair the emission
control system, cause loss of vehicle
performance, and cause damage to the
engine which may not be covered by the
vehicle Warranty.
Do not use:
• Diesel fuel.
• Fuels containing kerosene or paraffin.
• Fuels containing more than 85%
ethanol or E100 fuel.
• Fuels containing methanol.
• Fuels containing metallic-based
additives, including manganese-based
compounds.
• Fuels containing the octane booster
additive, methylcyclopentadienyl
manganese tricarbonyl (MMT).
• Leaded fuel, using leaded fuel is
prohibited by law.
The use of fuels with metallic compounds
such as methylcyclopentadienyl
manganese tricarbonyl (commonly known
as MMT), which is a manganese-based
fuel additive, will impair engine
performance and affect the emission
control system.
186
Super Duty (TFE) Canada/United States of America, enUSA, Edition date: 201709, Second Printing Fuel and RefuelingE161513
Page 192 of 660
Biodiesel fuels degrade more easily than
diesel fuels not containing biodiesel and
should not be stored in the fuel tank for
more than 1 month. If you plan to park or
store your vehicle for more than 1 month,
then you should empty your vehicle fuel
tank of biodiesel fuel. You should fill the
tank with a pure petroleum-based diesel
fuel and run your vehicle for a minimum of
30 minutes.
Note:
Degraded or oxidized biodiesel can
damage fuel system seals and plastics and
corrode steel parts.
During cold weather, if you have problems
operating on biodiesel, you may need to
use a diesel fuel with lower biodiesel
content, try another brand, or discontinue
the use of biodiesel.
Diesel Fuel Additives
It should not be necessary to add any
aftermarket additives to your fuel if you
use a high quality diesel fuel that conforms
to ASTM industry specifications.
Aftermarket additives can damage the fuel
injector system or engine.
Use Motorcraft® cetane booster or an
equivalent cetane booster additive if you
suspect fuel has low cetane. Use
Motorcraft® anti-gel & performance
improver or an equivalent additive if there
is fuel gelling.
Do not use alcohol-based additives to
improve cetane quality, to prevent fuel
gelling or any other use. The use of alcohol
additives may result in damage to the fuel
injectors and system. See Capacities and
Specifications (page 432).
The Vehicle Warranty may not cover
repairs needed to correct the effects of
using an aftermarket product that does
not meet Ford specifications in your fuel. FUEL QUALITY - GASOLINE
Choosing the Right Fuel
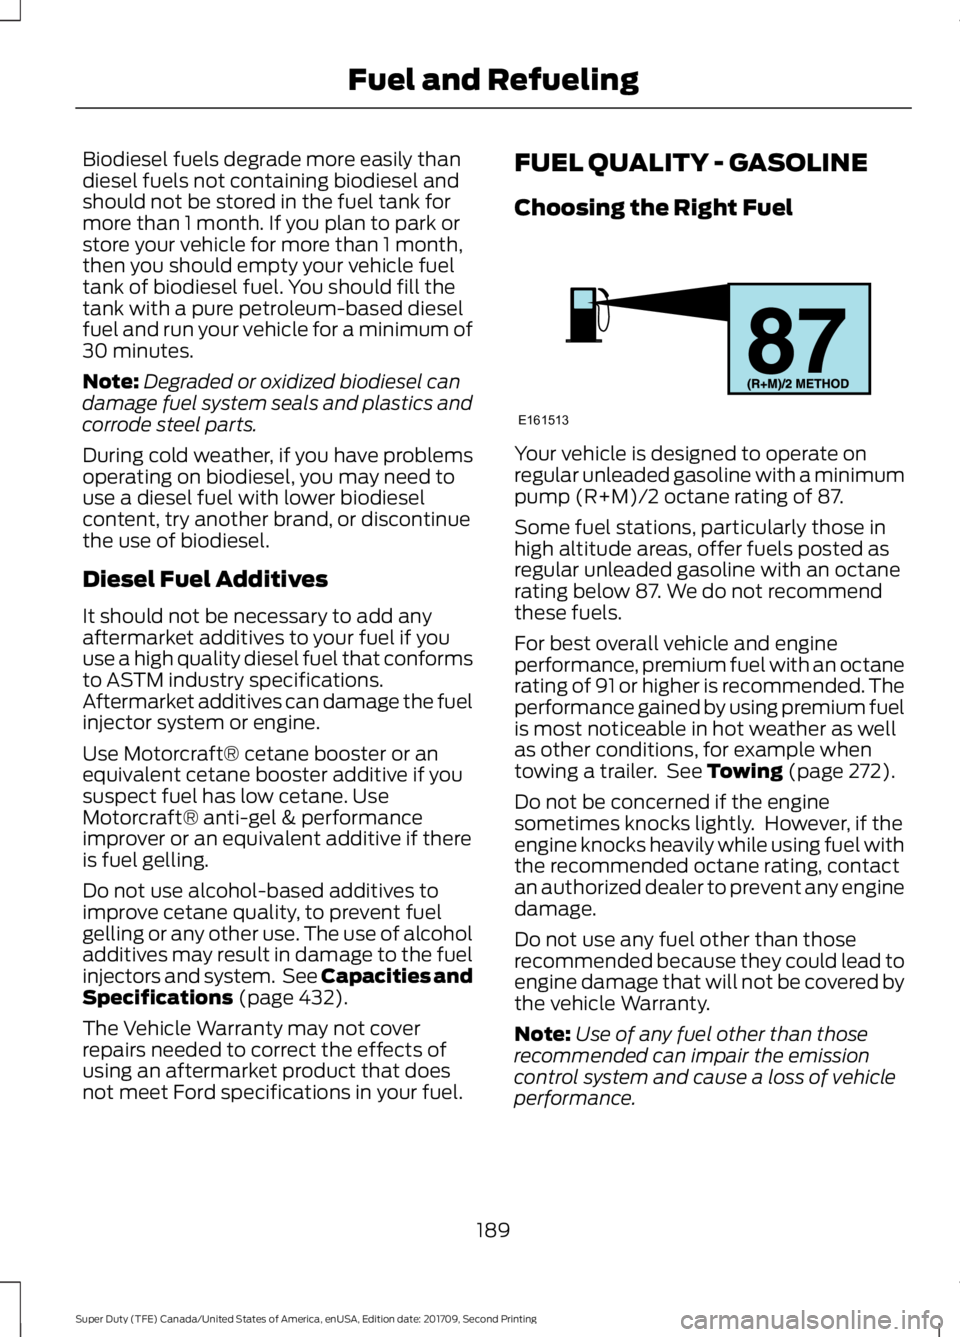
Your vehicle is designed to operate on
regular unleaded gasoline with a minimum
pump (R+M)/2 octane rating of 87.
Some fuel stations, particularly those in
high altitude areas, offer fuels posted as
regular unleaded gasoline with an octane
rating below 87. We do not recommend
these fuels.
For best overall vehicle and engine
performance, premium fuel with an octane
rating of 91 or higher is recommended. The
performance gained by using premium fuel
is most noticeable in hot weather as well
as other conditions, for example when
towing a trailer. See
Towing (page 272).
Do not be concerned if the engine
sometimes knocks lightly. However, if the
engine knocks heavily while using fuel with
the recommended octane rating, contact
an authorized dealer to prevent any engine
damage.
Do not use any fuel other than those
recommended because they could lead to
engine damage that will not be covered by
the vehicle Warranty.
Note: Use of any fuel other than those
recommended can impair the emission
control system and cause a loss of vehicle
performance.
189
Super Duty (TFE) Canada/United States of America, enUSA, Edition date: 201709, Second Printing Fuel and RefuelingE161513
Page 197 of 660

Note:
The amount of fuel in the empty
reserve varies and should not be relied upon
to increase driving range.
Fuel Economy
Your vehicle calculates fuel economy
figures through the trip computer average
fuel function. See General Information
(page 113).
The first
1,000 mi (1,500 km) of driving is
the break-in period of the engine. A more
accurate measurement is obtained after
2,000 mi (3,000 km)
.
Impacting Fuel Economy
• Incorrect tire inflation pressures. See
Towing a Trailer
(page 272).
• Fully loading your vehicle.
• Carrying unnecessary weight.
• Adding certain accessories to your
vehicle such as bug deflectors, rollbars
or light bars, running boards and ski
racks.
• Using fuel blended with alcohol. See
Fuel Quality
(page 186).
• Fuel economy may decrease with lower
temperatures.
• Fuel economy may decrease when
driving short distances.
• You may get better fuel economy when
driving on flat terrain than when driving
on hilly terrain.
194
Super Duty (TFE) Canada/United States of America, enUSA, Edition date: 201709, Second Printing Fuel and Refueling
Page 212 of 660
First (1)
•
Transmission operates in first (1) gear
only.
• Provides maximum engine braking.
• Allows upshifts by moving gearshift
lever.
• Does not downshift into first (1) gear
at high speeds; allows for first (1) gear
when vehicle reaches slower speeds.
Forced downshifts
• Allowed in drive (D) with the tow/haul
feature on or off.
• Press the accelerator to the floor.
• Allows transmission to select an
appropriate gear.
Tow/Haul Mode WARNING
Do not use tow/haul when the road
surface is slippery. Failure to follow
this instruction could result in the
loss of control of your vehicle. To activate tow/haul, press the
button on the gearshift lever
once. The TOW HAUL indicator
light illuminates in the instrument cluster. The tow/haul feature:
•
Delays upshifts to reduce the frequency
of transmission shifting.
• Provides engine braking in all forward
gears, which slows your vehicle and
assists you in controlling your vehicle
when descending a grade.
• Depending on driving conditions and
load conditions, may downshift the
transmission, slow your vehicle and
control your vehicle speed when
descending a hill, without pressing the
accelerator pedal. The amount of
downshift braking provided varies
based upon the amount you press the
brake pedal.
The tow/haul feature improves
transmission operation when towing a
trailer or a heavy load. All transmission
gear ranges are available when using
tow/haul.
Note: If your vehicle is equipped with the
Adaptive Steering System, enabling the
tow/haul feature adjusts the steering
response. In tow/haul mode the Adaptive
Steering system reduces vehicle sensitivity
to steering inputs at higher vehicle speeds
when maintaining the ease of parking and
maneuverability at low speeds. See
Steering (page 259).
To deactivate the tow/haul feature and
return to normal driving mode, press the
button on the gearshift lever when
tow/haul is active. The TOW HAUL light
deactivates. Tow/haul also deactivates
when you power down your vehicle.
209
Super Duty (TFE) Canada/United States of America, enUSA, Edition date: 201709, Second Printing TransmissionE161509
Page 219 of 660
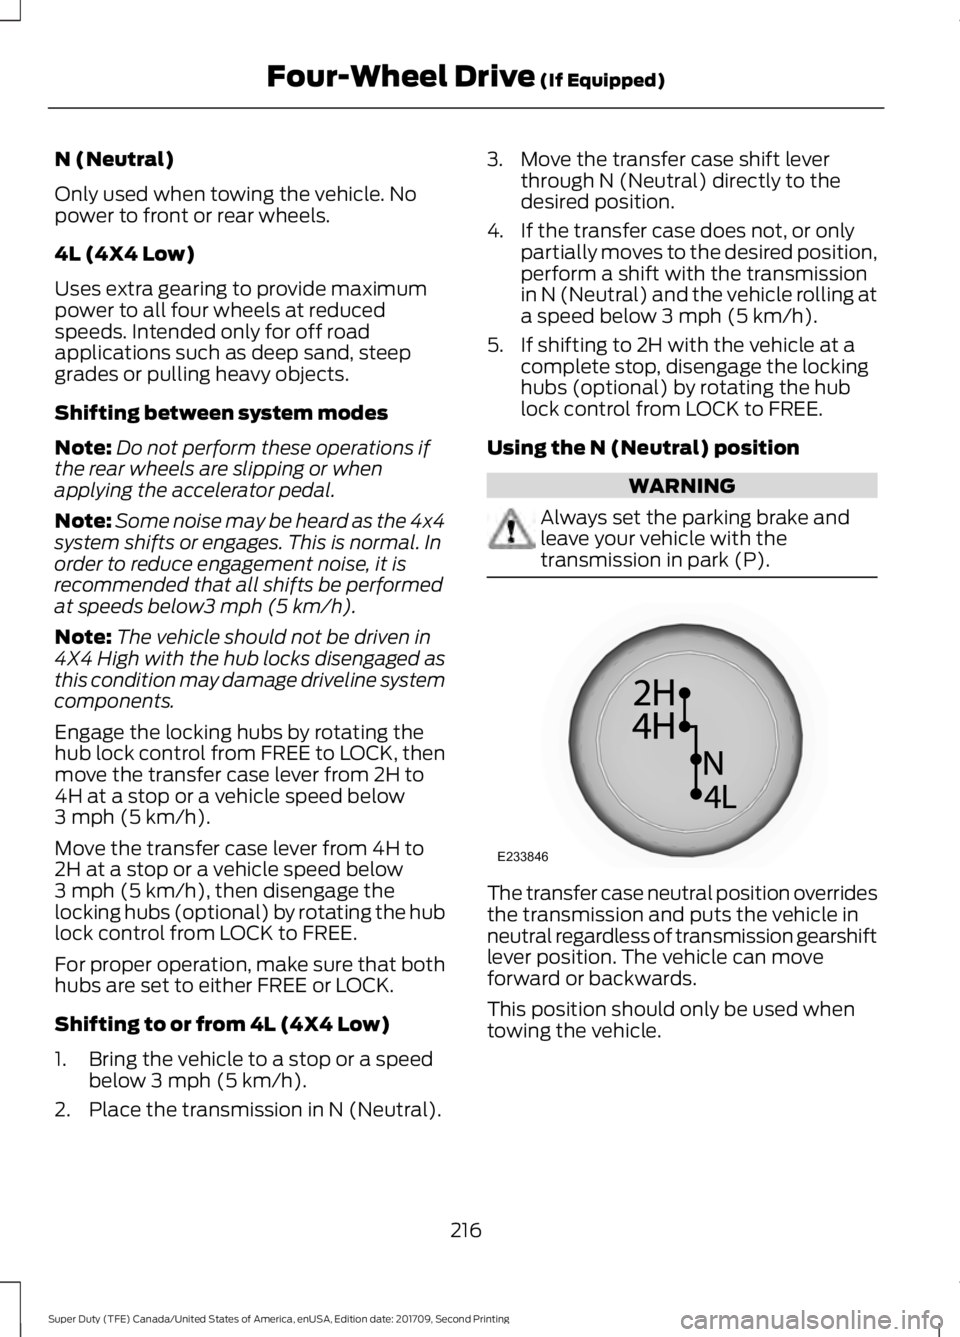
N (Neutral)
Only used when towing the vehicle. No
power to front or rear wheels.
4L (4X4 Low)
Uses extra gearing to provide maximum
power to all four wheels at reduced
speeds. Intended only for off road
applications such as deep sand, steep
grades or pulling heavy objects.
Shifting between system modes
Note:
Do not perform these operations if
the rear wheels are slipping or when
applying the accelerator pedal.
Note: Some noise may be heard as the 4x4
system shifts or engages. This is normal. In
order to reduce engagement noise, it is
recommended that all shifts be performed
at speeds below3 mph (5 km/h).
Note: The vehicle should not be driven in
4X4 High with the hub locks disengaged as
this condition may damage driveline system
components.
Engage the locking hubs by rotating the
hub lock control from FREE to LOCK, then
move the transfer case lever from 2H to
4H at a stop or a vehicle speed below
3 mph (5 km/h)
.
Move the transfer case lever from 4H to
2H at a stop or a vehicle speed below
3 mph (5 km/h)
, then disengage the
locking hubs (optional) by rotating the hub
lock control from LOCK to FREE.
For proper operation, make sure that both
hubs are set to either FREE or LOCK.
Shifting to or from 4L (4X4 Low)
1. Bring the vehicle to a stop or a speed below
3 mph (5 km/h).
2. Place the transmission in N (Neutral). 3. Move the transfer case shift lever
through N (Neutral) directly to the
desired position.
4. If the transfer case does not, or only partially moves to the desired position,
perform a shift with the transmission
in N (Neutral) and the vehicle rolling at
a speed below
3 mph (5 km/h).
5. If shifting to 2H with the vehicle at a complete stop, disengage the locking
hubs (optional) by rotating the hub
lock control from LOCK to FREE.
Using the N (Neutral) position WARNING
Always set the parking brake and
leave your vehicle with the
transmission in park (P).
The transfer case neutral position overrides
the transmission and puts the vehicle in
neutral regardless of transmission gearshift
lever position. The vehicle can move
forward or backwards.
This position should only be used when
towing the vehicle.
216
Super Duty (TFE) Canada/United States of America, enUSA, Edition date: 201709, Second Printing Four-Wheel Drive
(If Equipped)E233846
Page 240 of 660
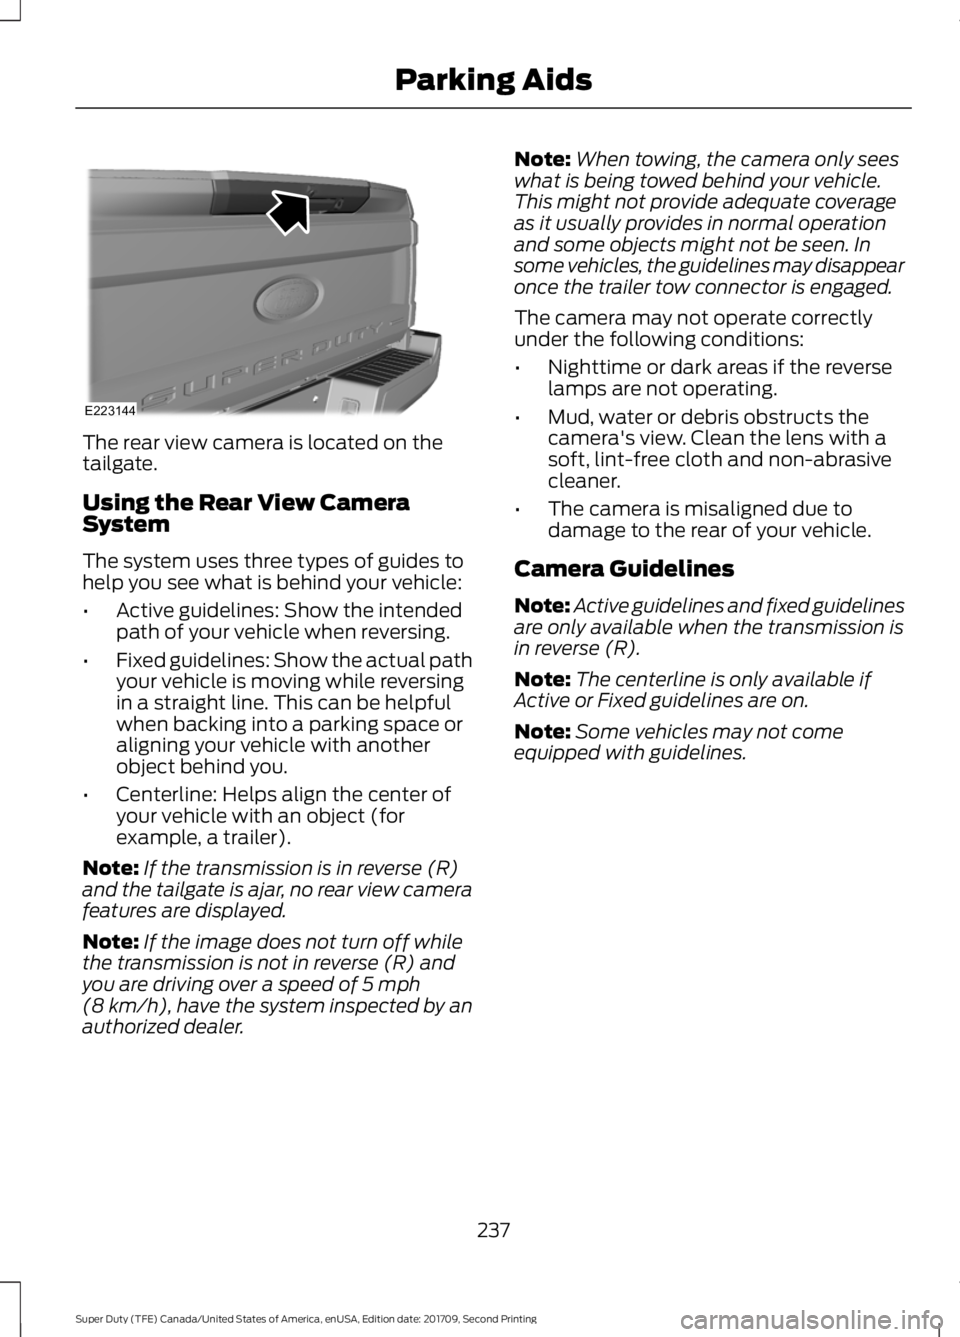
The rear view camera is located on the
tailgate.
Using the Rear View Camera
System
The system uses three types of guides to
help you see what is behind your vehicle:
•
Active guidelines: Show the intended
path of your vehicle when reversing.
• Fixed guidelines: Show the actual path
your vehicle is moving while reversing
in a straight line. This can be helpful
when backing into a parking space or
aligning your vehicle with another
object behind you.
• Centerline: Helps align the center of
your vehicle with an object (for
example, a trailer).
Note: If the transmission is in reverse (R)
and the tailgate is ajar, no rear view camera
features are displayed.
Note: If the image does not turn off while
the transmission is not in reverse (R) and
you are driving over a speed of 5 mph
(8 km/h), have the system inspected by an
authorized dealer. Note:
When towing, the camera only sees
what is being towed behind your vehicle.
This might not provide adequate coverage
as it usually provides in normal operation
and some objects might not be seen. In
some vehicles, the guidelines may disappear
once the trailer tow connector is engaged.
The camera may not operate correctly
under the following conditions:
• Nighttime or dark areas if the reverse
lamps are not operating.
• Mud, water or debris obstructs the
camera's view. Clean the lens with a
soft, lint-free cloth and non-abrasive
cleaner.
• The camera is misaligned due to
damage to the rear of your vehicle.
Camera Guidelines
Note: Active guidelines and fixed guidelines
are only available when the transmission is
in reverse (R).
Note: The centerline is only available if
Active or Fixed guidelines are on.
Note: Some vehicles may not come
equipped with guidelines.
237
Super Duty (TFE) Canada/United States of America, enUSA, Edition date: 201709, Second Printing Parking AidsE223144
Page 247 of 660

USING ADAPTIVE CRUISE
CONTROL (If Equipped)
WARNINGS
Always pay close attention to
changing road conditions when using
adaptive cruise control. The system
does not replace attentive driving. Failing
to pay attention to the road may result in
a crash, serious injury or death. Do not use the adaptive cruise
control when entering or leaving a
highway, on roads with intersections
or roundabouts or non-vehicular traffic or
roads that are winding, slippery, unpaved,
or steep slopes. Do not use the system in poor
visibility, for example fog, heavy rain,
spray or snow.
Do not use the system when towing
a trailer with aftermarket trailer
brake controls. Aftermarket trailer
brakes will not function properly when you
switch the system on because the brakes
are electronically controlled. Failing to do
so may result in loss of vehicle control,
which could result in serious injury. Do not use tire sizes other than those
recommended because this can
affect the normal operation of the
system. Failure to do so may result in a loss
of vehicle control, which could result in
serious injury. Adaptive cruise control may not
detect stationary or slow moving
vehicles below
6 mph (10 km/h).
Adaptive cruise control does not
detect pedestrians or objects in the
road.
Adaptive cruise control does not
detect oncoming vehicles in the
same lane. WARNINGS
Adaptive cruise control is not a crash
warning or avoidance system.
Do not use adaptive cruise control
with a snow plow blade installed.
Note:
It is your responsibility to stay alert,
drive safely and be in control of the vehicle
at all times.
The system adjusts your vehicle speed to
maintain the set gap between you and the
vehicle in front of you in the same lane.
You can select four gap settings.
The system uses a radar sensor that
projects a beam directly in front of your
vehicle. The adaptive cruise controls are on the
steering wheel.
Switching Adaptive Cruise Control
On
Press ON.
The indicator, current gap setting
and set speed appear in the
information display.
244
Super Duty (TFE) Canada/United States of America, enUSA, Edition date: 201709, Second Printing Cruise Control
(If Equipped)E183737 E144529
Page 250 of 660

Changing the Set Speed
•
Press SET+ or SET- to change the set
speed in small increments.
• Press the accelerator or brake pedal
until you reach the desired speed. Press
SET+
or SET-.
• Press and hold
SET+ or SET- to
change the set speed in large
increments. Release the control when
you reach the desired speed.
The system may apply the brakes to slow
the vehicle to the new set speed. The set
speed displays continuously in the
information display when the system is
active.
Canceling the Set Speed
Press
CNCL or tap the brake pedal. The
set speed does not erase.
Resuming the Set Speed
Note: Only use resume if you are aware of
the set speed and intend to return to it.
Press
RES. Your vehicle speed returns to
the previously set speed and gap setting.
The set speed displays continuously in the
information display when the system is
active.
Automatic Cancellation
Note: If the engine speed drops too low, an
audible warning sounds and a message
appears in the information display.
Automatic braking releases.
Hilly Condition and Trailer Tow
Usage
Note: An audible alarm sounds and the
system shuts down if it applies brakes for
an extended period of time. This allows the
brakes to cool. The system functions
normally again after the brakes cool. Note:
When towing with adaptive cruise
control, switch on Tow/Haul Mode and
Diesel Engine Brake.
Note: Tow/Haul mode increases the time
gaps and allows more distance for braking.
Select a lower gear when the system is
active in situations such as prolonged
downhill driving on steep grades, for
example in mountainous areas. The
system needs additional engine braking in
these situations to reduce the load on the
vehicle ’s regular brake system to prevent
it from overheating.
Switching Adaptive Cruise Control
Off
Note: You erase the set speed and gap
setting when you switch the system off.
Press
OFF when the system is in standby
mode, or switch the ignition off.
Detection Issues WARNINGS
On rare occasions, detection issues
can occur due to the road
infrastructures, for example bridges,
tunnels and safety barriers. In these cases,
the system may brake late or
unexpectedly. At all times, you are
responsible for controlling your vehicle,
supervising the system and intervening, if
required. If the system malfunctions, have your
vehicle checked as soon as possible.
The radar sensor has a limited field of view.
It may not detect vehicles at all or detect
a vehicle later than expected in some
situations. The lead vehicle graphic does
not illuminate if the system does not
detect a vehicle in front of you.
247
Super Duty (TFE) Canada/United States of America, enUSA, Edition date: 201709, Second Printing Cruise Control
(If Equipped)