2018 FORD F-150 fuel cap
[x] Cancel search: fuel capPage 190 of 641
Use Motorcraft® cetane booster or an
equivalent cetane booster additive if you
suspect fuel has low cetane. Use
Motorcraft® anti-gel & performance
improver or an equivalent additive if there
is fuel gelling.
Do not use alcohol-based additives to
improve cetane quality, to prevent fuel
gelling or any other use. The use of alcohol
additives may result in damage to the fuel
injectors and system. See Engine
Specifications (page 415).
Your warranty may not cover repairs
needed to correct the effects of using an
aftermarket product that does not meet
Ford specifications in your fuel.
FUEL QUALITY - E85
Choosing the Right Fuel - Flex Fuel
Vehicles
Flex fuel vehicles have one of the following
identifiers:
• Yellow fuel filler cap.
• Yellow bezel around the fuel filler inlet.
• Yellow fuel filler housing.
• Yellow E85 label on the fuel tank filler
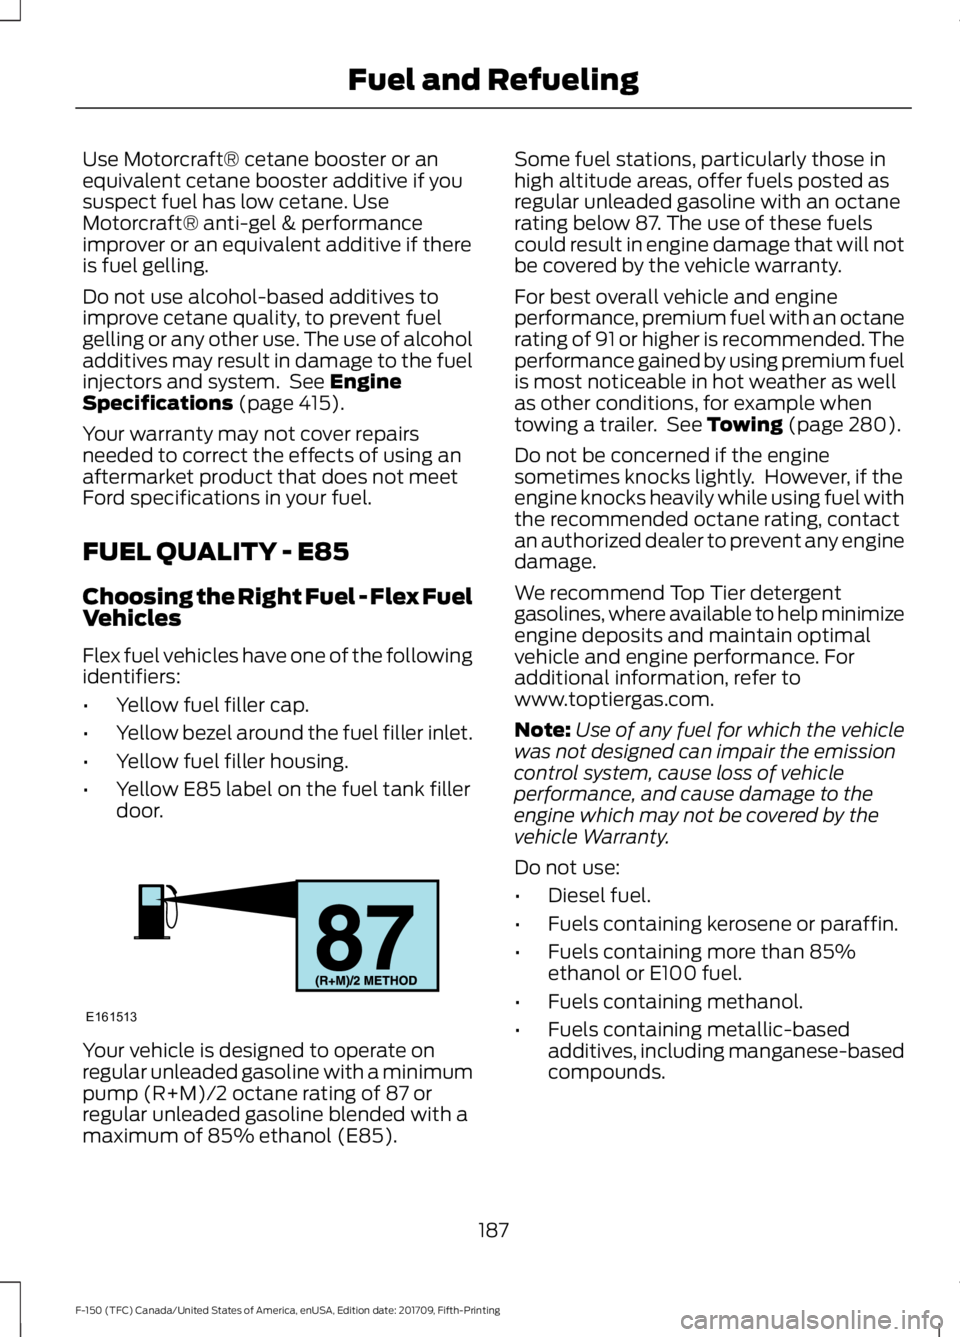
door. Your vehicle is designed to operate on
regular unleaded gasoline with a minimum
pump (R+M)/2 octane rating of 87 or
regular unleaded gasoline blended with a
maximum of 85% ethanol (E85). Some fuel stations, particularly those in
high altitude areas, offer fuels posted as
regular unleaded gasoline with an octane
rating below 87. The use of these fuels
could result in engine damage that will not
be covered by the vehicle warranty.
For best overall vehicle and engine
performance, premium fuel with an octane
rating of 91 or higher is recommended. The
performance gained by using premium fuel
is most noticeable in hot weather as well
as other conditions, for example when
towing a trailer. See Towing (page 280).
Do not be concerned if the engine
sometimes knocks lightly. However, if the
engine knocks heavily while using fuel with
the recommended octane rating, contact
an authorized dealer to prevent any engine
damage.
We recommend Top Tier detergent
gasolines, where available to help minimize
engine deposits and maintain optimal
vehicle and engine performance. For
additional information, refer to
www.toptiergas.com.
Note: Use of any fuel for which the vehicle
was not designed can impair the emission
control system, cause loss of vehicle
performance, and cause damage to the
engine which may not be covered by the
vehicle Warranty.
Do not use:
• Diesel fuel.
• Fuels containing kerosene or paraffin.
• Fuels containing more than 85%
ethanol or E100 fuel.
• Fuels containing methanol.
• Fuels containing metallic-based
additives, including manganese-based
compounds.
187
F-150 (TFC) Canada/United States of America, enUSA, Edition date: 201709, Fifth-Printing Fuel and RefuelingE161513
Page 192 of 641
•
Fuels containing the octane booster
additive, methylcyclopentadienyl
manganese tricarbonyl (MMT).
• Leaded fuel, using leaded fuel is
prohibited by law.
The use of fuels with metallic compounds
such as methylcyclopentadienyl
manganese tricarbonyl (commonly known
as MMT), which is a manganese-based
fuel additive, will impair engine
performance and affect the emission
control system.
FUEL FILLER FUNNEL
LOCATION - REGULAR CAB
The fuel filler funnel is behind the
right-hand front seat.
FUEL FILLER FUNNEL
LOCATION - SUPERCAB/
SUPERCREW
The fuel filler funnel is under the second
row right-hand rear seat.
RUNNING OUT OF FUEL
Running out of fuel can cause damage not
covered by the vehicle Warranty.
If your vehicle runs out of fuel:
• Add a minimum of 1.3 gal (5 L) of fuel
to restart the engine.
• You may need to switch the ignition
from off to on several times after
refueling to allow the fuel system to
pump the fuel from the tank to the
engine. When restarting, cranking time
takes a few seconds longer than
normal.
Note: If your vehicle is on a steep slope,
more fuel may be required. Filling a Portable Fuel Container WARNING:
Flow of fuel through
a fuel pump nozzle can produce static
electricity. This can cause a fire if you are
filling an ungrounded fuel container.
Use the following guidelines to avoid
electrostatic charge build-up, which can
produce a spark, when filling an
ungrounded fuel container:
• Only use an approved fuel container to
transfer fuel to your vehicle. Place the
container on the ground when filling it.
• Do not fill a fuel container when it is
inside your vehicle (including the cargo
area).
• Keep the fuel pump nozzle in contact
with the fuel container when filling it.
• Do not use a device that holds the fuel
pump nozzle lever in the fill position.
Adding Fuel From a Portable Fuel
Container WARNING:
Do not insert the
nozzle of a fuel container or an
aftermarket funnel into the fuel filler
neck. This may damage the fuel system
filler neck or its seal and cause fuel to
run onto the ground. WARNING:
Do not try to pry open
or push open the capless fuel system
with foreign objects. This could damage
the fuel system and its seal and cause
injury to you or others. WARNING:
Do not dispose of fuel
in the household refuse or the public
sewage system. Use an authorized waste
disposal facility.
189
F-150 (TFC) Canada/United States of America, enUSA, Edition date: 201709, Fifth-Printing Fuel and Refueling
Page 193 of 641
When refueling the vehicle fuel tank from
a fuel container, use the fuel filler funnel
included with your vehicle. See Fuel Filler
Funnel Location (page 189).
Note: Do not use aftermarket funnels as
they may not work with the capless fuel
system and can damage it.
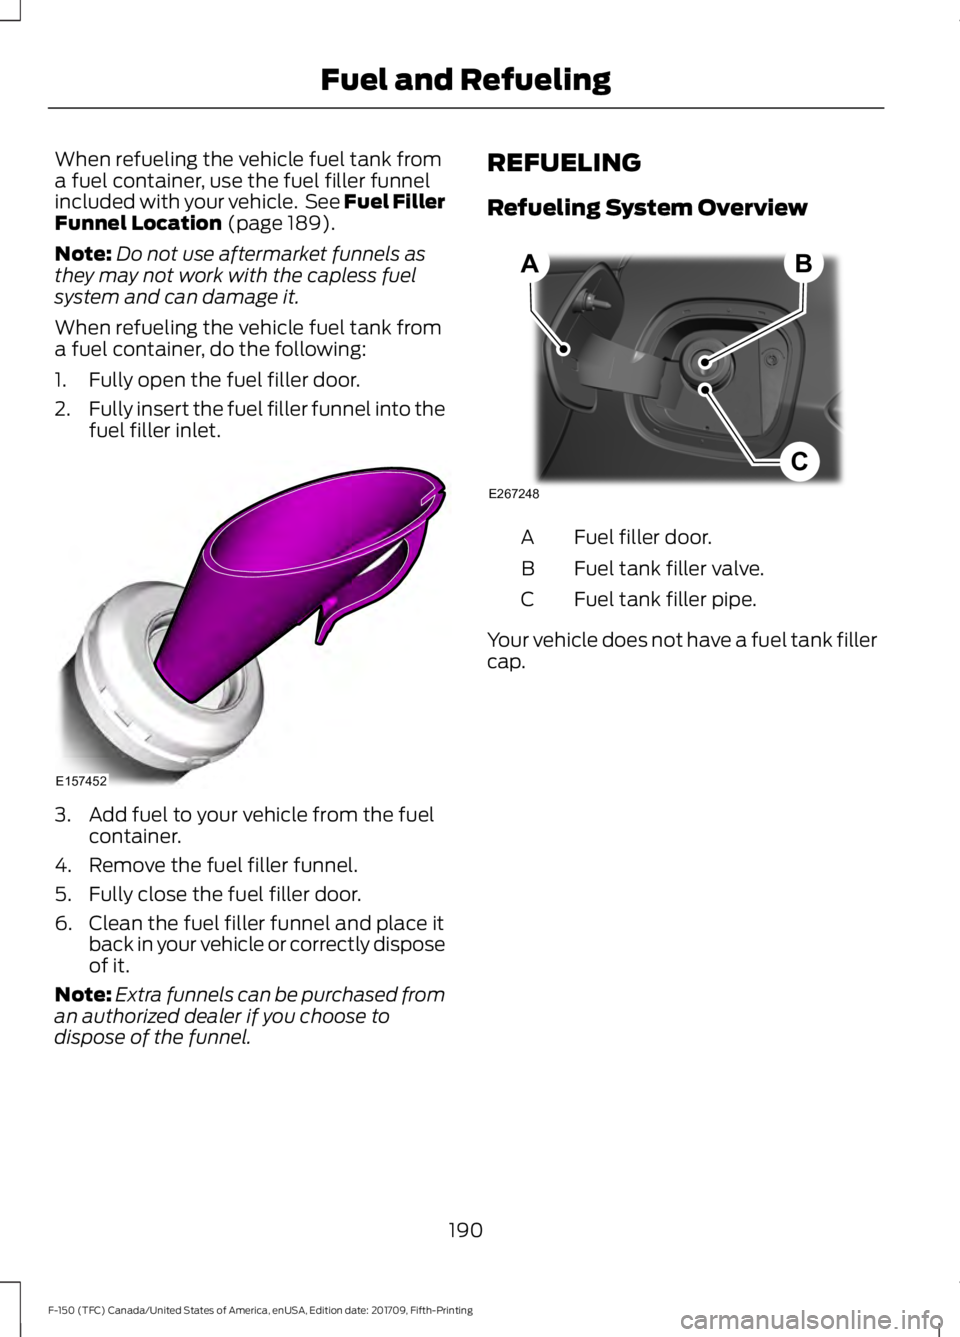
When refueling the vehicle fuel tank from
a fuel container, do the following:
1. Fully open the fuel filler door.
2. Fully insert the fuel filler funnel into the
fuel filler inlet. 3. Add fuel to your vehicle from the fuel
container.
4. Remove the fuel filler funnel.
5. Fully close the fuel filler door.
6. Clean the fuel filler funnel and place it back in your vehicle or correctly dispose
of it.
Note: Extra funnels can be purchased from
an authorized dealer if you choose to
dispose of the funnel. REFUELING
Refueling System Overview
Fuel filler door.
A
Fuel tank filler valve.
B
Fuel tank filler pipe.
C
Your vehicle does not have a fuel tank filler
cap.
190
F-150 (TFC) Canada/United States of America, enUSA, Edition date: 201709, Fifth-Printing Fuel and RefuelingE157452 E267248
B
C
A
Page 196 of 641

3. Apply the parking brake.
4. Fully open the fuel filler door.
5. Check the fuel tank filler valve for any
debris that may be restricting its
movement.
6. Remove any debris from the fuel tank filler valve.
7. Fully insert a fuel pump nozzle or the fuel filler funnel provided with your
vehicle into the fuel filler pipe. See
Fuel Filler Funnel Location (page
189). This action should dislodge any
debris that may be preventing the fuel
tank filler valve from fully closing.
8. Remove the fuel pump nozzle or fuel filler funnel from the fuel filler pipe.
9. Fully close the fuel filler door.
Note: The message may not immediately
reset. If the message continues to appear
and a warning lamp illuminates, have your
vehicle checked as soon as possible.
FUEL CONSUMPTION
Advertised Capacity
The advertised capacity is the maximum
amount of fuel that you can add to the fuel
tank after running out of fuel. Included in
the advertised capacity is an empty
reserve. The empty reserve is an
unspecified amount of fuel that remains
in the fuel tank when the fuel gauge
indicates empty.
Note: The amount of fuel in the empty
reserve varies and should not be relied upon
to increase driving range.
Fuel Economy
Your vehicle calculates fuel economy
figures through the trip computer average
fuel function. See
General Information
(page 113). The first
1,000 mi (1,500 km) of driving is
the break-in period of the engine. A more
accurate measurement is obtained after
2,000 mi (3,000 km)
.
Impacting Fuel Economy
• Incorrect tire inflation pressures.
• Fully loading your vehicle.
• Carrying unnecessary weight.
• Adding certain accessories to your
vehicle such as bug deflectors, rollbars
or light bars, running boards and ski
racks.
• Using fuel blended with alcohol. See
Fuel Quality
(page 184).
• Fuel economy may decrease with lower
temperatures.
• Fuel economy may decrease when
driving short distances.
• You may get better fuel economy when
driving on flat terrain than when driving
on hilly terrain.
193
F-150 (TFC) Canada/United States of America, enUSA, Edition date: 201709, Fifth-Printing Fuel and Refueling
Page 201 of 641
WARNING: Only refill the diesel
exhaust fluid tank in a well ventilated
area. When you remove the diesel
exhaust fluid tank filler cap or a diesel
exhaust fluid container cap, ammonia
vapors may escape. Ammonia vapors
can be irritating to skin, eyes and mucous
membranes. Inhaling ammonia vapors
can cause burning to the eyes, throat and
nose and cause coughing and watery
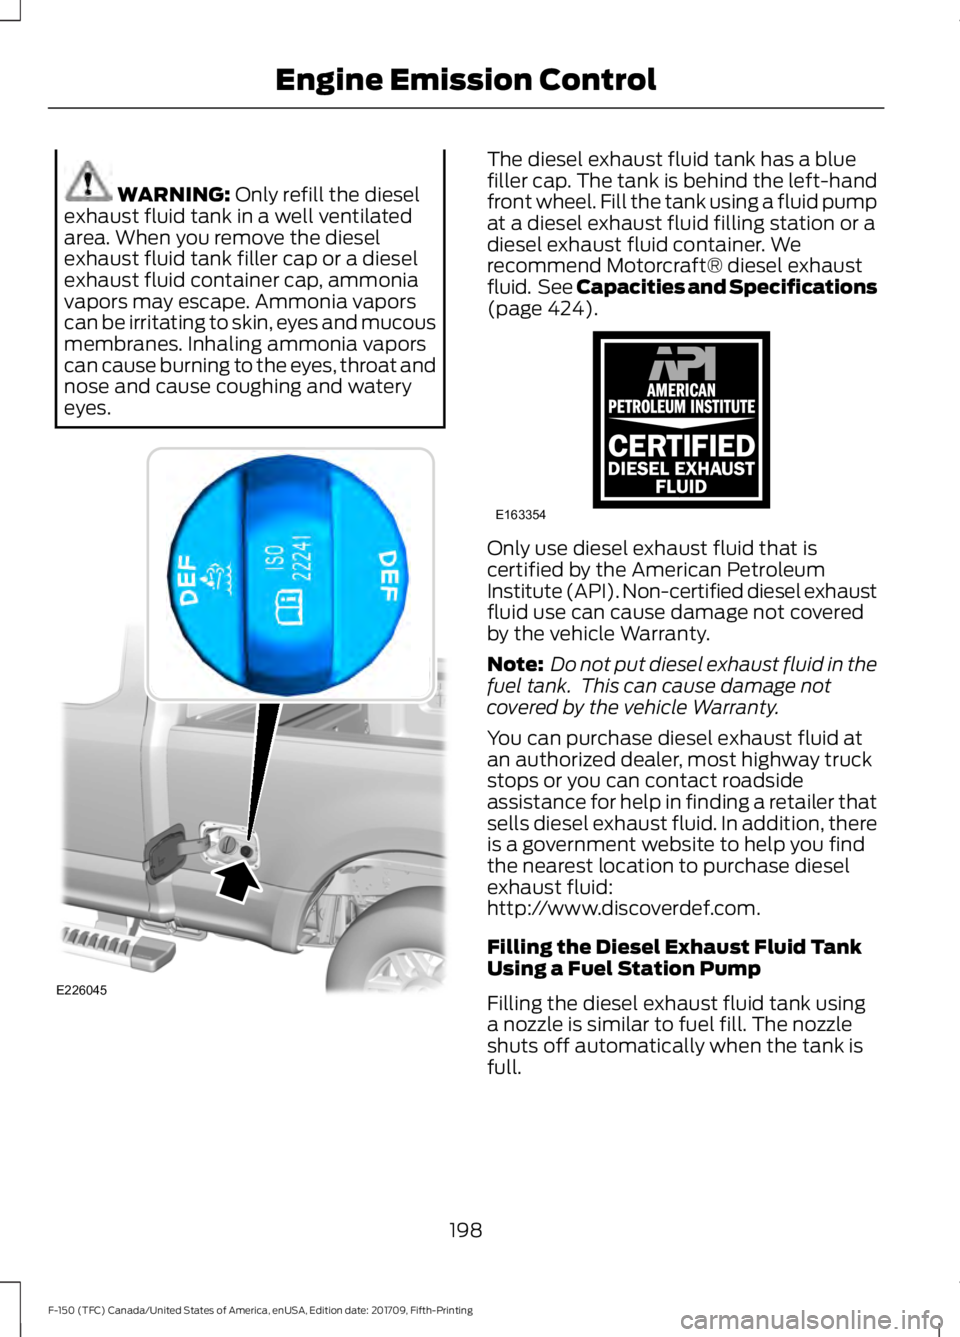
eyes. The diesel exhaust fluid tank has a blue
filler cap. The tank is behind the left-hand
front wheel. Fill the tank using a fluid pump
at a diesel exhaust fluid filling station or a
diesel exhaust fluid container. We
recommend Motorcraft® diesel exhaust
fluid. See Capacities and Specifications
(page
424).
Only use diesel exhaust fluid that is
certified by the American Petroleum
Institute (API). Non-certified diesel exhaust
fluid use can cause damage not covered
by the vehicle Warranty.
Note:
Do not put diesel exhaust fluid in the
fuel tank. This can cause damage not
covered by the vehicle Warranty.
You can purchase diesel exhaust fluid at
an authorized dealer, most highway truck
stops or you can contact roadside
assistance for help in finding a retailer that
sells diesel exhaust fluid. In addition, there
is a government website to help you find
the nearest location to purchase diesel
exhaust fluid:
http://www.discoverdef.com.
Filling the Diesel Exhaust Fluid Tank
Using a Fuel Station Pump
Filling the diesel exhaust fluid tank using
a nozzle is similar to fuel fill. The nozzle
shuts off automatically when the tank is
full.
198
F-150 (TFC) Canada/United States of America, enUSA, Edition date: 201709, Fifth-Printing Engine Emission ControlE226045 E163354)E163354
Page 204 of 641
•
The system has a diesel exhaust fluid
quality sensor. Dilution of diesel
exhaust fluid or use of any other liquid
in the SCR system leads to a diesel
exhaust fluid system fault, eventually
leading to the vehicle only operating in
idle-only mode.
• Do not dilute diesel exhaust fluid with
water or any other liquid.
• An ammonia odor may be smelled
when the cap is removed or during
refill. Refill diesel exhaust fluid in a well
ventilated area.
Typical Diesel Exhaust Fluid Usage
When Using the Power Take Off (PTO) Continuous PTO use—Minimal PTO use
0–7,800 mi (0– 12,550 km)
Contaminated Diesel Exhaust
Fluid or Inoperative Selective
Catalytic Reduction System
Selective catalytic reduction systems are
sensitive to contamination of the diesel
exhaust fluid. Maintaining the purity of the
fluid is important to avoid system
malfunctions. If you remove or drain the
diesel exhaust fluid tank, do not use the
same fluid to refill the tank. The system
has a sensor to monitor fluid quality. A warning lamp illuminates and
a message appears in the
information display if the system
becomes contaminated or inoperative. Continued driving without replacing diesel
exhaust fluid or having the selective
catalytic reduction system repaired results
in the following actions as required by the
California Air Resources Board (CARB) and
U.S. Environmental Protection Agency
(EPA):
•
Within a preset distance to empty,
speed is limited upon vehicle restart.
Prior to this occurring a message
appears in the information display.
• Further vehicle operation without
replacing contaminated diesel exhaust
fluid causes the engine to enter an
idle-only condition. This only occurs
upon vehicle refueling, vehicle idling in
park for 1 hour, or engine shutdown for
10 minutes or more and is indicated by
a message in the information display
indicating required actions to resume
normal operation.
Note: For vehicle speed limiting or idle-only
condition, normal vehicle operation resumes
when you repair the contaminated system.
To service a contaminated or inoperative
system, see an authorized dealer.
DIESEL PARTICULATE FILTER
(IF EQUIPPED)
The filter forms part of the emissions
reduction system on your vehicle. It filters
harmful diesel particulates (soot) from the
exhaust gas.
201
F-150 (TFC) Canada/United States of America, enUSA, Edition date: 201709, Fifth-Printing Engine Emission ControlE163176
Page 313 of 641

Before Towing a Trailer
Practice turning, stopping and backing up
to get the feel of your vehicle-trailer
combination before starting on a trip.
When turning, make wider turns so the
trailer wheels clear curbs and other
obstacles.
When Towing a Trailer
•
Do not drive faster than 70 mph
(113 km/h) during the first 500 mi
(800 km).
• Do not make full-throttle starts.
• Check your hitch, electrical connections
and trailer wheel lug nuts thoroughly
after you have traveled 50 mi (80 km).
• When stopped in congested or heavy
traffic during hot weather, place the
transmission in park (P) to aid engine
and transmission cooling and to help
A/C performance.
• Turn off the speed control with heavy
loads or in hilly terrain. The speed
control may turn off automatically
when you are towing on long, steep
grades.
• Shift to a lower gear when driving down
a long or steep hill. Do not apply the
brakes continuously, as they may
overheat and become less effective.
• If your transmission is equipped with a
Grade Assist or Tow/Haul feature, use
this feature when towing. This provides
engine braking and helps eliminate
excessive transmission shifting for
optimum fuel economy and
transmission cooling.
• If your vehicle is equipped with
AdvanceTrac with RSC, this system
may turn on during typical cornering
maneuvers with a heavily loaded trailer.
This is normal. Turning the corner at a
slower speed while towing may reduce
this tendency. •
If you are towing a trailer frequently in
hot weather, hilly conditions, at the
gross combined weight rating (or any
combination of these factors), consider
refilling your rear axle with synthetic
gear lubricant (if the axle is not already
filled with it). See
Capacities and
Specifications (page 415).
• Allow more distance for stopping with
a trailer attached. Anticipate stops and
brake gradually.
• Avoid parking on a grade. However, if
you must park on a grade:
1. Turn the steering wheel to point your vehicle tires away from traffic flow.
2. Set your vehicle parking brake.
3. Place the automatic transmission in park (P).
4. Place wheel chocks in front and back of the trailer wheels. Chocks are not
included with your vehicle.
Your vehicle may be equipped with a
temporary or conventional spare tire. A
temporary spare tire is different in diameter
or width, tread-type, or is from a different
manufacturer than the road tires on your
vehicle. Consult information on the tire
label or Safety Compliance label for
limitations when using.
Launching or Retrieving a Boat or
Personal Watercraft (PWC)
Note: Disconnect the wiring to the trailer
before
backing the trailer into the water.
Note: Reconnect the wiring to the trailer
after
removing the trailer from the water.
310
F-150 (TFC) Canada/United States of America, enUSA, Edition date: 201709, Fifth-Printing Towing
Page 355 of 641
Only use oils certified for gasoline engines
by the American Petroleum Institute (API).
An oil with this trademark symbol
conforms to the current engine and
emission system protection standards and
fuel economy requirements of the
International Lubricants Specification
Advisory Committee (ILSAC).
To top up the engine oil level do the
following:
1. Clean the area surrounding the engine
oil filler cap before you remove it.
2. Remove the engine oil filler cap. See Under Hood Overview (page 346).
Turn it counterclockwise and remove
it.
3. Add engine oil that meets our specifications. See
Capacities and
Specifications (page 424). You may
have to use a funnel to pour the engine
oil into the opening.
4. Recheck the oil level.
5. If the oil level is correct, replace the dipstick and make sure it is fully seated.
6. Replace the engine oil filler cap. Turn it clockwise until you feel a strong
resistance.
Note: Do not add oil further than the
maximum mark. Oil levels above the
maximum mark may cause engine damage.
Note: Make sure you install the oil filler cap
correctly.
Note: Soak up any spillage with an
absorbent cloth immediately.
ENGINE OIL CHECK - DIESEL
To check the engine oil level consistently
and accurately, do the following:
1. Make sure that your vehicle is on level ground. 2. Run the engine until it reaches normal
operating temperature.
3. Make sure the parking brake is on. Make
sure the transmission is in park (P) or
neutral (N).
4. Switch the engine off and wait 15 minutes for the oil to drain into the oil
pan. Checking the engine oil level too
soon after you switch the engine off
may result in an inaccurate reading.
5. Open the hood. See
Opening and
Closing the Hood (page 345).
6. Remove the dipstick and wipe it with a clean, lint-free cloth. See
Under
Hood Overview (page 346).
7. Replace the dipstick and remove it again to check the oil level. See
Engine Oil Dipstick
(page 350).
8. Make sure that the oil level is between
the maximum and minimum marks. If
the oil level is at the minimum mark,
add oil immediately. See
Capacities
and Specifications (page 424).
9. If the oil level is correct, replace the dipstick and make sure it is fully seated.
Note: Do not remove the dipstick when the
engine is running.
Note: If the oil level is between the
maximum and minimum marks, the oil level
is acceptable. Do not add oil.
Note: The oil consumption of new engines
reaches its normal level after approximately
3,000 mi (5,000 km)
.
Adding Engine Oil WARNING:
Do not remove the
filler cap when the engine is running.
Do not use supplemental engine oil
additives because they are unnecessary
and could lead to engine damage that may
not be covered by the vehicle Warranty.
352
F-150 (TFC) Canada/United States of America, enUSA, Edition date: 201709, Fifth-Printing Maintenance