Page 82 of 571

2. Insert the first programmed key in the
backup slot.
3. Press the push button ignition switch.
4. Wait five seconds and then press the push button ignition switch again.
5. Remove the intelligent access key.
6. Within 10 seconds, place a second programmed intelligent access key in
the backup slot and press the push
button ignition switch.
7. Wait five seconds and then press the push button ignition switch again.
8. Remove the intelligent access key.
9. Wait five seconds, then place the unprogrammed intelligent access key
in the backup slot and press the push
button ignition switch.
10. Once complete, the information cluster displays a message
confirming the key has been
programmed. The direction indicators
flash and the horn sounds.
Programming is now complete. Check that
the remote control functions operate and
your vehicle starts with the new intelligent
access key.
If programming was unsuccessful, wait 10
seconds and repeat steps 1 through 7. If it
still does not work, take your vehicle to an
authorized dealer.
ANTI-THEFT ALARM
The system will warn you of an
unauthorized entry to your vehicle. It will
be triggered if any door, the luggage
compartment or the hood is opened
without using the key, remote control or
keyless entry keypad.
The direction indicators will flash and the
horn will sound if unauthorized entry is
attempted while the alarm is armed. Take all remote controls to an authorized
dealer if there is any potential alarm
problem with your vehicle.
Arming the Alarm
The alarm is ready to arm when there is
not a key in your vehicle. Electronically lock
your vehicle to arm the alarm.
Disarming the Alarm
Disarm the alarm by any of the following
actions:
•
Unlock the doors or luggage
compartment with the remote control
or keyless entry keypad.
• Switch your vehicle on or start your
vehicle.
• Use a key in the driver door to unlock
your vehicle, then switch your vehicle
on within 12 seconds.
Note: Pressing the panic button on the
remote control will stop the horn and signal
indicators, but will not disarm the system.
79
Expedition (TB8) Canada/United States of America, enUSA, Edition date: 201708, Third-Printing- Security
Page 96 of 571
You can switch the fog lamps on when the
lighting control is in any position except
Off and the high beams are not on.
DIRECTION INDICATORS
Push the lever up or down to use
the direction indicators.
Note: Tap the lever up or down to make the
direction indicators flash three times.
INTERIOR LAMPS
The lamps turn on under the following
conditions:
• You open any door.
• You press a remote control button. Front Interior Lamps
Type One
All lamps on.
A
Door function.
B
All lamps off.
C
Individual dome lamps.
D
93
Expedition (TB8) Canada/United States of America, enUSA, Edition date: 201708, Third-Printing- LightingE163272 E201074
DDCAB
Page 100 of 571

GLOBAL OPENING AND
CLOSING
You can also operate the power windows
with the ignition off using the global
opening and global closing function.
Note:
Global opening will only operate for
a short period of time after you have
unlocked your vehicle using the remote
control.
Note: Global closing will only operate if you
have set the memory correctly for each
window. See Power Windows (page 96).
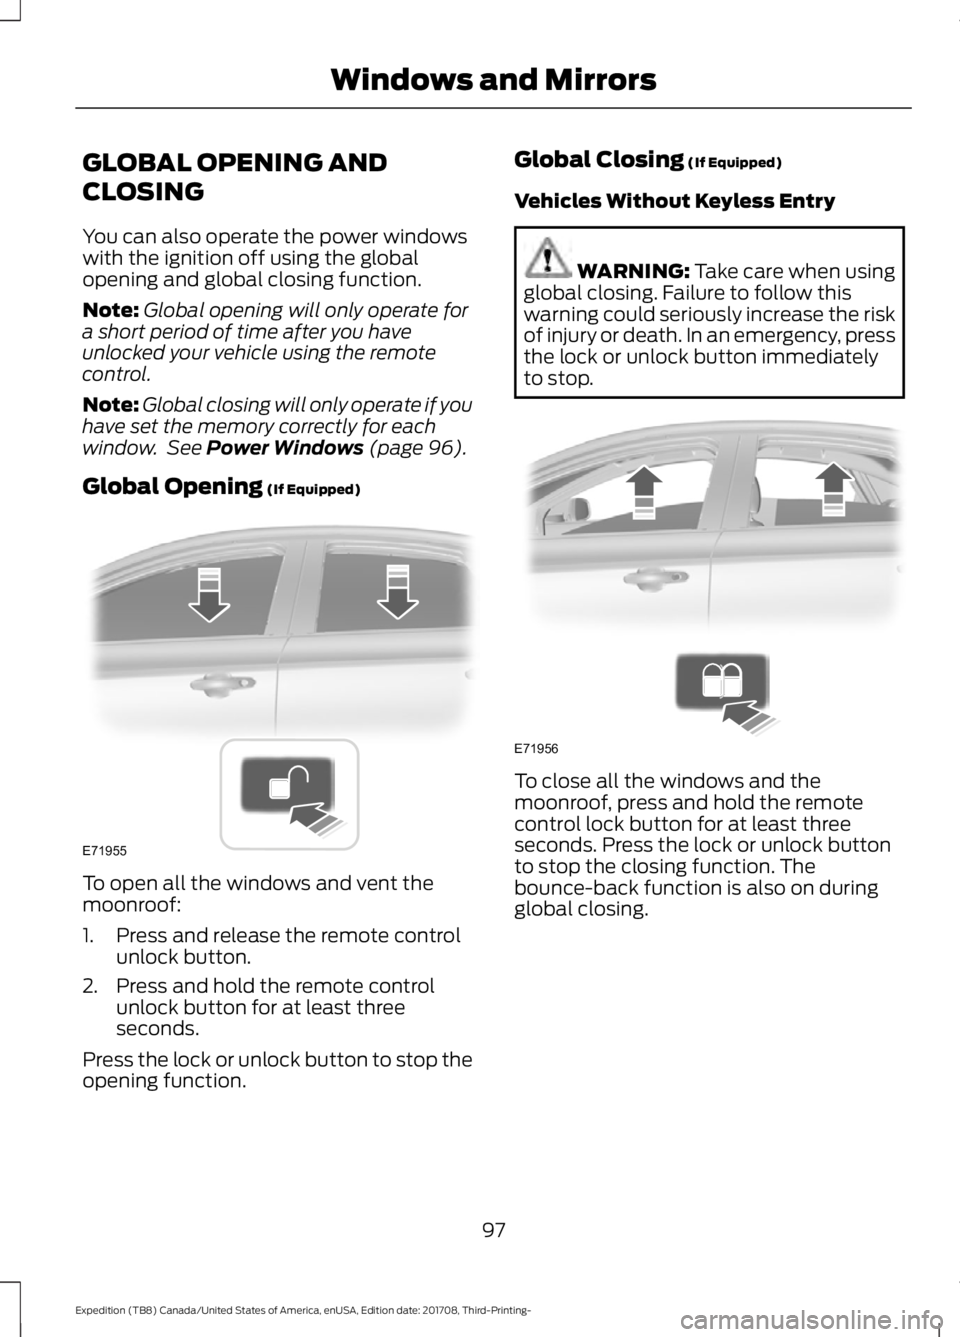
Global Opening
(If Equipped) To open all the windows and vent the
moonroof:
1. Press and release the remote control
unlock button.
2. Press and hold the remote control unlock button for at least three
seconds.
Press the lock or unlock button to stop the
opening function. Global Closing
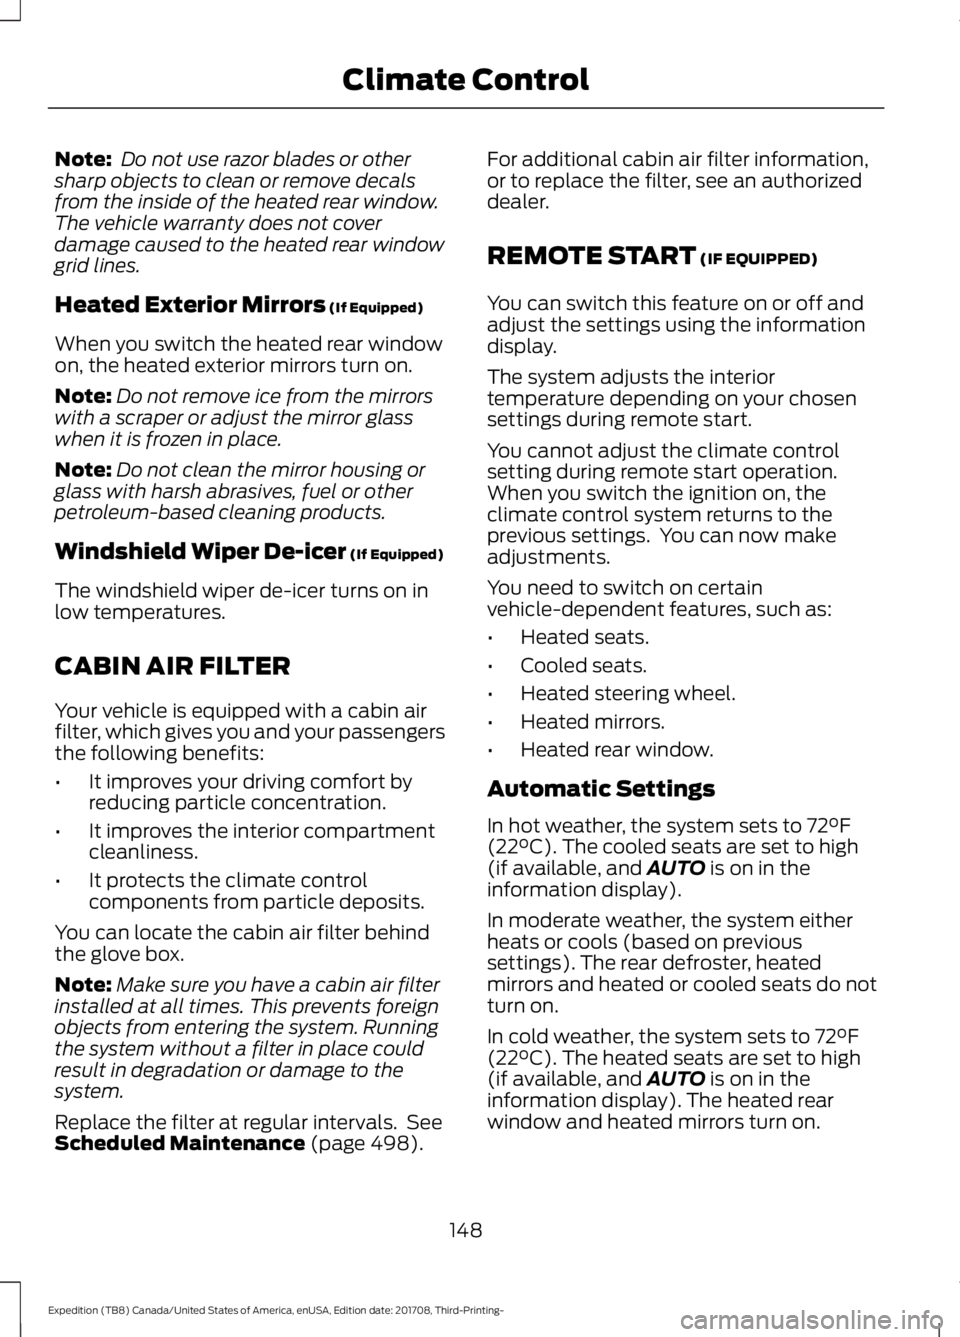
(If Equipped)
Vehicles Without Keyless Entry WARNING:
Take care when using
global closing. Failure to follow this
warning could seriously increase the risk
of injury or death. In an emergency, press
the lock or unlock button immediately
to stop. To close all the windows and the
moonroof, press and hold the remote
control lock button for at least three
seconds. Press the lock or unlock button
to stop the closing function. The
bounce-back function is also on during
global closing.
97
Expedition (TB8) Canada/United States of America, enUSA, Edition date: 201708, Third-Printing- Windows and MirrorsE71955 E71956
Page 116 of 571
Driver Assist
Prog Range Sel Engine Hours
Engine Hours
Engine Idle
Hill Strt Asst.
Park Lock Enter the submenu and select your
setting
Tire Pressure
Enter the submenu and select your
setting
Trans. Temp.
Rear Park Aid
Enter the submenu and select your
setting
Brake Type 1
Brake Effort 1
Trailer Sway
1 Trailer setting. Settings
Enter the submenu and select your
setting
DTE Calculate
Vehicle
Lighting
Locks
Neutral Tow
Oil Life Reset
Remote Start
Windows
Wiper Controls Enter the submenu and select your
setting
MyKey Status
MyKey
Create MyKey
911 Assist
113
Expedition (TB8) Canada/United States of America, enUSA, Edition date: 201708, Third-Printing- Information Displays
Page 120 of 571
Settings
Oil Life Reset
Power Liftgate
Remote Start
Windows
Wiper Controls
Enter the submenu and select
your setting
MyKey
Units
Display Setup
Temperature
Tire Pressure
Language
117
Expedition (TB8) Canada/United States of America, enUSA, Edition date: 201708, Third-Printing- Information Displays
Page 125 of 571
Settings
Enter the submenu for items such as alert sensitivity, distance indication
and active braking
Pre-Collision
Enter the submenu and select your setting
Cruise
Control
Enter the submenu and select your setting
DTE Calcula-
tion
Enter the submenu for items such as system modes and alert intensity
Lane
Keeping
System
Auto Engine Off
Vehicle
Advanced
Settings
Easy Entry/Exit
Lighting
Locks
Mirrors
Neutral Tow
Oil Life Reset
Alarm
Power Liftgate
Power Running Boards
Remote Start
Windows
Wiper Controls
Enter the submenu and select
your setting
MyKey
Units
Display Setup
Temperature
Tire Pressure
Language
122
Expedition (TB8) Canada/United States of America, enUSA, Edition date: 201708, Third-Printing- Information Displays
Page 151 of 571

Note:
Do not use razor blades or other
sharp objects to clean or remove decals
from the inside of the heated rear window.
The vehicle warranty does not cover
damage caused to the heated rear window
grid lines.
Heated Exterior Mirrors (If Equipped)
When you switch the heated rear window
on, the heated exterior mirrors turn on.
Note: Do not remove ice from the mirrors
with a scraper or adjust the mirror glass
when it is frozen in place.
Note: Do not clean the mirror housing or
glass with harsh abrasives, fuel or other
petroleum-based cleaning products.
Windshield Wiper De-icer
(If Equipped)
The windshield wiper de-icer turns on in
low temperatures.
CABIN AIR FILTER
Your vehicle is equipped with a cabin air
filter, which gives you and your passengers
the following benefits:
• It improves your driving comfort by
reducing particle concentration.
• It improves the interior compartment
cleanliness.
• It protects the climate control
components from particle deposits.
You can locate the cabin air filter behind
the glove box.
Note: Make sure you have a cabin air filter
installed at all times. This prevents foreign
objects from entering the system. Running
the system without a filter in place could
result in degradation or damage to the
system.
Replace the filter at regular intervals. See
Scheduled Maintenance
(page 498). For additional cabin air filter information,
or to replace the filter, see an authorized
dealer.
REMOTE START
(IF EQUIPPED)
You can switch this feature on or off and
adjust the settings using the information
display.
The system adjusts the interior
temperature depending on your chosen
settings during remote start.
You cannot adjust the climate control
setting during remote start operation.
When you switch the ignition on, the
climate control system returns to the
previous settings. You can now make
adjustments.
You need to switch on certain
vehicle-dependent features, such as:
• Heated seats.
• Cooled seats.
• Heated steering wheel.
• Heated mirrors.
• Heated rear window.
Automatic Settings
In hot weather, the system sets to
72°F
(22°C). The cooled seats are set to high
(if available, and AUTO is on in the
information display).
In moderate weather, the system either
heats or cools (based on previous
settings). The rear defroster, heated
mirrors and heated or cooled seats do not
turn on.
In cold weather, the system sets to
72°F
(22°C). The heated seats are set to high
(if available, and AUTO is on in the
information display). The heated rear
window and heated mirrors turn on.
148
Expedition (TB8) Canada/United States of America, enUSA, Edition date: 201708, Third-Printing- Climate Control
Page 159 of 571

MEMORY FUNCTION (IF EQUIPPED)
WARNING:
Before activating the
memory seat, make sure that the area
immediately surrounding the seat is clear
of obstructions and that all occupants
are clear of moving parts. WARNING:
Do not use the
memory function when your vehicle is
moving.
This feature automatically recalls the
position of the following:
• Driver seat.
• Power mirrors.
• Optional power adjustable foot pedals.
• Optional power adjustable steering
column.
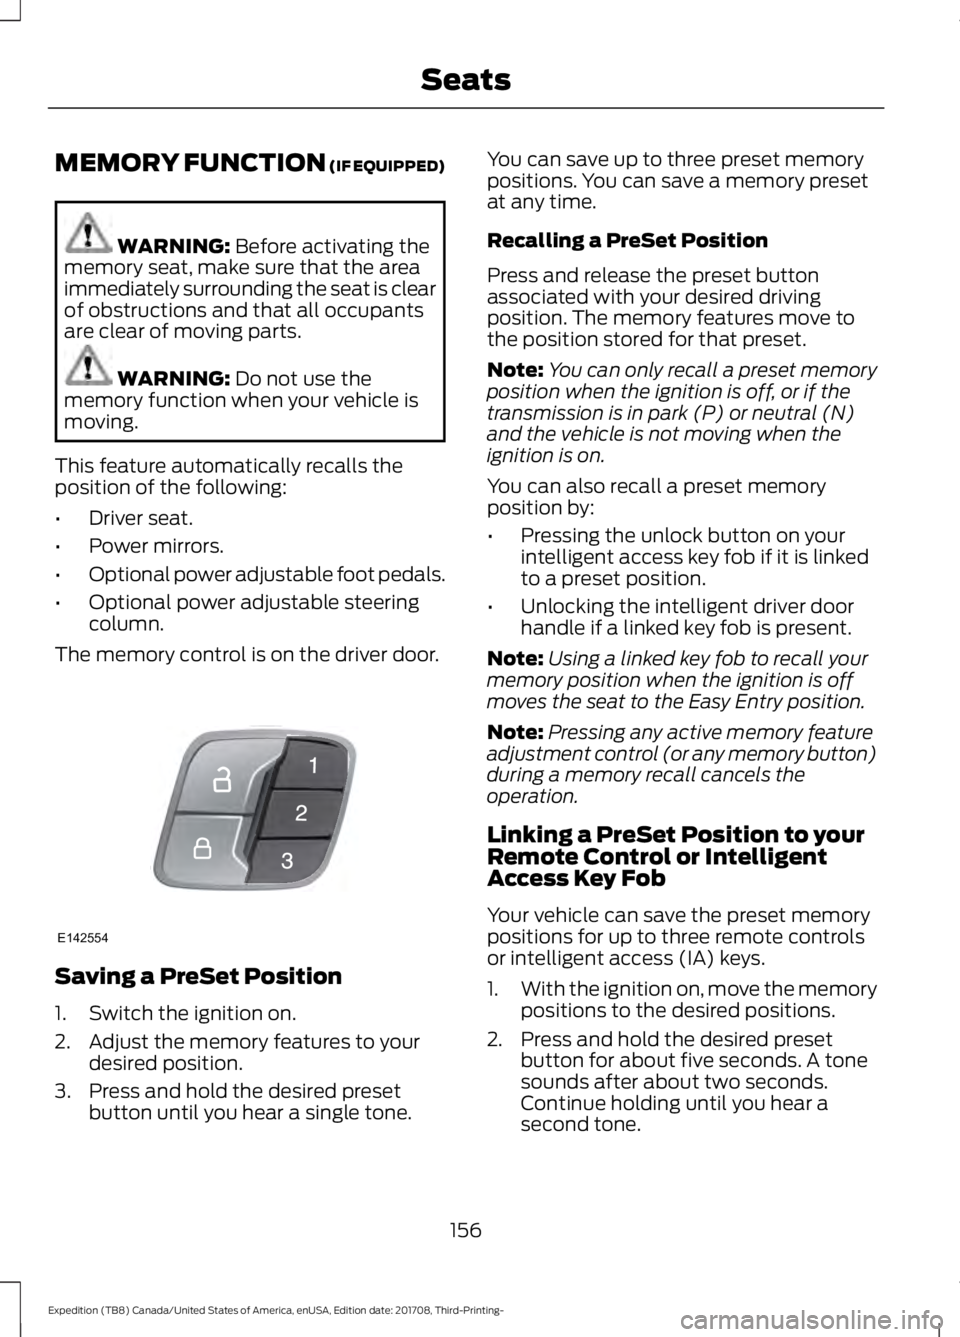
The memory control is on the driver door. Saving a PreSet Position
1. Switch the ignition on.
2. Adjust the memory features to your
desired position.
3. Press and hold the desired preset button until you hear a single tone. You can save up to three preset memory
positions. You can save a memory preset
at any time.
Recalling a PreSet Position
Press and release the preset button
associated with your desired driving
position. The memory features move to
the position stored for that preset.
Note:
You can only recall a preset memory
position when the ignition is off, or if the
transmission is in park (P) or neutral (N)
and the vehicle is not moving when the
ignition is on.
You can also recall a preset memory
position by:
• Pressing the unlock button on your
intelligent access key fob if it is linked
to a preset position.
• Unlocking the intelligent driver door
handle if a linked key fob is present.
Note: Using a linked key fob to recall your
memory position when the ignition is off
moves the seat to the Easy Entry position.
Note: Pressing any active memory feature
adjustment control (or any memory button)
during a memory recall cancels the
operation.
Linking a PreSet Position to your
Remote Control or Intelligent
Access Key Fob
Your vehicle can save the preset memory
positions for up to three remote controls
or intelligent access (IA) keys.
1. With the ignition on, move the memory
positions to the desired positions.
2. Press and hold the desired preset button for about five seconds. A tone
sounds after about two seconds.
Continue holding until you hear a
second tone.
156
Expedition (TB8) Canada/United States of America, enUSA, Edition date: 201708, Third-Printing- SeatsE142554