Page 44 of 553
To Engage Or Disengage The Child-Protection Door Lock
System
1. Open the rear door.
2. Insert the tip of the emergency key into the lock androtate to the lock or unlock position.
3. Repeat steps one and two for the opposite rear door.WARNING!
Avoid trapping anyone in a vehicle in a collision.
Remember that the rear doors can only be opened from
the outside with the Child-Protection locks are en-
gaged (locked).
NOTE: For emergency exit from the rear seats when the
Child-Protection Door Lock System is engaged, manually
raise the door lock knob to the unlocked position, roll
down the window, and open the door using the outside
door handle.
Child-Protection Door Lock Function
42 GETTING TO KNOW YOUR VEHICLE
Page 49 of 553
Driver Memory Seat — If Equipped
This feature allows the driver to store up to two different
memory profiles for easy recall through a memory switch.
Each memory profile contains desired position settings for
the driver seat, side mirrors, and power tilt and telescopic
steering column (if equipped) and a set of desired radio
station presets. Your remote keyless entry key fob can also
be programmed to recall the same positions when the
unlock button is pushed.NOTE:
If your vehicle is equipped with two key fobs, one
key fob can be linked to memory position 1 and the other
key fob can be linked to memory position 2.
The memory seat switch is located on the driver ’s door
trim panel. The switch consists of three buttons: The set (S)
button, which is used to activate the memory save func-
tion, and the memory (1) and (2) buttons, which are used to
recall either of two pre-programmed memory profiles.
Power Lumbar Switch
Memory Seat Switches
3
GETTING TO KNOW YOUR VEHICLE 47
Page 50 of 553

Programming The Memory Feature
NOTE:To create a new memory profile, perform the
following:
1. Cycle the vehicle’s ignition to the ON/RUN position (do not start the engine).
2. Adjust all memory profile settings to desired prefer- ences (i.e., seat, side mirror, power tilt and telescopic
steering column [if equipped], and radio station pre-
sets).
3. Push and release the set (S) button on the memory switch.
4. Within five seconds, push and release either of the memory buttons (1) or (2). The instrument cluster dis-
play will display which memory position has been set.
NOTE:
• Memory profiles can be set without the vehicle in PARK,
but the vehicle must be in PARK to recall a memory
profile.
• To set a memory profile to your key fob, refer to
“Linking And Unlinking The Remote Keyless Entry Key
Fob To Memory” in this section.
Linking And Unlinking The Remote Keyless Entry
Key Fob To Memory
Your key fobs can be programmed to recall one of two
pre-programmed memory profiles by pushing the unlock
button on the key fob.
NOTE: Before programming your key fobs you must select
the “Personal Settings Linked To Fob” feature through the
Uconnect system screen. Refer to “Uconnect Settings” in
“Multimedia” for further information.
To program your key fobs, perform the following:
1. Place the vehicle’s ignition to the OFF position.
2. Select desired memory profile (1) or (2). The system will recall any stored settings for this profile. Wait for the
system to complete the memory recall before continuing
to step three.
NOTE: If a memory profile has not already been set, refer
to �Programming The Memory Feature� in this section for
instructions on how to set a memory profile.
3. Once the profile has been recalled, push and release the set (S) button on the memory switch, then push and
48 GETTING TO KNOW YOUR VEHICLE
Page 51 of 553

release memory button (1) or memory button (2) accord-
ingly. “Memory Profile Set” (1 or 2) will display in the
instrument cluster display.
4. Push and release the lock button on the key fob within 10 seconds.
NOTE: Your key fobs can be unlinked from your memory
settings by pushing the set (S) button, and within 10
seconds push the unlock button on the key fob.
Memory Position Recall
NOTE: The vehicle must be in PARK to recall memory
positions. If a recall is attempted when the vehicle is not in
PARK, a message will display in the instrument cluster
display.
To recall the memory settings for driver 1, push memory
button (1) on the driver’s door or the unlock button on the
key fob linked to memory position 1.
NOTE: If the vehicle is equipped with Passive Entry, the
memory settings will be recalled with a Passive Entry
Unlock into the driver’s door using the key fob linked to
position 1. To recall the memory setting for driver 2, push memory
button (2) on the driver’s door or the unlock button on the
key fob linked to memory position 2.
NOTE:
If the vehicle is equipped with Passive Entry, the
memory settings will be recalled with a Passive Entry
Unlock into the driver’s door using the key fob linked to
position 2.
A recall can be cancelled by pushing any of the memory
buttons (S, 1, or 2) on the driver’s door during a recall.
When a recall is cancelled, the driver’s seat or power tilt
and telescopic steering column (if equipped) stop moving.
A delay of one second will occur before another recall can
be selected.
Easy Entry/Exit Seat
This feature provides automatic driver seat positioning to
enhance driver mobility when entering and exiting the
vehicle.
3
GETTING TO KNOW YOUR VEHICLE 49
Page 56 of 553

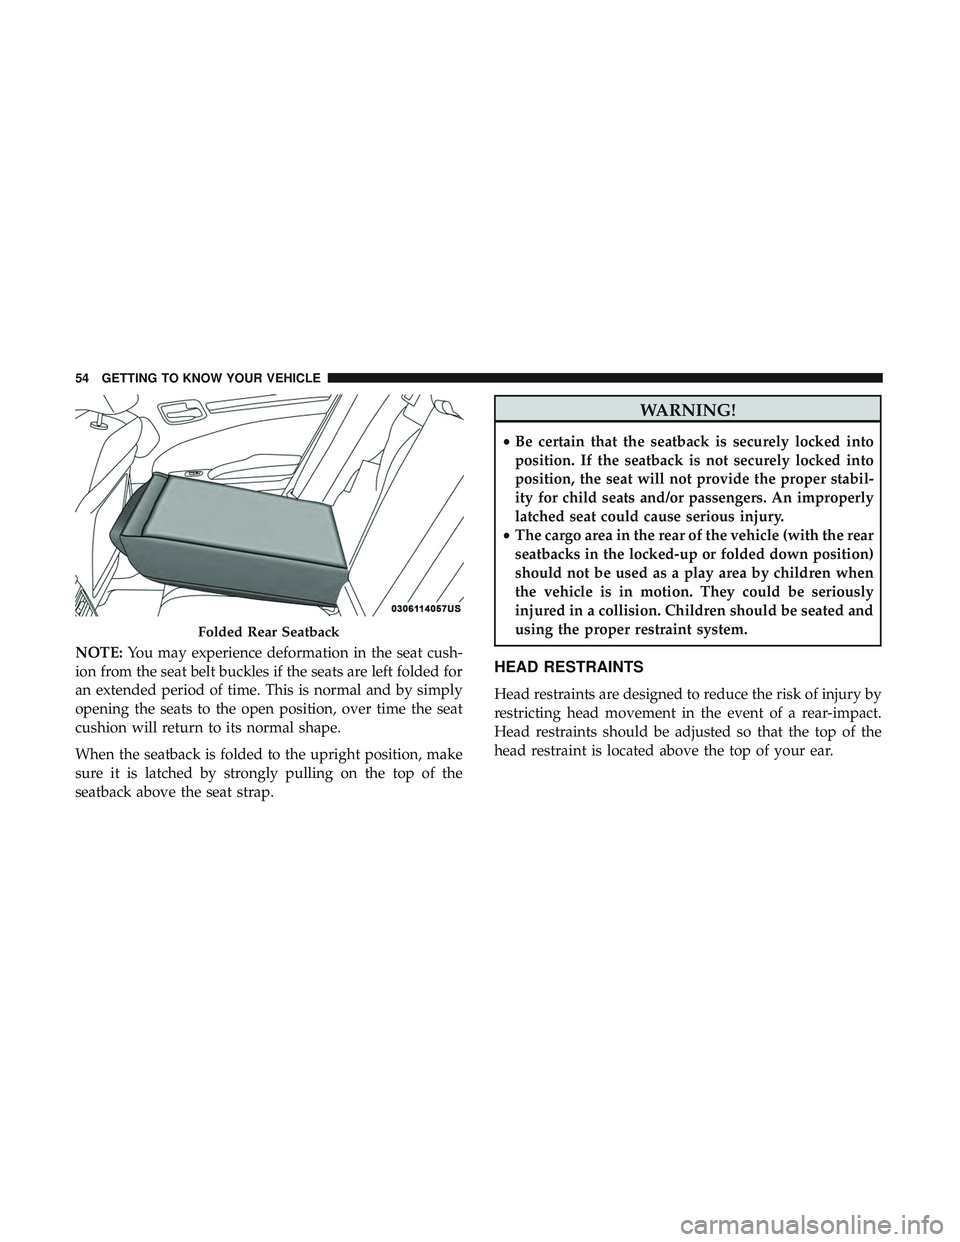
NOTE:You may experience deformation in the seat cush-
ion from the seat belt buckles if the seats are left folded for
an extended period of time. This is normal and by simply
opening the seats to the open position, over time the seat
cushion will return to its normal shape.
When the seatback is folded to the upright position, make
sure it is latched by strongly pulling on the top of the
seatback above the seat strap.
WARNING!
• Be certain that the seatback is securely locked into
position. If the seatback is not securely locked into
position, the seat will not provide the proper stabil-
ity for child seats and/or passengers. An improperly
latched seat could cause serious injury.
• The cargo area in the rear of the vehicle (with the rear
seatbacks in the locked-up or folded down position)
should not be used as a play area by children when
the vehicle is in motion. They could be seriously
injured in a collision. Children should be seated and
using the proper restraint system.
HEAD RESTRAINTS
Head restraints are designed to reduce the risk of injury by
restricting head movement in the event of a rear-impact.
Head restraints should be adjusted so that the top of the
head restraint is located above the top of your ear.
Folded Rear Seatback
54 GETTING TO KNOW YOUR VEHICLE
Page 60 of 553
To unlock the steering column, pull the lever downward.
To tilt the steering column, move the steering wheel
upward or downward as desired. To lengthen or shorten
the steering column, pull the steering wheel outward or
push it inward as desired. To lock the steering column in
position, push the lever upward until fully engaged.
WARNING!
Do not adjust the steering column while driving.
Adjusting the steering column while driving or driv-
ing with the steering column unlocked, could cause the
driver to lose control of the vehicle. Failure to follow
this warning may result in serious injury or death.
Power Tilt/Telescoping Steering Column — If
Equipped
This feature allows you to tilt the steering column upward
or downward. It also allows you to lengthen or shorten the
steering column. The power tilt/telescoping steering col-
umn switch is located below the multifunction lever on the
steering column.
Manual Tilt/Telescoping Control Handle
58 GETTING TO KNOW YOUR VEHICLE
Page 61 of 553

To tilt the steering column, move the switch up or down as
desired. To lengthen or shorten the steering column, pull
the switch toward you or push the switch away from you
as desired.
NOTE:For vehicles equipped with Driver Memory Seat,
you can use your remote keyless entry key fob or the
memory switch on the driver’s door trim panel to return
the tilt/telescopic steering column to pre-programmed
positions. Refer to “Driver Memory Seat” in this section.
WARNING!
Do not adjust the steering column while driving.
Adjusting the steering column while driving or driv-
ing with the steering column unlocked, could cause the
driver to lose control of the vehicle. Failure to follow
this warning may result in serious injury or death.
Heated Steering Wheel — If Equipped
The steering wheel contains a heating element that helps
warm your hands in cold weather. The heated steering
wheel has only one temperature setting. Once the heated
steering wheel has been turned on, it will stay on for an
average of 80 minutes or more before automatically shut-
ting off. This time will vary based on environmental
temperatures. The heated steering wheel can shut off early
or may not turn on when the steering wheel is already
warm.
Power Tilt/Telescoping Switch
3
GETTING TO KNOW YOUR VEHICLE 59
Page 62 of 553

The heated steering wheel control button is located within
the Uconnect system. You can gain access to the control
button through the climate screen or the controls screen.
•Press the heated steering wheel button
once to turn
the heating element on.
• Press the heated steering wheel buttona second time
to turn the heating element off.
NOTE: The engine must be running for the heated steering
wheel to operate.
Vehicles Equipped With Remote Start
On models that are equipped with remote start, the heated
steering wheel can be programmed to come on during a
remote start through the Uconnect system. Refer to
“Uconnect Settings” in “Multimedia” for further informa-
tion.
WARNING!
• Persons who are unable to feel pain to the skin
because of advanced age, chronic illness, diabetes,
spinal cord injury, medication, alcohol use, exhaus-
tion, or other physical conditions must exercise care
when using the steering wheel heater. It may cause
burns even at low temperatures, especially if used
for long periods.
• Do not place anything on the steering wheel that
insulates against heat, such as a blanket or steering
wheel covers of any type and material. This may
cause the steering wheel heater to overheat.
MIRRORS
Inside Day/Night Mirror — If Equipped
A single ball joint mirror is provided in the vehicle. It is a
twist on mirror that has a fixed position at the windshield.
The mirror installs on the windshield button with a coun-
terclockwise rotation and requires no tools for mounting.
The mirror head can be adjusted up, down, left, and right
for various drivers. The mirror should be adjusted to center
on the view through the rear window.
60 GETTING TO KNOW YOUR VEHICLE