Page 61 of 553

To tilt the steering column, move the switch up or down as
desired. To lengthen or shorten the steering column, pull
the switch toward you or push the switch away from you
as desired.
NOTE:For vehicles equipped with Driver Memory Seat,
you can use your remote keyless entry key fob or the
memory switch on the driver’s door trim panel to return
the tilt/telescopic steering column to pre-programmed
positions. Refer to “Driver Memory Seat” in this section.
WARNING!
Do not adjust the steering column while driving.
Adjusting the steering column while driving or driv-
ing with the steering column unlocked, could cause the
driver to lose control of the vehicle. Failure to follow
this warning may result in serious injury or death.
Heated Steering Wheel — If Equipped
The steering wheel contains a heating element that helps
warm your hands in cold weather. The heated steering
wheel has only one temperature setting. Once the heated
steering wheel has been turned on, it will stay on for an
average of 80 minutes or more before automatically shut-
ting off. This time will vary based on environmental
temperatures. The heated steering wheel can shut off early
or may not turn on when the steering wheel is already
warm.
Power Tilt/Telescoping Switch
3
GETTING TO KNOW YOUR VEHICLE 59
Page 73 of 553
To turn the lights off, push the switch a second time. The
lights also turn on when a door is opened. The lights will
also turn on when the unlock button on the key fob is
pushed.Ambient Light — If Equipped
The overhead console is equipped with an ambient light
feature. This light casts illumination for improved visibility
of the floor and center console area.
Front Map/Reading Light SwitchesAmbient Light
3
GETTING TO KNOW YOUR VEHICLE 71
Page 95 of 553
NOTE:
•If the window runs into any obstacle during Auto-
Closure, it will reverse direction and then go back down.
Remove the obstacle and use the window switch again
to close the window.
• Any impact due to rough road conditions may trigger
the Auto-Reverse function unexpectedly during auto-
closure. If this happens, pull and hold the switch to close
the window manually.
WARNING!
There is no anti-pinch protection when the window is
almost closed. Be sure to clear all objects from the
window before closing.
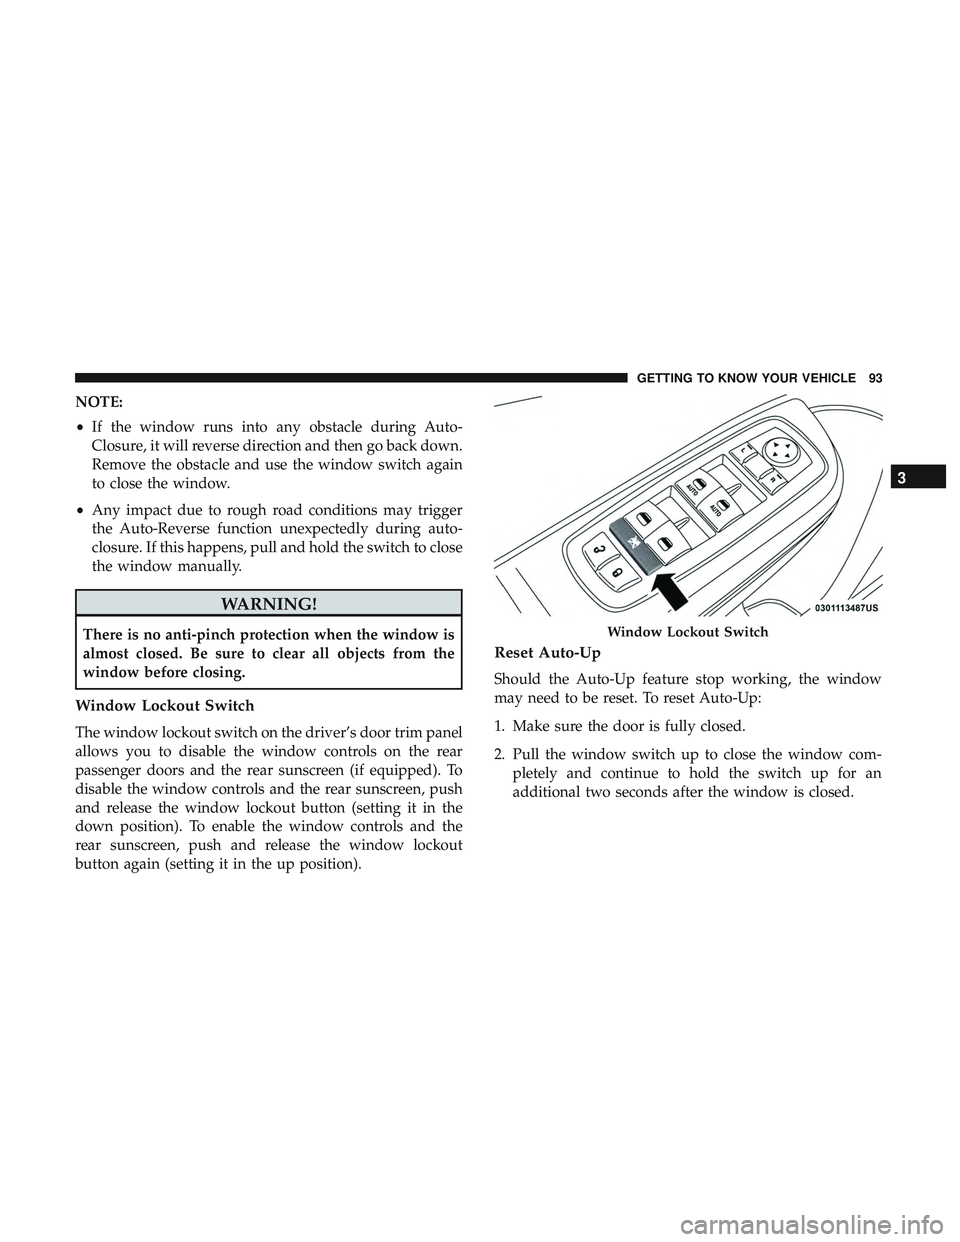
Window Lockout Switch
The window lockout switch on the driver’s door trim panel
allows you to disable the window controls on the rear
passenger doors and the rear sunscreen (if equipped). To
disable the window controls and the rear sunscreen, push
and release the window lockout button (setting it in the
down position). To enable the window controls and the
rear sunscreen, push and release the window lockout
button again (setting it in the up position).
Reset Auto-Up
Should the Auto-Up feature stop working, the window
may need to be reset. To reset Auto-Up:
1. Make sure the door is fully closed.
2. Pull the window switch up to close the window com-
pletely and continue to hold the switch up for an
additional two seconds after the window is closed.
Window Lockout Switch
3
GETTING TO KNOW YOUR VEHICLE 93
Page 101 of 553
With the ignition in the OFF position, the trunk open
symbol will display until the trunk is closed.
NOTE:Refer to “Keyless Enter-N-Go — Passive Entry” in
”Doors” in “Getting To Know Your Vehicle” for further
information on trunk operation with the Passive Entry
feature.
Opening From Inside The Vehicle
Interior Power Trunk Release
The trunk can be opened from inside the
vehicle using the power trunk release
button located on the instrument panel
to the left of the steering wheel.
NOTE:The transmission must be in
PARK before the button will operate.
Opening From Outside The Vehicle
To Unlock/Open The Trunk
The trunk may be unlocked/opened using either of the
following methods:
• Key Fob Trunk Release Button
• Passive Entry Button
Key Fob Trunk Release Button Push the power trunk button on the key fob
twice within five seconds to release the trunk.
Passive Entry Button
Push the trunk passive entry button which is located on the
back of the trunk lid. With a valid Passive Entry key fob
within 5 ft (1.5 m) of the trunk, push the passive entry
button to open the trunk.
Power Trunk Release
3
GETTING TO KNOW YOUR VEHICLE 99
Page 109 of 553
Using HomeLink
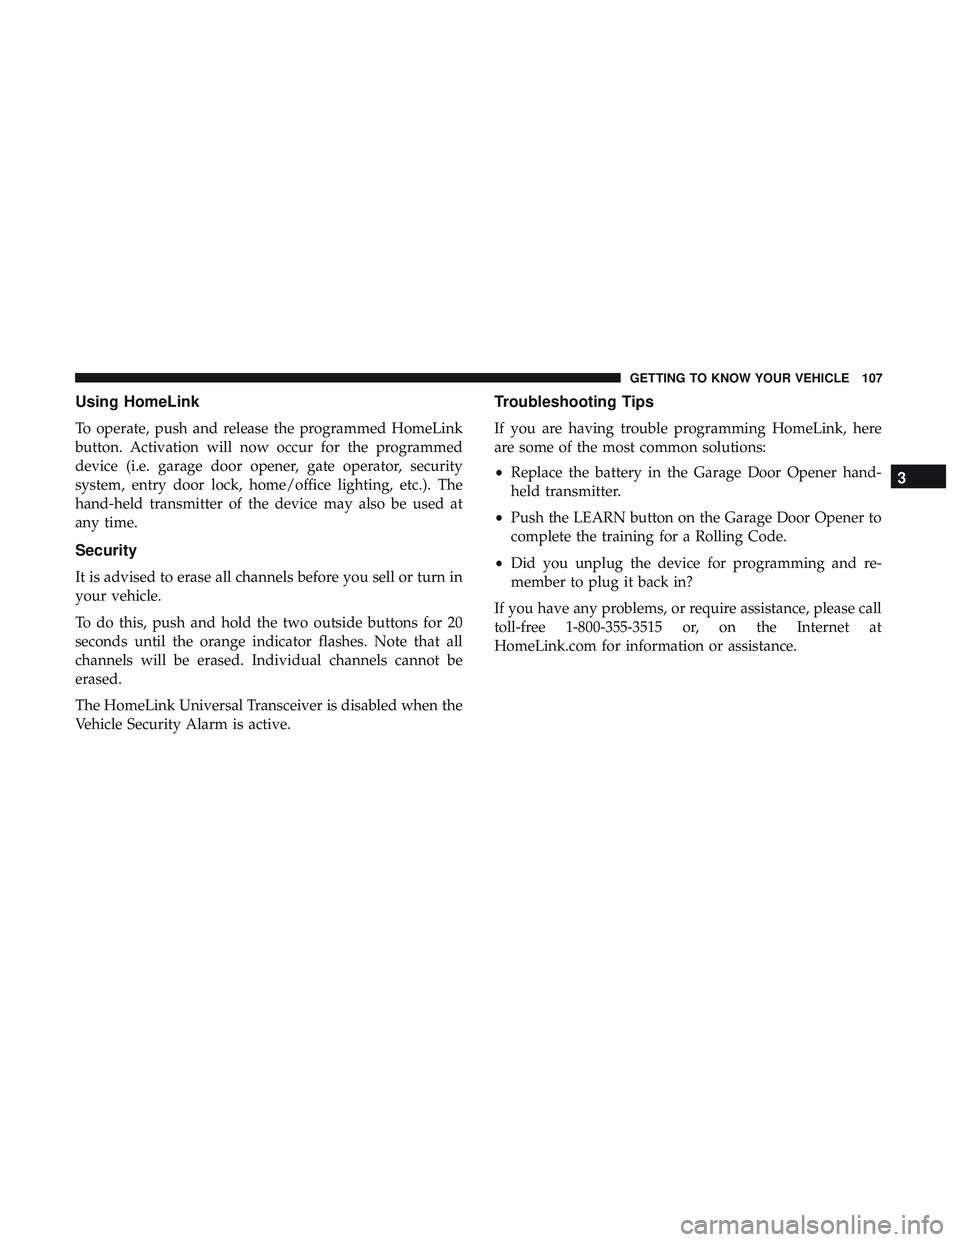
To operate, push and release the programmed HomeLink
button. Activation will now occur for the programmed
device (i.e. garage door opener, gate operator, security
system, entry door lock, home/office lighting, etc.). The
hand-held transmitter of the device may also be used at
any time.
Security
It is advised to erase all channels before you sell or turn in
your vehicle.
To do this, push and hold the two outside buttons for 20
seconds until the orange indicator flashes. Note that all
channels will be erased. Individual channels cannot be
erased.
The HomeLink Universal Transceiver is disabled when the
Vehicle Security Alarm is active.
Troubleshooting Tips
If you are having trouble programming HomeLink, here
are some of the most common solutions:
•Replace the battery in the Garage Door Opener hand-
held transmitter.
• Push the LEARN button on the Garage Door Opener to
complete the training for a Rolling Code.
• Did you unplug the device for programming and re-
member to plug it back in?
If you have any problems, or require assistance, please call
toll-free 1-800-355-3515 or, on the Internet at
HomeLink.com for information or assistance.
3
GETTING TO KNOW YOUR VEHICLE 107
Page 196 of 553
•As the air bags deflate, you may see some smoke-like
particles. The particles are a normal by-product of the
process that generates the non-toxic gas used for air bag
inflation. These airborne particles may irritate the skin,
eyes, nose, or throat. If you have skin or eye irritation,
rinse the area with cool water. For nose or throat
irritation, move to fresh air. If the irritation continues,
see your doctor. If these particles settle on your clothing,
follow the garment manufacturer ’s instructions for
cleaning.
Do not drive your vehicle after the air bags have deployed.
If you are involved in another collision, the air bags will
not be in place to protect you.
WARNING!
Deployed air bags and seat belt pretensioners cannot
protect you in another collision. Have the air bags, seat
belt pretensioners, and the seat belt retractor assem-
blies replaced by an authorized dealer immediately.
Also, have the Occupant Restraint Controller System
serviced as well. NOTE:
•
Air bag covers may not be obvious in the interior trim,
but they will open during air bag deployment.
• After any collision, the vehicle should be taken to an
authorized dealer immediately.
Enhanced Accident Response System
In the event of an impact, if the communication network
remains intact, and the power remains intact, depending
on the nature of the event, the ORC will determine whether
to have the Enhanced Accident Response System perform
the following functions:
•Cut off fuel to the engine (If Equipped)
• Cut off battery power to the electric motor (If Equipped)
• Flash hazard lights as long as the battery has power
• Turn on the interior lights, which remain on as long as
the battery has power or for 15 minutes from the
intervention of the Enhanced Accident Response Sys-
tem.
• Unlock the power door locks.
194 SAFETY
Page 197 of 553
Your vehicle may also be designed to perform any of these
other functions in response to the Enhanced Accident
Response System:
•Turn off the Fuel Filter Heater, Turn off the HVAC
Blower Motor, Close the HVAC Circulation Door
• Cut off battery power to the:
• Engine
• Electric Motor (if equipped)
• Electric power steering
• Brake booster
• Electric park brake
• Automatic transmission gear selector
• Horn
• Front wiper
• Headlamp washer pump NOTE:
After an accident, remember to cycle the ignition
to the STOP (OFF/LOCK) position and remove the key
from the ignition switch to avoid draining the battery.
Carefully check the vehicle for fuel leaks in the engine
compartment and on the ground near the engine compart-
ment and fuel tank before resetting the system and starting
the engine. If there are no fuel leaks or damage to the
vehicle electrical devices (e.g. headlights) after an accident,
reset the system by following the procedure described
below. If you have any doubt, contact an authorized dealer.
Enhanced Accident Response System Reset
Procedure
In order to reset the Enhanced Accident Response System
functions after an event, the ignition switch must be
changed from ignition START or ON/RUN to ignition OFF.
Carefully check the vehicle for fuel leaks in the engine
compartment and on the ground near the engine compart-
ment and fuel tank before resetting the system and starting
the engine.
5
SAFETY 195
Page 219 of 553
WARNING!(Continued)
interference with the accelerator, brake, or clutch
pedals then re-install the floor mats.
• It is recommended to only use mild soap and water
to clean your floor mats. After cleaning, always check
your floor mat has been properly installed and is
secured to your vehicle using the floor mat fasteners
by lightly pulling mat.
Periodic Safety Checks You Should Make Outside
The Vehicle
Tires
Examine tires for excessive tread wear and uneven wear
patterns. Check for stones, nails, glass, or other objects
lodged in the tread or sidewall. Inspect the tread for cuts
and cracks. Inspect sidewalls for cuts, cracks, and bulges.
Check the wheel nuts for tightness. Check the tires (includ-
ing spare) for proper cold inflation pressure.
Lights
Have someone observe the operation of brake lights and
exterior lights while you work the controls. Check turn
signal and high beam indicator lights on the instrument
panel.
Door Latches
Check for proper closing, latching, and locking.
Fluid Leaks
Check area under the vehicle after overnight parking for
fuel, coolant, oil, or other fluid leaks. Also, if gasoline
fumes are detected or if fuel, or brake fluid leaks are
suspected. The cause should be located and corrected
immediately.
5
SAFETY 217