Page 307 of 553
•The Device Screen will display the following message
“Vehicle device requires service. Please contact your
dealer.”
• An In-Vehicle Audio message will state “Vehicle device
requires service. Please contact your dealer.”
WARNING!
•Ignoring the Rearview Mirror light could mean you
will not have SOS Call services. If the Rearview
Mirror light is illuminated, have an authorized
dealer service the SOS Call system immediately.
• The Occupant Restraint Control module turns on the
air bag Warning Light on the instrument panel if a
malfunction in any part of the system is detected. If
the Air Bag Warning Light is illuminated, have an
authorized dealer service the Occupant Restraint
Control system immediately.
Even if the SOS Call system is fully functional, factors
beyond FCA US LLC’s control may prevent or stop the SOS
Call system operation. These include, but are not limited
to, the following factors:
• Delayed accessories mode is active.
• The ignition is in the OFF position. •
The vehicle’s electrical systems are not intact.
• The SOS Call system software and/or hardware are
damaged during a crash.
• The vehicle battery loses power or becomes discon-
nected during a vehicle crash.
• LTE (voice/data) or 4G (data) network and/or Global
Positioning Satellite signals are unavailable or ob-
structed.
• Equipment malfunction at the SOS operator facility.
• Operator error by the SOS operator.
• LTE (voice/data) or 4G (data) network congestion.
• Weather.
• Buildings, structures, geographic terrain, or tunnels.
WARNING!
ALWAYS obey traffic laws and pay attention to the
road. ALWAYS drive safely with your hands on the
steering wheel. You have full responsibility and as-
sume all risks related to the use of the Uconnect and
SiriusXM Guardian features and applications in this
(Continued)
7
IN CASE OF EMERGENCY 305
Page 437 of 553
MULTIMEDIA
CONTENTS
�UCONNECT SYSTEMS ...................437
� DRAG & DROP MENU BAR ................437
� CYBERSECURITY .......................438
� UCONNECT SETTINGS ...................439
▫ Uconnect 4 Settings .....................441
▫ Customer Programmable Features — Uconnect
4C/4C NAV Settings ....................463
▫ Performance Pages — If Equipped ...........486
▫ Performance Control— If Equipped .........495
� STEERING WHEEL AUDIO CONTROLS — IF
EQUIPPED ............................504
▫ Radio Operation ........................505
▫ Media Mode ..........................505 �
AUX/USB/MP3 CONTROL ................505
� RADIO OPERATION AND MOBILE PHONES . . .506
▫ Regulatory And Safety Information ..........506
� UCONNECT VOICE RECOGNITION QUICK
TIPS .................................508
▫ Introducing Uconnect ....................508
▫ Get Started .......................... .509
▫ Basic Voice Commands ...................510
▫ Radio ...............................510
▫ Media ...............................512
▫ Phone ...............................513
▫ Voice Text Reply .......................515
▫ Climate ............................. .516
10
Page 450 of 553
Setting NameSelectable Options
ParkView Backup Camera Delay On
Off
NOTE:
When the vehicle is shifted out of REVERSE (with camera delay turned off), the rear camera mode is exited and the
navigation or audio screen appears again. When the vehicle is shifted out of REVERSE (with camera delay turned
on), the rear view image with dynamic grid lines will be displayed for up to ten seconds after shifting out of “RE-
VERSE” unless the forward vehicle speed exceeds 8 mph (12 km/h), the transmission is shifted into PARK or the ig-
nition is switched to the off position. To set the ParkView Backup Camera Delay press the “Controls” button on the
touchscreen, the “settings” button on the touchscreen, then the “Safety & Assistance” button on the touchscreen. Blind Spot Alert — If Equipped Off
LightsLights & Chime
448 MULTIMEDIA
Page 459 of 553

Compass CalibrationYe s
NOTE:
Press “Compass Calibration” on the touchscreen to enter calibration. To start calibration of the compass, press the
“Yes” button on the touchscreen and complete one or more 360-degree turns (in an area free from large metal or me-
tallic objects). A message will appear on the touchscreen when the compass has been successfully calibrated.
Keep magnetic materials away from the rear view mirror, such as Mobile Phones, Laptops and Radar Detectors. This
is where the compass module is located, and it can cause interference with the compass sensor, and it may give false
readings.
Audio
After pressing the “Audio” button on the touchscreen, the
following settings will be available:
Setting Name Selectable Options
Equalizer +-
NOTE:
When in the “Equalizer” display you may adjust the Bass, Mid and Treble settings. Adjust the settings with the “+”
and “–” buttons on the touchscreen or by selecting any point on the scale between the “+” and “–” buttons on the
touchscreen.
10
MULTIMEDIA 457
Page 461 of 553
Setting NameSelectable Options
AUX Volume Offset — If Equipped +–
NOTE:
The “AUX Volume Offset” feature provides the ability to tune the audio level for portable devices connected through
the AUX input. To make your selection, press the “AUX Volume Offset” button on the touchscreen, select “+” and
“–”. Auto Play — IfEquipped On
Off
NOTE: The Auto Play feature allows a media device to begin playing when the media device is plugged in. To make
your selection, press the On or Off buttons to activate or deactivate Auto Play.
Phone/Bluetooth
After pressing the “Phone/Bluetooth” button on the touch-
screen, the following settings will be available:
Setting Name Selectable Options
Do Not Disturb List of Settings
NOTE: Press “Do Not Disturb” to access the available settings. The following settings are: Auto Reply (both, text,
call), Auto Reply Message (custom, default) and Custom Auto Reply Message (create message).
10
MULTIMEDIA 459
Page 463 of 553
Setting NameSelectable Options
NOTE:
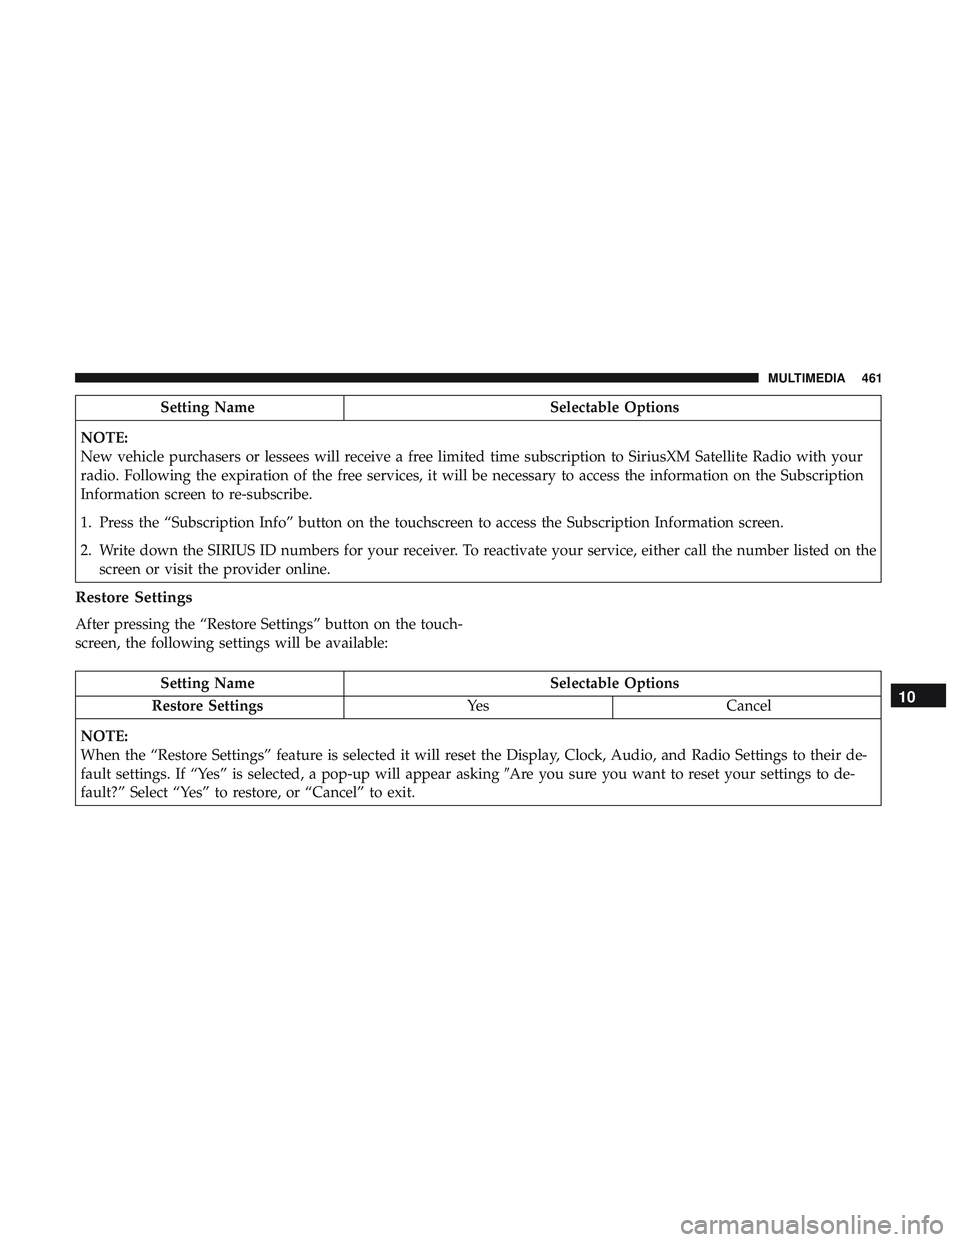
New vehicle purchasers or lessees will receive a free limited time subscription to SiriusXM Satellite Radio with your
radio. Following the expiration of the free services, it will be necessary to access the information on the Subscription
Information screen to re-subscribe.
1. Press the “Subscription Info” button on the touchscreen to access the Subscription Information screen.
2. Write down the SIRIUS ID numbers for your receiver. To reactivate your service, either call the number listed on the screen or visit the provider online.
Restore Settings
After pressing the “Restore Settings” button on the touch-
screen, the following settings will be available:
Setting Name Selectable Options
Restore Settings YesCancel
NOTE:
When the “Restore Settings” feature is selected it will reset the Display, Clock, Audio, and Radio Settings to their de-
fault settings. If “Yes” is selected, a pop-up will appear asking �Are you sure you want to reset your settings to de-
fault?” Select “Yes” to restore, or “Cancel” to exit.10
MULTIMEDIA 461
Page 464 of 553
Setting NameSelectable Options
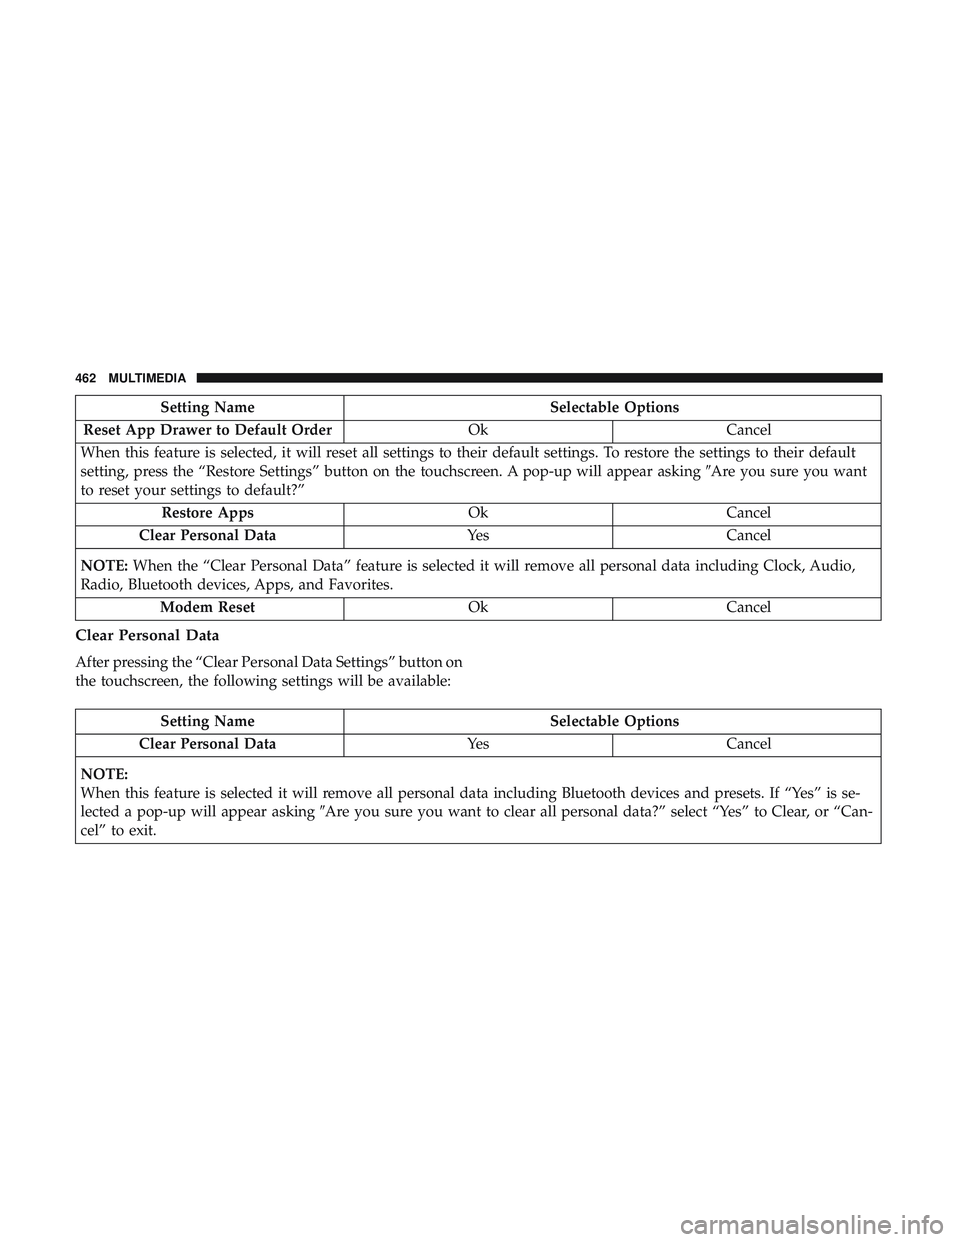
Reset App Drawer to Default Order OkCancel
When this feature is selected, it will reset all settings to their default settings. To restore the settings to their default
setting, press the “Restore Settings” button on the touchscreen. A pop-up will appear asking �Are you sure you want
to reset your settings to default?”
Restore Apps OkCancel
Clear Personal Data YesCancel
NOTE: When the “Clear Personal Data” feature is selected it will remove all personal data including Clock, Audio,
Radio, Bluetooth devices, Apps, and Favorites.
Modem Reset OkCancel
Clear Personal Data
After pressing the “Clear Personal Data Settings” button on
the touchscreen, the following settings will be available:
Setting Name Selectable Options
Clear Personal Data YesCancel
NOTE:
When this feature is selected it will remove all personal data including Bluetooth devices and presets. If “Yes” is se-
lected a pop-up will appear asking �Are you sure you want to clear all personal data?” select “Yes” to Clear, or “Can-
cel” to exit.
462 MULTIMEDIA
Page 465 of 553
System Information
After pressing the “System Information” button on the
touchscreen, the following settings will be available:
Setting NameSelectable Options
Software License System Software Information Screen
NOTE:
When the “Software License” feature is selected, a “System Software Information” screen will appear, displaying the
system software version. You can also update your maps with a USB device. Please see your authorized dealer for
further information.
Customer Programmable Features — Uconnect
4C/4C NAV Settings
Press the “Apps” button (If Equipped), and then
press the “Settings” button on the touchscreen to dis-
play the menu setting screen. In this mode, the
Uconnect system allows you to access programmable
features that may be equipped such as Language, Dis-
play, Units, Voice, Clock, Safety & Driving Assistance,
Lights, Doors & Locks, Auto-On Comfort, Engine Off
Options, Audio, Phone, SiriusXM Setup, Restore Set-
tings, Clear Personal Data and System Information.
NOTE: Depending on the vehicles options, feature settings
may vary. When making a selection, press the button on the touch-
screen to enter the desired mode. Once in the desired
mode, press and release the preferred setting “option” until
a check-mark appears next to the setting, showing that
setting has been selected. Once the setting is complete,
either press the back arrow button on the touchscreen to
return to the previous menu, or press the “X” button on the
touchscreen to close out of the settings screen. Pressing the
up or down arrow button on the right side of the screen
will allow you to toggle up or down through the available
settings.
10
MULTIMEDIA 463