2018 CHRYSLER PACIFICA warning light
[x] Cancel search: warning lightPage 7 of 696

HOW TO USE THIS MANUAL
Essential Information
Consult the Table of Contents to determine which section
contains the information you desire.
Since the specification of your vehicle depends on the items
of equipment ordered, certain descriptions and illustra-
tions may differ from your vehicle’s equipment.
The detailed index at the back of this Owner’s Manual
contains a complete listing of all subjects.
Symbols
Some vehicle components have colored labels whose sym-
bols indicate precautions to be observed when using this
component. Refer to “Warning Lights and Messages” in
“Getting To Know Your Instrument Panel” for further
information on the symbols used in your vehicle.
WARNINGS AND CAUTIONS
This Owner ’s Manual containsWARNINGSagainst oper-
ating procedures that could result in a collision, bodily
injury and/or death. It also contains CAUTIONSagainst
procedures that could result in damage to your vehicle. If
you do not read this entire Owner ’s Manual, you may miss
important information. Observe all Warnings and Cau-
tions.
VEHICLE MODIFICATIONS/ALTERATIONS
WARNING!
Any modifications or alterations to this vehicle could
seriously affect its roadworthiness and safety and may
lead to a collision resulting in serious injury or death.
1
INTRODUCTION 5
Page 52 of 696
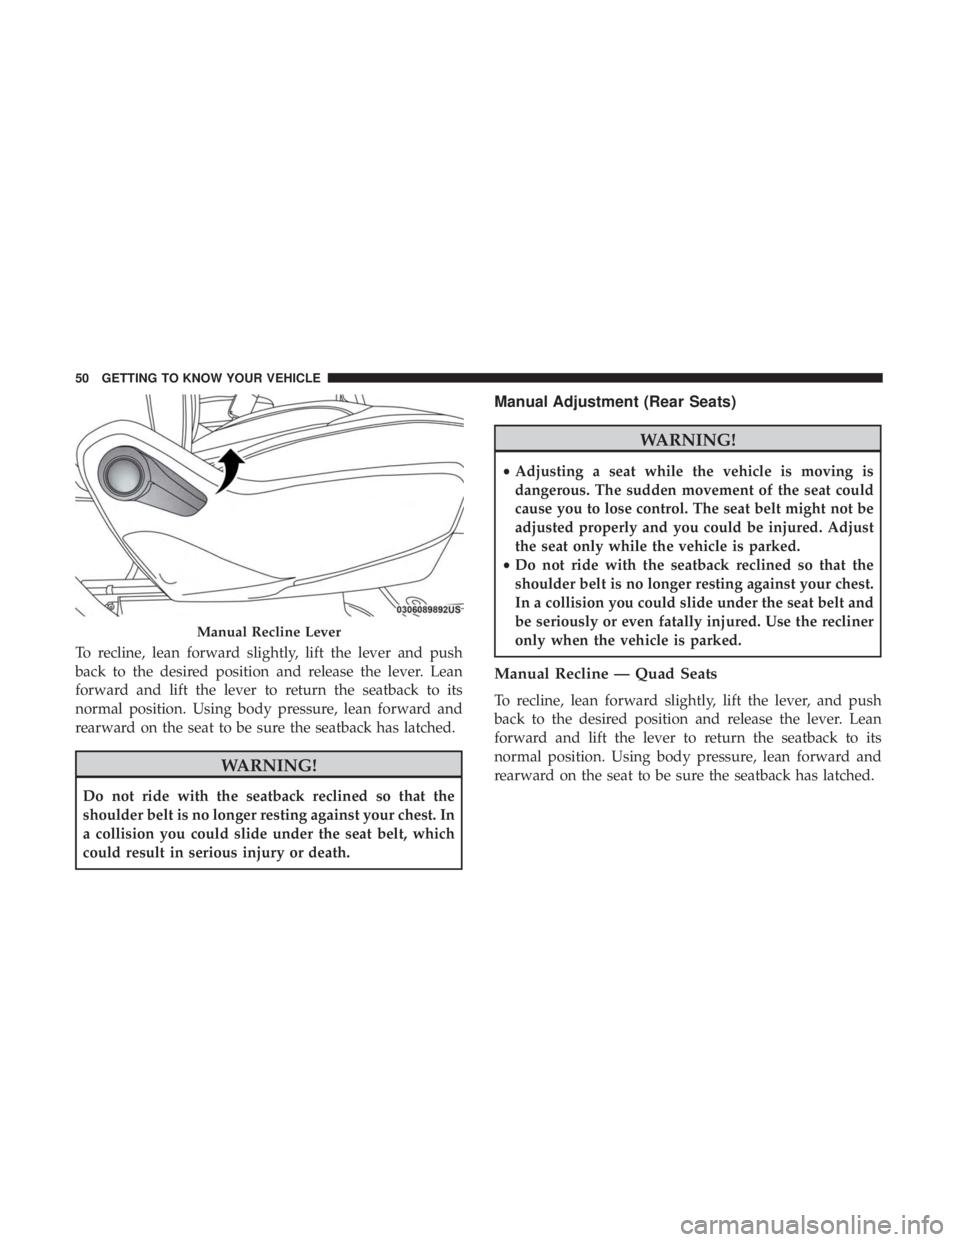
To recline, lean forward slightly, lift the lever and push
back to the desired position and release the lever. Lean
forward and lift the lever to return the seatback to its
normal position. Using body pressure, lean forward and
rearward on the seat to be sure the seatback has latched.
WARNING!
Do not ride with the seatback reclined so that the
shoulder belt is no longer resting against your chest. In
a collision you could slide under the seat belt, which
could result in serious injury or death.
Manual Adjustment (Rear Seats)
WARNING!
•Adjusting a seat while the vehicle is moving is
dangerous. The sudden movement of the seat could
cause you to lose control. The seat belt might not be
adjusted properly and you could be injured. Adjust
the seat only while the vehicle is parked.
• Do not ride with the seatback reclined so that the
shoulder belt is no longer resting against your chest.
In a collision you could slide under the seat belt and
be seriously or even fatally injured. Use the recliner
only when the vehicle is parked.
Manual Recline — Quad Seats
To recline, lean forward slightly, lift the lever, and push
back to the desired position and release the lever. Lean
forward and lift the lever to return the seatback to its
normal position. Using body pressure, lean forward and
rearward on the seat to be sure the seatback has latched.
Manual Recline Lever
50 GETTING TO KNOW YOUR VEHICLE
Page 91 of 696

WARNING!(Continued)
•Do not place anything on the steering wheel that
insulates against heat, such as a blanket or steering
wheel covers of any type and material. This may
cause the steering wheel heater to overheat.
MIRRORS
Inside Day/Night Mirror — If Equipped
A single ball joint mirror is used to allow the driver to
adjust up, down and left, right. Mirror should be adjusted
to center on the view through the rear window.
Headlight glare can be reduced by moving the small
control under the mirror to the night position (toward the
rear of the vehicle). The mirror should be adjusted while
set in the day position (toward the windshield).
Automatic Dimming Mirror — If Equipped
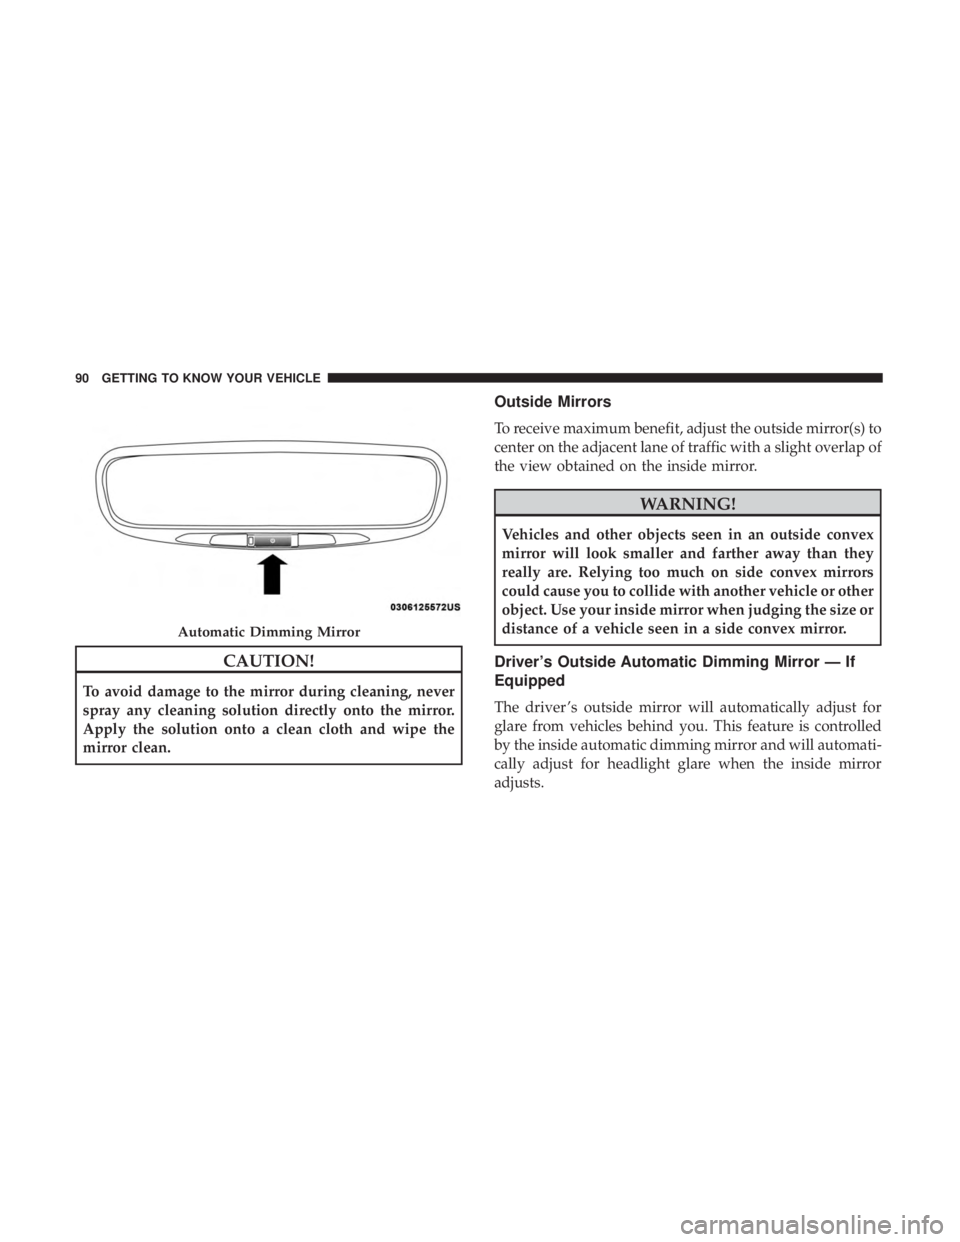
This mirror automatically adjusts for headlight glare from
vehicles behind you. You can turn the feature on or off by
pushing the button at the base of the mirror. A light to the
left of the button will illuminate to indicate when the
dimming feature is activated. The sensor to the right of the
button does not illuminate.
NOTE: This feature is disabled when the vehicle is in
REVERSE.
Manual Rearview Mirror
3
GETTING TO KNOW YOUR VEHICLE 89
Page 92 of 696
CAUTION!
To avoid damage to the mirror during cleaning, never
spray any cleaning solution directly onto the mirror.
Apply the solution onto a clean cloth and wipe the
mirror clean.
Outside Mirrors
To receive maximum benefit, adjust the outside mirror(s) to
center on the adjacent lane of traffic with a slight overlap of
the view obtained on the inside mirror.
WARNING!
Vehicles and other objects seen in an outside convex
mirror will look smaller and farther away than they
really are. Relying too much on side convex mirrors
could cause you to collide with another vehicle or other
object. Use your inside mirror when judging the size or
distance of a vehicle seen in a side convex mirror.
Driver’s Outside Automatic Dimming Mirror — If
Equipped
The driver ’s outside mirror will automatically adjust for
glare from vehicles behind you. This feature is controlled
by the inside automatic dimming mirror and will automati-
cally adjust for headlight glare when the inside mirror
adjusts.
Automatic Dimming Mirror
90 GETTING TO KNOW YOUR VEHICLE
Page 100 of 696
Turn Signal Warning
If the vehicle electronics sense that the vehicle has traveled
for about 1 mile (1.6 km) with the turn signals on, a chime
will sound and a message will display in the cluster to alert
the driver.
Lane Change Assist — If Equipped
Tap the multifunction lever up or down once, without
moving beyond the detent, and the turn signal (right or
left) will flash three times then automatically turn off.
Battery Protection
This feature provides battery protection to avoid wearing
down the battery if the headlights or parking lights are left
on for extended periods of time when the ignition is in the
OFF position. After eight minutes of the ignition being in
the OFF position and the headlight switch in any position
other than OFF or AUTO, the lights will turn off automati-
cally until the next cycle of the ignition or headlight switch.
The battery protection feature will be disabled if the
ignition is placed in any position other than OFF during the
eight minute delay.
INTERIOR LIGHTS
Courtesy/Interior Lighting
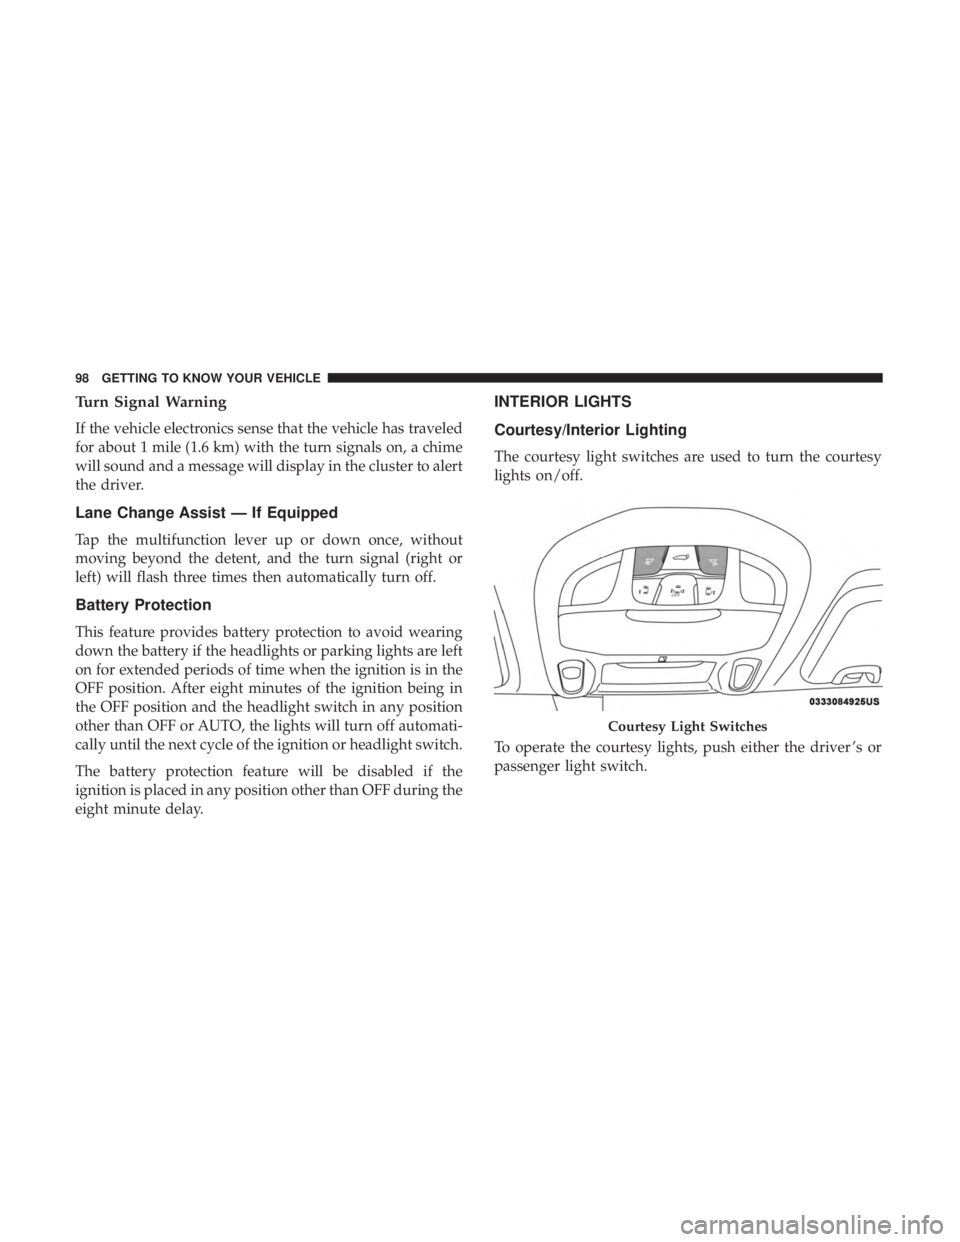
The courtesy light switches are used to turn the courtesy
lights on/off.
To operate the courtesy lights, push either the driver ’s or
passenger light switch.
Courtesy Light Switches
98 GETTING TO KNOW YOUR VEHICLE
Page 103 of 696

Parade Mode (Daytime Brightness Feature)
Rotate the instrument panel dimmer control upward to the
first detent. This feature brightens all text displays such as
the odometer, instrument cluster display, and radio when
the position lights or headlights are on.
WINDSHIELD WIPER AND WASHERS
Windshield Wiper Operation
The wipers and washers are operated by a switch within
the wiper lever. Rotate the end of the lever upward, to the
first detent past the intermittent settings for low-speed
wiper operation. Rotate the end of the lever upward to the
second detent past the intermittent settings for high-speed
wiper operation.NOTE:
Always remove any buildup of snow that prevents
the windshield wiper blades from returning to the off
position. If the windshield wiper switch is turned off and
the blades cannot return to the off position, damage to the
wiper motor may occur.
WARNING!
Sudden loss of visibility through the windshield could
lead to a collision. You might not see other vehicles or
other obstacles. To avoid sudden icing of the windshield
during freezing weather, warm the windshield with the
defroster before and during windshield washer use.
Washer And Wiper Controls
3
GETTING TO KNOW YOUR VEHICLE 101
Page 136 of 696
Auto Up Feature With Anti-Pinch Protection — If
Equipped
The front driver and front passenger controls may be
equipped with an Auto Up feature. Lift the window control
fully upward to the second detent, release, and the window
will go up automatically.
To stop the window from going all the way up during the
Auto Up operation, push down on the control briefly.
To close the window part way, lift the window control to
the first detent and release when you want the window to
stop.
NOTE:
•If the window runs into any obstacle during auto-
closure, it will reverse direction and then go back down.
Remove the obstacle and use the window control again
to close the window.
• Any impact due to rough road conditions may trigger
the auto reverse function unexpectedly during auto-
closure. If this happens, pull the control lightly to the
first detent and hold to close window manually.WARNING!
There is no anti-pinch protection when the window is
almost closed. To avoid personal injury be sure to clear
your arms, hands, fingers and all objects from the
window path before closing.
Auto Up Reset — If Equipped
To reactivate the Auto Up feature, perform the following
steps after vehicle power is restored:
1. Pull the window control up to close the window com- pletely and continue to hold the control up for an
additional two seconds after the window is closed.
2. Push the window control down firmly to the second detent to open the window completely and continue to
hold the control down for an additional two seconds
after the window is fully open.
Sliding Side Door Power Window Control — If Equipped
Second row passengers may open and close the sliding door
window by a single control on the door handle assembly.
The controls will operate only when the ignition switch is
in the ON/RUN or ACC position and during power
accessory delay.
134 GETTING TO KNOW YOUR VEHICLE
Page 149 of 696
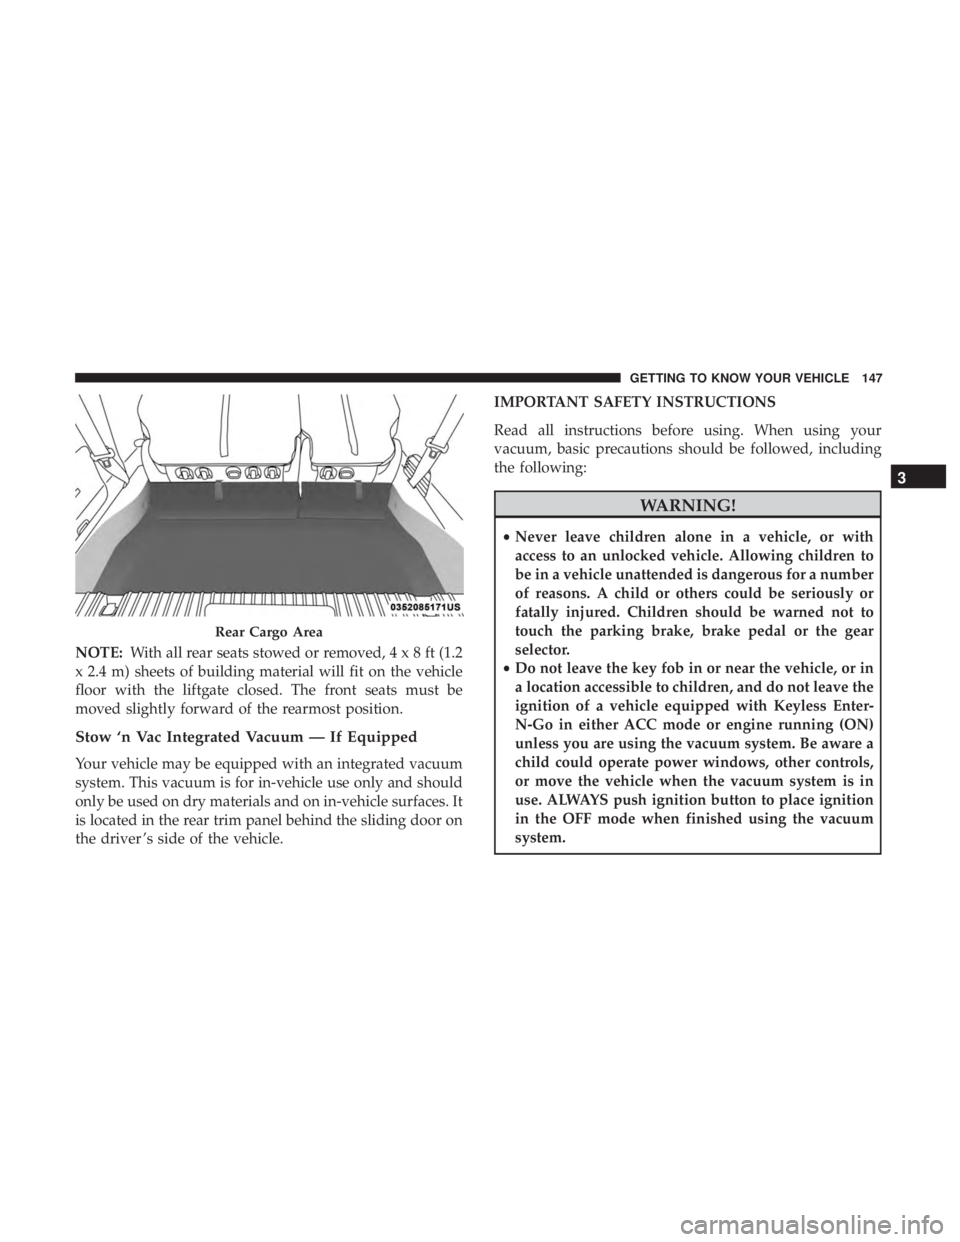
NOTE:With all rear seats stowed or removed,4x8ft(1.2
x 2.4 m) sheets of building material will fit on the vehicle
floor with the liftgate closed. The front seats must be
moved slightly forward of the rearmost position.
Stow ‘n Vac Integrated Vacuum — If Equipped
Your vehicle may be equipped with an integrated vacuum
system. This vacuum is for in-vehicle use only and should
only be used on dry materials and on in-vehicle surfaces. It
is located in the rear trim panel behind the sliding door on
the driver ’s side of the vehicle. IMPORTANT SAFETY INSTRUCTIONS
Read all instructions before using. When using your
vacuum, basic precautions should be followed, including
the following:
WARNING!
•
Never leave children alone in a vehicle, or with
access to an unlocked vehicle. Allowing children to
be in a vehicle unattended is dangerous for a number
of reasons. A child or others could be seriously or
fatally injured. Children should be warned not to
touch the parking brake, brake pedal or the gear
selector.
• Do not leave the key fob in or near the vehicle, or in
a location accessible to children, and do not leave the
ignition of a vehicle equipped with Keyless Enter-
N-Go in either ACC mode or engine running (ON)
unless you are using the vacuum system. Be aware a
child could operate power windows, other controls,
or move the vehicle when the vacuum system is in
use. ALWAYS push ignition button to place ignition
in the OFF mode when finished using the vacuum
system.
Rear Cargo Area
3
GETTING TO KNOW YOUR VEHICLE 147