Page 72 of 696
4. Pull the strap located on the seat and pull the seat out ofthe storage bin. Push the seat rearward making sure that
it locks into the floor. Fold the seatback into the upright
position and pull the headrest up.
NOTE: The seatback may be locked, if it is, it will be
necessary to use the recliner handle to unlock the back
before folding into the upright position. 5. To position the floor panel back into its original state,
grab the bottom corner and extend it outward.
Pull Strap
Extend Panel
70 GETTING TO KNOW YOUR VEHICLE
Page 77 of 696
NOTE:
•The seatback may lock into the fold flat position. Use the
recline lever to unlock the seatback.
• When returning the seat to the original position, the
headrest must be folded back to the original position.Second Row Removable 8th Seat — If Equipped
While the 8th seat does not stow in the floor, it is foldable
and removable for added cargo space.
The release strap is located on the front of the seat, near the
floor. To remove the seat, pull the release strap to release
the rear latches. The seat assembly can now be removed
from the vehicle by moving it in a rearward direction from
the detent positions in the floor.
Fold Headrest To Upward Position
Second Row 8th Seat Fold Flat Strap
3
GETTING TO KNOW YOUR VEHICLE 75
Page 251 of 696
3. Route the shoulder belt to the inside of the left headrestraint. 4. When the seat belt is long enough to fit, insert the
mini-latch plate into the mini-buckle until you hear a
“click.”
Routing The Rear Seat Belt Latch Plate
1 — Seat Belt Latch PlateConnect Mini-Latch To Mini-Buckle
5
SAFETY 249
Page 287 of 696
WARNING!
Always make sure the head restraint is in its upright
position when the seat is to be used by an occupant
who is not in a child restraint. Sitting in a seat with the
head restraint in its lowered position could result in
serious injury or death in a collision.
Locating The LATCH Anchorages
The lower anchorages are round bars that are
found at the rear of the seat cushion where it
meets the seatback, below the anchorage sym-
bols on the seatback. They are just visible when
you lean into the rear seat to install the child restraint. You
will easily feel them if you run your finger along the gap
between the seatback and seat cushion.
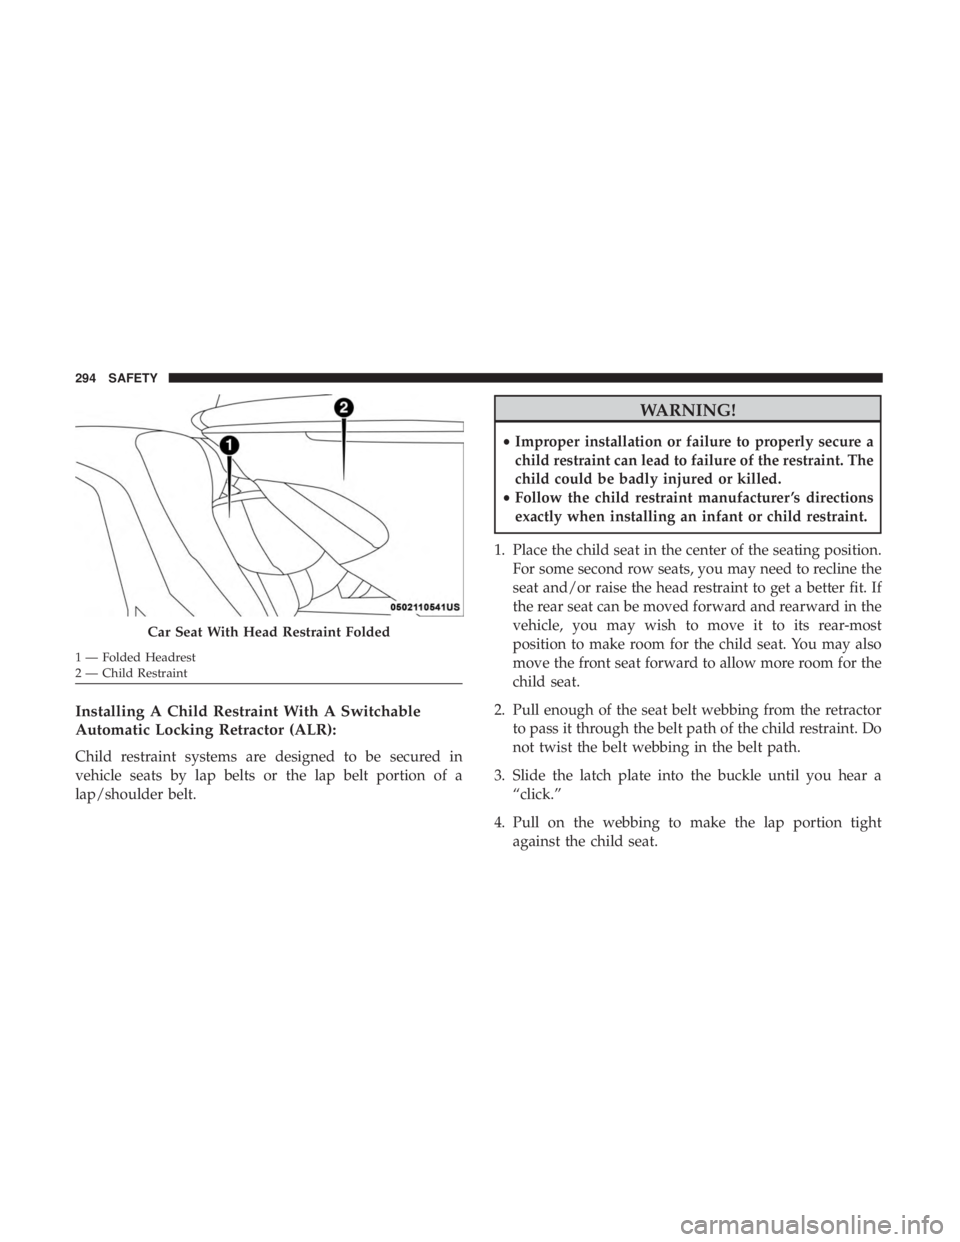
Car Seat With Head Restraint Folded1 — Folded Headrest
2 — Child RestraintLATCH Anchorages (Second Row Anchorages Shown)
5
SAFETY 285
Page 296 of 696

Installing A Child Restraint With A Switchable
Automatic Locking Retractor (ALR):
Child restraint systems are designed to be secured in
vehicle seats by lap belts or the lap belt portion of a
lap/shoulder belt.
WARNING!
•Improper installation or failure to properly secure a
child restraint can lead to failure of the restraint. The
child could be badly injured or killed.
• Follow the child restraint manufacturer ’s directions
exactly when installing an infant or child restraint.
1. Place the child seat in the center of the seating position. For some second row seats, you may need to recline the
seat and/or raise the head restraint to get a better fit. If
the rear seat can be moved forward and rearward in the
vehicle, you may wish to move it to its rear-most
position to make room for the child seat. You may also
move the front seat forward to allow more room for the
child seat.
2. Pull enough of the seat belt webbing from the retractor to pass it through the belt path of the child restraint. Do
not twist the belt webbing in the belt path.
3. Slide the latch plate into the buckle until you hear a “click.”
4. Pull on the webbing to make the lap portion tight against the child seat.
Car Seat With Head Restraint Folded
1 — Folded Headrest
2 — Child Restraint 294 SAFETY