Page 593 of 696

Customer Programmable Features — Uconnect
4C/4C NAV Settings
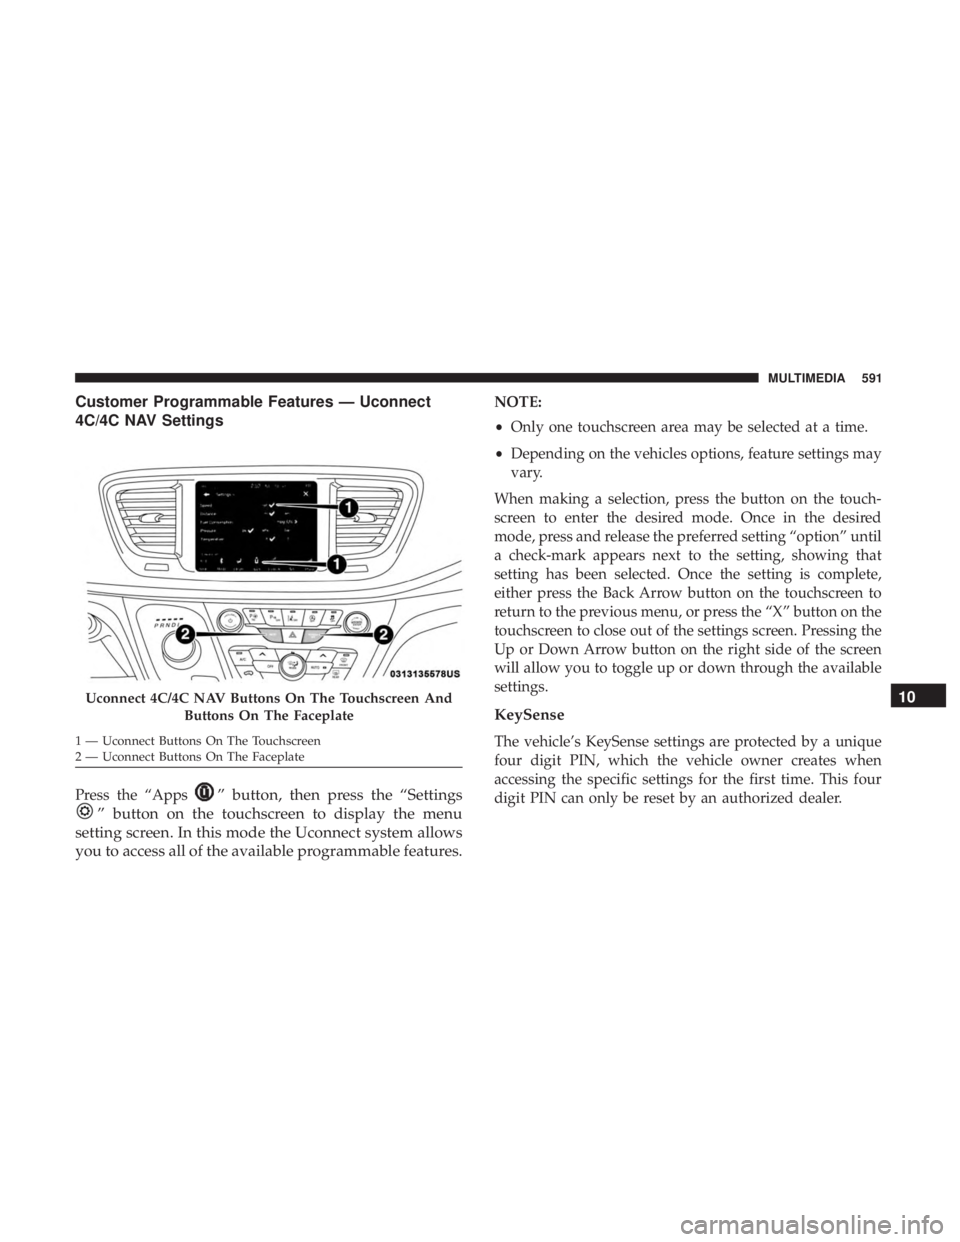
Press the “Apps” button, then press the “Settings
” button on the touchscreen to display the menu
setting screen. In this mode the Uconnect system allows
you to access all of the available programmable features.
NOTE:
• Only one touchscreen area may be selected at a time.
• Depending on the vehicles options, feature settings may
vary.
When making a selection, press the button on the touch-
screen to enter the desired mode. Once in the desired
mode, press and release the preferred setting “option” until
a check-mark appears next to the setting, showing that
setting has been selected. Once the setting is complete,
either press the Back Arrow button on the touchscreen to
return to the previous menu, or press the “X” button on the
touchscreen to close out of the settings screen. Pressing the
Up or Down Arrow button on the right side of the screen
will allow you to toggle up or down through the available
settings.
KeySense
The vehicle’s KeySense settings are protected by a unique
four digit PIN, which the vehicle owner creates when
accessing the specific settings for the first time. This four
digit PIN can only be reset by an authorized dealer.
Uconnect 4C/4C NAV Buttons On The Touchscreen And Buttons On The Faceplate
1 — Uconnect Buttons On The Touchscreen
2 — Uconnect Buttons On The Faceplate
10
MULTIMEDIA 591
Page 622 of 696
Parents can control certain features of the system with the
“Uconnect Theater Controls” screens, right from the
Uconnect touchscreen radio. Options include:
•Change media sources or select APPS by using the drop
down list
• Lock one or both screens
• Mute an individual screen or both screens
• Turn on/off one or both screens
• View media showing on a specific screen while gear
selector is in PARK
• Listen in to a particular Uconnect Theater screen
through the vehicle’s sound system by selecting the
“Listen In” feature after selecting the “Press to Enter”
option.
Accessing The System From The Uconnect
Theater Rear Screens
You can also access your Uconnect Theater system from the
rear screens from the steps below:
1. Lift screen upward, the system will automatically power
on.
NOTE: A message asking if you would like to pair a
remote will pop up if one has not already been paired to
the system.
Individual Main Screen Listen In Feature
620 MULTIMEDIA
Page 631 of 696
NOTE:After selecting “Press to Enter” or the Movie
Snapshot the control functions for that screen appears.
These controls only apply to the individual screen selected
and include:
1. Power
Press to turn “Selected Screen” On/Off. 2.
Mute
Mute rear headphones for selected source for the current
ignition cycle. Pressing mute again will unmute rear head-
phones.
3. Lock
Press to enable/disable Remote Control functions and Rear
Touchscreen Controls for the selected source.
4. View
Select this button to view full screen video if vehicle is not
moving. Button is disabled when not viewing a video
source or when the vehicle is in motion.
5. Listen In
Select this button to play one of the rear screens audio over
the vehicle’s audio system.
NOTE: To view video content on the radio screen, bring the
vehicle to a stop.
Uconnect System Media Control Screen10
MULTIMEDIA 629
Page 634 of 696
NOTE:To exit a game, push “Exit Button” then “Back
Arrow,” or “Home Button” on the touchscreen.
Are We There Yet? — Uconnect 4C NAV When a navigation route has been set from the Uconnect
system, the second row passengers can use “Are We There
Yet?” for an animated screen showing distance and time
remaining on navigation routes, as well as the estimated
time of arrival with pop-up notifications. Notifications and
their frequency can be set up for route information by
using the arrow buttons, and can be turned on and off
using the “Notifications” button on the “Are We There
Yet?” App. Estimated time of arrival notifications pop-up
at the bottom center of the screen.
Are We There Yet? App
1 — Decrease Timing Between Notifications Button
2 — Notifications ON/OFF Button
3 — Increase Timing Between Notifications Button
4 — Arrival Time
5 — Time Remaining Until Destination Is Reached
6 — Distance Remaining 632 MULTIMEDIA
Page 637 of 696
The headphone power indicator and controls are located
on the right ear cup.
NOTE:Uconnect Theater must be turned on before sound
can be heard from the headphones. To conserve battery life,
the headphones will automatically turn off approximately
three minutes after the Uconnect Theater system is turned
off. Changing The Audio Mode For Headphones
1. Ensure the remote control and the headphones are on
the same channel.
2. Push the Home button on the remote control.
3. When the Home menu appears on the touchscreen, use the arrow buttons on the remote control to navigate to
the available modes and push the OK button to select
the new mode or use the Gesture Pad at the top of the
remote control.
Uconnect Theater Headphones
1 — Power ON/OFF Button
2 — Volume Control Wheel
3 — Channel Selector Button
Headphone Channel Selector Button
10
MULTIMEDIA 635
Page 640 of 696

Listening To Audio With The Screen Closed
To listen to only audio portion of the channel with the
screen closed:
•Set the audio to the desired source and channel.
• Close the video screen.
• When the screen is reopened, the video screen will
automatically turn back on and show the appropriate
display menu or media.
If the screen is closed and there is no audio heard, verify
that the headphones are turned on (the ON indicator is
illuminated) and the headphone selector switch is on the
desired channel. If the headphones are turned on, push the
remote control’s power button to turn audio on. If audio is
still not heard, check that fully charged batteries are
installed in the headphones.
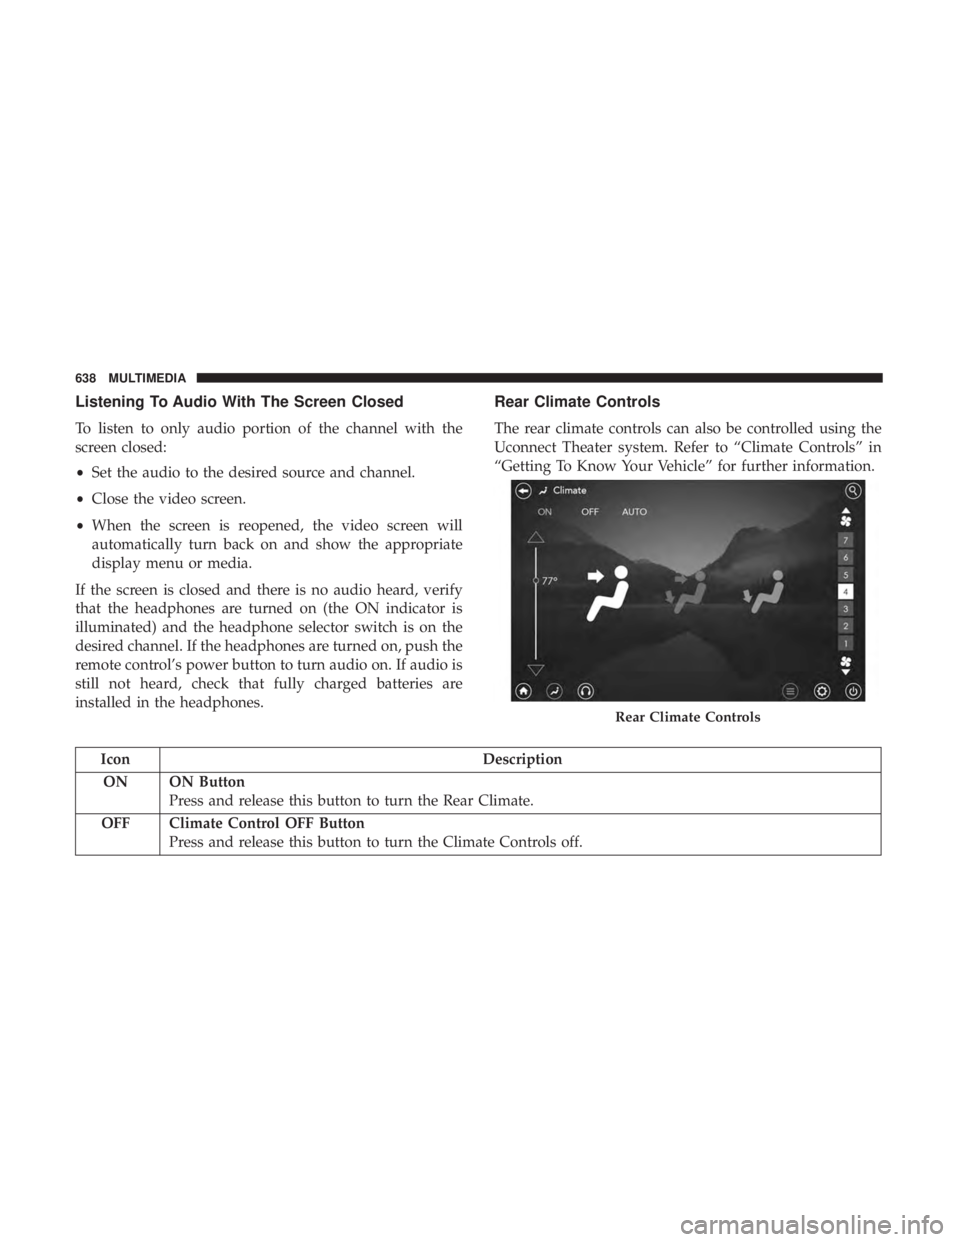
Rear Climate Controls
The rear climate controls can also be controlled using the
Uconnect Theater system. Refer to “Climate Controls” in
“Getting To Know Your Vehicle” for further information.
Icon Description
ON ON Button Press and release this button to turn the Rear Climate.
OFF Climate Control OFF Button Press and release this button to turn the Climate Controls off.
Rear Climate Controls
638 MULTIMEDIA
Page 645 of 696

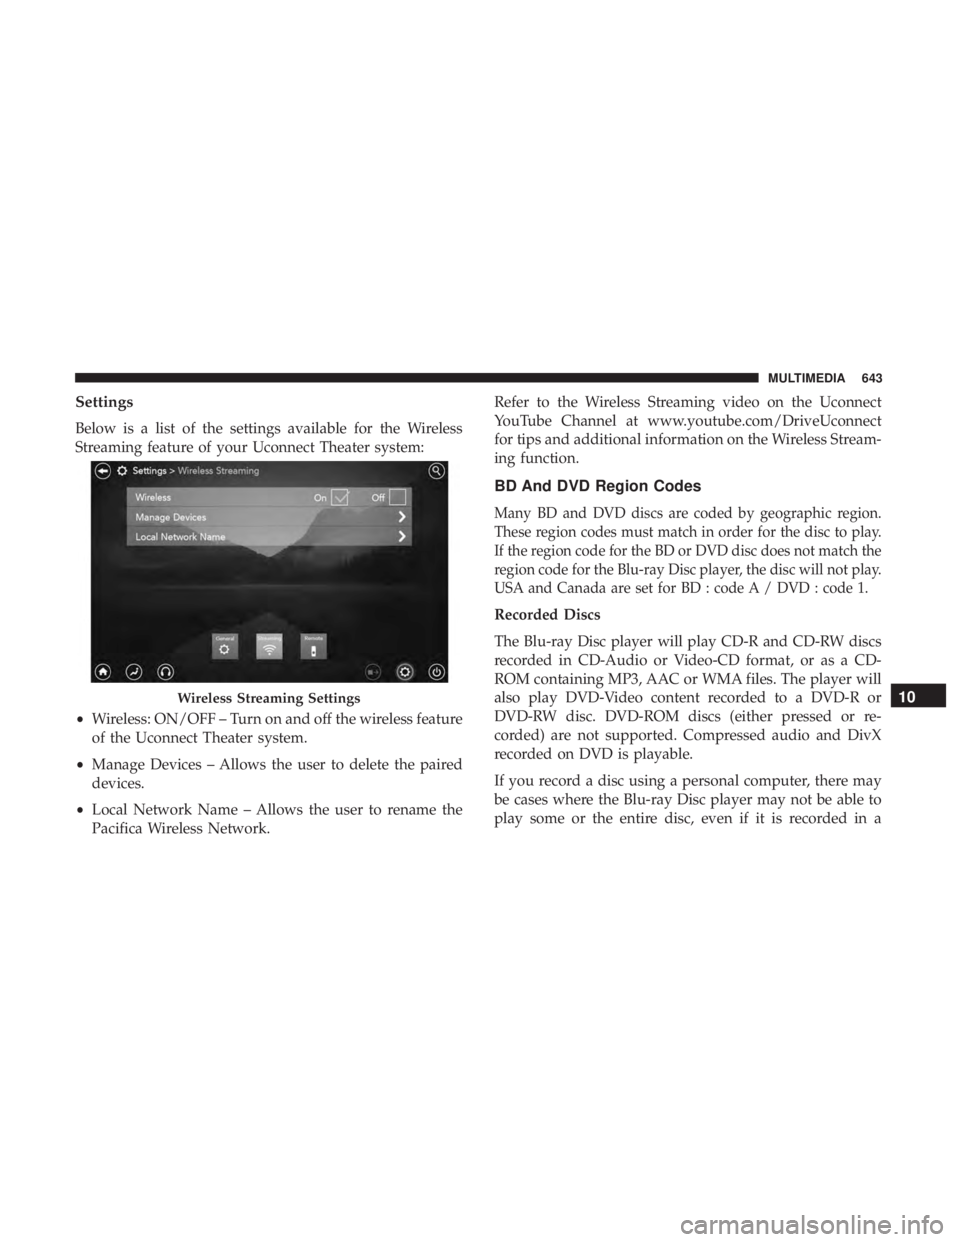
Settings
Below is a list of the settings available for the Wireless
Streaming feature of your Uconnect Theater system:
•Wireless: ON/OFF – Turn on and off the wireless feature
of the Uconnect Theater system.
• Manage Devices – Allows the user to delete the paired
devices.
• Local Network Name – Allows the user to rename the
Pacifica Wireless Network. Refer to the Wireless Streaming video on the Uconnect
YouTube Channel at www.youtube.com/DriveUconnect
for tips and additional information on the Wireless Stream-
ing function.
BD And DVD Region Codes
Many BD and DVD discs are coded by geographic region.
These region codes must match in order for the disc to play.
If the region code for the BD or DVD disc does not match the
region code for the Blu-ray Disc player, the disc will not play.
USA and Canada are set for BD : code A / DVD : code 1.
Recorded Discs
The Blu-ray Disc player will play CD-R and CD-RW discs
recorded in CD-Audio or Video-CD format, or as a CD-
ROM containing MP3, AAC or WMA files. The player will
also play DVD-Video content recorded to a DVD-R or
DVD-RW disc. DVD-ROM discs (either pressed or re-
corded) are not supported. Compressed audio and DivX
recorded on DVD is playable.
If you record a disc using a personal computer, there may
be cases where the Blu-ray Disc player may not be able to
play some or the entire disc, even if it is recorded in a
Wireless Streaming Settings10
MULTIMEDIA 643
Page 653 of 696

NOTE:
•This equipment has been tested and found to comply
with the limits for a Class B digital device, pursuant to
Part 15 of the FCC Rules. These limits are designed to
provide reasonable protection against harmful interfer-
ence in a residential installation. This equipment gener-
ates, uses and can radiate radio frequency energy and, if
not installed and used in accordance with the instruc-
tions, may cause harmful interference to radio commu-
nications. However, there is no guarantee that interfer-
ence will not occur in a particular installation.
• If this equipment does cause harmful interference to
radio or television reception, which can be determined
by turning the equipment off and on, the user is encour-
aged to try to correct the interference by one or more of
the following measures:
1. Increase the separation between the equipment and receiver.
2. Consult an authorized dealer or an experienced radio technician for help.UCONNECT VOICE RECOGNITION QUICK TIPS
Introducing Uconnect
Start using Uconnect Voice Recognition with these helpful
quick tips. It provides the key Voice Commands and tips
you need to know to control your Uconnect system.
Uconnect 4
10
MULTIMEDIA 651