Page 454 of 696

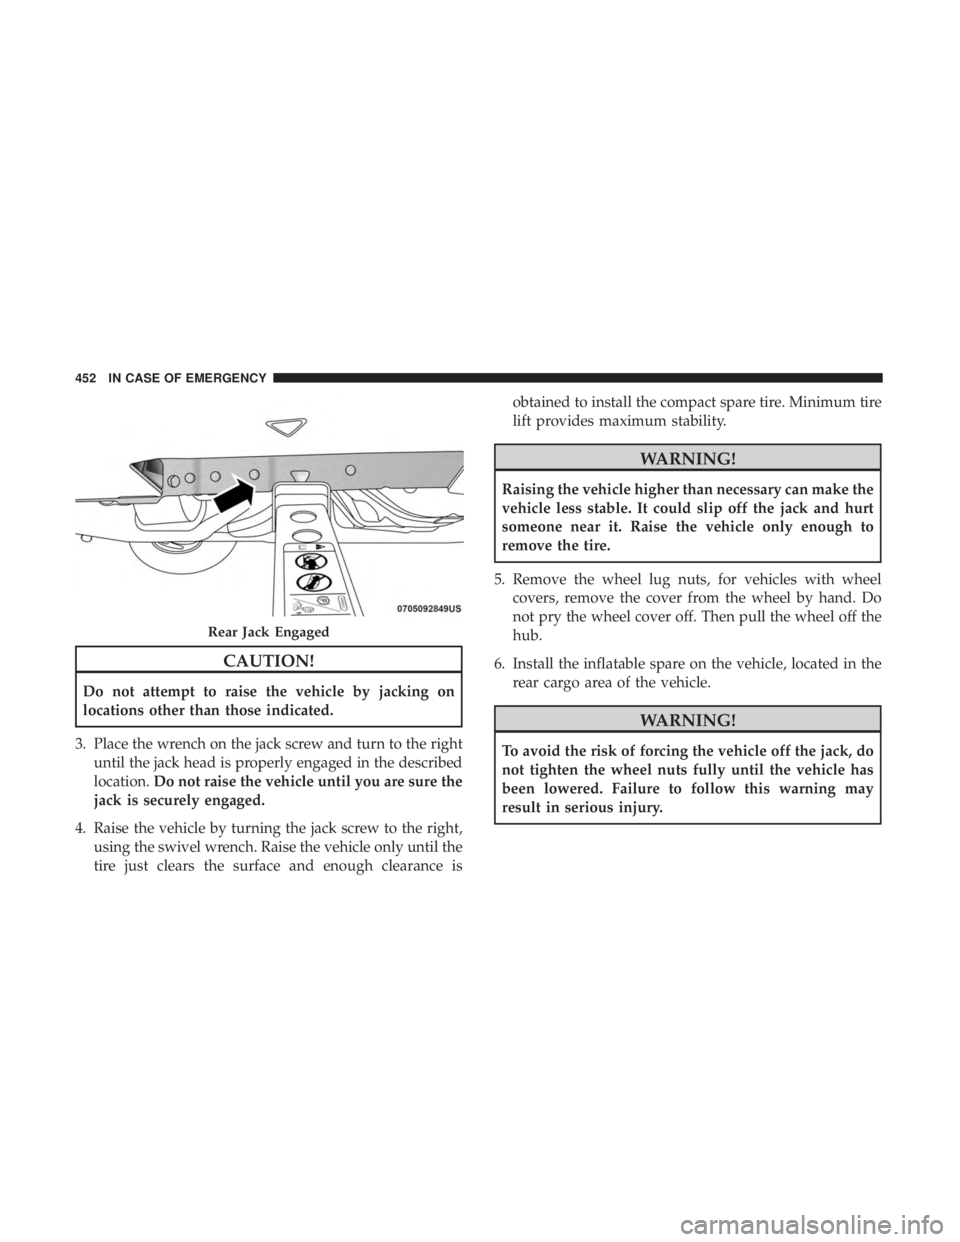
CAUTION!
Do not attempt to raise the vehicle by jacking on
locations other than those indicated.
3. Place the wrench on the jack screw and turn to the right until the jack head is properly engaged in the described
location. Do not raise the vehicle until you are sure the
jack is securely engaged.
4. Raise the vehicle by turning the jack screw to the right, using the swivel wrench. Raise the vehicle only until the
tire just clears the surface and enough clearance is obtained to install the compact spare tire. Minimum tire
lift provides maximum stability.
WARNING!
Raising the vehicle higher than necessary can make the
vehicle less stable. It could slip off the jack and hurt
someone near it. Raise the vehicle only enough to
remove the tire.
5. Remove the wheel lug nuts, for vehicles with wheel covers, remove the cover from the wheel by hand. Do
not pry the wheel cover off. Then pull the wheel off the
hub.
6. Install the inflatable spare on the vehicle, located in the rear cargo area of the vehicle.
WARNING!
To avoid the risk of forcing the vehicle off the jack, do
not tighten the wheel nuts fully until the vehicle has
been lowered. Failure to follow this warning may
result in serious injury.
Rear Jack Engaged
452 IN CASE OF EMERGENCY
Page 455 of 696

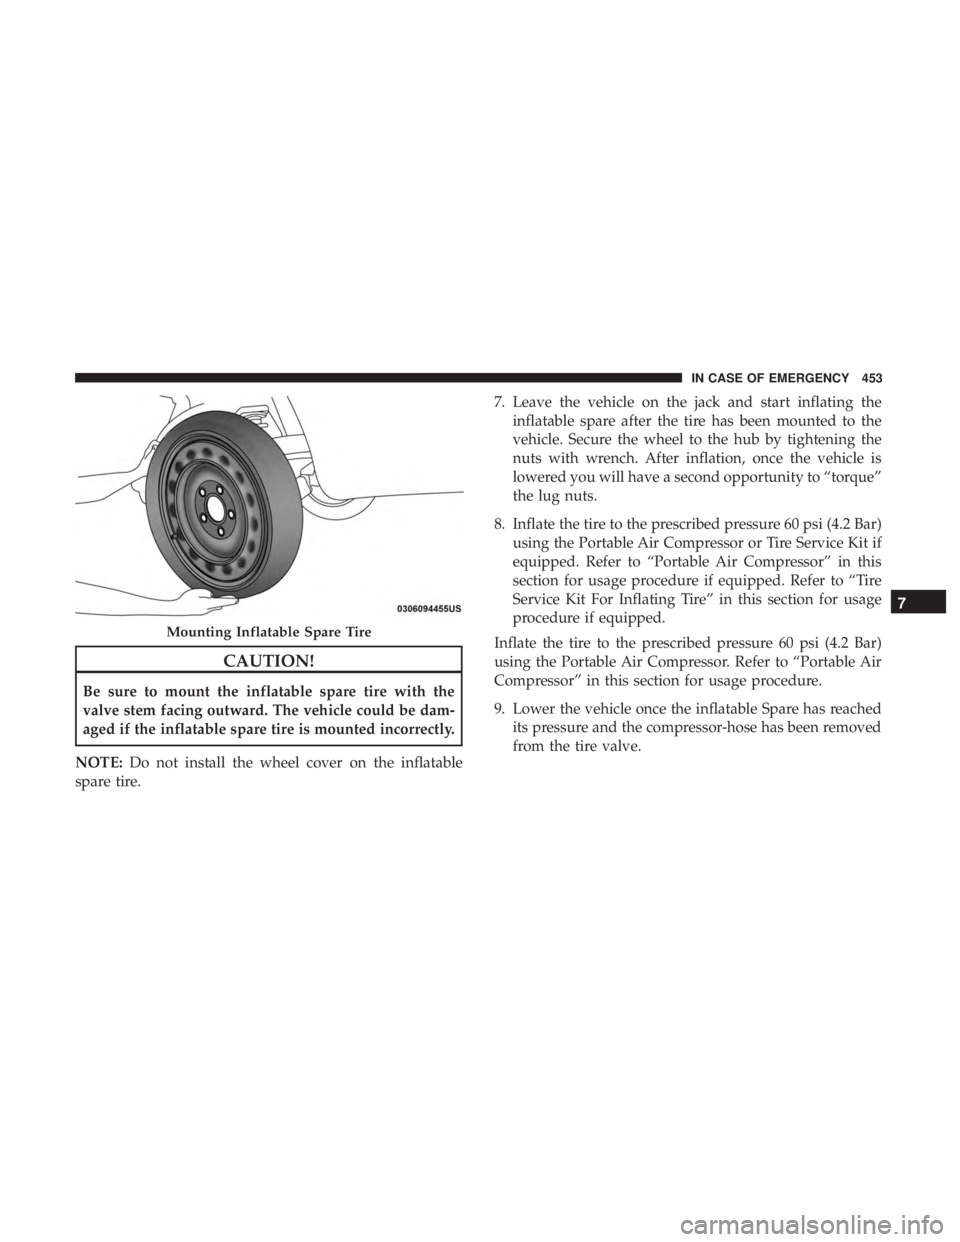
CAUTION!
Be sure to mount the inflatable spare tire with the
valve stem facing outward. The vehicle could be dam-
aged if the inflatable spare tire is mounted incorrectly.
NOTE: Do not install the wheel cover on the inflatable
spare tire. 7. Leave the vehicle on the jack and start inflating the
inflatable spare after the tire has been mounted to the
vehicle. Secure the wheel to the hub by tightening the
nuts with wrench. After inflation, once the vehicle is
lowered you will have a second opportunity to “torque”
the lug nuts.
8. Inflate the tire to the prescribed pressure 60 psi (4.2 Bar) using the Portable Air Compressor or Tire Service Kit if
equipped. Refer to “Portable Air Compressor” in this
section for usage procedure if equipped. Refer to “Tire
Service Kit For Inflating Tire” in this section for usage
procedure if equipped.
Inflate the tire to the prescribed pressure 60 psi (4.2 Bar)
using the Portable Air Compressor. Refer to “Portable Air
Compressor” in this section for usage procedure.
9. Lower the vehicle once the inflatable Spare has reached its pressure and the compressor-hose has been removed
from the tire valve.
Mounting Inflatable Spare Tire
7
IN CASE OF EMERGENCY 453
Page 456 of 696

10. Finish tightening the lug nuts. Push down on thewrench while at the end of the handle for increased
leverage. Tighten the lug nuts in a star pattern until
each nut has been tightened twice. Refer to “Torque
Specifications” in “Technical Specifications” for proper
wheel lug nut torque. If in doubt about the correct
tightness, have them checked with a torque wrench by
your authorized dealer or at a service station.
11. Lower the jack to its fully-closed position.
WARNING!
A loose tire or jack thrown forward in a collision or
hard stop could endanger the occupants of the vehicle.
Always stow the jack parts and the spare tire in the
places provided. Have the deflated (flat) tire repaired
or replaced immediately.
12. Place the deflated (flat) tire and foam tray cover assembly in the rear cargo area. Do not stow the
deflated tire in the inflatable spare tire location. Have
the full-sized tire repaired or replaced, as soon as
possible. 13. Stow the jack back in the stowage compartment and
place the access panel back. The stud of the storage
area must be threaded through the lower part of the
jack. Then turn the Jack Screw clockwise to secure it in
place.
NOTE: Stow the foam tray and components in the cargo
area.
Storing The Jack
1 — Jack Screw
2 — Jack
3 — Stud
454 IN CASE OF EMERGENCY
Page 459 of 696
Portable Air Compressor — If Equipped
Your vehicle may be equipped with a Portable Air Com-
pressor. Use the Portable Air Compressor located in the
side compartment of the cargo area to inflate the inflatable
tire to 60 psi (4.2 Bar).Portable Air Compressor Usage With Inflatable Spare
Tire
1. Remove the Portable Air Compressor from the storage
location.
2. Raise the vehicle as described in the Jacking Instructions within this section.
3. Install the Inflatable Spare tire as described in the Jack Instructions section in this manual.
Make sure that the valve stem is
located near the ground, and then
screw the air hose of the Portable Air
Compressor to the valve stem.
Portable Air Compressor
1 — Power Plug
2 — Deflation Button
3 — Pressure Gauge
4 — Power Button
5 — Air Hose
7
IN CASE OF EMERGENCY 457
Page 460 of 696
4. Uncoil the power plug and connect it the vehicles 12Volt power Outlet.
5. Always start the engine before turning ON the Portable Air Compressor.
6. Switch the power button ON. 7. Inflate the tire to 60 psi (4.2 Bar) recommended as per
the label on the wheel or if the vehicle
equipped with the inflatable spare
tire pressure indicated on the Tire
and Loading information label lo-
cated on the driver-side door open-
ing.
NOTE: If the tire is over inflated, use the deflation button
to reduce the tire air pressure.
8. After the tire reaches the recommended pressure, lower the vehicle with the jack as described
in the Jack Instructions section in this
manual.
458 IN CASE OF EMERGENCY
Page 464 of 696
3. Uncoil the Power Plug and insert the plug into thevehicle’s 12 Volt power outlet.
4. Place the Tire Service Kit on the ground next to the deflated tire.
5. Engage parking brake before turning the engine ON.
6. Always start the engine before turning ON the Tire Service Kit. 7. Turn the Mode Select Knob to Air Mode position.
NOTE:Do not fill inflatable spare tire
with sealant. Refer to “Tire Service Kit”
in this chapter for repairing tires.
8. Switch the power button ON.
462 IN CASE OF EMERGENCY
Page 465 of 696

9. Inflate the tire to 60 psi (4.2 Bar) recommended as perthe label on the wheel or if the vehicle
equipped with the inflatable spare
tire pressure indicated on the Tire
and Loading information label lo-
cated on the driver-side door open-
ing.
NOTE: If the tire is over inflated, use the deflation button
to reduce the tire air pressure.
10. After the tire reaches the recommended pressure, lower the vehicle with the jack as
described in the Jack Instructions
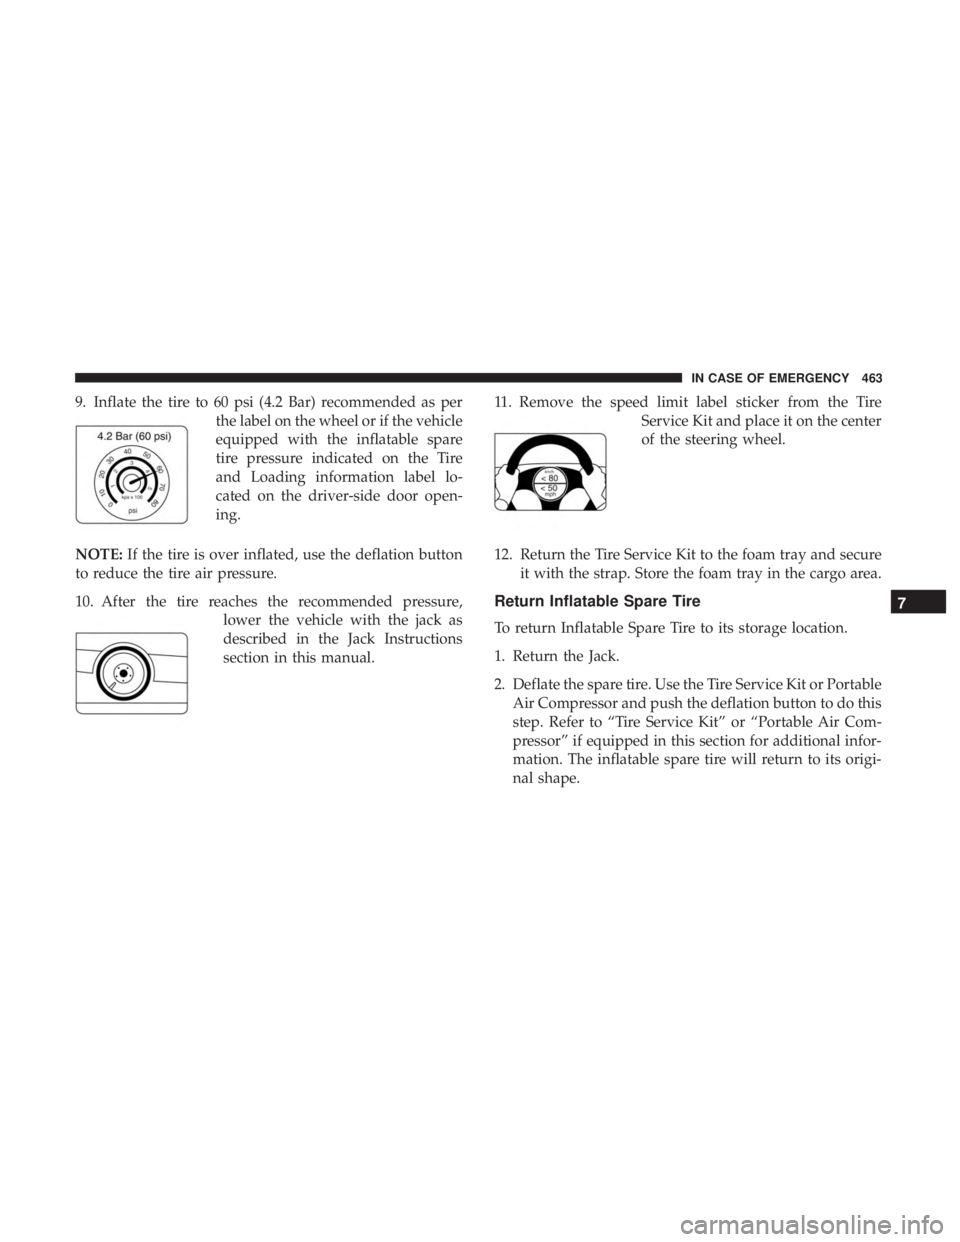
section in this manual. 11. Remove the speed limit label sticker from the Tire
Service Kit and place it on the center
of the steering wheel.
12. Return the Tire Service Kit to the foam tray and secure it with the strap. Store the foam tray in the cargo area.
Return Inflatable Spare Tire
To return Inflatable Spare Tire to its storage location.
1. Return the Jack.
2. Deflate the spare tire. Use the Tire Service Kit or PortableAir Compressor and push the deflation button to do this
step. Refer to “Tire Service Kit” or “Portable Air Com-
pressor” if equipped in this section for additional infor-
mation. The inflatable spare tire will return to its origi-
nal shape.
7
IN CASE OF EMERGENCY 463
Page 466 of 696

3. Install the inflatable spare tire back into its originalstowage location and position facing outward.
4. Install the foam tray with wrench and funnel installed.
5. Install and tighten the wing nut by hand.
6. Install the Tire Service Kit or Portable Air Compressor if equipped and tighten the strap.
7. Install access panel door.
TIRE SERVICE KIT — IF EQUIPPED
Your vehicle may be equipped with a Tire Service Kit.
Small punctures up to 1/4 inch (6 mm) in the tire tread can
be sealed with Tire Service Kit. Foreign objects (e.g., screws
or nails) should not be removed from the tire. Tire Service
Kit can be used in outside temperatures down to approxi-
mately -4°F (-20°C). This kit will provide a temporary tire
seal, allowing you to drive your vehicle up to 100 miles
(160 km) with a maximum speed of 50 mph (80 km/h). Tire Service Kit Storage
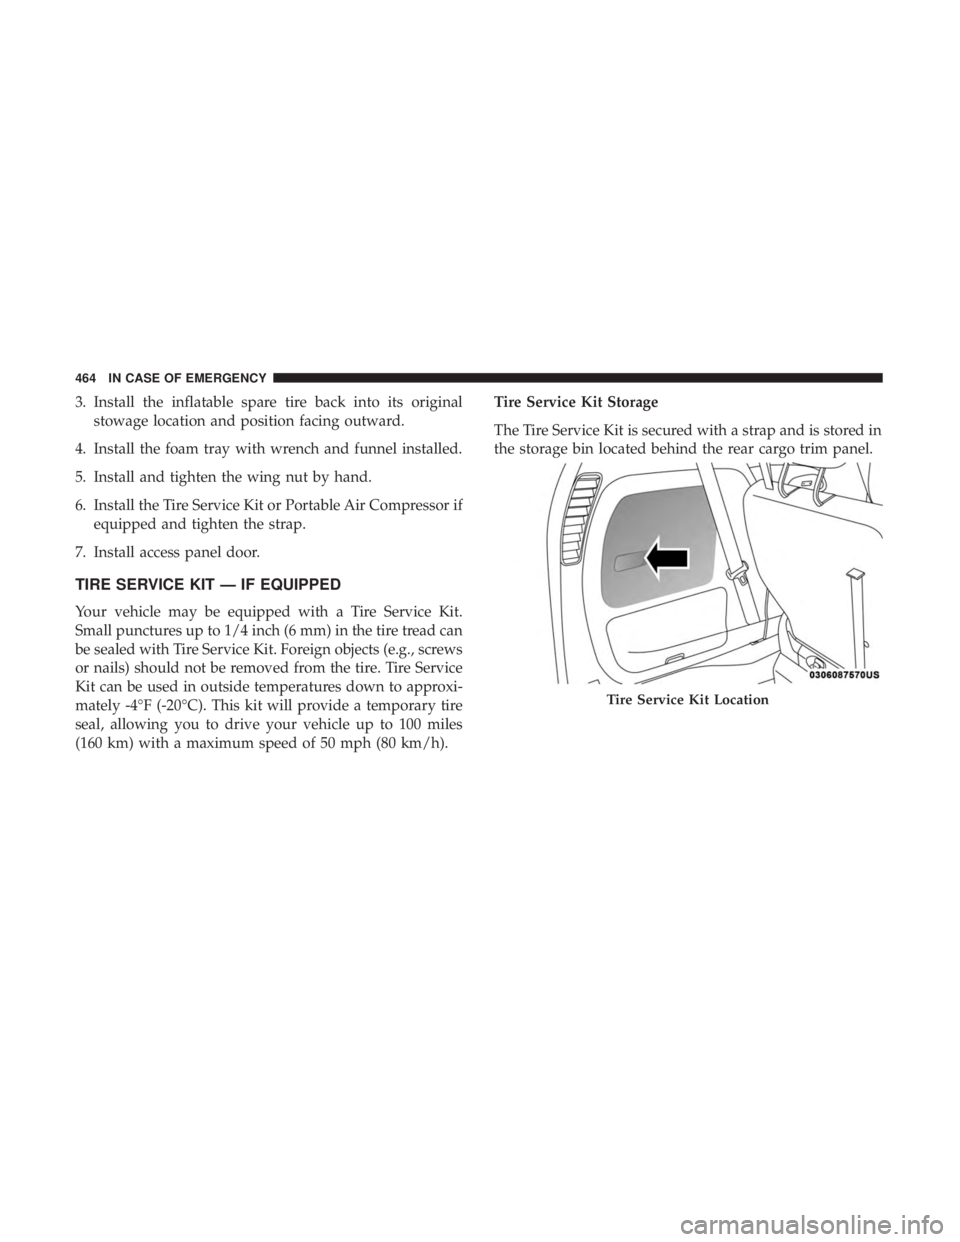
The Tire Service Kit is secured with a strap and is stored in
the storage bin located behind the rear cargo trim panel.
Tire Service Kit Location
464 IN CASE OF EMERGENCY