2018 CHRYSLER PACIFICA HYBRID fuel cap
[x] Cancel search: fuel capPage 211 of 614
CAUTION!(Continued)
Customers are encouraged to use OEM wheels to
assure proper TPM feature operation.
• Using aftermarket tire sealants may cause the Tire
Pressure Monitoring System (TPMS) sensor to be-
come inoperable. After using an aftermarket tire
sealant it is recommended that you take your vehicle
to your authorized dealer to have your sensor func-
tion checked.
• After inspecting or adjusting the tire pressure always
reinstall the valve stem cap. This will prevent mois-
ture and dirt from entering the valve stem, which
could damage the TPMS sensor.
NOTE:
• The TPMS is not intended to replace normal tire care and
maintenance, or to provide warning of a tire failure or
condition.
• The TPMS should not be used as a tire pressure gauge
while adjusting your tire pressure.
• Driving on a significantly underinflated tire causes the
tire to overheat and can lead to tire failure. Underinfla-
tion also reduces fuel efficiency and tire tread life, and
may affect the vehicle’s handling and stopping ability. •
The TPMS is not a substitute for proper tire maintenance,
and it is the driver ’s responsibility to maintain correct tire
pressure using an accurate tire pressure gauge, even if
underinflation has not reached the level to trigger illumi-
nation of the “Tire Pressure Monitoring Telltale Light”.
•Seasonal temperature changes will affect tire pressure, and
the TPMS will monitor the actual tire pressure in the tire.
Premium System
The Tire Pressure Monitor System (TPMS) uses wireless
technology with wheel rim mounted electronic sensors to
monitor tire pressure levels. Sensors, mounted to each
wheel as part of the valve stem, transmit tire pressure
readings to the receiver module.
NOTE: It is particularly important for you to check the tire
pressure in all of the tires on your vehicle monthly and to
maintain the proper pressure.
The TPMS consists of the following components:
• Receiver module
• Four tire pressure monitoring sensors
• Various tire pressure monitoring system messages,
which display in the instrument cluster
• Tire pressure monitoring telltale light
5
SAFETY 209
Page 370 of 614
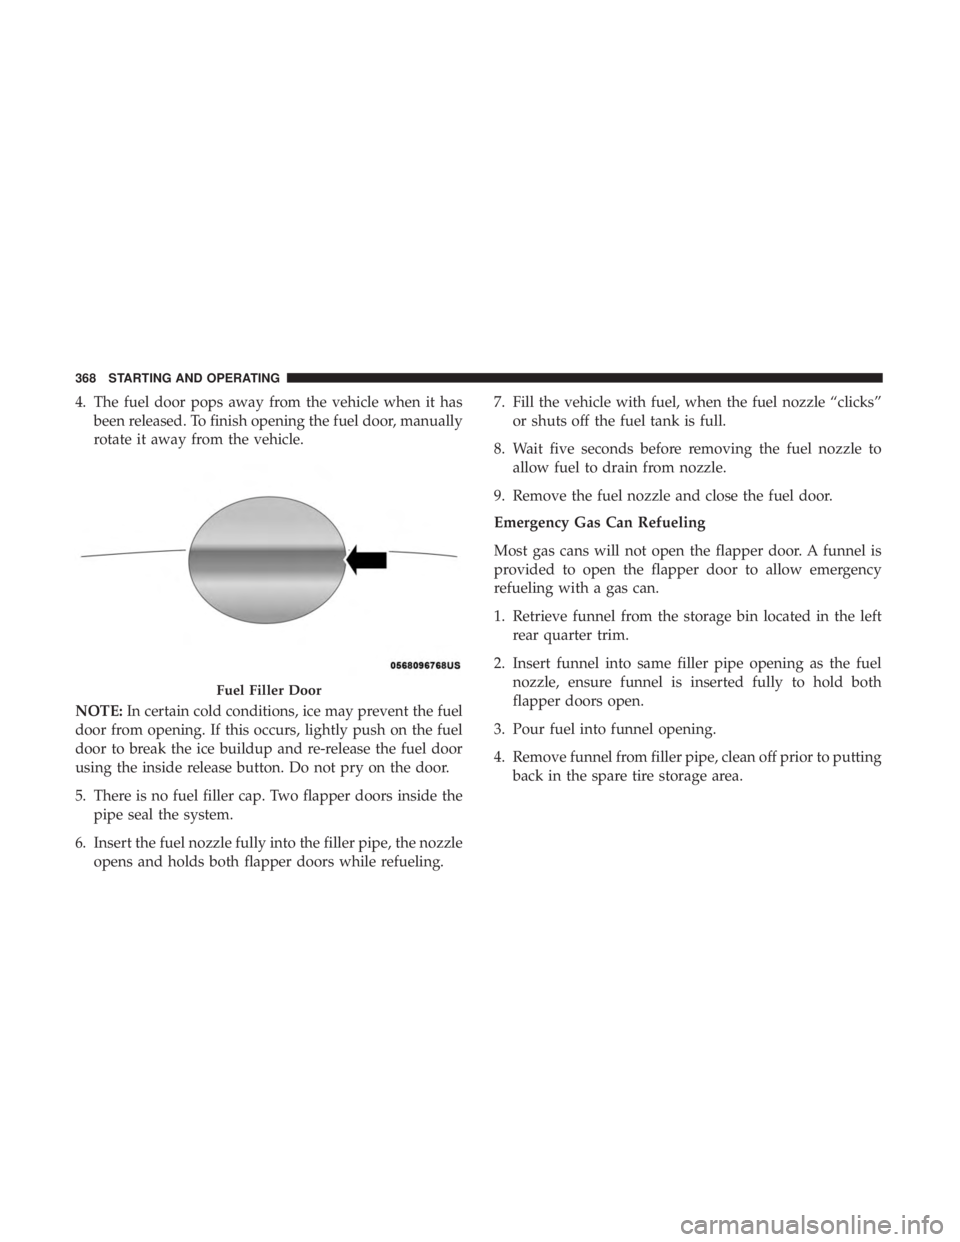
4. The fuel door pops away from the vehicle when it hasbeen released. To finish opening the fuel door, manually
rotate it away from the vehicle.
NOTE: In certain cold conditions, ice may prevent the fuel
door from opening. If this occurs, lightly push on the fuel
door to break the ice buildup and re-release the fuel door
using the inside release button. Do not pry on the door.
5. There is no fuel filler cap. Two flapper doors inside the pipe seal the system.
6. Insert the fuel nozzle fully into the filler pipe, the nozzle opens and holds both flapper doors while refueling. 7. Fill the vehicle with fuel, when the fuel nozzle “clicks”
or shuts off the fuel tank is full.
8. Wait five seconds before removing the fuel nozzle to allow fuel to drain from nozzle.
9. Remove the fuel nozzle and close the fuel door.
Emergency Gas Can Refueling
Most gas cans will not open the flapper door. A funnel is
provided to open the flapper door to allow emergency
refueling with a gas can.
1. Retrieve funnel from the storage bin located in the left rear quarter trim.
2. Insert funnel into same filler pipe opening as the fuel nozzle, ensure funnel is inserted fully to hold both
flapper doors open.
3. Pour fuel into funnel opening.
4. Remove funnel from filler pipe, clean off prior to putting back in the spare tire storage area.
Fuel Filler Door
368 STARTING AND OPERATING
Page 372 of 614
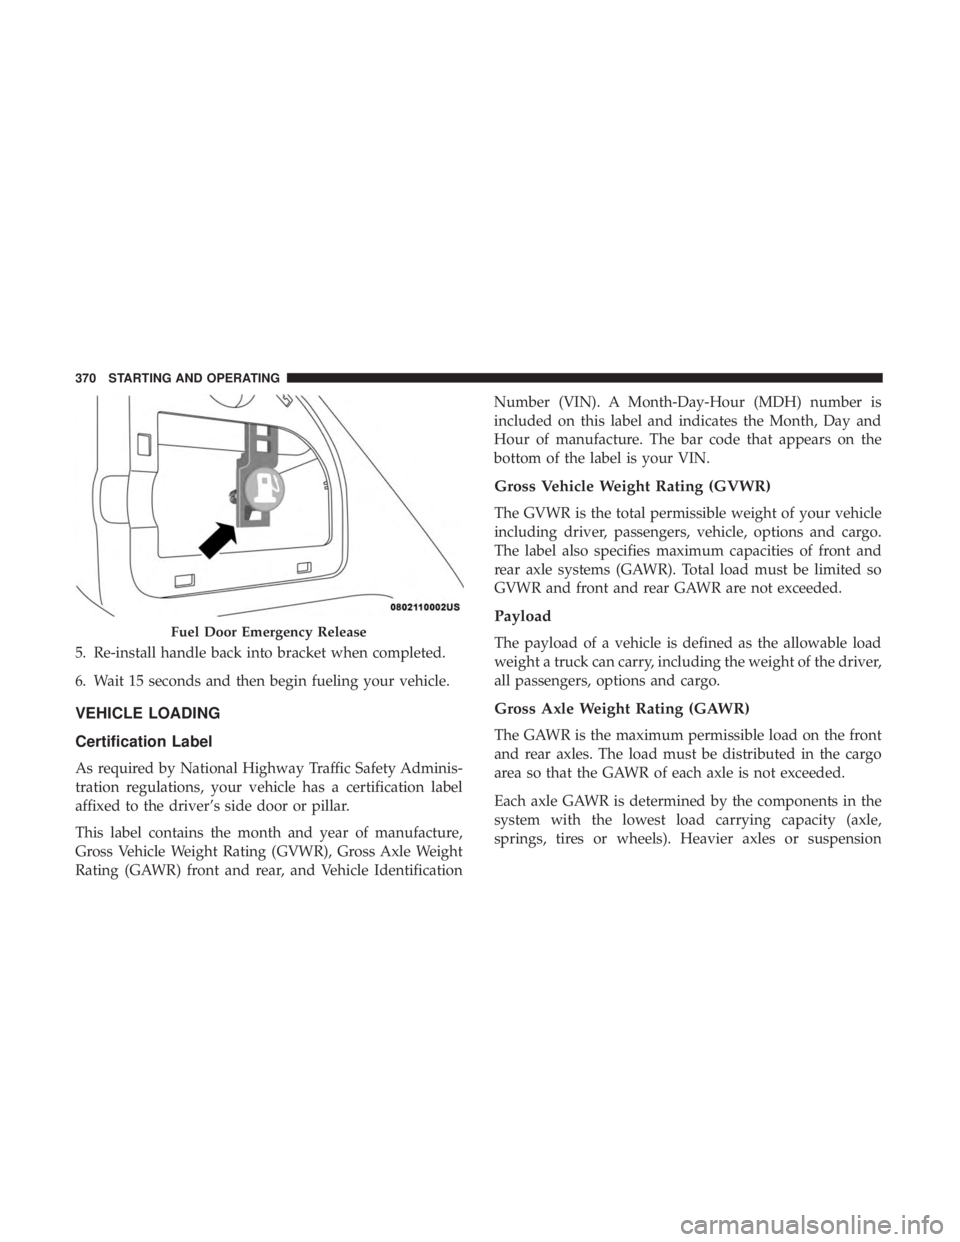
5. Re-install handle back into bracket when completed.
6. Wait 15 seconds and then begin fueling your vehicle.
VEHICLE LOADING
Certification Label
As required by National Highway Traffic Safety Adminis-
tration regulations, your vehicle has a certification label
affixed to the driver’s side door or pillar.
This label contains the month and year of manufacture,
Gross Vehicle Weight Rating (GVWR), Gross Axle Weight
Rating (GAWR) front and rear, and Vehicle IdentificationNumber (VIN). A Month-Day-Hour (MDH) number is
included on this label and indicates the Month, Day and
Hour of manufacture. The bar code that appears on the
bottom of the label is your VIN.
Gross Vehicle Weight Rating (GVWR)
The GVWR is the total permissible weight of your vehicle
including driver, passengers, vehicle, options and cargo.
The label also specifies maximum capacities of front and
rear axle systems (GAWR). Total load must be limited so
GVWR and front and rear GAWR are not exceeded.
Payload
The payload of a vehicle is defined as the allowable load
weight a truck can carry, including the weight of the driver,
all passengers, options and cargo.
Gross Axle Weight Rating (GAWR)
The GAWR is the maximum permissible load on the front
and rear axles. The load must be distributed in the cargo
area so that the GAWR of each axle is not exceeded.
Each axle GAWR is determined by the components in the
system with the lowest load carrying capacity (axle,
springs, tires or wheels). Heavier axles or suspension
Fuel Door Emergency Release
370 STARTING AND OPERATING
Page 373 of 614
components sometimes specified by purchasers for in-
creased durability does not necessarily increase the vehi-
cle’s GVWR.
Tire Size
The tire size on the Vehicle Certification Label represents
the actual tire size on your vehicle. Replacement tires must
be equal to the load capacity of this tire size.
Rim Size
This is the rim size that is appropriate for the tire size
listed.
Inflation Pressure
This is the cold tire inflation pressure for your vehicle for
all loading conditions up to full GAWR.
Curb Weight
The curb weight of a vehicle is defined as the total weight
of the vehicle with all fluids, including vehicle fuel, at full
capacity conditions, and with no occupants or cargo loaded
into the vehicle. The front and rear curb weight values are
determined by weighing your vehicle on a commercial
scale before any occupants or cargo are added.
Loading
The actual total weight and the weight of the front and rear
of your vehicle at the ground can best be determined by
weighing it when it is loaded and ready for operation.
The entire vehicle should first be weighed on a commercial
scale to insure that the GVWR has not been exceeded. The
weight on the front and rear of the vehicle should then be
determined separately to be sure that the load is properly
distributed over the front and rear axle. Weighing the
vehicle may show that the GAWR of either the front or rear
axles has been exceeded but the total load is within the
specified GVWR. If so, weight must be shifted from front to
rear or rear to front as appropriate until the specified
weight limitations are met. Store the heavier items down
low and be sure that the weight is distributed equally. Stow
all loose items securely before driving.
Improper weight distributions can have an adverse effect
on the way your vehicle steers and handles and the way
the brakes operate.
6
STARTING AND OPERATING 371
Page 424 of 614

5. Start the vehicle that has the booster battery, let thevehicle run a few minutes, and then cycle the ignition to
ON/RUN in the vehicle with the discharged battery.
6. Once the ignition is cycled to ON/RUN, select the gear that is needed for moving the vehicle. In most instances
of an emergency, this would be neutral. Once the proper
gear is selected, remove the jumper cables in the reverse
sequence:
Disconnecting The Jumper Cables
1. Disconnect the negative (-)end of the jumper cable from
the ground of the vehicle with the discharged battery.
2. Disconnect the opposite end of the negative (-)jumper
cable from the negative (-)post of the booster battery.
3. Disconnect the positive (+)end of the jumper cable from
the positive (+)post of the booster battery.
4. Disconnect the opposite end of the positive (+)jumper
cable from the positive (+)post of the vehicle with the
discharged battery. If frequent jump starting is required to start your vehicle,
you should have the battery and charging system in-
spected at an authorized dealer.
CAUTION!
Accessories plugged into the vehicle power outlets
draw power from the vehicle’s battery, even when not
in use (i.e., cellular devices, etc.). Eventually, if plugged
in long enough without engine operation, the vehicle’s
battery will discharge sufficiently to degrade battery
life and/or prevent the engine from starting.
REFUELING IN EMERGENCY
The funnel for the Cap-Less Fuel System is located with the
spare tire (if equipped) or in the upper storage bin. If your
vehicle is out of fuel and an auxiliary fuel can is needed,
insert the funnel into the filler neck and proceed to fill the
vehicle.
422 IN CASE OF EMERGENCY
Page 425 of 614

For more information on the Cap-Less Fuel System refer to
“Refueling The Vehicle” in “Starting And Operating” in
this manual.
IF YOUR ENGINE OVERHEATS
In any of the following situations, you can reduce the
potential for overheating by taking the appropriate action.On the highways — slow down.
NOTE:
There are steps that you can take to slow down an
impending overheat condition:
• If your air conditioner (A/C) is on, turn it off. The A/C
system adds heat to the engine cooling system and
turning the A/C off can help remove this heat.
• You can also turn the temperature control to maximum
heat, the mode control to floor and the blower control to
high. This allows the heater core to act as a supplement
to the radiator and aids in removing heat from the
engine cooling system.
WARNING!
You or others can be badly burned by hot engine
coolant (antifreeze) or steam from your radiator. If you
see or hear steam coming from under the hood, do not
open the hood until the radiator has had time to cool.
Never try to open a cooling system pressure cap when
the radiator or coolant bottle is hot.
Emergency Fuel Fill Funnel
7
IN CASE OF EMERGENCY 423
Page 438 of 614
Checking Oil Level
To assure proper engine lubrication, the engine oil must be
maintained at the correct level. Check the oil level at
regular intervals, such as every fuel stop. The best time to
check the engine oil level is about five minutes after a fully
warmed engine is shut OFF.
Checking the oil while the vehicle is on level ground will
improve the accuracy of the oil level readings. Maintain the
oil level between the MIN and MAX markings on the
dipstick. Adding one quart or one liter of oil when the
reading is at the MIN mark will result in a MAX reading on
these engines.
CAUTION!
•Overfilling or underfilling will cause oil aeration, or
loss of oil pressure. This could damage your engine.
• Never use Non-Detergent Oil or Straight Mineral Oil
in the engine or damage may result.
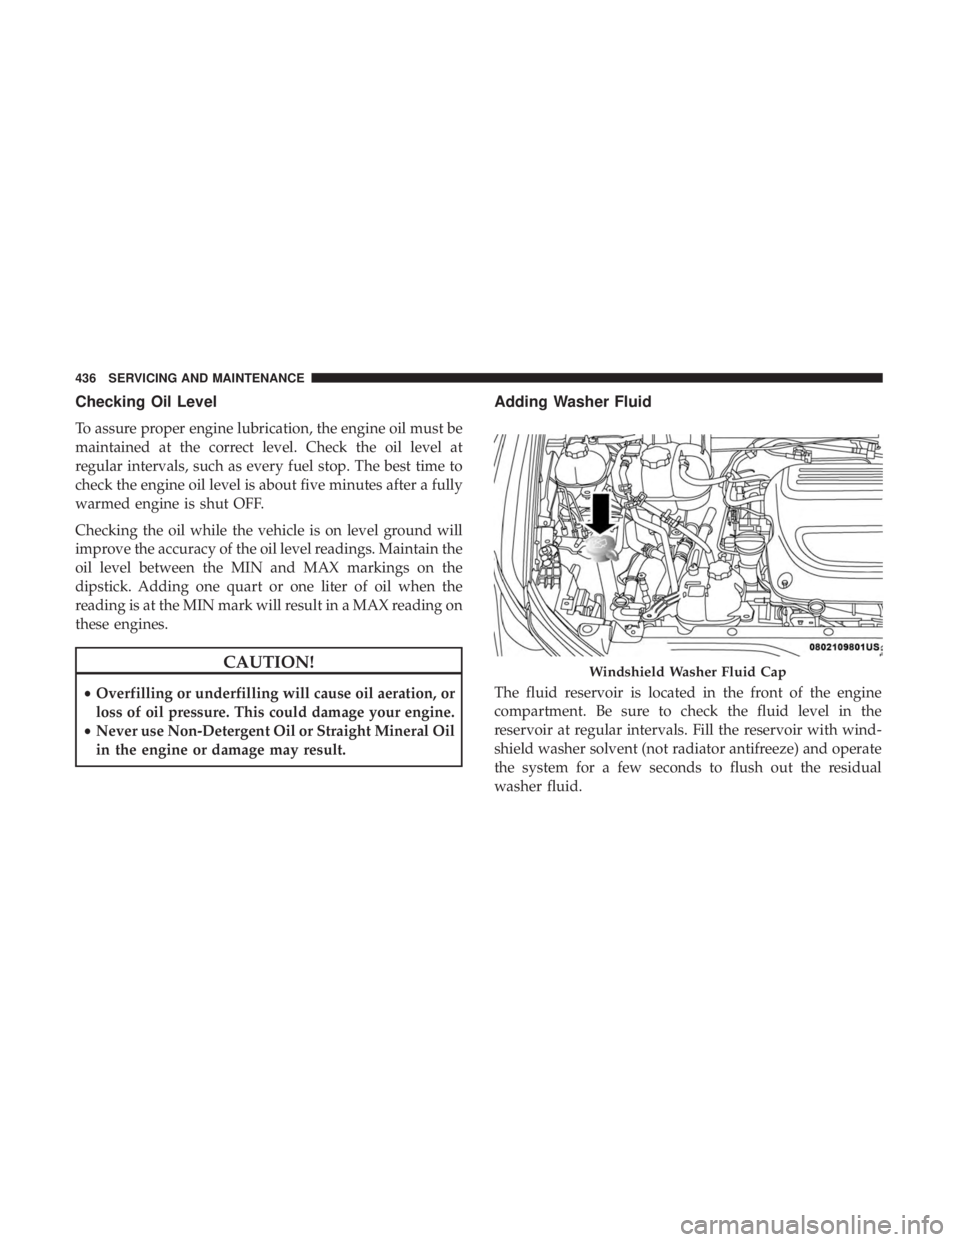
Adding Washer Fluid
The fluid reservoir is located in the front of the engine
compartment. Be sure to check the fluid level in the
reservoir at regular intervals. Fill the reservoir with wind-
shield washer solvent (not radiator antifreeze) and operate
the system for a few seconds to flush out the residual
washer fluid.
Windshield Washer Fluid Cap
436 SERVICING AND MAINTENANCE
Page 441 of 614
Gasoline Engine Oil Selection
For best performance and maximum protection under all
types of operating conditions, the manufacturer only rec-
ommend engine oils that are API certified and meet the
requirements of FCA Material Standard MS-12145, FCA
9.55535-GSX.
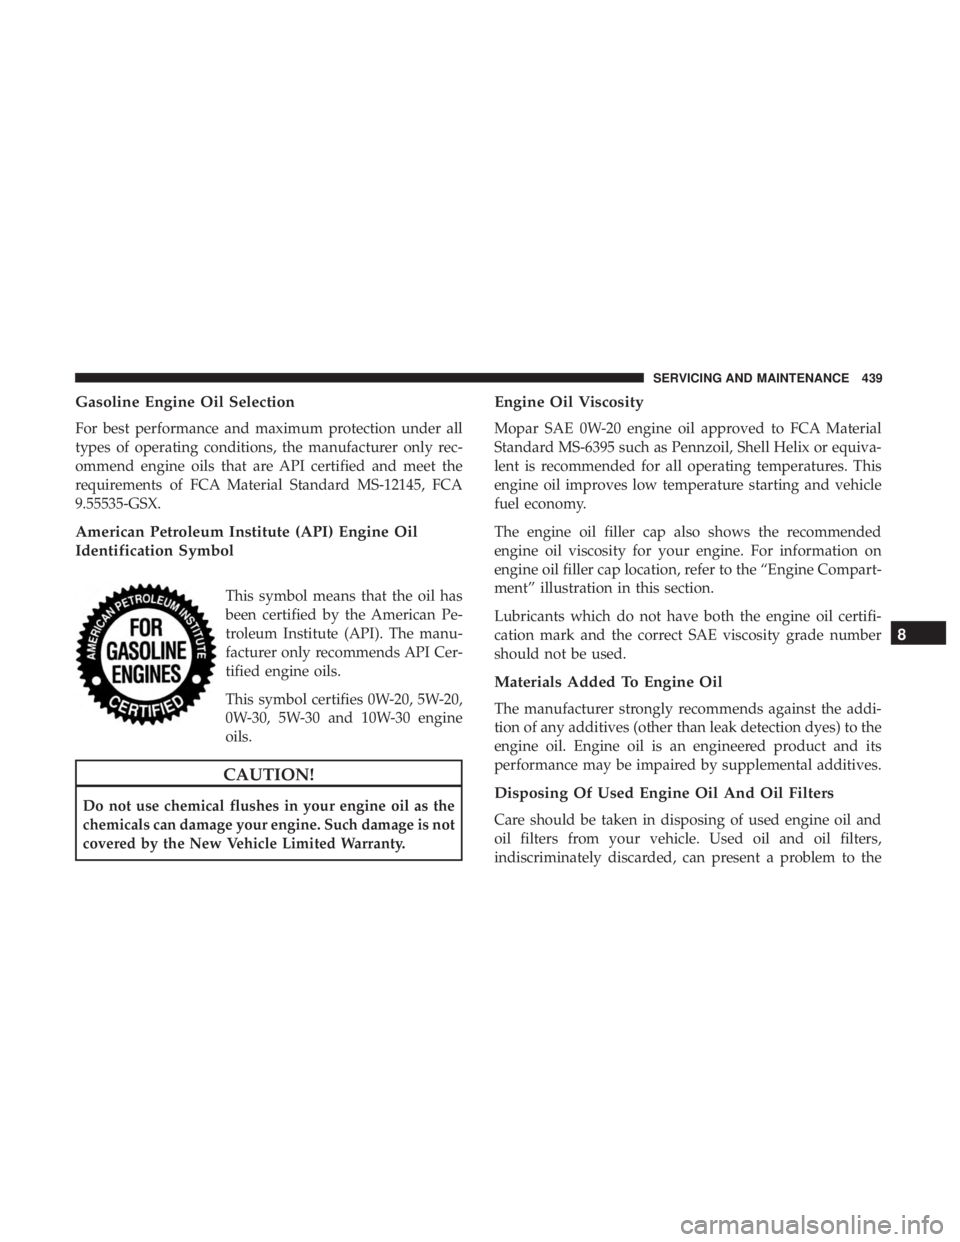
American Petroleum Institute (API) Engine Oil
Identification Symbol
This symbol means that the oil has
been certified by the American Pe-
troleum Institute (API). The manu-
facturer only recommends API Cer-
tified engine oils.
This symbol certifies 0W-20, 5W-20,
0W-30, 5W-30 and 10W-30 engine
oils.
CAUTION!
Do not use chemical flushes in your engine oil as the
chemicals can damage your engine. Such damage is not
covered by the New Vehicle Limited Warranty.
Engine Oil Viscosity
Mopar SAE 0W-20 engine oil approved to FCA Material
Standard MS-6395 such as Pennzoil, Shell Helix or equiva-
lent is recommended for all operating temperatures. This
engine oil improves low temperature starting and vehicle
fuel economy.
The engine oil filler cap also shows the recommended
engine oil viscosity for your engine. For information on
engine oil filler cap location, refer to the “Engine Compart-
ment” illustration in this section.
Lubricants which do not have both the engine oil certifi-
cation mark and the correct SAE viscosity grade number
should not be used.
Materials Added To Engine Oil
The manufacturer strongly recommends against the addi-
tion of any additives (other than leak detection dyes) to the
engine oil. Engine oil is an engineered product and its
performance may be impaired by supplemental additives.
Disposing Of Used Engine Oil And Oil Filters
Care should be taken in disposing of used engine oil and
oil filters from your vehicle. Used oil and oil filters,
indiscriminately discarded, can present a problem to the
8
SERVICING AND MAINTENANCE 439