Page 115 of 614

IconDescription
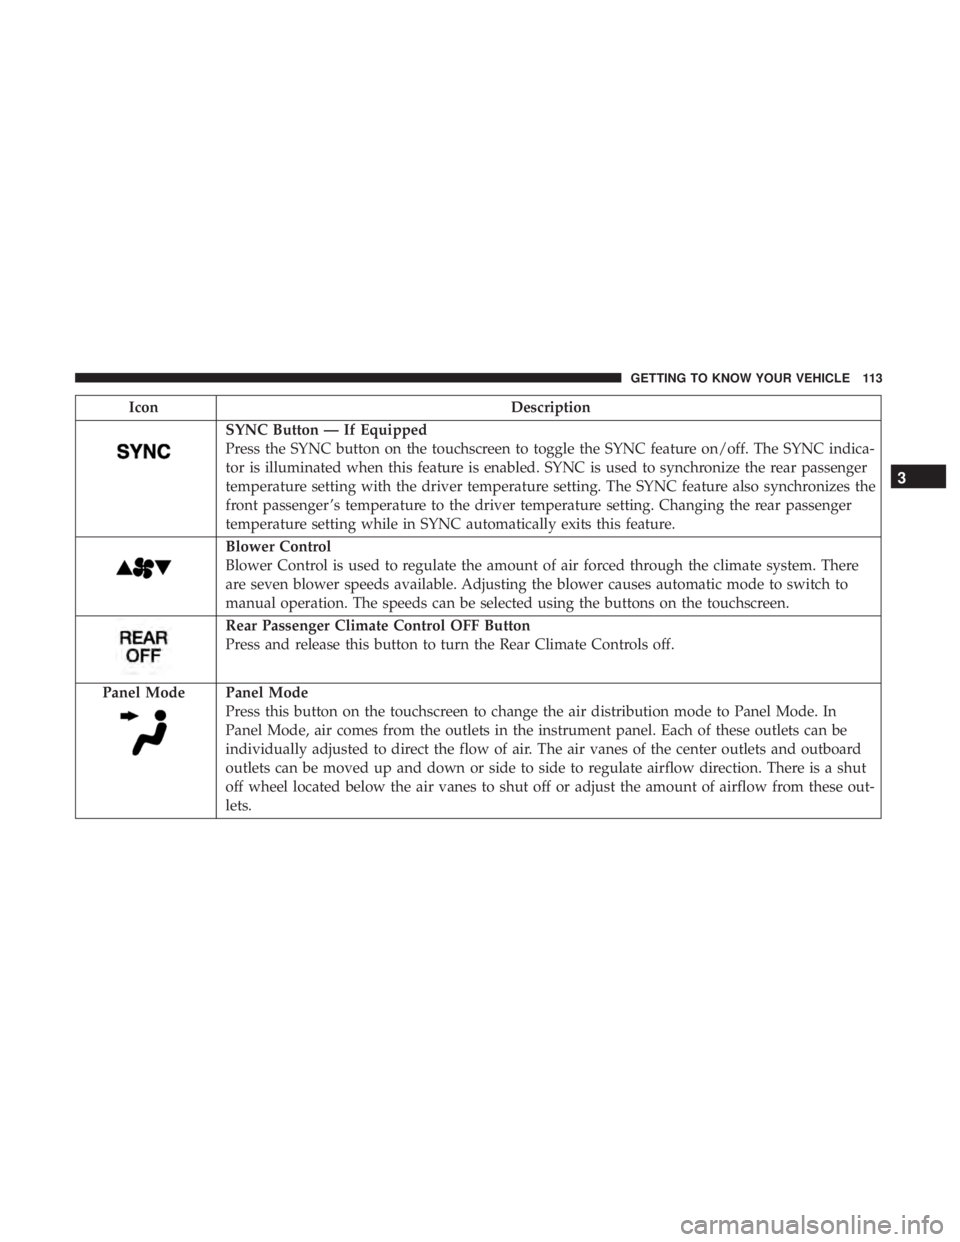
SYNC Button — If Equipped
Press the SYNC button on the touchscreen to toggle the SYNC feature on/off. The SYNC indica-
tor is illuminated when this feature is enabled. SYNC is used to synchronize the rear passenger
temperature setting with the driver temperature setting. The SYNC feature also synchronizes the
front passenger ’s temperature to the driver temperature setting. Changing the rear passenger
temperature setting while in SYNC automatically exits this feature.
Blower Control
Blower Control is used to regulate the amount of air forced through the climate system. There
are seven blower speeds available. Adjusting the blower causes automatic mode to switch to
manual operation. The speeds can be selected using the buttons on the touchscreen.
Rear Passenger Climate Control OFF Button
Press and release this button to turn the Rear Climate Controls off.
Panel Mode
Panel Mode
Press this button on the touchscreen to change the air distribution mode to Panel Mode. In
Panel Mode, air comes from the outlets in the instrument panel. Each of these outlets can be
individually adjusted to direct the flow of air. The air vanes of the center outlets and outboard
outlets can be moved up and down or side to side to regulate airflow direction. There is a shut
off wheel located below the air vanes to shut off or adjust the amount of airflow from these out-
lets.
3
GETTING TO KNOW YOUR VEHICLE 113
Page 116 of 614

IconDescription
Bi-Level Mode
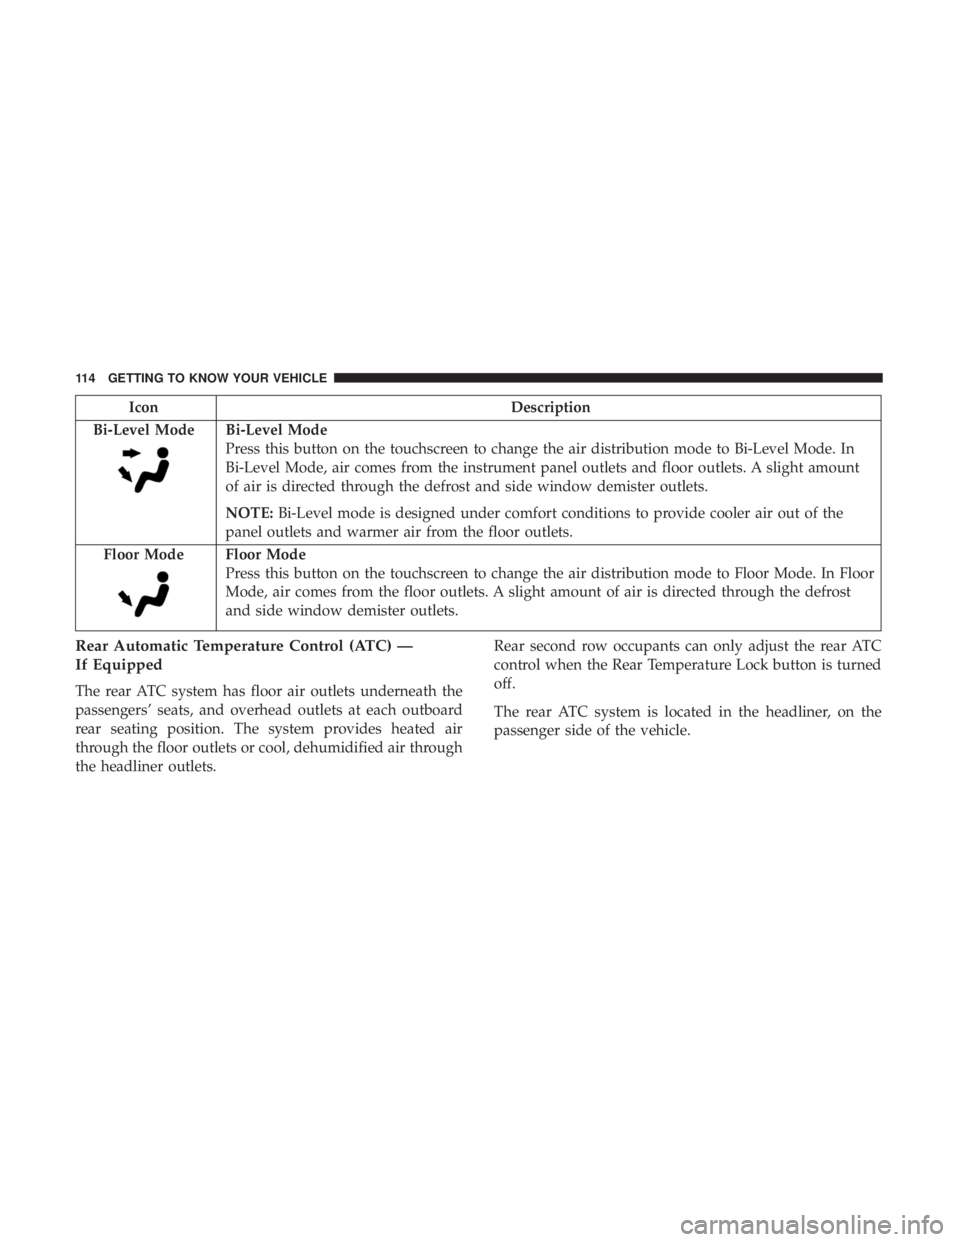
Bi-Level Mode
Press this button on the touchscreen to change the air distribution mode to Bi-Level Mode. In
Bi-Level Mode, air comes from the instrument panel outlets and floor outlets. A slight amount
of air is directed through the defrost and side window demister outlets.
NOTE: Bi-Level mode is designed under comfort conditions to provide cooler air out of the
panel outlets and warmer air from the floor outlets.
Floor Mode
Floor Mode
Press this button on the touchscreen to change the air distribution mode to Floor Mode. In Floor
Mode, air comes from the floor outlets. A slight amount of air is directed through the defrost
and side window demister outlets.
Rear Automatic Temperature Control (ATC) —
If Equipped
The rear ATC system has floor air outlets underneath the
passengers’ seats, and overhead outlets at each outboard
rear seating position. The system provides heated air
through the floor outlets or cool, dehumidified air through
the headliner outlets. Rear second row occupants can only adjust the rear ATC
control when the Rear Temperature Lock button is turned
off.
The rear ATC system is located in the headliner, on the
passenger side of the vehicle.
114 GETTING TO KNOW YOUR VEHICLE
Page 129 of 614
The hood release lever (to open the primary latch) and
safety latch (to open the secondary latch) must be released
to open the hood.
1. Pull the hood release lever located under the driver ’sside of the instrument panel.
2. Move to the outside of the front of the vehicle.
3. Push the safety latch release lever toward the passenger side of the vehicle. The safety latch is located behind the
center front edge of the hood. 4. Remove the support rod from the locking tab and insert
it into the seat located on the underside of the hood.
NOTE:
• Before lifting the hood, check that the wiper arms are not
in motion and not in the lifted position.
• While lifting the hood, use both hands.
• Vehicle must be at a stop and the automatic transmission
must be in park.
Hood Release Lever
Safety Latch Location
3
GETTING TO KNOW YOUR VEHICLE 127
Page 143 of 614
INTERNAL EQUIPMENT
Storage
Glove Compartment
The glove compartment is located on the passenger side of
the instrument panel.
To open the glove compartment, pull the release handle.
Front Door Storage
Both interior front door panels have multiple pockets for
storage.
WARNING!
If containers of hot liquid are placed in the bottle
holder, they can spill when the door is closed, burning
the occupants. Be careful when closing the doors to
avoid injury.Release Handle
Front Door Storage
3
GETTING TO KNOW YOUR VEHICLE 141
Page 144 of 614
Instrument Panel Drawer
There is a storage drawer located in the lower center of the
instrument panel. It can be released by pushing the access
button above it. The drawer is actuator assisted once the
access button is pushed. Pull drawer outward to the fully
open position.
Drawer Access Button
Drawer Released
Drawer Fully Open
142 GETTING TO KNOW YOUR VEHICLE
Page 147 of 614
The front power outlet is located at the bottom of the
instrument panel.In addition to the front power outlets, there is also a power
outlet located in the rear cargo area.
12 Volt Front Power Outlet
Front USB Charge Only Port
3
GETTING TO KNOW YOUR VEHICLE 145
Page 148 of 614
The rear power outlet is located in the right rear cargo area.
NOTE:The USB outlet in the bottom of the instrument
panel can be switched from “ignition” only to constant
“battery” powered all the time. See an authorized dealer
for details.
WARNING!
To avoid serious injury or death:
• Only devices designed for use in this type of outlet
should be inserted into any 12 Volt outlet.
• Do not touch with wet hands.
(Continued)
Rear Power Outlet
Power Outlet Fuse Locations
1 — F95A-F95B USB IP 10A
2 — F85 Cigar Lighter 20A
3 — F60 RR Cargo Power Outlet 20A
146 GETTING TO KNOW YOUR VEHICLE
Page 150 of 614

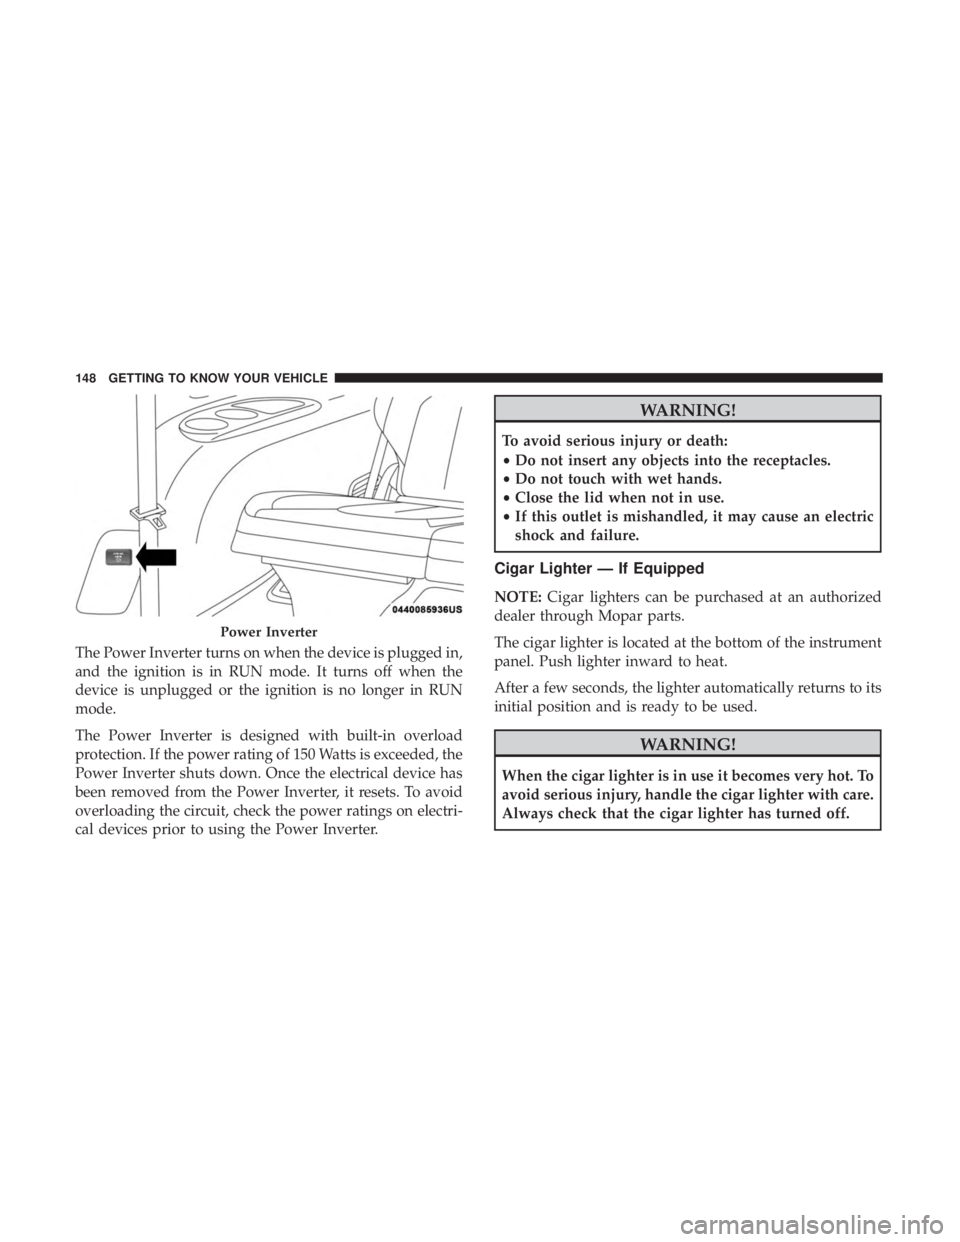
The Power Inverter turns on when the device is plugged in,
and the ignition is in RUN mode. It turns off when the
device is unplugged or the ignition is no longer in RUN
mode.
The Power Inverter is designed with built-in overload
protection. If the power rating of 150 Watts is exceeded, the
Power Inverter shuts down. Once the electrical device has
been removed from the Power Inverter, it resets. To avoid
overloading the circuit, check the power ratings on electri-
cal devices prior to using the Power Inverter.
WARNING!
To avoid serious injury or death:
•Do not insert any objects into the receptacles.
• Do not touch with wet hands.
• Close the lid when not in use.
• If this outlet is mishandled, it may cause an electric
shock and failure.
Cigar Lighter — If Equipped
NOTE: Cigar lighters can be purchased at an authorized
dealer through Mopar parts.
The cigar lighter is located at the bottom of the instrument
panel. Push lighter inward to heat.
After a few seconds, the lighter automatically returns to its
initial position and is ready to be used.
WARNING!
When the cigar lighter is in use it becomes very hot. To
avoid serious injury, handle the cigar lighter with care.
Always check that the cigar lighter has turned off.
Power Inverter
148 GETTING TO KNOW YOUR VEHICLE