2018 CHEVROLET CRUZE trunk
[x] Cancel search: trunkPage 288 of 404

Chevrolet Cruze Owner Manual (GMNA-Localizing-U.S./Canada/Mexico-
11348462) - 2018 - crc - 5/15/17
Vehicle Care 287
4. Remove the bulb from thesocket by pulling it straight out.
5. Install the new bulb in the bulb socket.
6. Install the bulb socket by turning clockwise.
7. Push the flocking back into place and secure with the
retained pushpins.
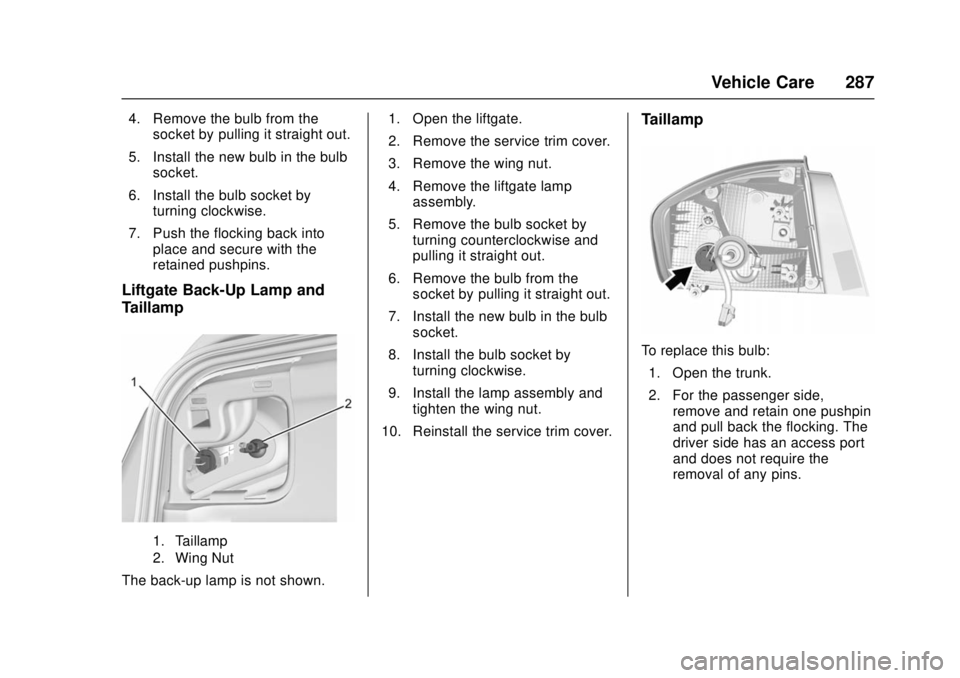
Liftgate Back-Up Lamp and
Taillamp
1. Taillamp
2. Wing Nut
The back-up lamp is not shown. 1. Open the liftgate.
2. Remove the service trim cover.
3. Remove the wing nut.
4. Remove the liftgate lamp
assembly.
5. Remove the bulb socket by turning counterclockwise and
pulling it straight out.
6. Remove the bulb from the socket by pulling it straight out.
7. Install the new bulb in the bulb socket.
8. Install the bulb socket by turning clockwise.
9. Install the lamp assembly and tighten the wing nut.
10. Reinstall the service trim cover.
Taillamp
To replace this bulb: 1. Open the trunk.
2. For the passenger side, remove and retain one pushpin
and pull back the flocking. The
driver side has an access port
and does not require the
removal of any pins.
Page 294 of 404

Chevrolet Cruze Owner Manual (GMNA-Localizing-U.S./Canada/Mexico-
11348462) - 2018 - crc - 5/15/17
Vehicle Care 293
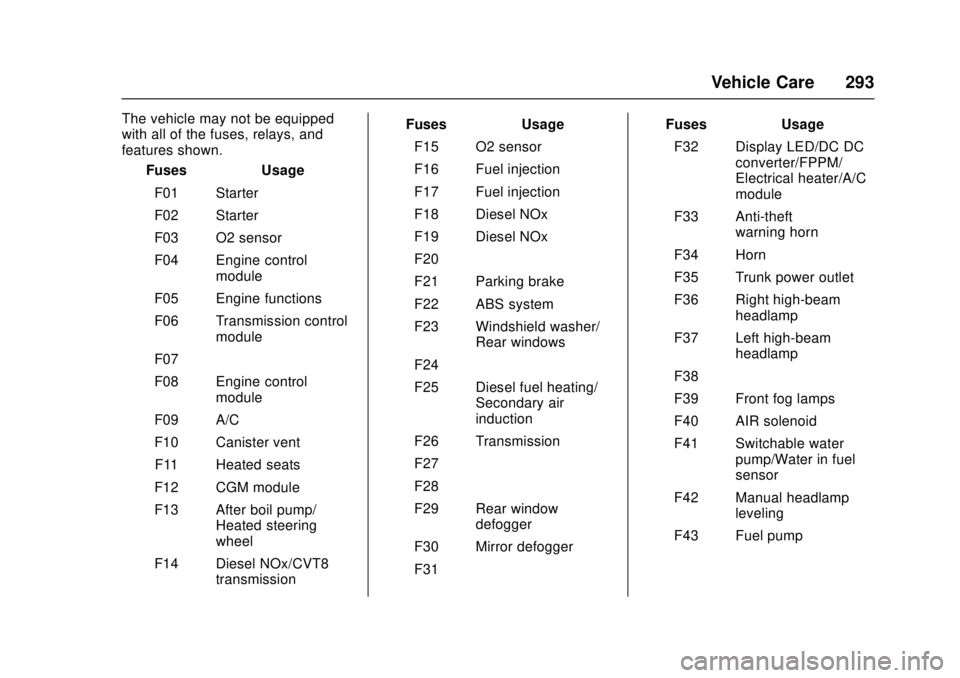
The vehicle may not be equipped
with all of the fuses, relays, and
features shown.Fuses Usage
F01 Starter
F02 Starter
F03 O2 sensor
F04 Engine control module
F05 Engine functions
F06 Transmission control module
F07 –
F08 Engine control module
F09 A/C
F10 Canister vent F11 Heated seats
F12 CGM module
F13 After boil pump/ Heated steering
wheel
F14 Diesel NOx/CVT8 transmission Fuses Usage
F15 O2 sensor
F16 Fuel injection
F17 Fuel injection
F18 Diesel NOx
F19 Diesel NOx
F20 –
F21 Parking brake
F22 ABS system
F23 Windshield washer/ Rear windows
F24 –
F25 Diesel fuel heating/ Secondary air
induction
F26 Transmission
F27 –
F28 –
F29 Rear window defogger
F30 Mirror defogger
F31 – Fuses Usage
F32 Display LED/DC DC converter/FPPM/
Electrical heater/A/C
module
F33 Anti-theft warning horn
F34 Horn
F35 Trunk power outlet
F36 Right high-beam headlamp
F37 Left high-beam headlamp
F38 –
F39 Front fog lamps
F40 AIR solenoid
F41 Switchable water pump/Water in fuel
sensor
F42 Manual headlamp leveling
F43 Fuel pump
Page 298 of 404

Chevrolet Cruze Owner Manual (GMNA-Localizing-U.S./Canada/Mexico-
11348462) - 2018 - crc - 5/15/17
Vehicle Care 297
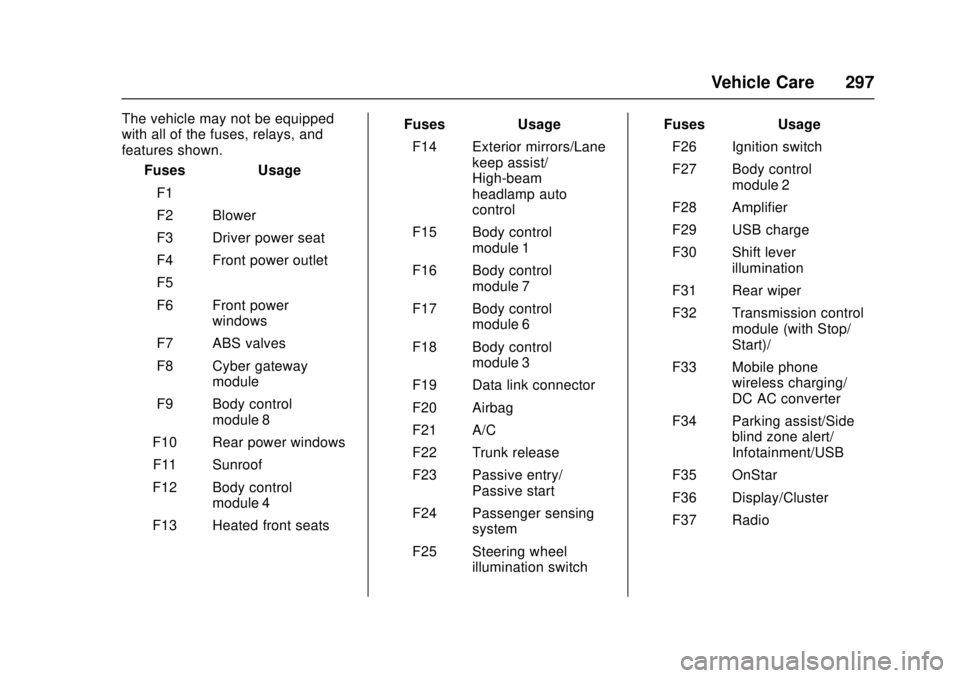
The vehicle may not be equipped
with all of the fuses, relays, and
features shown.Fuses Usage
F1 –
F2 Blower
F3 Driver power seat
F4 Front power outlet
F5 –
F6 Front power windows
F7 ABS valves
F8 Cyber gateway module
F9 Body control module 8
F10 Rear power windows
F11 Sunroof
F12 Body control module 4
F13 Heated front seats Fuses Usage
F14 Exterior mirrors/Lane keep assist/
High-beam
headlamp auto
control
F15 Body control module 1
F16 Body control module 7
F17 Body control module 6
F18 Body control module 3
F19 Data link connector
F20 Airbag
F21 A/C
F22 Trunk release
F23 Passive entry/ Passive start
F24 Passenger sensing system
F25 Steering wheel illumination switch Fuses Usage
F26 Ignition switch
F27 Body control module 2
F28 Amplifier
F29 USB charge
F30 Shift lever illumination
F31 Rear wiper
F32 Transmission control module (with Stop/
Start)/–
F33 Mobile phone wireless charging/
DC AC converter
F34 Parking assist/Side blind zone alert/
Infotainment/USB
F35 OnStar
F36 Display/Cluster
F37 Radio
Page 327 of 404

Chevrolet Cruze Owner Manual (GMNA-Localizing-U.S./Canada/Mexico-
11348462) - 2018 - crc - 5/15/17
326 Vehicle Care
12. Turn the air only hose (10)counterclockwise to remove it
from the tire valve stem.
13. Replace the tire valve stem cap.
14. Return the air only hose (10) and power plug (9) back to
their original storage location.
15. Return the equipment to its original storage location in the
vehicle.
The tire sealant and compressor kit
has accessory adapters located in a
compartment on the bottom of its
housing that can be used to inflate
air mattresses, balls, etc.
Storing the Tire Sealant
and Compressor Kit
The tire sealant and compressor kit
is in the trunk under the load floor.
To remove the kit: 1. Open the trunk or liftgate. See Trunk 048 orLiftgate
0 50.
2. Remove the compressor (1)
and the tire sealant
canister (2).
To store the inflator kit, reverse the
steps.
Tire Changing
Removing the Spare Tire and
Tools
To access the spare tire and tools:
Vehicles with a Trunk
1. Tow Hook
2. Jack
3. Wrench
4. Screwdriver (If Equipped)
Page 328 of 404

Chevrolet Cruze Owner Manual (GMNA-Localizing-U.S./Canada/Mexico-
11348462) - 2018 - crc - 5/15/17
Vehicle Care 327
Vehicles with a Liftgate
1. Jack
2. Wrench
3. Tow Hook
4. Strap
1. Open the trunk or liftgate.See Trunk 048 orLiftgate
0 50.
2. Lift the load floor.
3. Turn the retainer nut counterclockwise and remove
the spare tire. Place the spare
tire next to the tire being
changed. 4. The jack and tools are stored
under the spare tire. Remove
them from their container and
place them near the tire being
changed.
Removing the Flat Tire and
Installing the Spare Tire
1. Do a safety check before
proceeding. See If a Tire Goes
Flat 0318.
2. Turn the wheel wrench
counterclockwise to loosen all
the wheel nuts, but do not
remove them yet.
3. Place the jack near the flat tire. 4. Place the jack under the
vehicle.
5. Put the compact spare tire near you.
{Warning
Getting under a vehicle when it is
lifted on a jack is dangerous.
If the vehicle slips off the jack,
you could be badly injured or
killed. Never get under a vehicle
when it is supported only by
a jack.
{Warning
Raising the vehicle with the jack
improperly positioned can
damage the vehicle and even
make the vehicle fall. To help
avoid personal injury and vehicle
damage, be sure to fit the jack lift
head into the proper location
before raising the vehicle.
Page 331 of 404

Chevrolet Cruze Owner Manual (GMNA-Localizing-U.S./Canada/Mexico-
11348462) - 2018 - crc - 5/15/17
330 Vehicle Care
Warning (Continued)
nuts. SeeCapacities and
Specifications 0364 for original
equipment wheel nut torque
specifications.
Caution
Improperly tightened wheel nuts
can lead to brake pulsation and
rotor damage. To avoid expensive
brake repairs, evenly tighten the
wheel nuts in the proper
sequence and to the proper
torque specification. See
Capacities and Specifications
0 364 for the wheel nut torque
specification.
14. Tighten the wheel nuts firmly in a crisscross sequence, as
shown.
15. Lower the jack all the way and remove the jack from under the
vehicle.
16. Tighten the wheel nuts firmly with the wheel wrench.
When reinstalling the wheel cover or
center cap on the full-size tire,
tighten all five plastic caps hand
snug with the aid of the wheel
wrench and tighten them with the
wheel wrench an additional
one-quarter of a turn.
Caution
Wheel covers will not fit on the
vehicle's compact spare. If you try
to put a wheel cover on the
compact spare, the cover or the
spare could be damaged.
Storing a Flat or Spare Tire
and Tools
{Warning
Storing a jack, a tire, or other
equipment in the passenger
compartment of the vehicle could
cause injury. In a sudden stop or
collision, loose equipment could
strike someone. Store all these in
the proper place.
Storing a Flat or Spare Tire and
Tools —Vehicles with a Trunk
1. Replace the jack and tools in their original storage location.
Page 364 of 404

Chevrolet Cruze Owner Manual (GMNA-Localizing-U.S./Canada/Mexico-
11348462) - 2018 - crc - 5/15/17
Technical Data 363
Technical Data
Vehicle Identification
Vehicle IdentificationNumber (VIN) . . . . . . . . . . . . . . . 363
Service Parts Identification Label . . . . . . . . . . . . . . . . . . . . . . . . 363
Vehicle Data
Capacities andSpecifications . . . . . . . . . . . . . . . 364
Engine Drive Belt Routing . . . . 366
Vehicle Identification
Vehicle Identification
Number (VIN)
This legal identifier is in the front
corner of the instrument panel, on
the driver side of the vehicle. It can
be seen through the windshield from
outside. The Vehicle Identification
Number (VIN) also appears on the
Vehicle Certification and Service
Parts labels and certificates of title
and registration.
Engine Identification
The eighth character in the VIN is
the engine code. This code
identifies the vehicle's engine,
specifications, and replacement
parts. See “Engine Specifications”
under Capacities and Specifications
0 364 for the vehicle's engine code.
Service Parts
Identification Label
There may be a label on the inside
of the trunk area that contains the
following information:
.
Vehicle Identification
Number (VIN)
. Model designation
. Paint information
. Production options and special
equipment
If there is no label, there is a
barcode on the certification label on
the center (B) pillar to scan for this
same information.
Page 394 of 404

Chevrolet Cruze Owner Manual (GMNA-Localizing-U.S./Canada/Mexico-
11348462) - 2018 - crc - 5/15/17
Index 393
Assistance Systems forParking and Backing . . . . . . . . . . 236
Audio Theft-Deterrent Feature . . . . . . . 162
Automatic Climate Control System . . . . . . . 190
Door Locks . . . . . . . . . . . . . . . . . . . . . 46
Headlamp System . . . . . . . . . . . . 155
Transmission . . . . . . . . . . . . . . . . . 224
Transmission Fluid . . . . . . . . . . . 269
Automatic Transmission
Manual Mode . . . . . . . . . . . . . . . . . 226
Shift Lock Control FunctionCheck . . . . . . . . . . . . . . . . . . . . . . . 281
Auxiliary Devices . . . . . . . . . . . . . . . . . . . . . . . 175
Avoiding Untrusted Media Devices . . . . . . . . . . . . . . . . . . . . . . . 169
B
BatteryExterior Lighting BatterySaver . . . . . . . . . . . . . . . . . . . . . . . 160
Power Protection . . . . . . . . . . . . . 160
Battery - North America . . . . 279, 333
Biodiesel . . . . . . . . . . . . . . . . . . . . . . . 249
Blade Replacement, Wiper . . . . . 282
Bluetooth Overview . . . . . . . . . . . . . . . . 176, 177 Brake
System Warning Light . . . . . . . . 132
Brakes . . . . . . . . . . . . . . . . . . . . . . . . . . 277 Antilock . . . . . . . . . . . . . . . . . . . . . . . 228
Assist . . . . . . . . . . . . . . . . . . . . . . . . . 231
Fluid . . . . . . . . . . . . . . . . . . . . . . . . . . 278
Parking . . . . . . . . . . . . . . . . . . . . . . . 229
Braking . . . . . . . . . . . . . . . . . . . . . . . . . 197
Break-In, New Vehicle . . . . . . . . . . 206
Bulb Replacement Halogen Bulbs . . . . . . . . . . . . . . . . 284
Headlamp Aiming . . . . . . . . . . . . . 284
Headlamps . . . . . . . . . . . . . . . . . . . 284
Headlamps and Front Turn
Signal . . . . . . . . . . . . . . . . . . . . . . . 285
High Intensity Discharge
(HID) Lighting . . . . . . . . . . . . . . . 285
License Plate Lamps . . . . . . . . . 289
Taillamps and Back-up Lamps . . . . . . . . . . . . . . . . . . . . . . 286
Buying New Tires . . . . . . . . . . . . . . . 313
C
Calibration . . . . . . . . . . . . . . . . . . . . . . 113
California Fuel Requirements . . . . . . . . . . . 245 California (cont'd)
Perchlorate Materials
Requirements . . . . . . . . . . . . . . . 260
California
Proposition
65 Warning . . . . . . . . . .259, 279, 333, Back Cover
Canadian Vehicle Owners . . . . . . . . 2
Capacities and Specifications . . . . . . . . . . . . . . . . . 364
Carbon Monoxide Engine Exhaust . . . . . . . . . . . . . . . 217
Liftgate . . . . . . . . . . . . . . . . . . . . . . . . . 50
Trunk . . . . . . . . . . . . . . . . . . . . . . . . . . . 48
Winter Driving . . . . . . . . . . . . . . . . 201
Caution, Danger, and Warning . . . . 3
Center Console Storage . . . . . . . . 107
Chains, Tire . . . . . . . . . . . . . . . . . . . . 317
Charging Wireless . . . . . . . . . . . . . . . . . . . . . . .117
Charging System Light . . . . . . . . . 130
Check Engine Light (Malfunction
Indicator) . . . . . . . . . . . . . . . . . . . . 130
Ignition Transmission Lock . . . 281
Child Restraints Infants and Young Children . . . . . 89