2018 CADILLAC CT6 change time
[x] Cancel search: change timePage 156 of 445

Cadillac CT6 Owner Manual (GMNA-Localizing-U.S./Canada-11292458) -
2018 - crc - 2/14/17
INSTRUMENTS AND CONTROLS 155
Warning (Continued)
lowest charge level if the electrical
circuit or electrical outlet capacity
is not known.
Charge Mode Selection
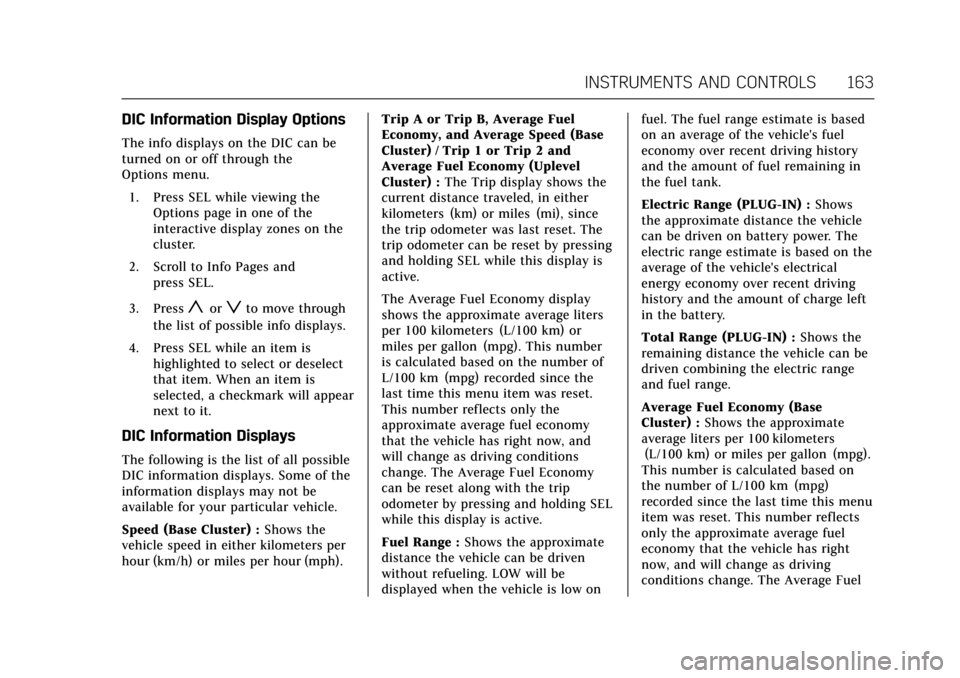
From the Charge Mode Status screen,
touch Charge Mode.
Select one option:
. Immediate Charge upon Plug In
. Delay Charge Based on
Departure Time
. Delay Charge Based on Electric
Rates and Departure Time Departure Time Entry
From the Delay Charge Mode Status
screen, touch Next Planned Departure
to change the departure time for each
day of the week to match your
personal schedule.
It is recommended to have the vehicle
unplugged while editing
departure time.1. Touch the day to change.
2. Touch + or
−to change the hours
and minutes.
3. Touch + or −to change AM
or PM.
4. Touch
0to store changes and
return to the previous screen. Charge Rate Information
From the Delayed (Electric Rate and
Departure Time) Charge Mode Status
screen, touch Charge Rate
Information.
Select one of the following:
.
Charge Completion:
EarliestPossible/Latest Possible
. Electric Rate Schedule
. Charge Rate Preference
Earliest or Latest Completion Time
If the vehicle calculates that the cost
would be the same for various charge
modes based on the charge rates
selected, select to finish the charge at
the earliest possible time or the latest
possible time. Use the Earliest setting
to charge as soon as possible if there
Page 158 of 445

Cadillac CT6 Owner Manual (GMNA-Localizing-U.S./Canada-11292458) -
2018 - crc - 2/14/17
INSTRUMENTS AND CONTROLS 157
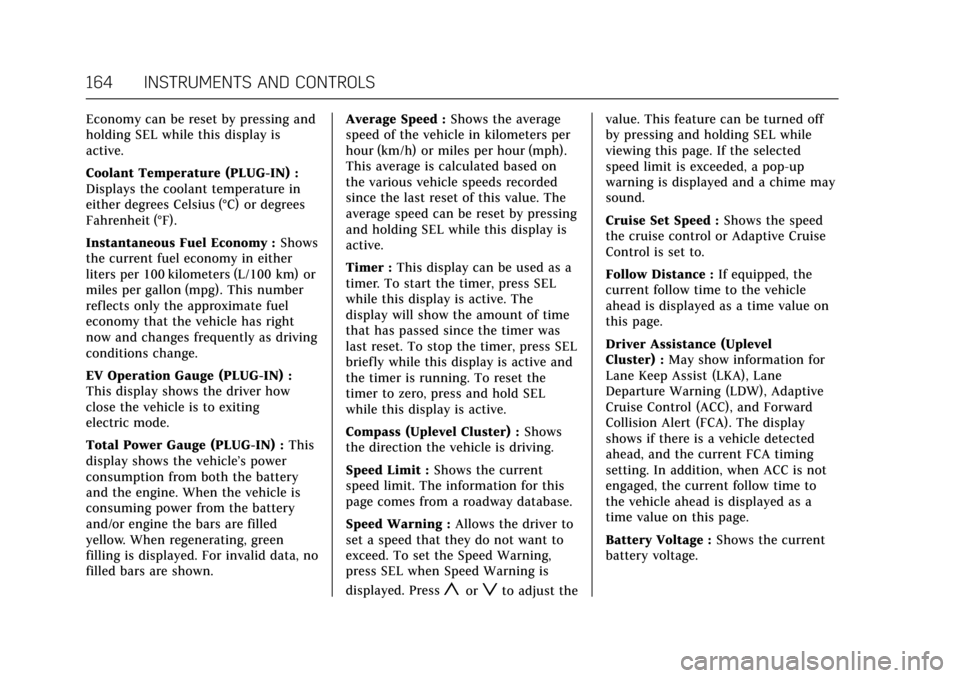
To edit the Summer/Winter Schedule:1. Select Summer/Winter for the Rate Schedule Type.
2. Touch Edit Electric Rate Schedule.
To edit the Yearly Schedule:
1. Select Yearly for the Rate Schedule Type.
2. Touch Edit Electric Rate Schedule.
Summer/Winter Schedule Start Date
Entering
From the Edit Electric Rate Schedule
screen, touch Edit Summer/Winter
Start Dates.
1. Touch Summer.
2. Touch + or −to set the month
and day for the start of summer.
3. Touch Winter.
4. Touch + or −to set the month
and day for the start of winter.
5. Touch Edit Summer Schedule or Edit Winter Schedule to edit the
daily electric rate schedule.
Electric Rate Schedule Editing
From the Edit Electric Rate Schedule
screen, select Weekday Schedule or
Weekend Schedule. 1. Touch Weekday or Weekend.2. Select the row to be changed. .Weekdays are Monday
through Friday and use the
same rate schedule.
. Weekends are Saturday and
Sunday and use the same
rate schedule.
Both weekday and weekend schedules
must be set. The rate schedule only
applies for a 24-hour period, starting
at 12:00 AM and ending at 12:00 AM.
There can be five rate changes for
each day; not all must be used.
The finish times must be consecutive.
If a finish time does not follow a start
time, the error message displays “An
invalid entry was found in the data
entered. Please re-enter data.”
Page 159 of 445

Cadillac CT6 Owner Manual (GMNA-Localizing-U.S./Canada-11292458) -
2018 - crc - 2/14/17
158 INSTRUMENTS AND CONTROLS
Electric Rate Finish Time Editing
It is recommended to have the vehicle
unplugged while editing electric rate
finish time. From the Edit (Summer,
Winter, or Yearly) Electric Rate
Schedule screen, touch Edit next to
the row to change.
1. Touch + or−to adjust the time.
2. Touch Off-Peak, Mid-Peak, or Peak to select the electric rate.
3. Touch
0 jto store changes.
Only the finish time can be edited.
The start time is automatically
populated in the rate table.
Electric Rate Schedule Viewing
From the Select Electric Rate Plan
screen, touch View (Summer, Winter,
or Yearly) Schedule.
Temporary Charge Mode
Override and Cancel
Programmed Delayed Charge Modes
can be temporarily overridden to an
Immediate Charge Mode for one
charge cycle. Also, the next planned
departure time can be temporarily
overridden for one charge cycle. In
addition to the in-vehicle overrides via
the infotainment display, there are
other ways to temporarily override a
Delayed Charge Mode. See Plug-In
Charging (PLUG-IN Only) 0274.
Temporary Override of a Delayed
Charge Mode
To temporarily override a Delayed
Charge Mode to Immediate Charge
Mode from inside the vehicle: 1. Touch Temporary Override Options on the main charging
screen.
2. Touch Charge Immediately UponPlug In to temporarily override
to an Immediate Charge Mode.
The Temporary Charge Mode Status
screen will automatically display the
revised charge complete time.
To cancel the temporary override,
touch Cancel Temporary Override
Setting on the Temporary Override
Options screen. Or, from the main
Page 160 of 445

Cadillac CT6 Owner Manual (GMNA-Localizing-U.S./Canada-11292458) -
2018 - crc - 2/14/17
INSTRUMENTS AND CONTROLS 159
charging screen, touch the X on the
far right side of the Charge Mode
button.
Temporary Override of the Next
Planned Departure Time
It is recommended to have the vehicle
unplugged while editing
departure time.
To temporarily override the Next
Planned Departure Time from inside
the vehicle:1. Touch Temporary Override Options on the main charging
screen.
2. Touch Next Departure Time.
3. Touch + or –to change the Next
Departure Time.
4. Touch
0 jto confirm a
temporary override of the Next
Planned Departure Time.
The Temporary Charge Mode Status
screen will automatically display the
revised charge complete time.
The Temporary Departure Time can
only be updated for the same day as
the original Next Planned Departure
Time. Also, the vehicle will not accept
a Temporary Departure Time that is
before the present time of day.
To cancel the temporary override of
the Next Planned Departure Time:
. From the Temporary Override
Options screen, touch Cancel
Temporary Override Setting.
.From the main charging screen,
touch the X on the right side of
the respective override text. When
you override to an immediate
charge mode, the X will be on the
far right side of the Charge Mode
button. When you override the
departure time of either delayed
charge mode, the X will be on the
far right side of the Next Planned
Departure button.
Location Based Charging
This feature allows charging settings
to be customized when the vehicle is
at home or away from home. The
charge mode and charge level
preference will update based on
vehicle location. The charging
customization settings will be the
saved home profile settings at home
Page 164 of 445

Cadillac CT6 Owner Manual (GMNA-Localizing-U.S./Canada-11292458) -
2018 - crc - 2/14/17
INSTRUMENTS AND CONTROLS 163
DIC Information Display Options
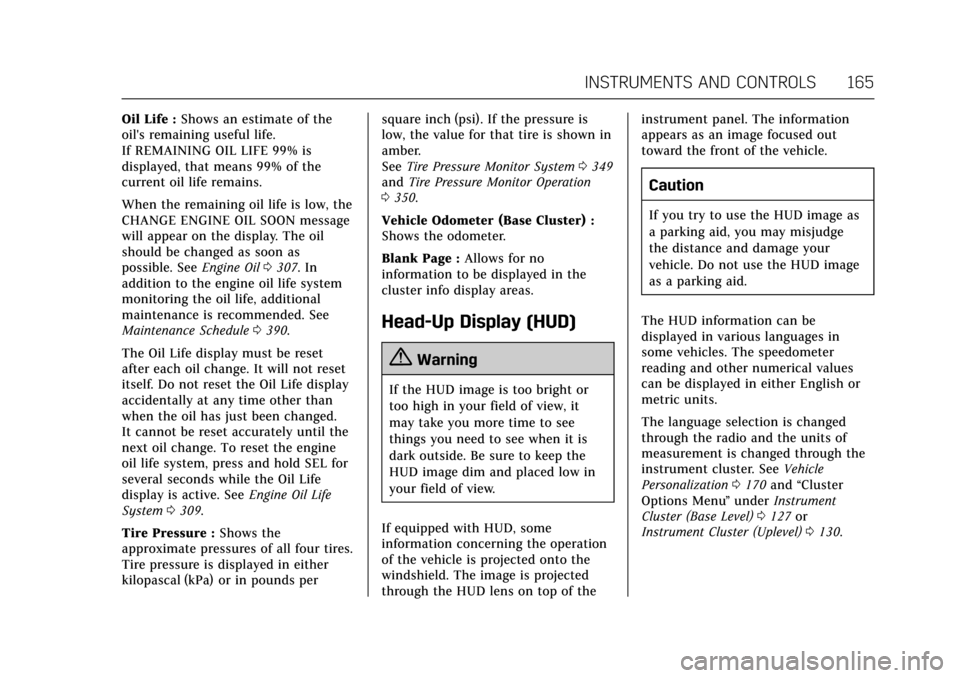
The info displays on the DIC can be
turned on or off through the
Options menu.1. Press SEL while viewing the Options page in one of the
interactive display zones on the
cluster.
2. Scroll to Info Pages and press SEL.
3. Press
yorzto move through
the list of possible info displays.
4. Press SEL while an item is highlighted to select or deselect
that item. When an item is
selected, a checkmark will appear
next to it.
DIC Information Displays
The following is the list of all possible
DIC information displays. Some of the
information displays may not be
available for your particular vehicle.
Speed (Base Cluster) : Shows the
vehicle speed in either kilometers per
hour (km/h) or miles per hour (mph). Trip A or Trip B, Average Fuel
Economy, and Average Speed (Base
Cluster) / Trip 1 or Trip 2 and
Average Fuel Economy (Uplevel
Cluster) :
The Trip display shows the
current distance traveled, in either
kilometers (km) or miles (mi), since
the trip odometer was last reset. The
trip odometer can be reset by pressing
and holding SEL while this display is
active.
The Average Fuel Economy display
shows the approximate average liters
per 100 kilometers (L/100 km) or
miles per gallon (mpg). This number
is calculated based on the number of
L/100 km (mpg) recorded since the
last time this menu item was reset.
This number reflects only the
approximate average fuel economy
that the vehicle has right now, and
will change as driving conditions
change. The Average Fuel Economy
can be reset along with the trip
odometer by pressing and holding SEL
while this display is active.
Fuel Range : Shows the approximate
distance the vehicle can be driven
without refueling. LOW will be
displayed when the vehicle is low on fuel. The fuel range estimate is based
on an average of the vehicle's fuel
economy over recent driving history
and the amount of fuel remaining in
the fuel tank.
Electric Range (PLUG-IN) :
Shows
the approximate distance the vehicle
can be driven on battery power. The
electric range estimate is based on the
average of the vehicle's electrical
energy economy over recent driving
history and the amount of charge left
in the battery.
Total Range (PLUG-IN) : Shows the
remaining distance the vehicle can be
driven combining the electric range
and fuel range.
Average Fuel Economy (Base
Cluster) : Shows the approximate
average liters per 100 kilometers
(L/100 km) or miles per gallon (mpg).
This number is calculated based on
the number of L/100 km (mpg)
recorded since the last time this menu
item was reset. This number reflects
only the approximate average fuel
economy that the vehicle has right
now, and will change as driving
conditions change. The Average Fuel
Page 165 of 445

Cadillac CT6 Owner Manual (GMNA-Localizing-U.S./Canada-11292458) -
2018 - crc - 2/14/17
164 INSTRUMENTS AND CONTROLS
Economy can be reset by pressing and
holding SEL while this display is
active.
Coolant Temperature (PLUG-IN) :
Displays the coolant temperature in
either degrees Celsius (°C) or degrees
Fahrenheit (°F).
Instantaneous Fuel Economy :Shows
the current fuel economy in either
liters per 100 kilometers (L/100 km) or
miles per gallon (mpg). This number
reflects only the approximate fuel
economy that the vehicle has right
now and changes frequently as driving
conditions change.
EV Operation Gauge (PLUG-IN) :
This display shows the driver how
close the vehicle is to exiting
electric mode.
Total Power Gauge (PLUG-IN) : This
display shows the vehicle’s power
consumption from both the battery
and the engine. When the vehicle is
consuming power from the battery
and/or engine the bars are filled
yellow. When regenerating, green
filling is displayed. For invalid data, no
filled bars are shown. Average Speed :
Shows the average
speed of the vehicle in kilometers per
hour (km/h) or miles per hour (mph).
This average is calculated based on
the various vehicle speeds recorded
since the last reset of this value. The
average speed can be reset by pressing
and holding SEL while this display is
active.
Timer : This display can be used as a
timer. To start the timer, press SEL
while this display is active. The
display will show the amount of time
that has passed since the timer was
last reset. To stop the timer, press SEL
briefly while this display is active and
the timer is running. To reset the
timer to zero, press and hold SEL
while this display is active.
Compass (Uplevel Cluster) : Shows
the direction the vehicle is driving.
Speed Limit : Shows the current
speed limit. The information for this
page comes from a roadway database.
Speed Warning : Allows the driver to
set a speed that they do not want to
exceed. To set the Speed Warning,
press SEL when Speed Warning is
displayed. Press
yorzto adjust the value. This feature can be turned off
by pressing and holding SEL while
viewing this page. If the selected
speed limit is exceeded, a pop-up
warning is displayed and a chime may
sound.
Cruise Set Speed :
Shows the speed
the cruise control or Adaptive Cruise
Control is set to.
Follow Distance : If equipped, the
current follow time to the vehicle
ahead is displayed as a time value on
this page.
Driver Assistance (Uplevel
Cluster) : May show information for
Lane Keep Assist (LKA), Lane
Departure Warning (LDW), Adaptive
Cruise Control (ACC), and Forward
Collision Alert (FCA). The display
shows if there is a vehicle detected
ahead, and the current FCA timing
setting. In addition, when ACC is not
engaged, the current follow time to
the vehicle ahead is displayed as a
time value on this page.
Battery Voltage : Shows the current
battery voltage.
Page 166 of 445

Cadillac CT6 Owner Manual (GMNA-Localizing-U.S./Canada-11292458) -
2018 - crc - 2/14/17
INSTRUMENTS AND CONTROLS 165
Oil Life :Shows an estimate of the
oil's remaining useful life.
If REMAINING OIL LIFE 99% is
displayed, that means 99% of the
current oil life remains.
When the remaining oil life is low, the
CHANGE ENGINE OIL SOON message
will appear on the display. The oil
should be changed as soon as
possible. See Engine Oil0307. In
addition to the engine oil life system
monitoring the oil life, additional
maintenance is recommended. See
Maintenance Schedule 0390.
The Oil Life display must be reset
after each oil change. It will not reset
itself. Do not reset the Oil Life display
accidentally at any time other than
when the oil has just been changed.
It cannot be reset accurately until the
next oil change. To reset the engine
oil life system, press and hold SEL for
several seconds while the Oil Life
display is active. See Engine Oil Life
System 0309.
Tire Pressure : Shows the
approximate pressures of all four tires.
Tire pressure is displayed in either
kilopascal (kPa) or in pounds per square inch (psi). If the pressure is
low, the value for that tire is shown in
amber.
See
Tire Pressure Monitor System 0349
and Tire Pressure Monitor Operation
0 350.
Vehicle Odometer (Base Cluster) :
Shows the odometer.
Blank Page : Allows for no
information to be displayed in the
cluster info display areas.
Head-Up Display (HUD)
{Warning
If the HUD image is too bright or
too high in your field of view, it
may take you more time to see
things you need to see when it is
dark outside. Be sure to keep the
HUD image dim and placed low in
your field of view.
If equipped with HUD, some
information concerning the operation
of the vehicle is projected onto the
windshield. The image is projected
through the HUD lens on top of the instrument panel. The information
appears as an image focused out
toward the front of the vehicle.
Caution
If you try to use the HUD image as
a parking aid, you may misjudge
the distance and damage your
vehicle. Do not use the HUD image
as a parking aid.
The HUD information can be
displayed in various languages in
some vehicles. The speedometer
reading and other numerical values
can be displayed in either English or
metric units.
The language selection is changed
through the radio and the units of
measurement is changed through the
instrument cluster. See Vehicle
Personalization 0170 and “Cluster
Options Menu ”under Instrument
Cluster (Base Level) 0127 or
Instrument Cluster (Uplevel) 0130.
Page 181 of 445

Cadillac CT6 Owner Manual (GMNA-Localizing-U.S./Canada-11292458) -
2018 - crc - 2/14/17
180 INSTRUMENTS AND CONTROLS
instructions refer to a garage door
opener, but can be used for other
devices.
Do not use the Universal Remote
system with any garage door opener
that does not have the stop and
reverse feature. This includes any
garage door opener model
manufactured before April 1, 1982.
Read these instructions completely
before programming the Universal
Remote system. It may help to have
another person assist with the
programming process.
Keep the original hand-held
transmitter for use in other vehicles
as well as for future programming.
Erase the programming when vehicle
ownership is terminated. See“Erasing
Universal Remote System Buttons”
later in this section.
To program a garage door opener,
park outside directly in line with and
facing the garage door opener receiver.
Clear all people and objects near the
garage door. Make sure the hand-held transmitter
has a new battery for quick and
accurate transmission of the
radio-frequency signal.
Programming the Universal
Remote System
For questions or help programming
the Universal Remote system, call
1-800-355-3515 or see
www.homelink.com.
Programming involves time-sensitive
actions, and may time out causing the
procedure to be repeated.
To program up to three devices:
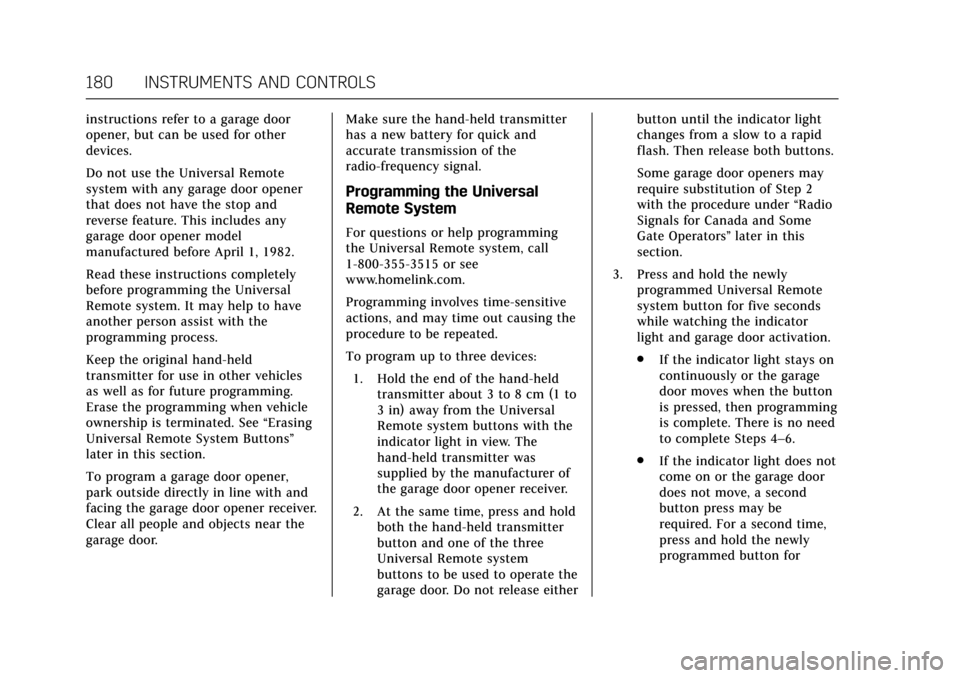
1. Hold the end of the hand-held transmitter about 3 to 8 cm (1 to
3 in) away from the Universal
Remote system buttons with the
indicator light in view. The
hand-held transmitter was
supplied by the manufacturer of
the garage door opener receiver.
2. At the same time, press and hold both the hand-held transmitter
button and one of the three
Universal Remote system
buttons to be used to operate the
garage door. Do not release either button until the indicator light
changes from a slow to a rapid
flash. Then release both buttons.
Some garage door openers may
require substitution of Step 2
with the procedure under
“Radio
Signals for Canada and Some
Gate Operators” later in this
section.
3. Press and hold the newly programmed Universal Remote
system button for five seconds
while watching the indicator
light and garage door activation.
.If the indicator light stays on
continuously or the garage
door moves when the button
is pressed, then programming
is complete. There is no need
to complete Steps 4–6.
. If the indicator light does not
come on or the garage door
does not move, a second
button press may be
required. For a second time,
press and hold the newly
programmed button for