Page 116 of 588

1163-3. Adjusting the seats
Driving position memory (driver’s seat)∗
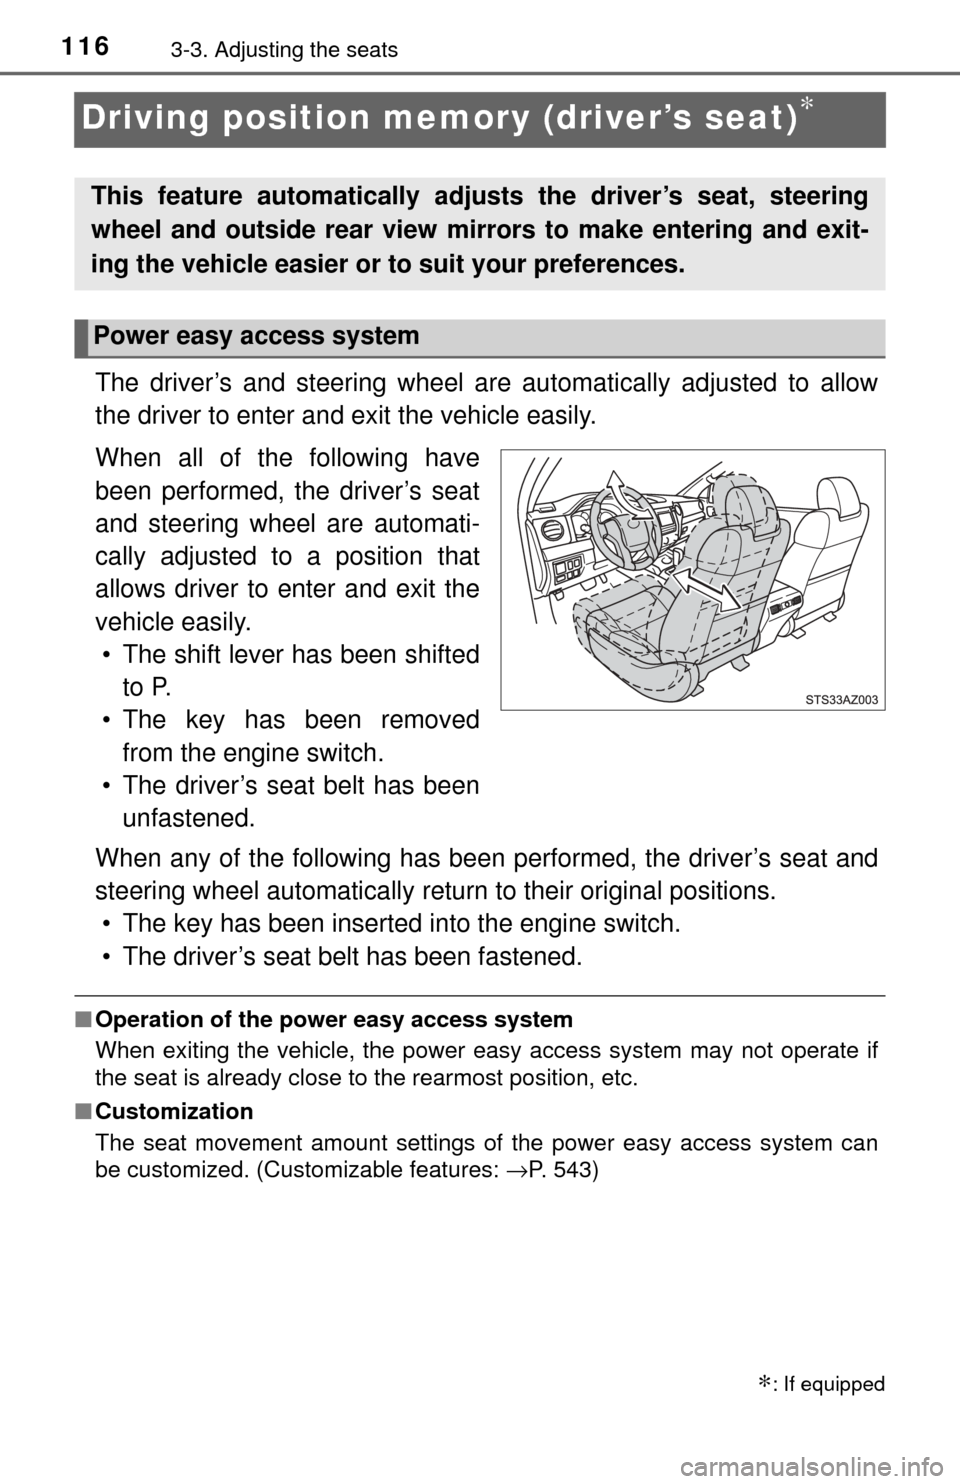
The driver’s and steering wheel are automatically adjusted to allow
the driver to enter and exit the vehicle easily.
When all of the following have
been performed, the driver’s seat
and steering wheel are automati-
cally adjusted to a position that
allows driver to enter and exit the
vehicle easily. • The shift lever has been shifted to P.
• The key has been removed from the engine switch.
• The driver’s seat belt has been unfastened.
When any of the following has been performed, the driver’s seat and
steering wheel automatically retu rn to their original positions.
• The key has been inserted into the engine switch.
• The driver’s seat belt has been fastened.
■ Operation of the power easy access system
When exiting the vehicle, the power easy access system may not operate if
the seat is already close to the rearmost position, etc.
■ Customization
The seat movement amount settings of the power easy access system can
be customized. (Customizable features: →P. 543)
∗: If equipped
This feature automatically adjusts the driver’s seat, steering
wheel and outside rear view mirrors to make entering and exit-
ing the vehicle easier or to suit your preferences.
Power easy access system
Page 117 of 588
1173-3. Adjusting the seats
3
Operation of each component
Your preferred driving position (the position of the driver’s seat, steer-
ing wheel and outside rear view mirrors) can be recorded and recalled
by pressing a button.
Two different driving positions can be recorded into memory.
■Recording procedureCheck that the shift lever is in P.
Turn the engine switch to the “ON” position.
Adjust the driver’s seat, steering wheel, and outside rear view
mirrors to the desired positions.
While pressing the “SET”
button, or within 3 seconds
after the “SET” button is
pressed, press button “1” or
“2” until the buzzer sounds.
If the selected button has
already been preset, the previ-
ously recorded position will be
overwritten.
■
Recall procedure
Check that the shift lever is in P.
Turn the engine switch to the “ON” position.
Press one of the buttons for
the driving position you want
to recall until the buzzer
sounds.
Driving position memory
1
2
3
4
1
2
3
Page 118 of 588

1183-3. Adjusting the seats
■To stop the position recall operation part-way through
Perform any of the following:
● Press the “SET” button.
● Press button “1” or “2”.
● Operate any of the seat adjustment switches (only cancels seat position
recall).
● Operate the tilt and telescopic steering control switch (only cancels steering
wheel position recall).
■ Seat positions that can be memorized ( →P. 1 1 1 )
The adjusted positions other than the position adjusted by lumbar support
switch can be recorded.
■ Operating the driving position memory after the key is removed from the
engine switch
Recorded seat positions (except the steering wheel position) can be ac\
tivated
up to 30 seconds after the driver’s door is opened, even if the key is removed
from the engine switch.
■ In order to correctly use the dr iving position memory function
If a seat position is already in the furthest possible position and the seat is
operated in the same direction, the recorded position may be slightly different
when it is recalled.
Page 119 of 588

1193-3. Adjusting the seats
3
Operation of each component
A desired driving position can be recalled linked with the unlocking of
the door.
■Registering procedure
Record your driving position to button “1” or “2” before performing
the following: Turn the engine switch off and close the driver’s door.
While pressing the button “1”
or “2”, press on the wire-
less remote control until the
signal beeps.
The driving position is recalled
when the driver’s door is
unlocked using the wireless
remote control and the driver’s
door is opened.
To prevent unintended triggering of the alarm, open and close a
door once after a driving position has been recorded. (If a door is
not opened within 60 seconds after is pressed, the doors will
be locked again and the alarm will automatically be set.)
In case that the alarm is triggered, immediately stop the alarm.
( → P. 80)
■Cancelation procedure
Turn the engine switch off and close the driver’s door.
While pressing the “SET” button, press on the wireless
remote control until you hear 2 beeps.
■If the battery is disconnected
The recorded seat positions are erased when the battery is disconnected.\
Memory recall function
1
2
CAUTION
■Seat adjustment caution
Take care during seat adjustment so that the seat does not strike the rear
passenger or squeeze your body against the steering wheel.
1
2
Page 126 of 588

1263-4. Adjusting the steering wheel and mirrors
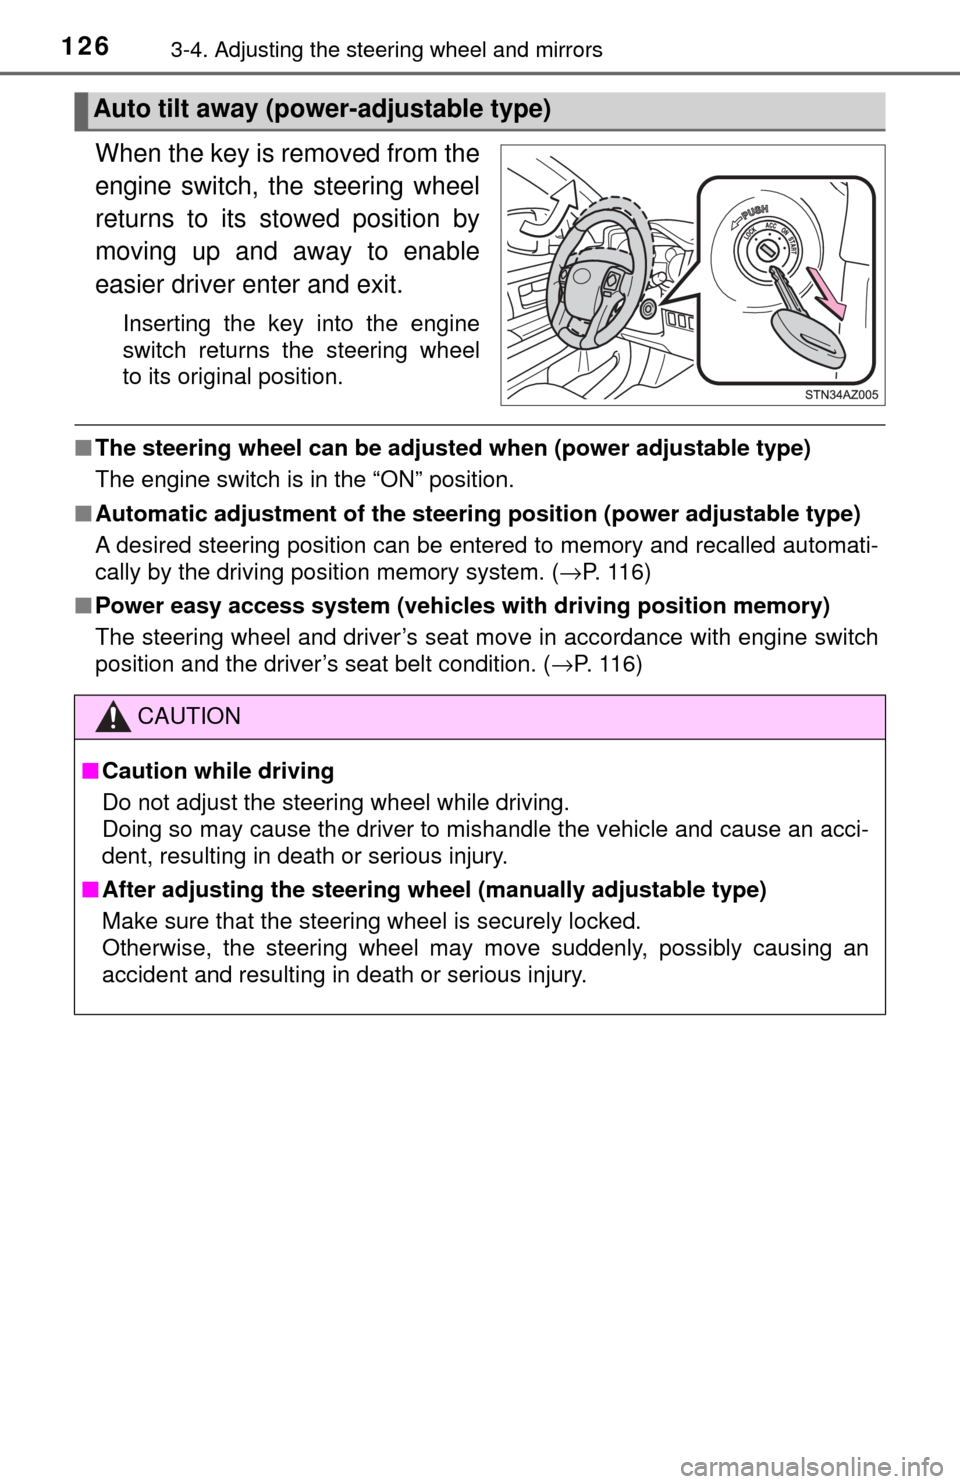
When the key is removed from the
engine switch, the steering wheel
returns to its stowed position by
moving up and away to enable
easier driver enter and exit.
Inserting the key into the engine
switch returns the steering wheel
to its original position.
■The steering wheel can be adjusted when (power adjustable type)
The engine switch is in the “ON” position.
■ Automatic adjustment of the steering position (power adjustable type)
A desired steering position can be entered to memory and recalled automati-
cally by the driving position memory system. ( →P. 116)
■ Power easy access system (vehicles with driving position memory)
The steering wheel and driver’s seat move in accordance with engine switch
position and the driver’s seat belt condition. ( →P. 116)
Auto tilt away (power-adjustable type)
CAUTION
■Caution while driving
Do not adjust the steering wheel while driving.
Doing so may cause the driver to mishandle the vehicle and cause an acci-
dent, resulting in death or serious injury.
■ After adjusting the steering wheel (manually adjustable type)
Make sure that the steering wheel is securely locked.
Otherwise, the steering wheel may move suddenly, possibly causing an
accident and resulting in death or serious injury.
Page 128 of 588
1283-4. Adjusting the steering wheel and mirrors
Manual anti-glare inside rear view mirror
Reflected light from the headlights of vehicles behind can be reduced
by operating the lever.
Normal position
Anti-glare position
Auto anti-glare inside rear view mirror
Responding to the level of brightne ss of the headlights of vehicles
behind, the reflected light is automatically reduced.
Changing automatic anti-glare
function mode
ON/OFF
When the automatic anti-glare
function is in ON mode, the indica-
tor illuminates.
The function will set to ON mode
each time the engine switch is
turned to the “ON” position.
Pressing the button turns the func-
tion to OFF mode. (The indicator
also turns off.)
Anti-glare function
1
2
Page 133 of 588

1333-4. Adjusting the steering wheel and mirrors
3
Operation of each component
■Mirror operating conditions (power-adjustable type)
The engine switch is in the “ACC” or “ON” position.
■ When the mirrors are fogg ed up (vehicles with outside rear view mirror
defoggers)
Turn on the mirror defoggers to defog the mirrors. ( →P. 348, 355)
■ Automatic adjustment of the mirror angle (vehicles with driving position
memory)
A desired mirror face angle can be entered to memory and recalled automati-
cally by the driving position memory. ( →P. 116)
■ Auto anti-glare function (if equipped)
When the anti-glare inside rear view mirr or is set to automatic mode, the out-
side rear view mirrors will activate in conjunction with the anti-glare inside
rear view mirror to reduce reflected light. ( →P. 128)
CAUTION
■Important points while driving
Observe the following precautions while driving.
Failure to do so may result in loss of control of the vehicle and cause an
accident, resulting in death or serious injury.
● Do not adjust the mirrors while driving.
● Do not drive with the mirrors folded.
● Both the driver and passenger side mirrors must be extended and properly
adjusted before driving.
■ When a mirror is moving (power-adjustable type)
To avoid personal injury and mirror malfunction, be careful not to get your
hand caught by the moving mirror.
■ When the mirror defoggers are oper ating (vehicles with outside rear
view mirror defoggers)
Do not touch the rear view mirror surfaces, as they can become very hot
and burn you.
Page 135 of 588

1353-5. Opening, closing the windows and moon roof
3
Operation of each component
■The power windows can be operated when
The engine switch is in the “ON” position.
■ Operating the power windows a fter turning the engine off
The power windows can be operated for approximately 43 seconds after the
engine switch is turned to the “ACC” or “LOCK” position. They cannot, how-
ever, be operated once either front door is opened.
■ Jam protection functi on (type B only)
If an object becomes caught between the window and the window frame, win-
dow travel is stopped and the window is opened slightly.
■ When the power window does not close normally (type B only)
If the jam protection function is operating abnormally and a window cannot be
closed, perform the following operations using the power window switch on
the relevant door.
● After stopping the vehicle, the window can be closed by holding the power
window switch in the one-touch closing position while the engine switch is
turned to the “ON” position.
● If the window still cannot be closed even by carrying out the operation as
explained above, initialize the function by performing the following proce-
dure.
Hold the power window switch in the one-touch closing position. Continue
holding the switch for a further 6 seconds after the window has closed.
Hold the power window switch in the one-touch opening position. Con-
tinue holding the switch for a further 2 seconds after the window has
opened completely.
Hold the power window switch in the one-touch closing position once
again. Continue holding the switch for a further 2 seconds after the win\
-
dow has closed.
If you release the switch while the window is moving, start again from t\
he
beginning.
If the window continues to close but then re-open slightly even after perform-
ing the above procedure correctly, have the vehicle inspected by your Toyota
dealer.
1
2
3