Page 418 of 588

4187-3. Do-it-yourself maintenance
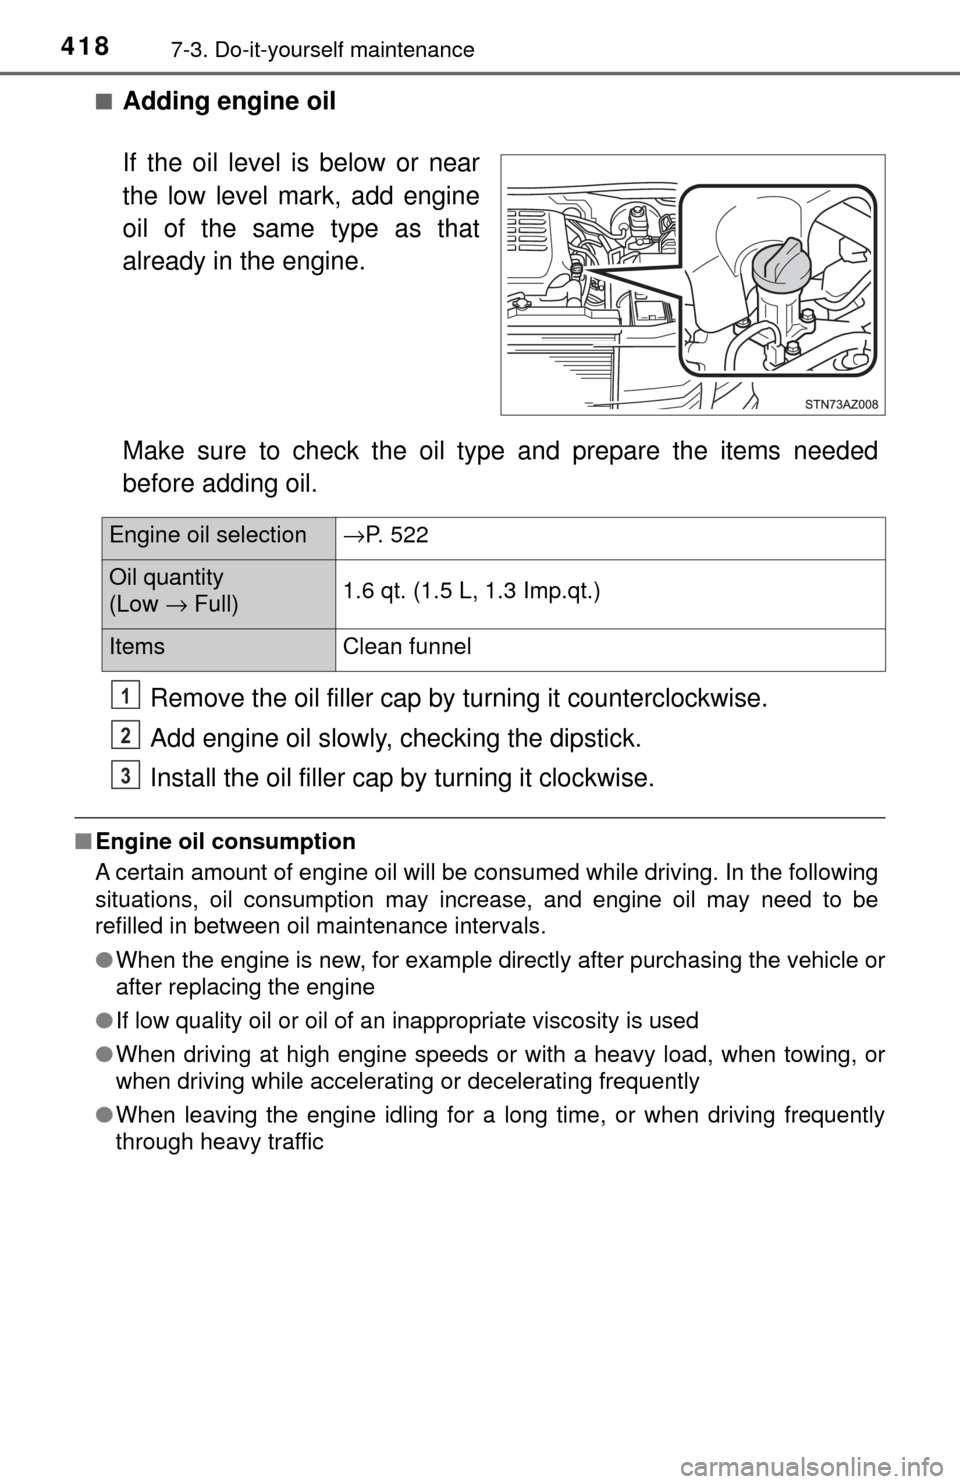
■Adding engine oil
Make sure to check the oil type and prepare the items needed
before adding oil.Remove the oil filler cap by turning it counterclockwise.
Add engine oil slowly, c hecking the dipstick.
Install the oil filler cap by turning it clockwise.
■Engine oil consumption
A certain amount of engine oil will be consumed while driving. In the following
situations, oil consumption may increase, and engine oil may need to be
refilled in between oil maintenance intervals.
●When the engine is new, for example directly after purchasing the vehicle or
after replacing the engine
● If low quality oil or oil of an inappropriate viscosity is used
● When driving at high engine speeds or with a heavy load, when towing, or
when driving while accelerating or decelerating frequently
● When leaving the engine idling for a long time, or when driving frequently
through heavy traffic
If the oil level is below or near
the low level mark, add engine
oil of the same type as that
already in the engine.
Engine oil selection →P. 522
Oil quantity
(Low → Full) 1.6 qt. (1.5 L, 1.3 Imp.qt.)
Items
Clean funnel
1
2
3
Page 423 of 588
4237-3. Do-it-yourself maintenance
7
Maintenance and care
■Checking the fluid level
Make sure to check the fluid type and prepare the necessary items.Clean all dirt off the reservoir.
Remove the cap by turn ing it counterclockwise.
Wipe the dipstick clean.
Reinstall the cap and remove it again.
Check the fluid level.
Check the battery as follows:
■Battery exterior
Make sure that the battery terminals are not corroded and that
there are no loose connections , cracks, or loose clamps.
Terminals
Hold-down clamp
Fluid type Automatic transmission fluid DEXRON® II or III
Items Rag or paper, clean funnel (only for adding fluid)
CAUTION
■Checking the fluid level
Take care, as the reservoir may be hot.
NOTICE
■When adding fluid
Avoid overfilling, or the power steering may be damaged.
■ After replacing the reservoir cap
Check the steering box case, vane pump and hose connections for leaks or
damage.
Battery
1
2
3
4
5
1
2
Page 428 of 588

4287-3. Do-it-yourself maintenance
■How to initialize the tire pressure warning systemPark the vehicle in a safe place and turn the engine switch off.
Initialization cannot be performed while the vehicle is moving.
Adjust the tire inflation pressure to the specified cold tire inflation
pressure level. ( →P. 526)
Make sure to adjust the tire pressu re to the specified cold tire infla-
tion pressure level. The tire pressure warning system will operate
based on this pressure level.
Turn the engine switch to the “ON” position.
Press and hold the tire pres-
sure warning reset switch
until the tire pressure warn-
ing light blinks slowly 3 times.
Wait for a few minutes with the eng ine switch in the “ON” position
and then turn the engine switch to the “LOCK” position.
◆Registering ID codes
The tire pressure warning valve and transmitter is equipped with a
unique ID code. When replacing a tire pressure warning valve and
transmitter, it is necessary to register the ID code. Have the ID code
registered by your Toyota dealer.
1
2
3
4
5
Page 453 of 588
4537-3. Do-it-yourself maintenance
7
Maintenance and care
Reinstall the fender liner and
install the screws and clips.
■Front turn signal/parking lights (bulb type)/daytime running
lights (bulb type)
Turn the bulb base counter-
clockwise.
Remove the light bulb.
10
1
2
Page 454 of 588
4547-3. Do-it-yourself maintenance
■Front side marker lightsTo allow enough working
space, turn the steering
wheel to the opposite side of
the bulb to be replaced.
Remove the screws and
fender liner clips.
Turn the steering wheel to the
left when replacing the right side
light bulb, and turn the steering
wheel to the right when replac-
ing the left side light bulb.
Open the fender liner and
turn the bulb base counter-
clockwise.
1
2
Page 456 of 588
4567-3. Do-it-yourself maintenance
■Front fog lights (if equipped)To allow enough working
space, turn the steering
wheel to the opposite side of
the bulb to be replaced.
Remove the fender liner
clips.
Turn the steering wheel to the
left when replacing the right side
light bulb, and turn the steering
wheel to the right when replac-
ing the left side light bulb.
Open the fender liner and
unplug the connector while
depressing the lock release.
1
2
Page 457 of 588
4577-3. Do-it-yourself maintenance
7
Maintenance and care
Turn the bulb counterclock-
wise.
Set the new light bulb.
Align the 3 tabs on the light bulb
with the mounting, and insert.
Turn it clockwise to set.
Install the connector.
Shake the bulb base gently to
check that it is not loose, turn
the fog lights, on once and visu-
ally confirm that no light is leak-
ing through the mounting.
3
4
5
Page 459 of 588
4597-3. Do-it-yourself maintenance
7
Maintenance and care
■Stop/tail and rear side marker lights, back-up lights and rear
turn signal lightsRemove the bolts and rear
combination assembly.
Turn the bulb bases counter-
clockwise.Rear turn signal light
Back-up light
Stop/tail and rear side
marker light
Remove the light bulb. Rear turn signal light
Back-up light
Stop/tail and rear side
marker light
1
2
1
2
3
3
1
2
3