Page 50 of 324
50
2. Bluetooth® SETTINGS
■AUTO CONNECTION MODE
When the engine switch is in the “ACC” or
“ON” position, the system searches for a
nearby registered device.
The system will connect with the regis-
tered device that was last connected, if it
is nearby.
■CONNECTING MANUALLY
1Follow the steps in “CONNECTING A
Bluetooth
® DEVICE” from “STEP 2”.
(→P.49)
*: Bluetooth is a regi stered trademark of
Bluetooth SIG, Inc.
■RECONNECTING THE Bluetooth®
PHONE
If the system is attempting to connect to a
Bluetooth® phone and the Bluetooth®
phone is turned off and then back on, the
system will attempt to reconnect.
INFORMATION
●It may take time if the device connection
is carried out during Bluetooth® audio
playback.
● Depending on the type of Bluetooth
®
device being connected, it may be nec-
essary to perform additional steps on
the device.
To turn auto connection mode on, set
“Bluetooth* Power” to on. (→P.52)
Leave the Bluetooth
® device in a loca-
tion where the connection can be es-
tablished.
When the auto connection has failed or
“Bluetooth* Power” is turned off, it is
necessary to connect Bluetooth
® man-
ually.
If a Bluetooth® phone is disconnected
due to poor reception from the
Bluetooth
® network when the engine
switch is in the “ACC” or “ON” position,
the system automatically reconnects
the Bluetooth
® phone.
Page 51 of 324
51
2. Bluetooth® SETTINGS
BASIC FUNCTION
2
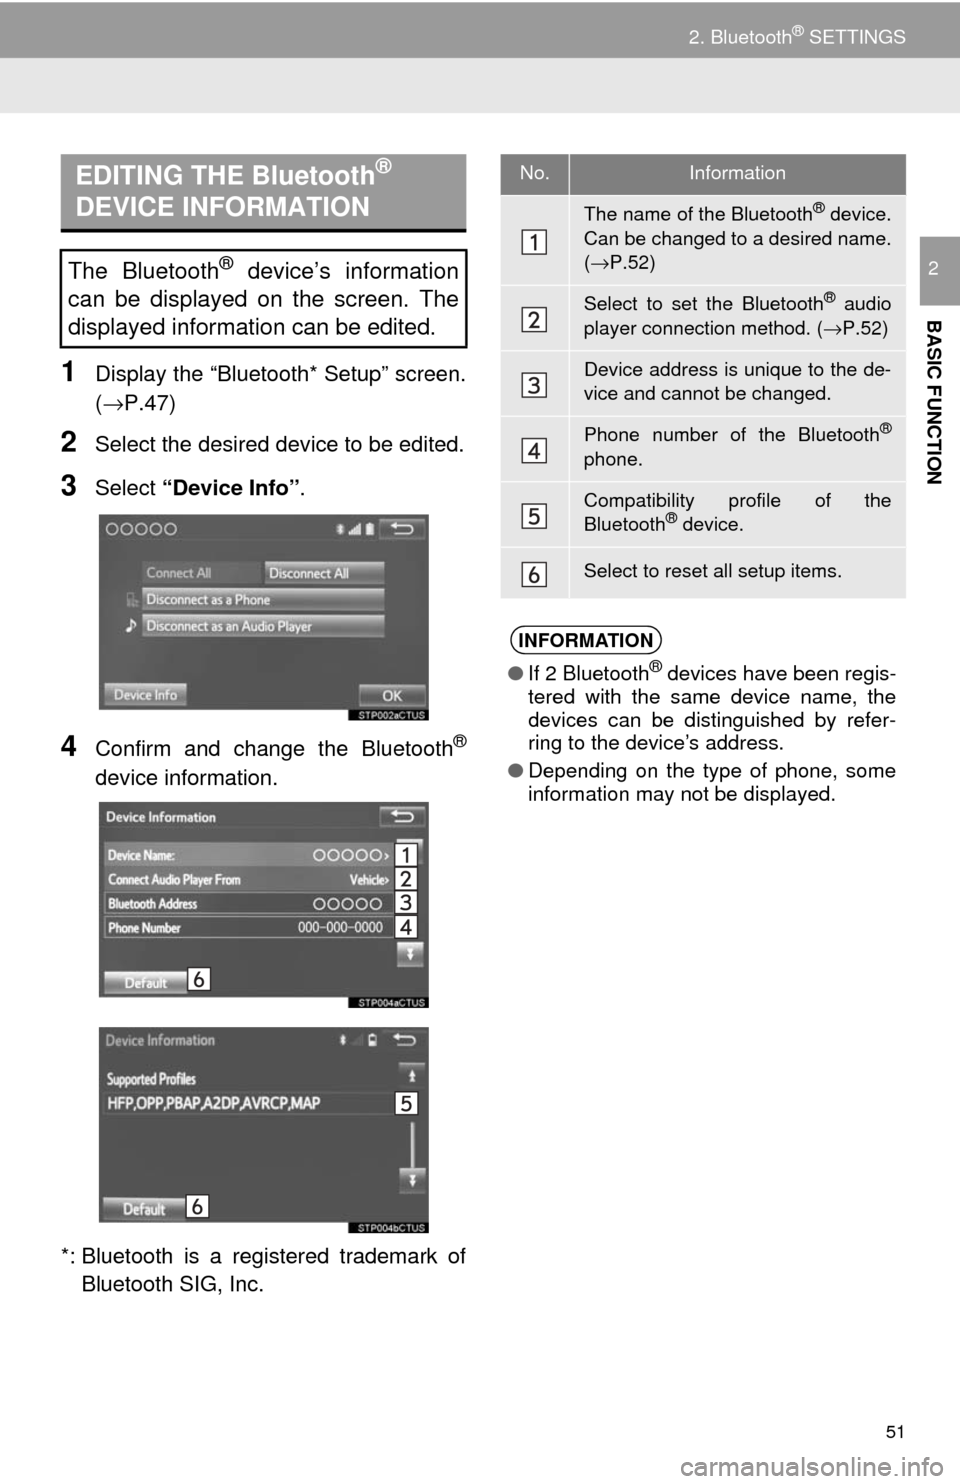
1Display the “Bluetooth* Setup” screen.
(→P.47)
2Select the desired device to be edited.
3Select “Device Info” .
4Confirm and change the Bluetooth®
device information.
*: Bluetooth is a registered trademark of Bluetooth SIG, Inc.
EDITING THE Bluetooth®
DEVICE INFORMATION
The Bluetooth® device’s information
can be displayed on the screen. The
displayed information can be edited.
No.Information
The name of the Bluetooth® device.
Can be changed to a desired name.
( → P.52)
Select to set the Bluetooth® audio
player connection method. ( →P.52)
Device address is unique to the de-
vice and cannot be changed.
Phone number of the Bluetooth®
phone.
Compatibility profile of the
Bluetooth® device.
Select to reset all setup items.
INFORMATION
● If 2 Bluetooth® devices have been regis-
tered with the same device name, the
devices can be distinguished by refer-
ring to the device’s address.
● Depending on the type of phone, some
information may not be displayed.
Page 53 of 324
53
2. Bluetooth® SETTINGS
BASIC FUNCTION
21Select “Bluetooth* Power” .
When “Bluetooth* Power” is on
The Bluetooth
® device is automatically
connected when the engine switch is in the
“ACC” or “ON” position.
When “Bluetooth* Power” is off
The Bluetooth
® device is disconnected,
and the system will not connect to it next
time.
1Select “Bluetooth* Name” .
2Enter a name and select “OK”.
1Select “Bluetooth* PIN” .
2Enter a PIN-code and select “OK”.
*: Bluetooth is a regi stered trademark of
Bluetooth SIG, Inc.
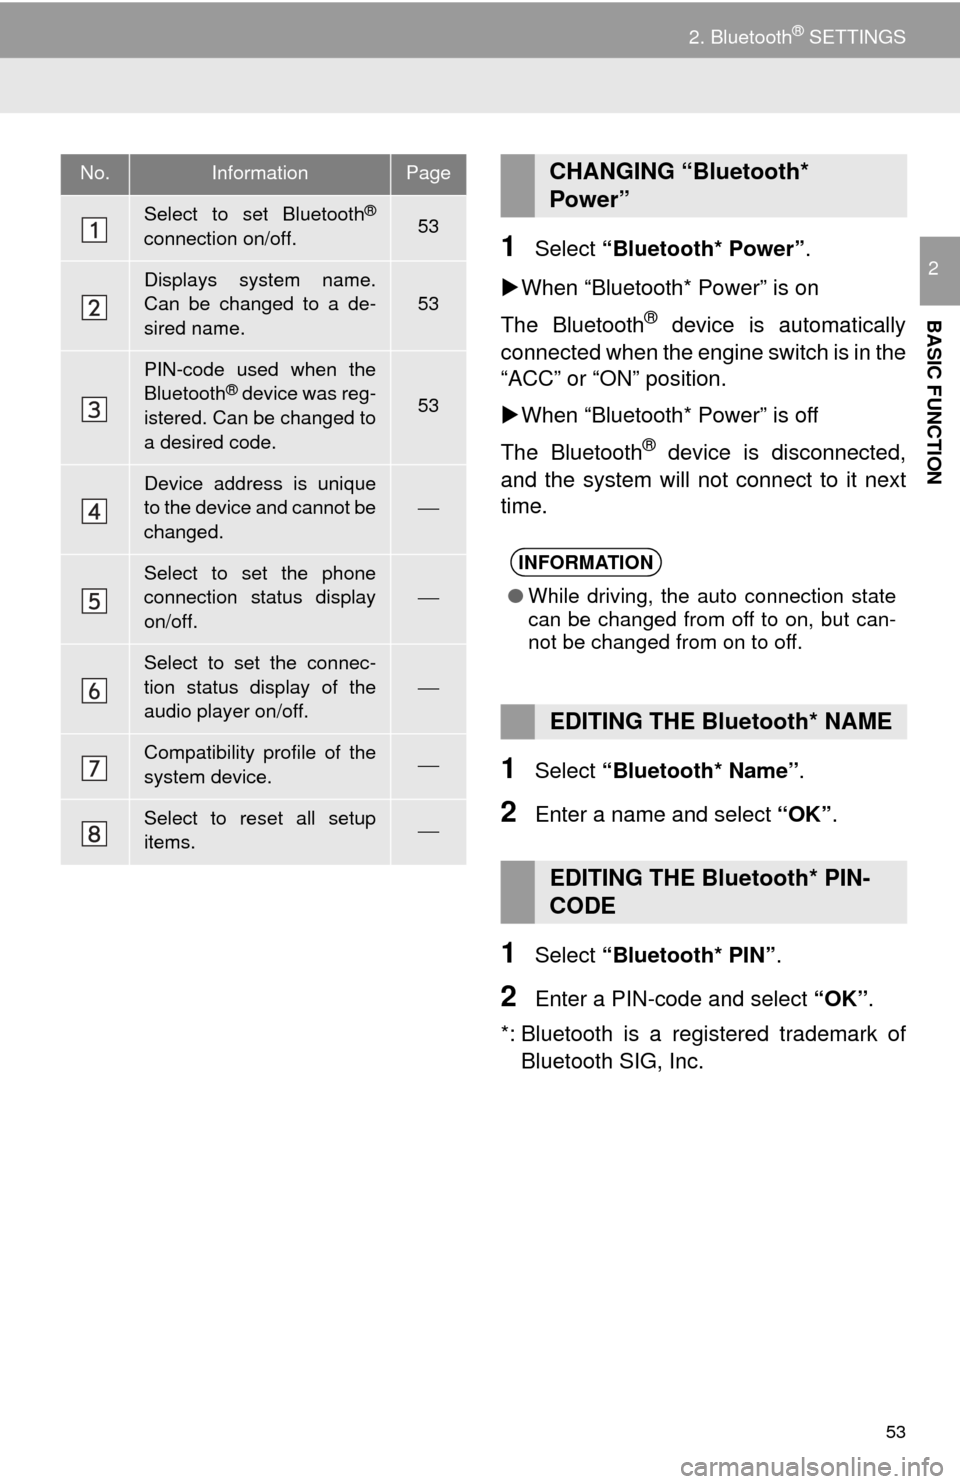
No.InformationPage
Select to set Bluetooth®
connection on/off.53
Displays system name.
Can be changed to a de-
sired name.
53
PIN-code used when the
Bluetooth® device was reg-
istered. Can be changed to
a desired code.53
Device address is unique
to the device and cannot be
changed.
⎯
Select to set the phone
connection status display
on/off.⎯
Select to set the connec-
tion status display of the
audio player on/off.
⎯
Compatibility profile of the
system device.⎯
Select to reset all setup
items.⎯
CHANGING “Bluetooth*
Power”
INFORMATION
● While driving, the auto connection state
can be changed from off to on, but can-
not be changed from on to off.
EDITING THE Bluetooth* NAME
EDITING THE Bluetooth* PIN-
CODE
Page 55 of 324
55
3. OTHER SETTINGS
BASIC FUNCTION
2
*: Entune Premium Audio only
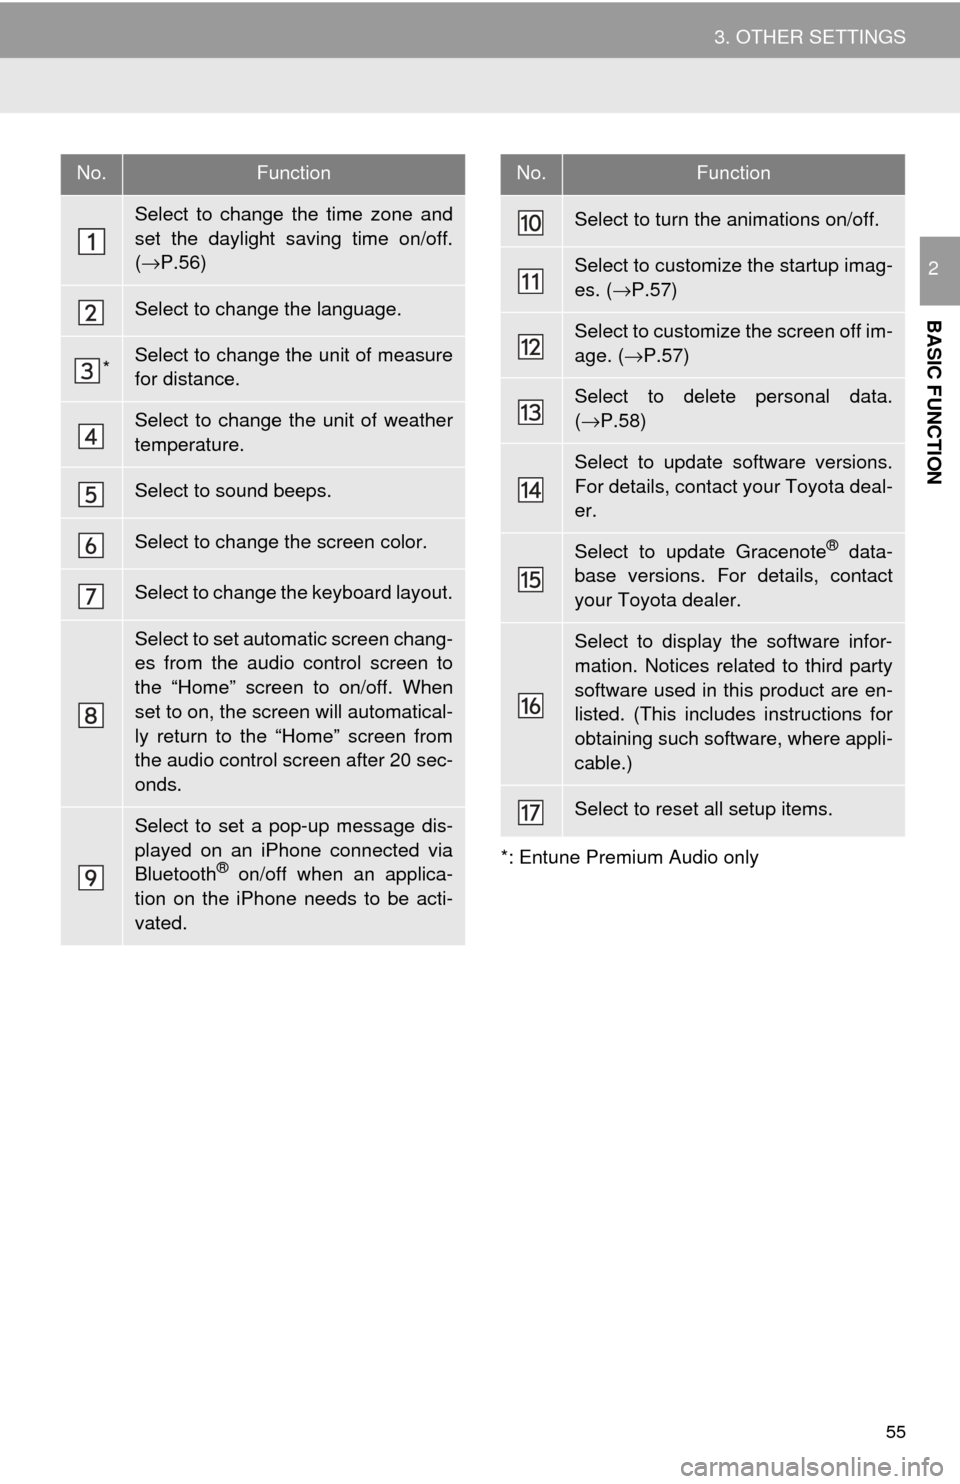
No.Function
Select to change the time zone and
set the daylight saving time on/off.
( → P.56)
Select to change the language.
*Select to change the unit of measure
for distance.
Select to change the unit of weather
temperature.
Select to sound beeps.
Select to change the screen color.
Select to change the keyboard layout.
Select to set automatic screen chang-
es from the audio control screen to
the “Home” screen to on/off. When
set to on, the screen will automatical-
ly return to the “Home” screen from
the audio control screen after 20 sec-
onds.
Select to set a pop-up message dis-
played on an iPhone connected via
Bluetooth
® on/off when an applica-
tion on the iPhone needs to be acti-
vated.
Select to turn the animations on/off.
Select to customize the startup imag-
es. ( →P.57)
Select to customize the screen off im-
age. ( →P.57)
Select to delete personal data.
(→ P.58)
Select to update software versions.
For details, contact your Toyota deal-
er.
Select to update Gracenote® data-
base versions. For details, contact
your Toyota dealer.
Select to display the software infor-
mation. Notices related to third party
software used in this product are en-
listed. (This includes instructions for
obtaining such software, where appli-
cable.)
Select to reset all setup items.
No.Function
Page 58 of 324
58
3. OTHER SETTINGS
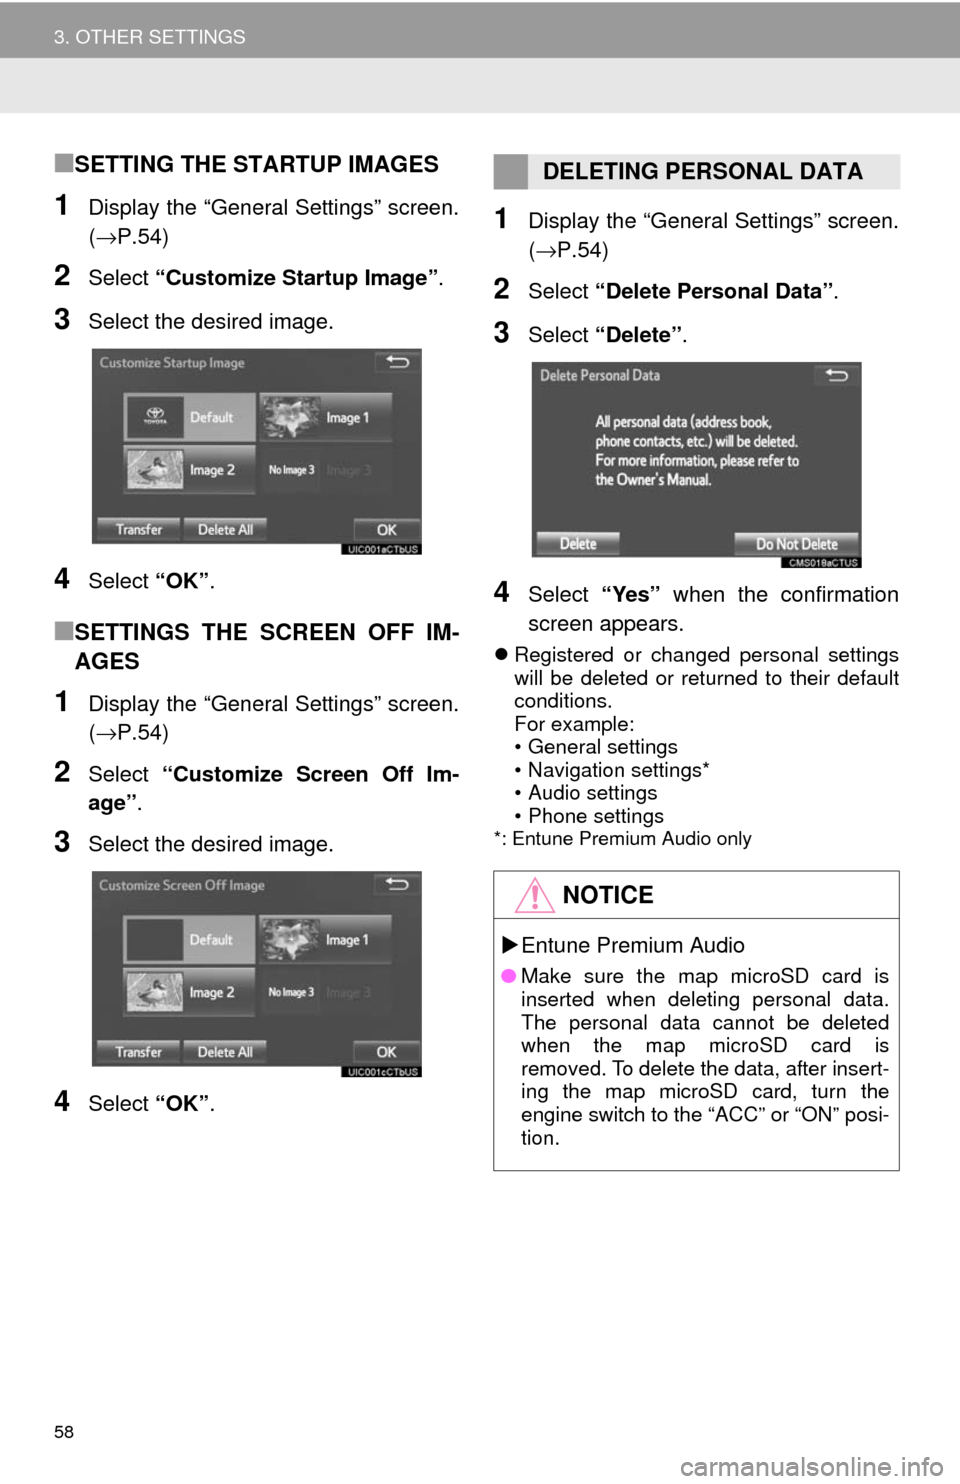
■SETTING THE STARTUP IMAGES
1Display the “General Settings” screen.
(→P.54)
2Select “Customize Startup Image” .
3Select the desired image.
4Select “OK”.
■SETTINGS THE SCREEN OFF IM-
AGES
1Display the “General Settings” screen.
(→P.54)
2Select “Customize Screen Off Im-
age” .
3Select the desired image.
4Select “OK”.
1Display the “General Settings” screen.
(→P.54)
2Select “Delete Personal Data” .
3Select “Delete” .
4Select “Yes” when the confirmation
screen appears.
Registered or changed personal settings
will be deleted or returned to their default
conditions.
For example:
• General settings
• Navigation settings*
• Audio settings
• Phone settings
*: Entune Premium Audio only
DELETING PERSONAL DATA
NOTICE
Entune Premium Audio
● Make sure the map microSD card is
inserted when deleting personal data.
The personal data cannot be deleted
when the map microSD card is
removed. To delete the data, after insert-
ing the map microSD card, turn the
engine switch to the “ACC” or “ON” posi-
tion.
Page 61 of 324
61
3. OTHER SETTINGS
BASIC FUNCTION
2
3. DRIVER SETTINGS
1Press the “APPS” button.
2Select “Setup” .
3Select “Driver” .
4Select “Enable this Feature” .
1Display the driver settings screen.
(→P.61)
2Select “Manually Select Linked Set-
tings” .
3Select the desired phone.
The driver settings feature will allow
the system to link some preferences
(such as audio presets, button colors,
language, etc.) to a paired Bluetooth
®
phone.
MANUALLY SELECT LINKED
SETTINGS
Page 64 of 324
64
3. OTHER SETTINGS
3Select the items to be edited.■EDITING DEALER OR CONTACT
NAME
1Select “Edit” next to “Dealer” or “Con-
tact”.
2Enter the name and select “OK”.
■EDITING THE LOCATION
1Select “Edit” next to “Location”.
2Scroll the map to the desired point
(→P.234) and select “OK”.
■EDITING PHONE NUMBER
1Select “Edit” next to “Phone #”.
2 Enter the phone number and select
“OK”.
No.FunctionPage
Select to enter the name of
a dealer.64
Select to enter the name of
a dealer member.64
Select to set the location.64
Select to enter the phone
number.64
Select to delete the dealer
information displayed on
the screen.
⎯
Select to set the displayed
dealer as a destination.255
Page 67 of 324
3
67
1
2
3
4
5
6
7
8
9
1. REAR SEAT ENTERTAINMENT SYSTEM FEATURES ................ 121
DISPLAY ............................................. 122
DISC SLOT .......................................... 123
SD CARD SLOT .................................. 124
REMOTE CONTROLLER .................... 124
HEADPHONE JACKS ......................... 128
OPERATING FROM
THE FRONT SEATS ......................... 128
DISCS THAT CAN BE USED .............. 129
SD CARD THAT CAN BE USED ......... 131
COPYRIGHTS AND TRADEMARKS ................................. 131
2. PLAYING A Blu-ray Disc™ (BD) AND DVD DISCS ..... ...................134
REMOTE CONTROLLER .................... 134
TURNING ON THE BD/DVD MODE ... 135
PLAYING/PAUSING A DISC ............... 135
OPERATING THE DISC MENU .......... 135
OPTION SCREEN ............................... 135
BD/DVD VIDEO DISCS ....................... 144
3. PLAYING AN AUDIO CD AND
MP3/WMA DISCS ..................... 147
REMOTE CONTROLLER .................... 147
CONTROL SCREEN ........................... 147
TURNING ON THE AUDIO CD
AND MP3/WMA MODE ..................... 147
SELECTING A TRACK/FILE ............... 147
FAST FORWARDING OR REWINDING A TRACK/FILE ............ 147
SELECTING A FOLDER...................... 148
REPEAT PLAY .................................... 148
RANDOM PLAYBACK ......................... 148
MP3 AND WMA FILES ........................ 148
4. PLAYING AN SD CARD ............. 150
REMOTE CONTROLLER .................... 150
MAIN MENU ........................................ 150
PLAYING STILL PICTURES................ 151
PLAYING AVCHD VIDEO.................... 152
FORMATTING THE SD CARD ............ 153
DELETING THE BD HISTORY DATA ................................ 153
SD CARD INFORMATION ................... 153
5. USING THE VIDEO MODE ......... 155
REMOTE CONTROLLER .................... 155
USING THE A/V INPUT PORT ............ 155
7REAR SEAT ENTERTAINMENT
SYSTEM OPERATION
AUDIO SYSTEM