2017 TOYOTA PRIUS PRIME ECU
[x] Cancel search: ECUPage 143 of 784

PRIUS PRIME_OM_OM47A88U_(U)
1432-2. Charging
2
Plug-in hybrid system
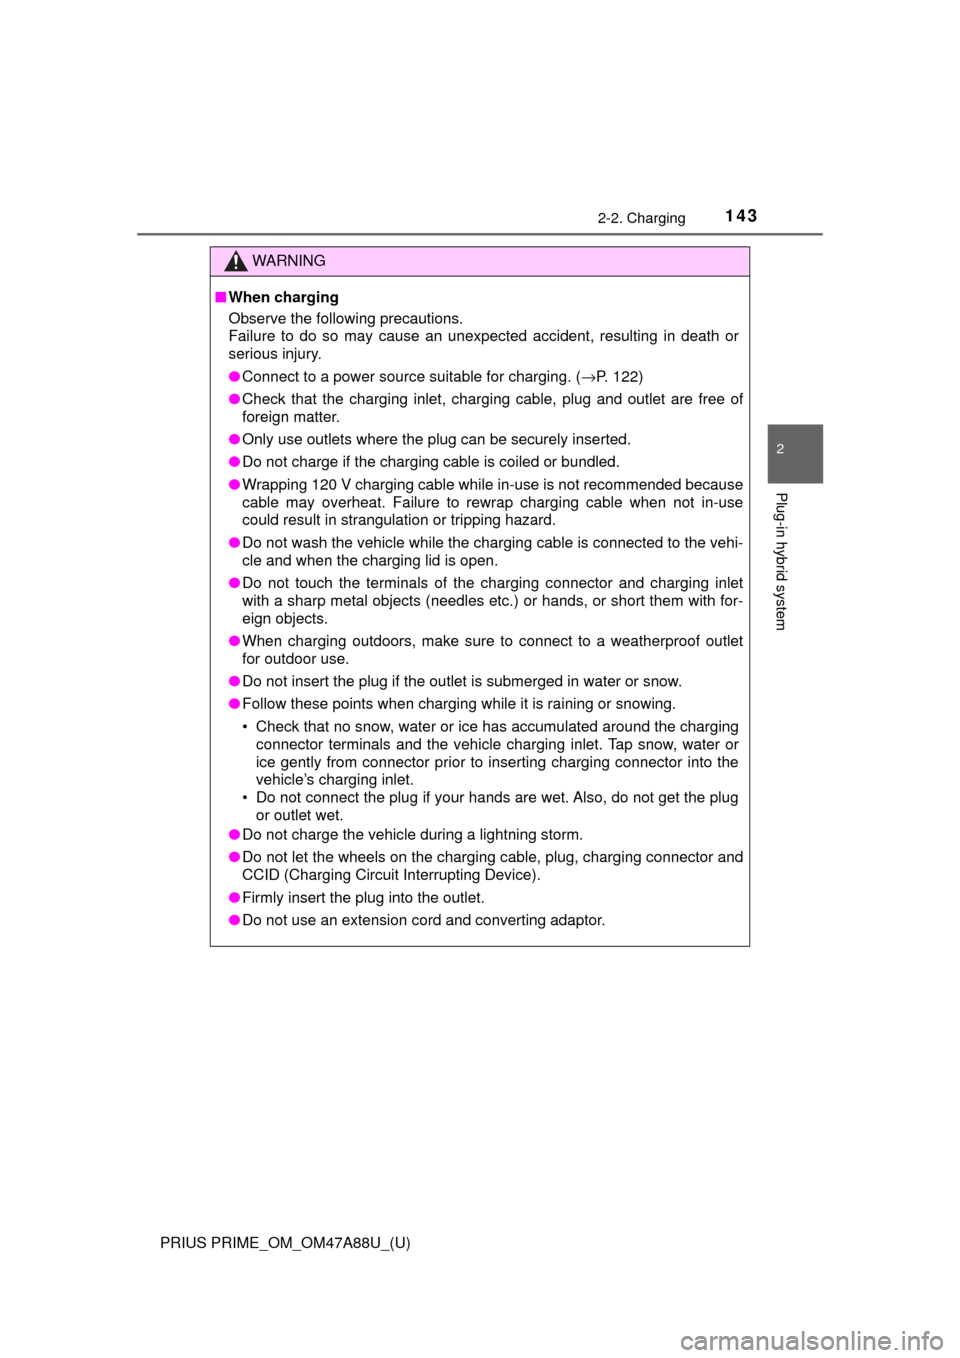
WARNING
■When charging
Observe the following precautions.
Failure to do so may cause an unexpected accident, resulting in death or\
serious injury.
● Connect to a power source suitable for charging. ( →P. 122)
● Check that the charging inlet, charging cable, plug and outlet are free of
foreign matter.
● Only use outlets where the plug can be securely inserted.
● Do not charge if the charging cable is coiled or bundled.
● Wrapping 120 V charging cable while in-use is not recommended because
cable may overheat. Failure to rewrap charging cable when not in-use
could result in strangulation or tripping hazard.
● Do not wash the vehicle while the charging cable is connected to the vehi-
cle and when the charging lid is open.
● Do not touch the terminals of the charging connector and charging inlet
with a sharp metal objects (needles etc.) or hands, or short them with for-
eign objects.
● When charging outdoors, make sure to connect to a weatherproof outlet
for outdoor use.
● Do not insert the plug if the outlet is submerged in water or snow.
● Follow these points when charging while it is raining or snowing.
• Check that no snow, water or ice has accumulated around the charging
connector terminals and the vehicle charging inlet. Tap snow, water or
ice gently from connector prior to inserting charging connector into the
vehicle’s charging inlet.
• Do not connect the plug if your hands are wet. Also, do not get the plug or outlet wet.
● Do not charge the vehicle during a lightning storm.
● Do not let the wheels on the charging cable, plug, charging connector and
CCID (Charging Circuit Interrupting Device).
● Firmly insert the plug into the outlet.
● Do not use an extension cord and converting adaptor.
Page 149 of 784

PRIUS PRIME_OM_OM47A88U_(U)
1492-2. Charging
2
Plug-in hybrid system
■Timer settings
A maximum of 15 charge schedules can be registered.
■ To make sure that the charging timer function operates correctly
Check the following items.
●Adjust the clock to the correct time ( →P. 185)
● Check that the power switch is turned off
● After registering the charge schedule, connect the charging cable
The charging start time is determined based on the charge schedule at the
time that the charging cable was connected.
● After connecting the charging cable, check that the charging indicator
flashes ( →P. 106)
● Do not use an outlet that has a power cut off function (including a timer func-
tion)
Use an outlet that constantly supplies electricity. For outlets where the
power is cut off due to a timer function, etc., charging may not be carried
out according to plan if the power is cut off during the set time.
■ When the charging cable rema ins connected to the vehicle
Even if multiple consecutive charge schedules are registered, the next
charge will not be carried out according to the timer until the charging cable is
removed and reconnected after charging completes. Also, when the hybrid
battery (traction battery) is fully charged, charging according to the timer will
not be carried out.
■ “Climate Prep”
●When the air conditioning-linked setting is turned on, the air conditioning
operates until the set departure time. T herefore, the air conditioning will con-
sume electricity and charging may not complete by the set departure time.
● If the hybrid battery (traction battery) is fully charged, charging will not be
carried out, even if the charge schedule is set. However, if “Climate Prep” is
turned on, the air conditioning will operate only once when it nears the time
set in “Departure”. If this occurs, the air conditioning will consume electricity
and the remaining charge of the hybrid battery (traction battery) when
departing may be decreased.
■ Smartphone-linked op eration (vehicles with 11.6-inch display)
After applying to Entune, it is possible to use the smartphone application to
change charging timer settings.
For details about Entune, refer to http://www.toyota.com/entune/.
Page 171 of 784

PRIUS PRIME_OM_OM47A88U_(U)
1712-2. Charging
2
Plug-in hybrid system
*: Refer to P. 106 for details regarding charging indicator illumination andflashing.
The error warning indicator on the CCID (Charging Circuit Interrupting
Device) flashes.
Electrical leakage detection function
or self- diagnostic function operates
and power is cut off
When the voltage is insufficient, the
error warning indicator may flash
when there is noise interference.
Perform a reset and connect to a
proper power source. ( →P. 110)
If charging does not start, immedi-
ately stop charging and contact your
Toyota dealer.
Charging indicator does not illuminate, even though charging connector
is connected.
The plug is not properly connected
to the outletCheck whether the plug is properly
connected to the outlet.
Charging connector is not securely
connected to charging inlet
Check the connection status of the
charging connector.
If the charging indicator does not
illuminate, even though the charging
connector is securely connected,
there may be a malfunction in the
system. Immediately stop charging
and contact your Toyota dealer.
Hybrid battery (traction battery) is
already fully chargedWhen the hybrid battery (traction
battery) is fully charged, charging is
not performed.
The charging equipment does not
operatePlease contact the facility manager
when there is a problem with
charging equipment.
Charging indicator flashes and charging cannot be carried out.
When charging indicator slowly
flashes
*:
Charge schedule is registered
When you wish to charge according
to the timer, wait until the set time.
To immediately start charging, set
“Charge Now” to “On”.
( → P. 156, 165)
When charging indicator rapidly
flashes
*:
Malfunction occurred in an external
power source or the vehicle
Start the hybrid system and follow
the instructions displayed by the
message on the multi-information
display. ( →P. 175)
Likely causeCorrection procedure
Page 175 of 784

PRIUS PRIME_OM_OM47A88U_(U)
1752-2. Charging
2
Plug-in hybrid system
When the hybrid system is started
after charging, a message is dis-
played in the multi-information dis-
play.
When this occurs, follow the
instructions displayed on the
screen.
When charging-related message is displayed
Likely causeCorrection procedure
If “Charging Stopped Connect Plug to Charge” is shown
Charging connector is not securely
connected
Check the connection status of the
charging connector.
If charging cannot be carried out,
even though the proper procedures
were followed, have the vehicle
inspected by your Toyota dealer.
Latch release button of charging
connector was pressed while
chargingWhen the latch release button is
pressed while charging, charging
stops. To continue charging, recon-
nect the charging connector.
If “Charging Complete Limited Due to Battery Temp” is shown
Charging was stopped to protect the
hybrid battery (traction battery) as it
continued to remain hot for a certain
period of time.Allow the hybrid battery (traction
battery) to cool down and perform
charging again if the charging
amount has not reached the desired
amount.
Page 177 of 784

PRIUS PRIME_OM_OM47A88U_(U)
1772-2. Charging
2
Plug-in hybrid system
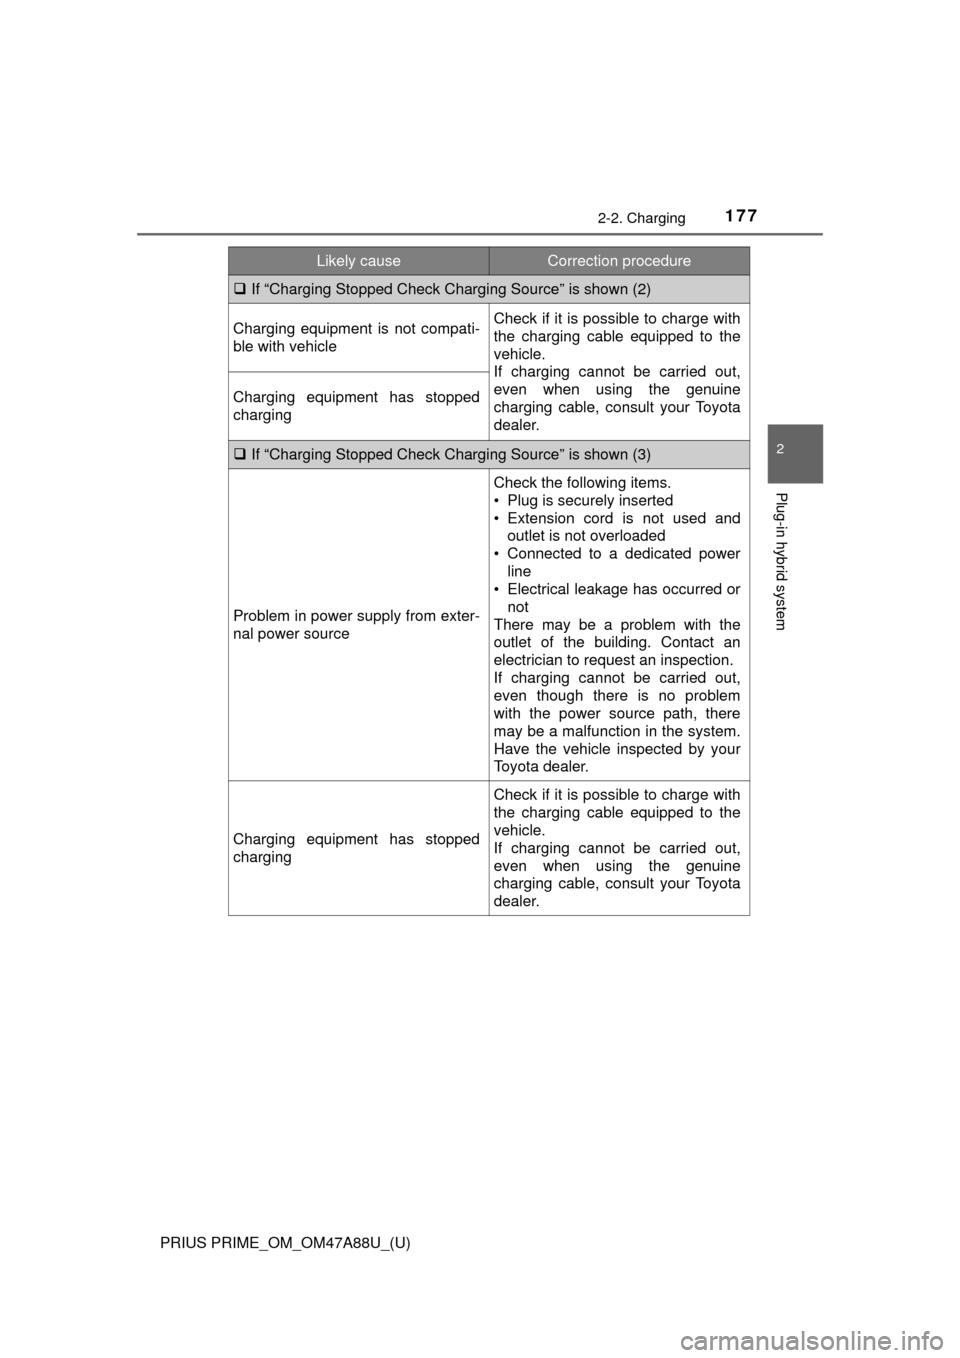
If “Charging Stopped Check Charging Source” is shown (2)
Charging equipment is not compati-
ble with vehicleCheck if it is possible to charge with
the charging cable equipped to the
vehicle.
If charging cannot be carried out,
even when using the genuine
charging cable, consult your Toyota
dealer.
Charging equipment has stopped
charging
If “Charging Stopped Check Charging Source” is shown (3)
Problem in power supply from exter-
nal power source
Check the following items.
• Plug is securely inserted
• Extension cord is not used and
outlet is not overloaded
• Connected to a dedicated power line
• Electrical leakage has occurred or
not
There may be a problem with the
outlet of the building. Contact an
electrician to request an inspection.
If charging cannot be carried out,
even though there is no problem
with the power source path, there
may be a malfunction in the system.
Have the vehicle inspected by your
Toyota dealer.
Charging equipment has stopped
charging
Check if it is possible to charge with
the charging cable equipped to the
vehicle.
If charging cannot be carried out,
even when using the genuine
charging cable, consult your Toyota
dealer.
Likely causeCorrection procedure
Page 191 of 784

PRIUS PRIME_OM_OM47A88U_(U)
1913. Instrument cluster
3
Instrument cluster
The indicators inform the driver of the operating state of the vehicle’s
various systems.
Indicators
IndicatorsPages
Turn signal indicator P. 336
Headlight indicator (U.S.A.) P. 338
Tail light indicator (Canada) P. 340
Parking brake indicator (U.S.A.) P. 337
Parking brake indicator (Canada)P. 337
Headlight high beam indicatorP. 340
Fog light indicator (if equipped) P. 348
Security indicator P. 75
“READY” indicatorP. 324
Shift position indicators P. 330
*1, 2Slip indicator light P. 477
*1, 3VSC OFF indicatorP. 478
Cruise control indicatorP. 401
Radar cruise control indicatorP. 391
Page 267 of 784

267
PRIUS PRIME_OM_OM47A88U_(U)
4-2. Opening, closing and locking the doors
4
Operation of each component
Side doors
◆Smart key system
Carry the electronic key to enable this function.Grip the driver’s door handle
to unlock the door. Holding
the driver’s door handle for
approximately 2 seconds
unlocks all the doors.
Some models, grip the front
passenger’s door handle to
unlock all the doors
*.
Make sure to touch the sensor on the back of the handle.
The doors cannot be unlocked for 3 seconds after the doors are locked.
*: The door unlock settings can be changed. ( →P. 271)
Touch the lock sensor (the indentation on the surface of the front
door handle) to lock the doors.
Check that the door is securely locked.
The vehicle can be locked and unlocked using the entry func-
tion, wireless remote cont rol or door lock switches.
Unlocking and locking the doors from the outside
1
2
Page 268 of 784

268
PRIUS PRIME_OM_OM47A88U_(U)
4-2. Opening, closing and locking the doors
◆Wireless remote controlLocks all the doors
Check that the door is securely
locked.
Unlocks all the doors
Pressing the button unlocks the
driver’s door. Pressing the but-
ton again within 3 seconds
unlocks the other doors.
Press and hold to open the side
windows.
*
*
: This setting must be customized at your Toyota dealer.
■ Operation signals
Doors:
A buzzer sounds and the emergency flashers flash to indicate that the doors
have been locked/unlocked. (Locked: Once; Unlocked: Twice)
Side windows:
A buzzer sounds to indicate that the side windows are operating.
■ Security feature
If a door is not opened within approximately 60 seconds after the vehicle is
unlocked, the security feature automatically locks the vehicle again.
■ When the door cannot be locked by th e lock sensor on the surface of the
door handle
■ Door lock buzzer
If an attempt to lock the doors is made when a door is not fully closed, a
buzzer sounds continuously for 5 seconds. Fully close the door to stop the
buzzer, and lock the vehicle once more.
■ If the smart key system or the wireless remote control does not operate
properly
●Use the mechanical key to lock and unlock the doors. ( →P. 690)
● Replace the key battery with a new one if it is depleted. ( →P. 627)
1
2
When the door cannot be locked even if
the lock sensor on the surface of the door
handle is touched by a finger, touch the
lock sensor with the palm.
When gloves are being worn, remove the
gloves.