Page 303 of 509
3035-4. Using the other interior features
PRIUS +_OM_OM47B24E_(EE)
5
Interior features
The clock can be adjusted by pressing the buttons.Adjusts the hours
Adjusts the minutes
Rounds to the nearest hour
*
*
: e.g. 1:00 to 1:29 →1:00
1:30 to 1:59 →2:00
●The clock is displayed when the power switch is in ACCESSORY or ON
mode.
● Even after the power switch has been turned off, the time will continue to be
displayed for approximately 30 seconds or until a door is locked.
Clock
1
2
3
Page 331 of 509

3316-3. Do-it-yourself maintenance
PRIUS +_OM_OM47B24E_(EE)
6
Maintenance and care
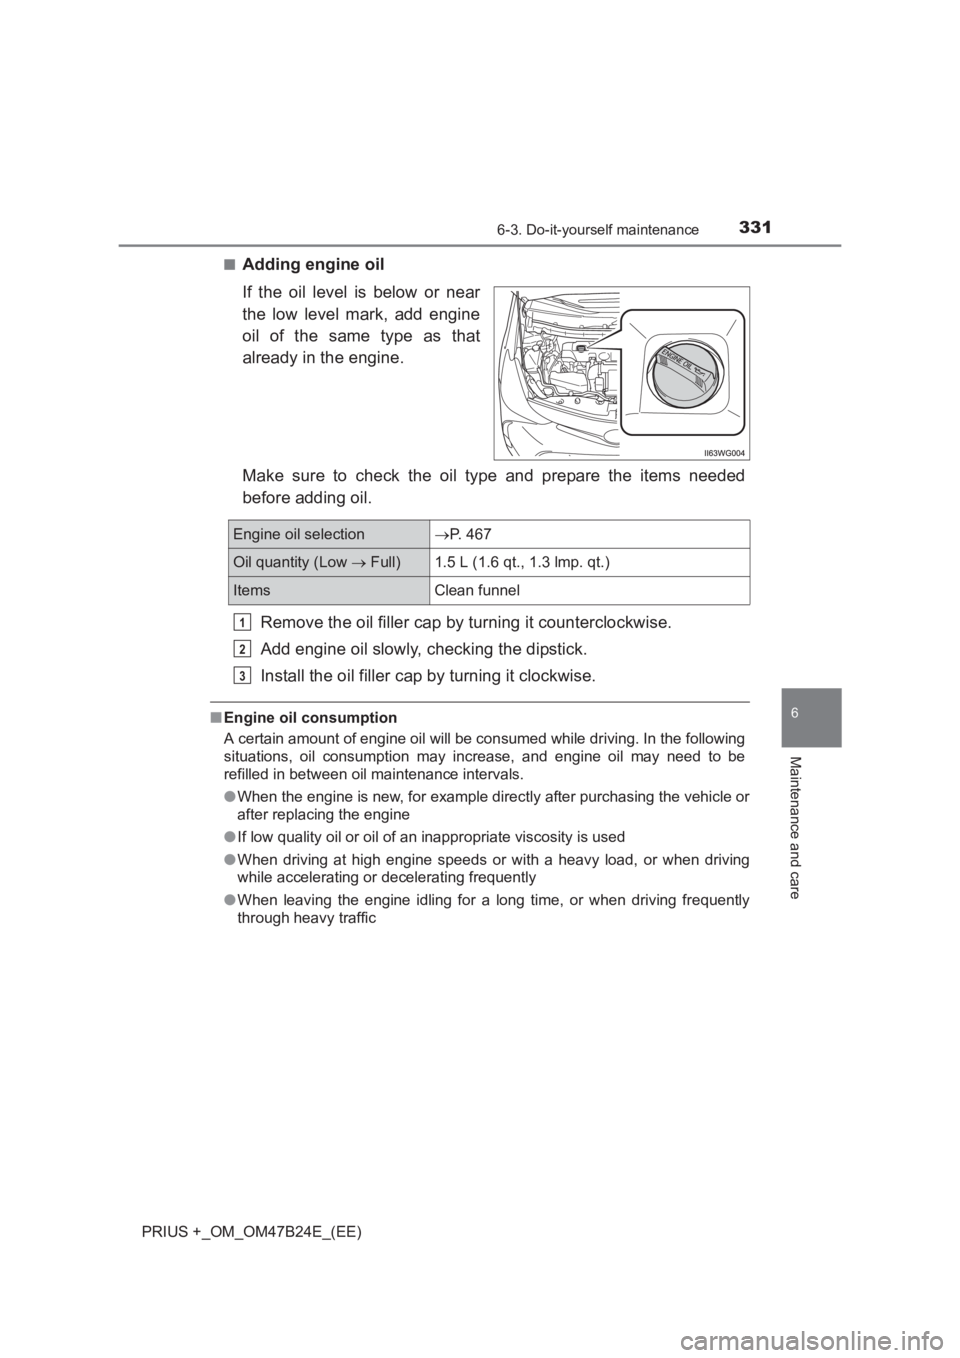
■Adding engine oil
If the oil level is below or near
the low level mark, add engine
oil of the same type as that
already in the engine.
Make sure to check the oil type and prepare the items needed
before adding oil.Remove the oil filler cap by turning it counterclockwise.
Add engine oil slowly, checking the dipstick.
Install the oil filler cap by turning it clockwise.
■Engine oil consumption
A certain amount of engine oil will be consumed while driving. In the following
situations, oil consumption may increase, and engine oil may need to be
refilled in between oil maintenance intervals.
●When the engine is new, for example directly after purchasing the vehicle or
after replacing the engine
● If low quality oil or oil of an inappropriate viscosity is used
● When driving at high engine speeds or with a heavy load, or when driving
while accelerating or decelerating frequently
● When leaving the engine idling for a long time, or when driving frequently
through heavy traffic
Engine oil selection→ P. 467
Oil quantity (Low → Full)1.5 L (1.6 qt., 1.3 lmp. qt.)
ItemsClean funnel
1
2
3
Page 369 of 509
3696-3. Do-it-yourself maintenance
PRIUS +_OM_OM47B24E_(EE)
6
Maintenance and care
■Front fog lightsRemove the fender liner bolts
and pull down the fender
liner.
Unplug the connector while
pressing the lock release.
Turn the bulb base counter-
clockwise.
Replacing light bulbs
1
2
3
Page 370 of 509
3706-3. Do-it-yourself maintenance
PRIUS +_OM_OM47B24E_(EE)
Set the new light bulb.
Align the 3 tabs on the light bulb
with the mounting, and insert.
Turn it clockwise to set.
Set the connector.
After installing the connector,
shake the bulb base gently to
check that it is not loose, turn
the fog lights on once and visu-
ally confirm that no light is leak-
ing through the mounting.
Reinstall the fender liner
bolts.
4
5
6
Page 371 of 509
3716-3. Do-it-yourself maintenance
PRIUS +_OM_OM47B24E_(EE)
6
Maintenance and care
■Front turn signal lightsTurn the bulb base counter-
clockwise.
Remove the light bulb.
When installing, reverse the steps listed.
1
2
3
Page 372 of 509
3726-3. Do-it-yourself maintenance
PRIUS +_OM_OM47B24E_(EE)■
Rear turn signal lights and back-up/rear fog light
Open the back door and
remove the cover.
To prevent damage, cover the
tip of the screwdriver with a rag.
Turn the bulb base counter-
clockwise. Rear turn signal light
Back-up/rear fog light
Remove the light bulb. Rear turn signal light
Back-up/rear fog light
When installing, reverse the steps listed.
1
2
1
2
3
1
2
4
Page 373 of 509
3736-3. Do-it-yourself maintenance
PRIUS +_OM_OM47B24E_(EE)
6
Maintenance and care
■License plate lightsOpen the back door and
remove the cover.
To prevent damage, cover the
tip of the screwdriver with a rag.
Turn the bulb base counter-
clockwise.
Remove the light bulb.
When installing, reverse the steps listed.
1
2
ITO43P150
3
4
Page 436 of 509
4367-2. Steps to take in an emergency
PRIUS +_OM_OM47B24E_(EE)
Remove the protective film from
the bottle and extend the hose.
Remove the air release cap
from the hose.
Attach the sticker enclosed with the
bottle on the specified locations.
(See step .)
You will use the air release cap
again. Therefore keep it in a safe
place.
Connect the hose to the valve.
Screw the end of the hose clock-
wise as far as possible.
Make sure that the compressor
switch is off.
Open the cover and remove the
power plug from the compres-
sor.
3
9
4
5
6