Page 246 of 464
![TOYOTA MIRAI 2017 1.G Owners Manual 2465-5. Using the driving support systems
MIRAI_OM_USA_OM62023U
ON (activate)/OFF (deactivate) can be changed by the [set-
tings display] for the Mu lti-information Display (→P. 107)
Press either TOYOTA MIRAI 2017 1.G Owners Manual 2465-5. Using the driving support systems
MIRAI_OM_USA_OM62023U
ON (activate)/OFF (deactivate) can be changed by the [set-
tings display] for the Mu lti-information Display (→P. 107)
Press either](/manual-img/14/6553/w960_6553-245.png)
2465-5. Using the driving support systems
MIRAI_OM_USA_OM62023U
ON (activate)/OFF (deactivate) can be changed by the [set-
tings display] for the Mu lti-information Display (→P. 107)
Press either or on the
meter control switches ( →P. 108)
and select
Each press of of the meter control switches, changes ON and
OFF. When ON is selected, the BSM indicator turns on.
■ The BSM outside rear view mirror indicators visibility
When under strong sunlight, the BSM outsi de rear view mirror indicator may
be difficult to see.
■ Rear Cross Traffic Alert buzzer hearing
Rear Cross Traffic Alert function may be difficult to hear over loud noises
such as high audio volume.
■ When “Blind Spot Monitor Unavailabl e” is displayed on the multi-infor-
mation display
Water, snow mud, etc., may be built up in the vicinity of the sensor area of
bumper.( →P. 247) Removing the water, snow, mud, etc., from the vicinity of
the sensor area bumper should return it to normal. Also, the sensor may not
function normally when used in extremely hot or cold weather.
■ When “Blind Spot Monitor System Malf unction Visit Your Dealer” is dis-
played on the multi-information display
There may be a sensor malfunction or voltage abnormality. Have the vehicle
inspected at your Toyota dealer.
Turning the Blind Spot Monitor system on
1
2
Page 247 of 464

2475-5. Using the driving support systems
5
Driving
MIRAI_OM_USA_OM62023U■
Certification for the Blind Spot Monitor system
FCC ID: OAYSRR2A
This device complies with part 15 of the FCC Rules. Operation is subject to
the following two conditions:
(1) This device may not cause harmful interference, and
(2) this device must accept any interference received, including interference
that may cause undesired operation.
FCC Warning
Changes or modifications not expressly approved by the party responsible for
compliance could void the user’s authority to operate the equipment.
The Blind Spot Monitor function uses radar sensors to detect vehicles
that are traveling in an adjacent lane in the area that is not reflected in
the outside rear view mirror (the b lind spot), and advises the driver of
the vehicles existence via the BSM outside rear view mirror indicator.
WARNING
■ Handling the radar sensor
One Blind Spot Monitor sensor is installed inside the left and right side of
the vehicle rear bumper respectively. Observe the following to ensure the
Blind Spot Monitor system can function correctly.
● Do not subject the sensor or surrounding area on the bumper to a strong
impact. If the sensor moves even slightly off position, the system may mal-
function and vehicles that enter the detection area may not be detected. If
the sensor or surrounding area is subject to a strong impact, always have
the area inspected by your Toyota dealer.
● Do not disassemble the sensor.
● Do not attach accessories or stickers to the sensor or surrounding area on
the bumper.
● Do not modify the sensor or surrounding area on the bumper.
● Do not paint the rear bumper any color other than an official Toyota color.
The Blind Spot Monitor function
●Keep the sensor and its surrounding
area on the bumper clean at all times.
Page 253 of 464

2535-6. Driving tips
5
Driving
MIRAI_OM_USA_OM62023U
Winter driving tips
●Use washer fluid that are appropriate to the prevailing outside tem-
peratures.
● Have a service technician inspec t the condition of the 12-volt bat-
tery.
● Have the vehicle fitted with four snow tires or purchase a set of tire
chains for the front tires.
Ensure that all tires are the specified size and brand, and that chains
match the size of the tires.
Perform the following accordin g to the driving conditions:
● Do not try to forcibly open a window or move a wiper that is frozen.
Pour warm water over the frozen area to melt the ice. Wipe away
the water immediately to prevent it from freezing.
● To ensure proper operation of the climate control system fan,
remove any snow that has accumulated on the air inlet vents in
front of the windshield.
● Check for and remove any excess ice or snow that may have accu-
mulated on the exterior lights, vehicle’s roof, chassis, around the
tires or on the brakes.
● Remove any snow or mud from the bottom of your shoes before
getting in the vehicle.
Carry out the necessary preparations and inspections before
driving the vehicle in winter. Al ways drive the vehicle in a man-
ner appropriate to the prevailing weather conditions.
Preparation for winter
Before driving the vehicle
Page 257 of 464

257
6Interior features
MIRAI_OM_USA_OM62023U6-1. Using the air
conditioning system
and defogger
Automatic air conditioning system............................. 258
Heated steering wheel/ seat heaters .................... 267
6-2. Using the interior lights
Interior lights list ................ 269 • Interior lights ................. 270
• Personal lights .............. 270 6-3. Using the storage
features
List of storage features ..... 272 • Glove box...................... 273
• Console box .................. 273
• Cup holders .................. 274
• Bottle holders ................ 276
• Auxiliary box ................. 276
Trunk features ................... 277
6-4. Other interior features Other interior features ....... 279• Sun visors ..................... 279
• Vanity mirrors................ 279
• Clock ............................. 280
• Armrest ......................... 281
• Coat hooks.................... 281
• Assist grips ................... 282
• Power outlet .................. 283
• Wireless charger ........... 284
Garage door opener.......... 292
Safety Connect ................. 299
Page 267 of 464

2676-1. Using the air conditioning system and defogger
6
Interior features
MIRAI_OM_USA_OM62023U
Heated steering wheel/seat heaters
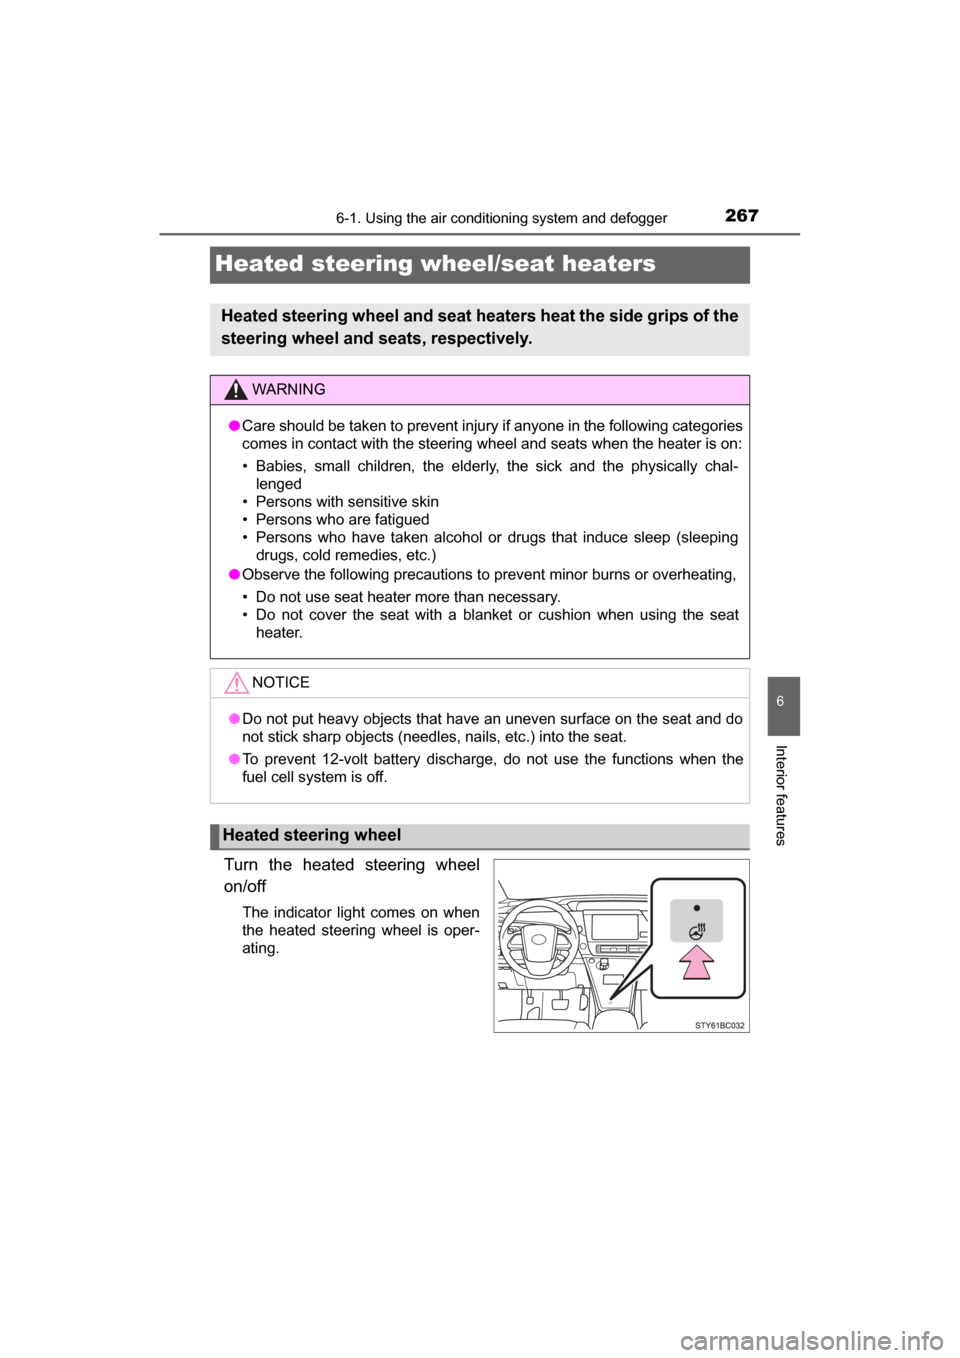
Turn the heated steering wheel
on/off
The indicator light comes on when
the heated steering wheel is oper-
ating.
Heated steering wheel and seat heaters heat the side grips of the
steering wheel and seats, respectively.
WARNING
● Care should be taken to prevent injury if anyone in the following categories
comes in contact with the steering wheel and seats when the heater is on:
• Babies, small children, the elderly, the sick and the physically chal-
lenged
• Persons with sensitive skin
• Persons who are fatigued
• Persons who have taken alcohol or drugs that induce sleep (sleeping drugs, cold remedies, etc.)
● Observe the following precautions to prevent minor burns or overheating,
• Do not use seat heater more than necessary.
• Do not cover the seat with a blanket or cushion when using the seat
heater.
NOTICE
●Do not put heavy objects that have an uneven surface on the seat and do
not stick sharp objects (needles, nails, etc.) into the seat.
● To prevent 12-volt battery discharge, do not use the functions when the
fuel cell system is off.
Heated steering wheel
Page 268 of 464
2686-1. Using the air conditioning system and defogger
MIRAI_OM_USA_OM62023U
■Operation condition
The heated steering wheel can be used when the power switch is in ON
mode.
■ Timer
The heated steering wheel will automatically turn off after about 30 minutes.
Front seats
Each time the switch is touched,
the intensity of the seat heater
changes:
Hi (strong) → Lo (weak) → Off
During operations, the operation
conditions are displayed.
Rear seats
HI: Strong
The indicator light comes on.
Low: Weak
The indicator light comes on.
■Operating condition
The seat heaters can be used when the power switch is in ON mode.
■ When not in use (rear seats)
Turn the seat heater off by returning the switch to its level position.
The indicator light turns off.
Seat heaters
Page 269 of 464
2696-2. Using the interior lights
6
Interior features
MIRAI_OM_USA_OM62023U
Interior lights list
*1: When the power switch is in ON mode, the footwell lights will turn on. How-
ever, if the instrument panel light control switch is turned to minimum, the
footwell lights will turn off. ( →P. 104)
*2: When shifting the shift position is in a position other than P, the brightness
of the footwell light will reduce intensity.
Front interior light ( →P. 270)
Personal lights ( →P. 270)
Rear interior light ( →P. 270) Door courtesy lights
Footwell lights
*1, 2
Shift lever lights
Page 270 of 464
2706-2. Using the interior lights
MIRAI_OM_USA_OM62023U
FrontWhen the switch is pressed
to the fully pushed in posi-
tion, the lights becomes
linked to the doors
The light will turn on and off due
to the opening and closing of a
door.
When the button is pressed,
the light will turn on
When the switch is pressed again, the light will turn off.
RearTurns the light on
Links to the doors
When the front interior lights is
linked to the doors, the lights will
turn on and off due to the open-
ing and closing of the rear door.
Turns the lights on/off
Push the switch, and when the it is
in the pushed in position the light
comes on.
Interior lights
Personal lights