Page 524 of 608
524
LC200_OM_OM60P24U_(U)
7-2. Steps to take in an emergency
If you have a flat tire
●Stop the vehicle in a safe place on a hard, flat surface.
● Set the parking brake.
● Shift the shift lever to P.
● Stop the engine.
● Turn on the emergency flashers. ( →P. 500)
Your vehicle is equipped with a spare tire. The flat tire can be
replaced with the spare tire.
For details about tires: →P. 4 6 3
WARNING
■
If you have a flat tire
Do not continue driving with a flat tire.
Driving even a short dist ance with a flat tire can damage the tire and the
wheel beyond repair, which could result in an accident.
Before jacking up the vehicle
Page 539 of 608

5397-2. Steps to take in an emergency
LC200_OM_OM60P24U_(U)
7
When trouble arises
One of the following may be the cause of the problem:
●One or both of the battery terminals may be disconnected.
● The battery may be discharged. ( →P. 543)
● There may be a malfunction in the steering lock system.
Contact your Toyota dealer if the problem cannot be repaired, or if repair
procedures are unknown.
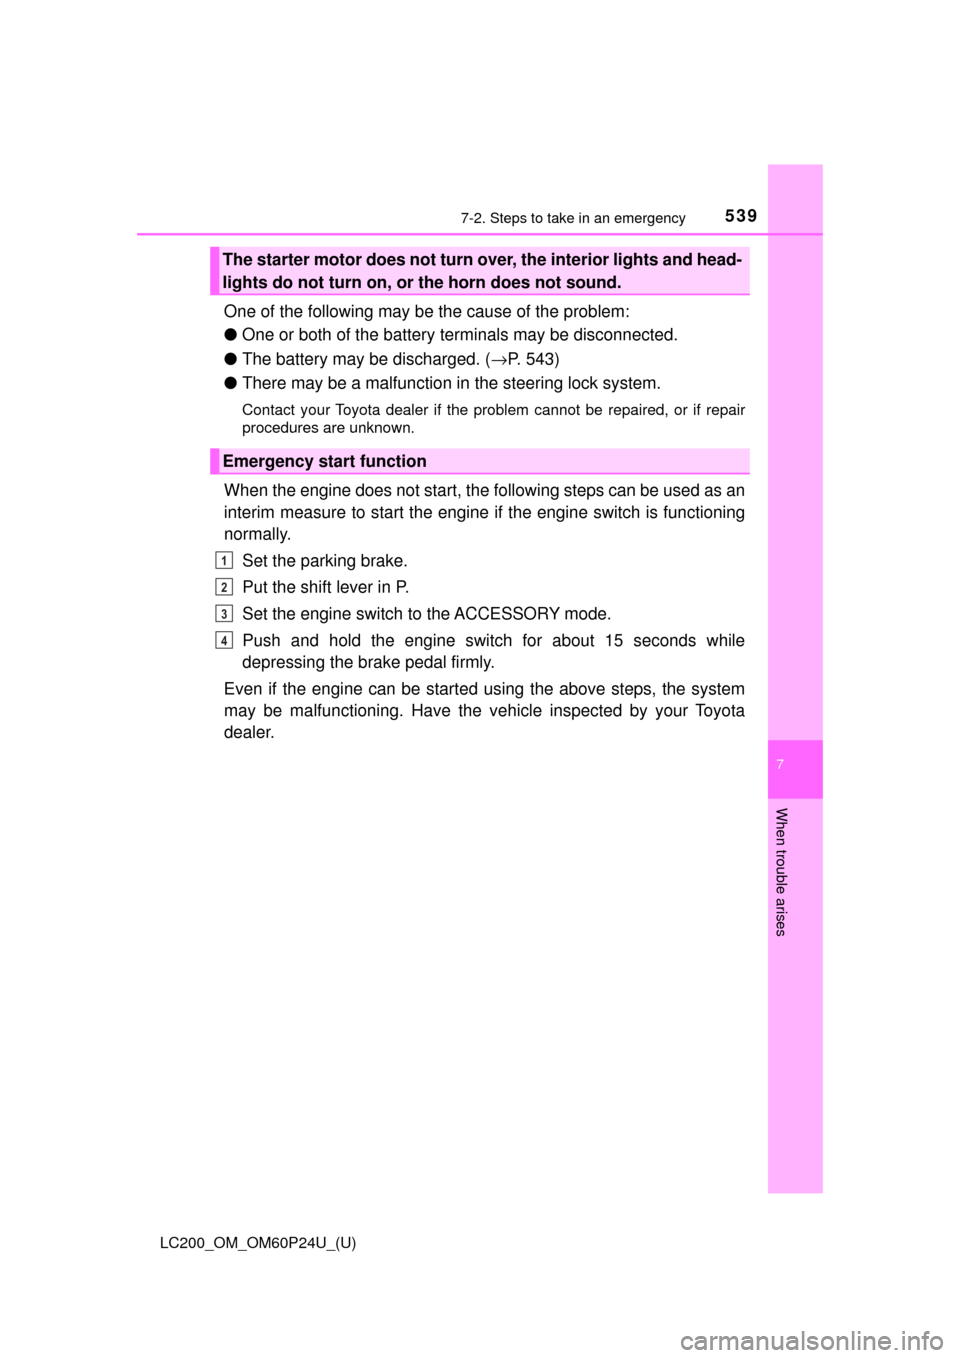
When the engine does not start, the following steps can be used as an
interim measure to start the engine if the engine switch is functioning
normally.
Set the parking brake.
Put the shift lever in P.
Set the engine switch to the ACCESSORY mode.
Push and hold the engine switch for about 15 seconds while
depressing the brake pedal firmly.
Even if the engine can be started using the above steps, the system
may be malfunctioning. Have the ve hicle inspected by your Toyota
dealer.
The starter motor does not turn over, the interior lights and head-
lights do not turn on, or the horn does not sound.
Emergency start function
1
2
3
4
Page 549 of 608
549
LC200_OM_OM60P24U_(U)
7
When trouble arises
7-2. Steps to take in an emergency
If the vehicle becomes stuck
Stop the engine. Set the parking brake and shift the shift lever to P.
Remove the mud, snow or sand from around the rear wheels.
Place wood, stones or some other material under the rear wheels
to help provide traction.
Restart the engine.
Shift the shift lever to the D or R position and release the parking
brake. Then, while exercising caution, depress the accelerator
pedal.
■ When it is difficult to free the vehicle
Carry out the following procedures if the tires spin or the vehicle
becomes stuck in mud, dirt, or snow:
Press to turn off Active TRAC.
1
2
3
4
5
Page 558 of 608

558
LC200_OM_OM60P24U_(U)
8-1. Specifications
*1: Minimum pedal clearance when depressed with a force of 110 lbf (490 N,50 kgf) while the engine is running.
*2: Parking brake lever travel when pulled with a force of 45 lbf (200 N,20 kgf).
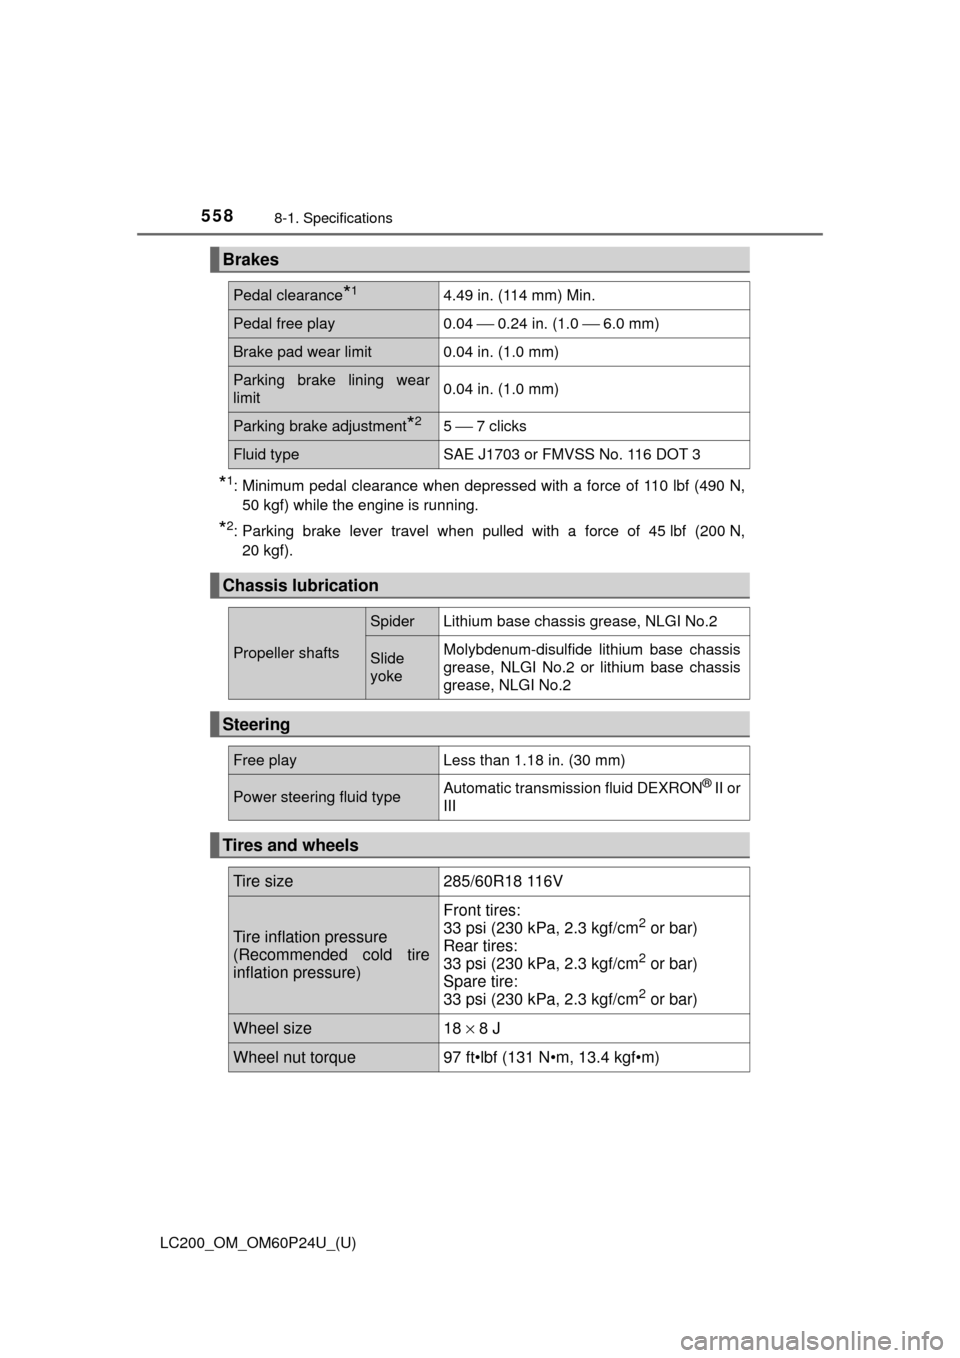
Brakes
Pedal clearance*14.49 in. (114 mm) Min.
Pedal free play0.04 ⎯ 0.24 in. (1.0 ⎯ 6.0 mm)
Brake pad wear limit0.04 in. (1.0 mm)
Parking brake lining wear
limit0.04 in. (1.0 mm)
Parking brake adjustment*25 ⎯ 7 clicks
Fluid typeSAE J1703 or FMVSS No. 116 DOT 3
Chassis lubrication
Propeller shafts
SpiderLithium base chassis grease, NLGI No.2
Slide
yokeMolybdenum-disulfide lithium base chassis
grease, NLGI No.2 or lithium base chassis
grease, NLGI No.2
Steering
Free playLess than 1.18 in. (30 mm)
Power steering fluid typeAutomatic transmission fluid DEXRON® II or
III
Tires and wheels
Tire size285/60R18 116V
Tire inflation pressure
(Recommended cold tire
inflation pressure)
Front tires:
33 psi (230 kPa, 2.3 kgf/cm2 or bar)
Rear tires:
33 psi (230 kPa, 2.3 kgf/cm
2 or bar)
Spare tire:
33 psi (230 kPa, 2.3 kgf/cm
2 or bar)
Wheel size18 × 8 J
Wheel nut torque97 ft•lbf (131 N•m, 13.4 kgf•m)
Page 574 of 608

574
LC200_OM_OM60P24U_(U)
8-2. Customization
Customizable features
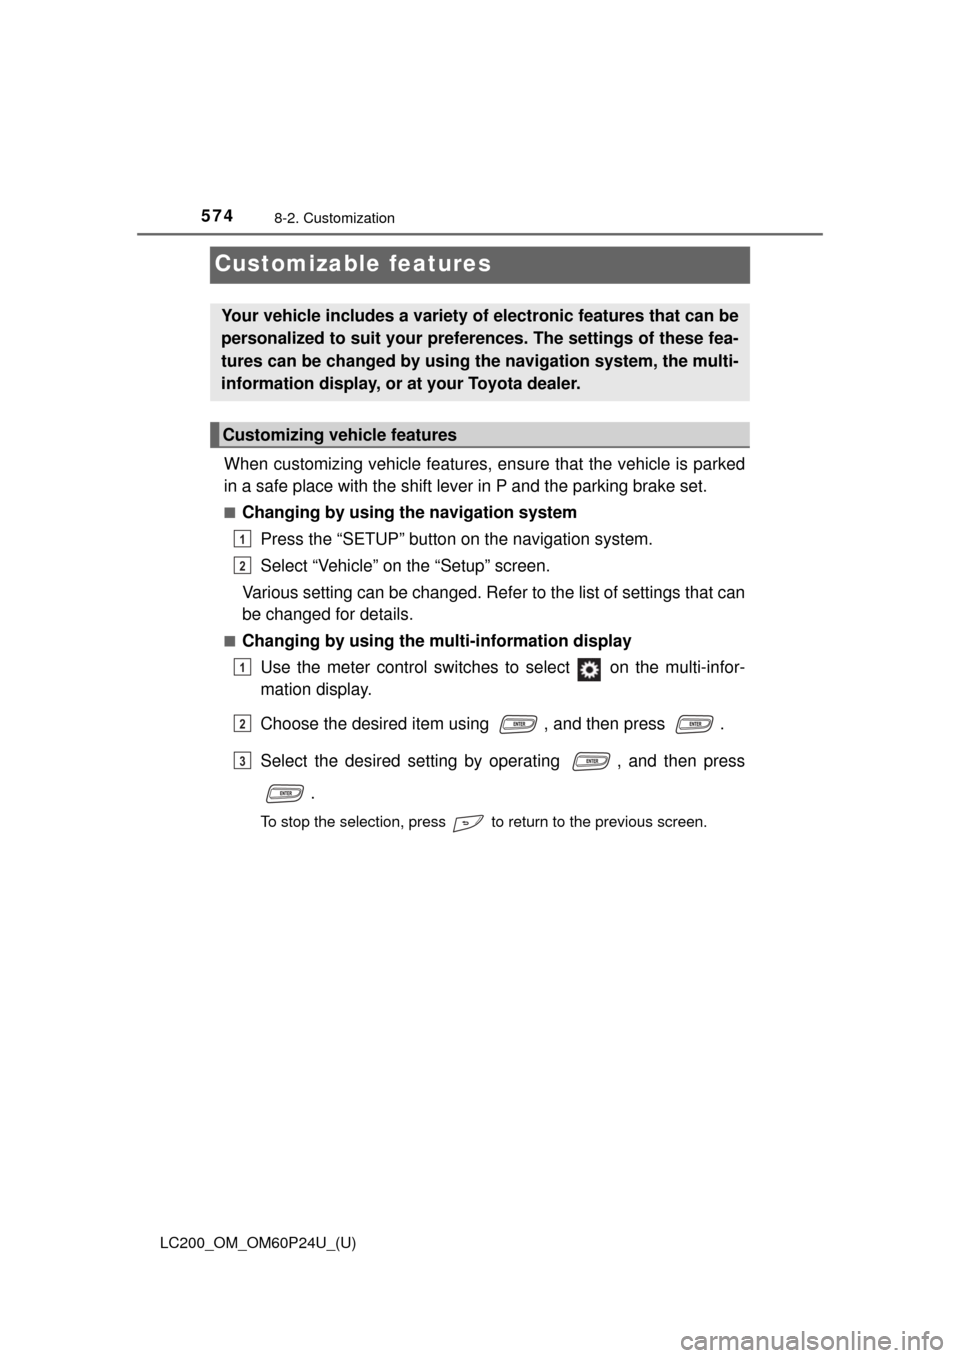
When customizing vehicle features, ensure that the vehicle is parked
in a safe place with the shift lever in P and the parking brake set.
■Changing by using the navigation system
Press the “SETUP” button on the navigation system.
Select “Vehicle” on the “Setup” screen.
Various setting can be changed. Refer to the list of settings that can
be changed for details.
■Changing by using the mu lti-information display
Use the meter control switches to select on the multi-infor-
mation display.
Choose the desired item using , and then press .
Select the desired setting by operating , and then press
.
To stop the selection, press to return to the previous screen.
Your vehicle includes a variety of electronic features that can be
personalized to suit your prefer ences. The settings of these fea-
tures can be changed by using the navigation system, the multi-
information display, or at your Toyota dealer.
Customizing vehicle features
1
2
1
2
3
Page 583 of 608

LC200_OM_OM60P24U_(U)
5838-2. Customization
8
Vehicle specifications
■Vehicle customization
●If the smart key system is turned off, unlock door cannot be selected.
● If the doors are not opened after unlocking and are then automatically re-
locked, a signal will be given if Operation signal (Emergency flashers) or
Operation signal (Buzzer) are set to on.
■ When setting using the multi-information display
When using the multi-information display to set an item that can also be set
using the navigation system, the item displayed on the navigation system will
not change immediately.
If the engine switch is first turned off, the screen display will change once the
engine switch is turned to IGNITION ON mode again.
■ When customizing using the navigation system
Stop the vehicle in a safe place, apply the parking brake, and shift the shift
lever to P. Also, to prevent battery discharge, leave the engine running while
customizing the features.
WARNING
■ During customization
As the engine needs to be running during customization, ensure that the
vehicle is parked in a place with adequate ventilation. In a closed area such
as a garage, exhaust gases including harmful carbon monoxide (CO) may
collect and enter the vehicle. This may lead to death or a serious health
hazard.
NOTICE
■During customization
To prevent battery discharge, ensure that the engine is running while cus-
tomizing features.
Page 590 of 608
590What to do if... (Troubleshooting)
LC200_OM_OM60P24U_(U)
●The auto power off function will be operated if the vehicle is left in ACCES-
SORY or IGNITION ON mode (the engine is not running) for a period of
time. (→P. 195)
●The seat belt reminder light is flashing
Are the driver and the front passenger wearing the seat belts?
(→P. 512)
●The parking brake indicator is on
Is the parking brake released? ( →P. 206)
Depending on the situation, other types of warning buzzer may also sound.
( →P. 510, 519)
●Did anyone inside the vehicle open a door during setting the alarm?
The sensor detects it and the alarm sounds. ( →P. 76)
To stop the alarm, turn the engine switch to IGNITION ON mode or start the
engine.
The engine switch is tu rned off automatically
A warning buzzer sounds during driving
An alarm is activated and the horn sounds
Page 594 of 608

594Alphabetical index
LC200_OM_OM60P24U_(U)
Bluetooth® audio*
Bluetooth® phone*
Bottle holders .......................... 402
BrakeFluid ...................................... 558
Parking brake........................ 206
Warning light ......................... 510
Brake assist ............................. 358
Break-in tips ............................. 161
Brightness control Instrument panel light
control................................... 86
BSM (Blind Spot Monitor) ....... 344 Blind Spot Monitor
function ............................... 348
Rear Cross Traffic Alert function ............................... 352
Care................................... 434, 437 Aluminum wheels.................. 434
Exterior ................................. 434
Interior................................... 437
Radar sensor ........................ 347
Seat belts .............................. 438 Cargo capacity......................... 175
Cargo hooks ............................ 404
CD player*
Chains ...................................... 371
Child restraint system............... 58
Booster seat definition ............ 59
Booster seat installation ......... 68
Convertible definition .............. 59
Convertible installation ........... 66
Front passenger occupant classification syst em ............ 51
Infant seat/convertible seat definition ............................... 59
Infant seat/convertible seat
installation ............................ 65
Installing CRS with LATCH system .......... ..................... ... 64
Installing CRS with seat belt ... 65
Installing CRS with top tether strap ........................... 69
LATCH system ....... ................ 64
C