Page 560 of 732
5607-3. Do-it-yourself maintenance
HIGHLANDER_U (OM0E017U)■
Headlight high beams/daytim
e running lights (if equipped)
Turn the bulb base counter-
clockwise.
Unplug the connector while
pressing the lock release.
Replace the light bulb, and
install the bulb base.
Align the 3 tabs on the light bulb
with the mounting, and insert.
Turn and secure the bulb
base.
Shake the bulb base gently to
check that it is not loose, turn
the headlights on once and visu-
ally confirm that no light is leak-
ing through the mounting.
1
2
3
4
Page 564 of 732
5647-3. Do-it-yourself maintenance
HIGHLANDER_U (OM0E017U)
Turn clockwise and secure
the bulb base.
Install the connector.
Shake the connector gently to
check that it is not loose, turn
the front fog lights on once and
visually confirm that no light is
leaking through the mounting.
When installing the fender liner, install by conducting with the
directions reversed.
Make sure that the fender liner is attached to the inside of the bumper.
5
6
71
Page 569 of 732

5697-3. Do-it-yourself maintenance
7
Maintenance and care
HIGHLANDER_U (OM0E017U)■
Replacing the following bulbs
If any of the lights listed below
has burnt out, have it replaced by
your Toyota dealer.
● Side turn signal lights
● Daytime running lights/parking lights (LED type)
● Stop lights
● Rear side marker lights
● Stop/tail lights
● High mounted stoplight
● Outer foot lights (if equipped)
■LED light bulbs
The side turn signal lights, daytime running lights/parking lights (LED type),
stop lights, rear side marker lights, stop/tail lights, high mounted stoplight and
outer foot lights (if equipped) consist of a number of LEDs. If any of the LEDs
burns out, take your vehicle to your Toyota dealer to have the light replaced.
■ Condensation build-up on the inside of the lens
Temporary condensation build-up on the inside of the headlight lens does not
indicate a malfunction.
Contact your Toyota dealer for more information in the following situations:
●Large drops of water have built up on the inside of the lens.
● Water has built up inside the headlight.
■ When replacing light bulbs
→P. 555
WARNING
■Replacing light bulbs
● Turn off the lights. Do not attempt to replace the bulb immediately after
turning off the lights.
The bulbs become very hot and may cause burns.
● Do not touch the glass portion of the light bulb with bare hands. When it is
unavoidable to hold the glass portion, use and hold with a clean dry cloth
to avoid getting moisture and oils on the bulb.
Also, if the bulb is scratched or dropped, it may blow out or crack.
● Fully install light bulbs and any parts used to secure them. Failure to do so
may result in heat damage, fire, or water entering the headlight unit. This
may damage the headlights or cause condensation to build up on the lens.
■ To prevent damage or fire
Make sure bulbs are fully seated and locked.
Page 573 of 732

5738-1. Essential information
8
When trouble arises
HIGHLANDER_U (OM0E017U)
Steadily step on the brake pedal with both feet and firmly depress it.
Do not pump the brake pedal repeatedly as this will increase the effort
required to slow the vehicle.
Shift the shift lever to N.
If the shift lever is shifted to N
After slowing down, stop the vehicle in a safe place by the road.
Stop the engine.
If the shift lever cannot be shifted to N
Keep depressing the brake pedal with both feet to reduce vehicle
speed as much as possible.
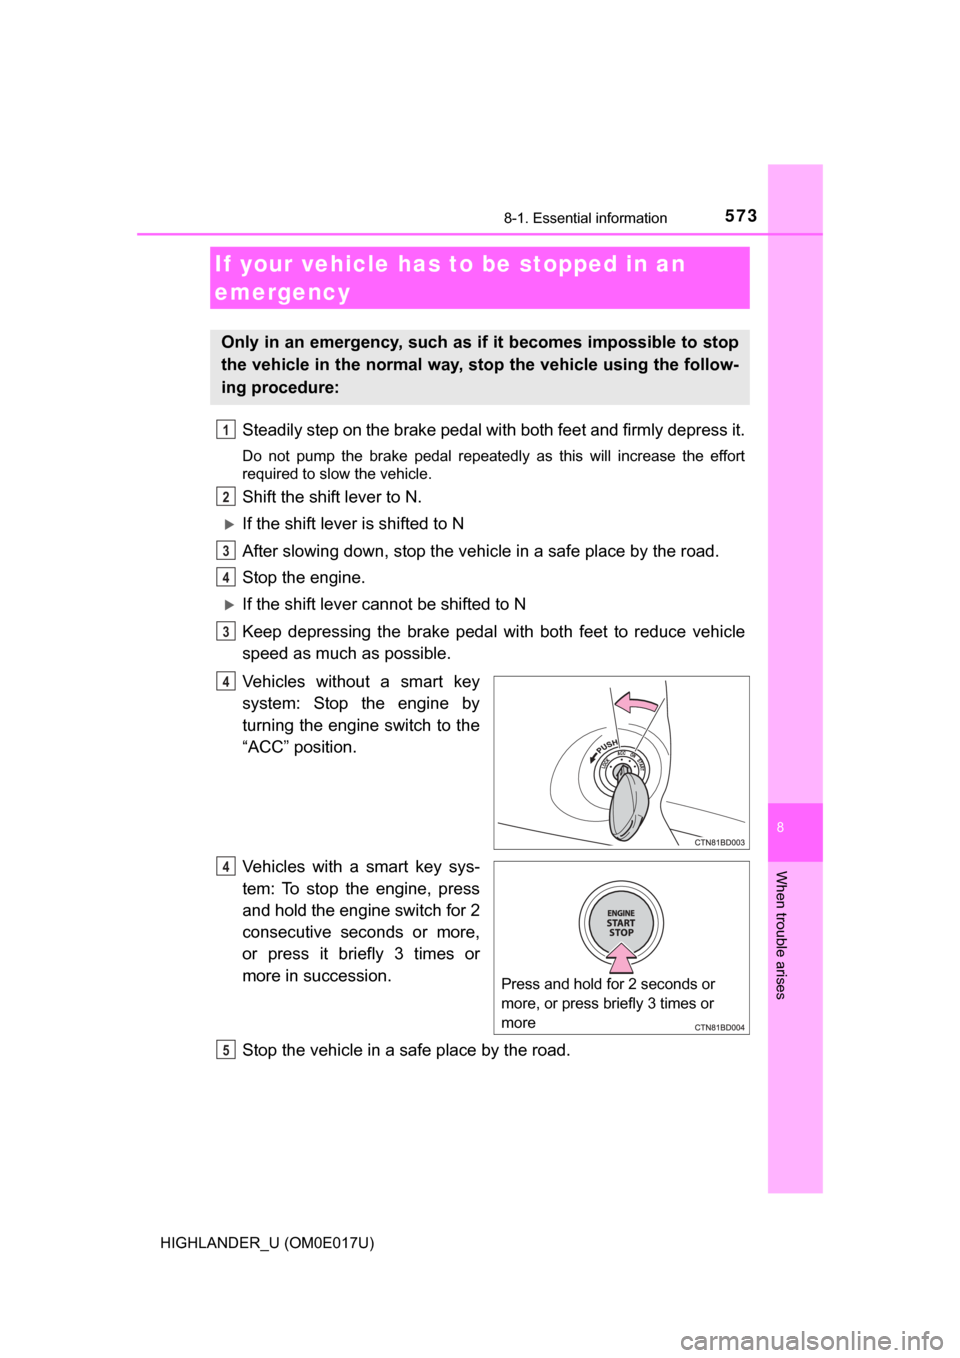
Vehicles without a smart key
system: Stop the engine by
turning the engine switch to the
“ACC” position.
Vehicles with a smart key sys-
tem: To stop the engine, press
and hold the engine switch for 2
consecutive seconds or more,
or press it briefly 3 times or
more in succession.
Stop the vehicle in a safe place by the road.
If your vehicle has to be stopped in an
emergency
Only in an emergency, such as if it becomes impossible to stop
the vehicle in the normal way, st op the vehicle using the follow-
ing procedure:
1
2
3
4
3
4
Press and hold for 2 seconds or
more, or press briefly 3 times or
more
4
5
Page 586 of 732

5868-2. Steps to take in an emergency
HIGHLANDER_U (OM0E017U)■
SRS warning light
This warning light system monitors the airbag sensor assembly, front impact
sensors, side impact sensors (front door), side impact sensors (rear), driver’s
seat position sensor, driver’s seat belt buckle switch, front passenger occu-
pant classification system (ECU and sens ors), “AIR BAG ON” indicator light,
“AIR BAG OFF” indicator light, front passenger’s seat belt buckle switch,
driver’s seat belt pretensioner, front passenger’s seat belt pretensioner and
force limiter, airbags, interconnecting wiring and power sources. ( →P. 42)
■ Front passenger detection sensor, seat belt reminder and warning
buzzer
If luggage is placed on the front passenger seat, the front passenger detec-
tion sensor may cause the warning light to flash and the warning buzzer to
sound even if a passenger is not sitting in the seat.
■ If the malfunction indicator la mp comes on while driving
First check the following:
● Is the fuel tank empty?
If it is, fill the fuel tank immediately.
● Is the fuel tank cap loose?
If it is, tighten it securely.
The light will go off after several driving trips.
If the light does not go off even after several trips, contact your Toyota dealer
as soon as possible.
■ Electric power steering system warning light (warning buzzer)
When the battery charge becomes insufficient or the voltage temporarily
drops, the electric power steering system warning light may come on and \
the
warning buzzer may sound.
■
When the tire pressure warning light comes on
Check the tire inflation pressure and adjust to the appropriate level. Push-
ing the tire pressure warning reset switch will not turn off the tire pressure
warning light.
■The tire pressure warning light may come on due to natural causes
The tire pressure warning light may come on due to natural causes such
as natural air leaks and tire inflat ion pressure changes caused by tem-
perature. In this case, adjusting the ti re inflation pressure will turn off the
warning light (afte r a few minutes).
Page 606 of 732

6068-2. Steps to take in an emergency
HIGHLANDER_U (OM0E017U)
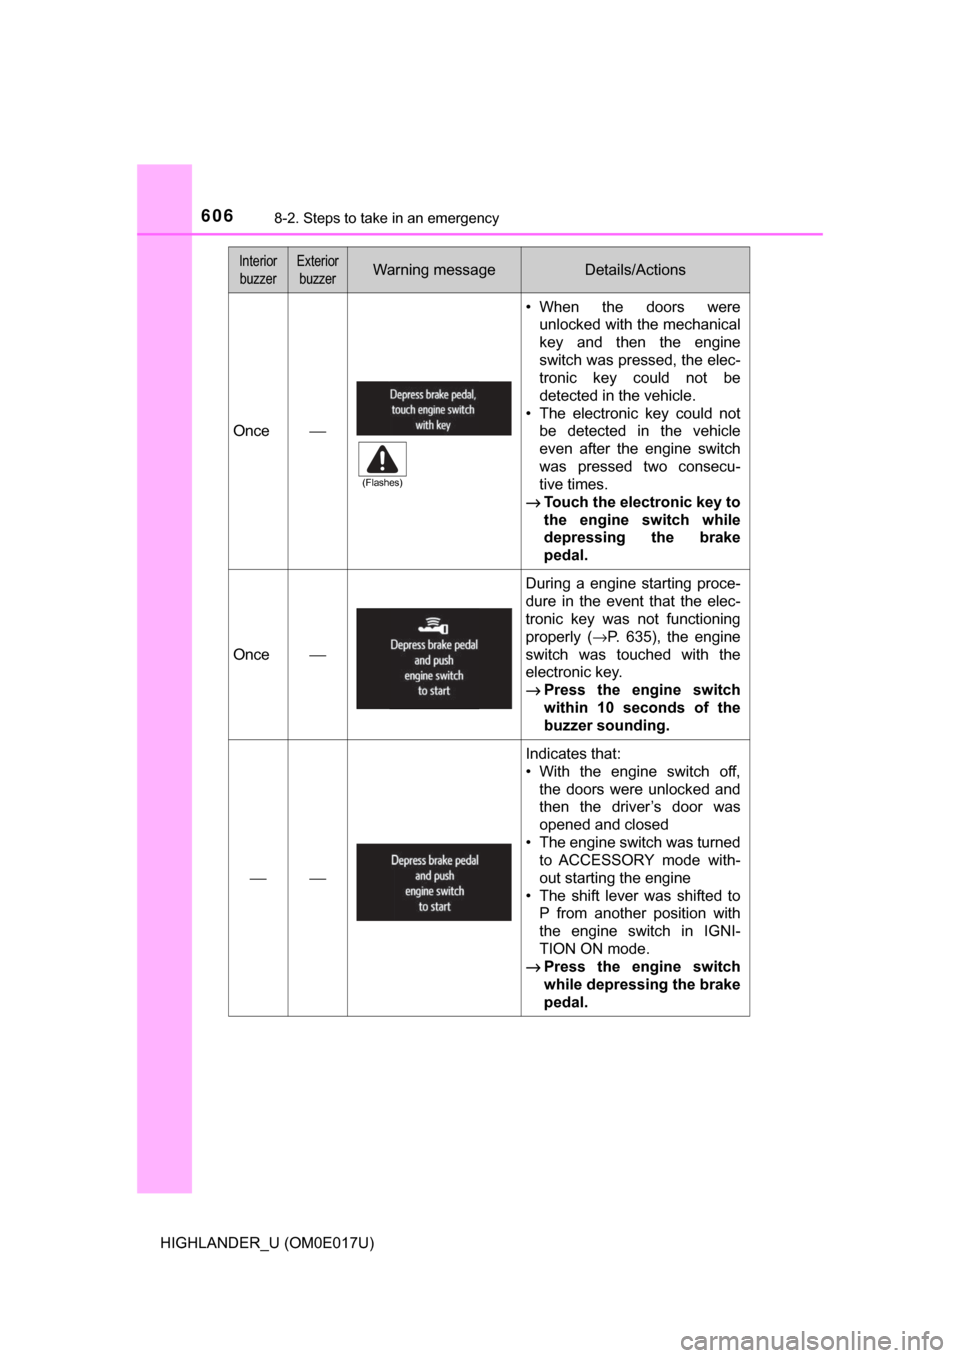
Once⎯
• When the doors wereunlocked with the mechanical
key and then the engine
switch was pressed, the elec-
tronic key could not be
detected in the vehicle.
• The electronic key could not be detected in the vehicle
even after the engine switch
was pressed two consecu-
tive times.
→ Touch the electronic key to
the engine switch while
depressing the brake
pedal.
Once⎯
During a engine starting proce-
dure in the event that the elec-
tronic key was not functioning
properly ( →P. 635), the engine
switch was touched with the
electronic key.
→ Press the engine switch
within 10 seconds of the
buzzer sounding.
⎯⎯
Indicates that:
• With the engine switch off,
the doors were unlocked and
then the driver’s door was
opened and closed
• The engine switch was turned to ACCESSORY mode with-
out starting the engine
• The shift lever was shifted to P from another position with
the engine switch in IGNI-
TION ON mode.
→ Press the engine switch
while depressing the brake
pedal.
Interior
buzzerExterior buzzerWarning messageDetails/Actions
(Flashes)
Page 611 of 732
6118-2. Steps to take in an emergency
8
When trouble arises
HIGHLANDER_U (OM0E017U)
Pull the strap upwards to open
the center deck board.
To secure the center deck
board, remove the hook on the
backside of the center deck
board and attach the hook to
the head restraint on the third
seats as shown.
Remove the jack cover.
Remove the jack after removing
the hook.
Taking out the jack
1
2
3
4
Page 612 of 732
6128-2. Steps to take in an emergency
HIGHLANDER_U (OM0E017U)
Pull the strap upwards to open
the center deck board.
To secure the center deck
board, remove the hook on the
backside of the center deck
board and attach the hook to
the head restraint on the third
seats as shown.
Remove the mat.
Remove the cover.
If it is difficult to remove the
cover, you can use your key.
Taking out the spare tire
1
2
3
4