2017 TESLA MODEL X warning
[x] Cancel search: warningPage 34 of 198

Location of AirbagsAirbags are located in the approximate areas shown here. Airbag warning information is printed
on the sun visors.
Model X is equipped with an air bag and lap/shoulder belt at both front outboard seating
positions. The air bag is a supplemental restraint at those seating positions. All occupants,
including the driver, should always wear their seat belts whether or not an air bag is also provided at their seating position to minimize the risk of severe injury or death in the event of a crash.
1. Knee airbags
2. Front airbags
3. Curtain airbags
4. Seat-mounted side airbags
5. Door-mounted airbags
Airbags
Seating and Safety Restraints33
Page 40 of 198

Adjusting PositionAdjust the steering wheel to the desireddriving position by moving the control on the
left side of the steering column. Using this
control, you can move the steering wheel forward and backward and up and down.Warning: Do not make adjustments while
driving.
Adjusting Sensitivity
You can adjust the feel and sensitivity of the
steering system to suit your personal
preference:
1. On the touchscreen, touch Controls. 2. Choose a steering option:
Page 48 of 198

IndicatorDescriptionA seat belt for an occupied seat is not fastened. Note: Depending on the date of
manufacture, rear seating positions may not be equipped with a seat belt reminder.See
Seat Belts on page 22.Electronic stability control systems are no longer minimizing wheel spin (i.e. on a single
motor vehicle, the traction control system has been turned off, or on a dual-motor
vehicle, Slip Start has been enabled). See Traction Control on page 58.Model X is in Tow mode and can roll freely. It does not automatically shift into Park
when you exit. See Instructions for Transporters on page 181.Trailer mode (if equipped) is active. See Towing a Trailer on page 68.Flashes green when the left turn signal is operating. Both turn signal indicators flashgreen when the hazard warning flashers are operating.Flashes green when the right turn signal is operating. Both turn signal indicators flashgreen when the hazard warning flashers are operating.Instrument Panel
Driving47
Page 52 of 198
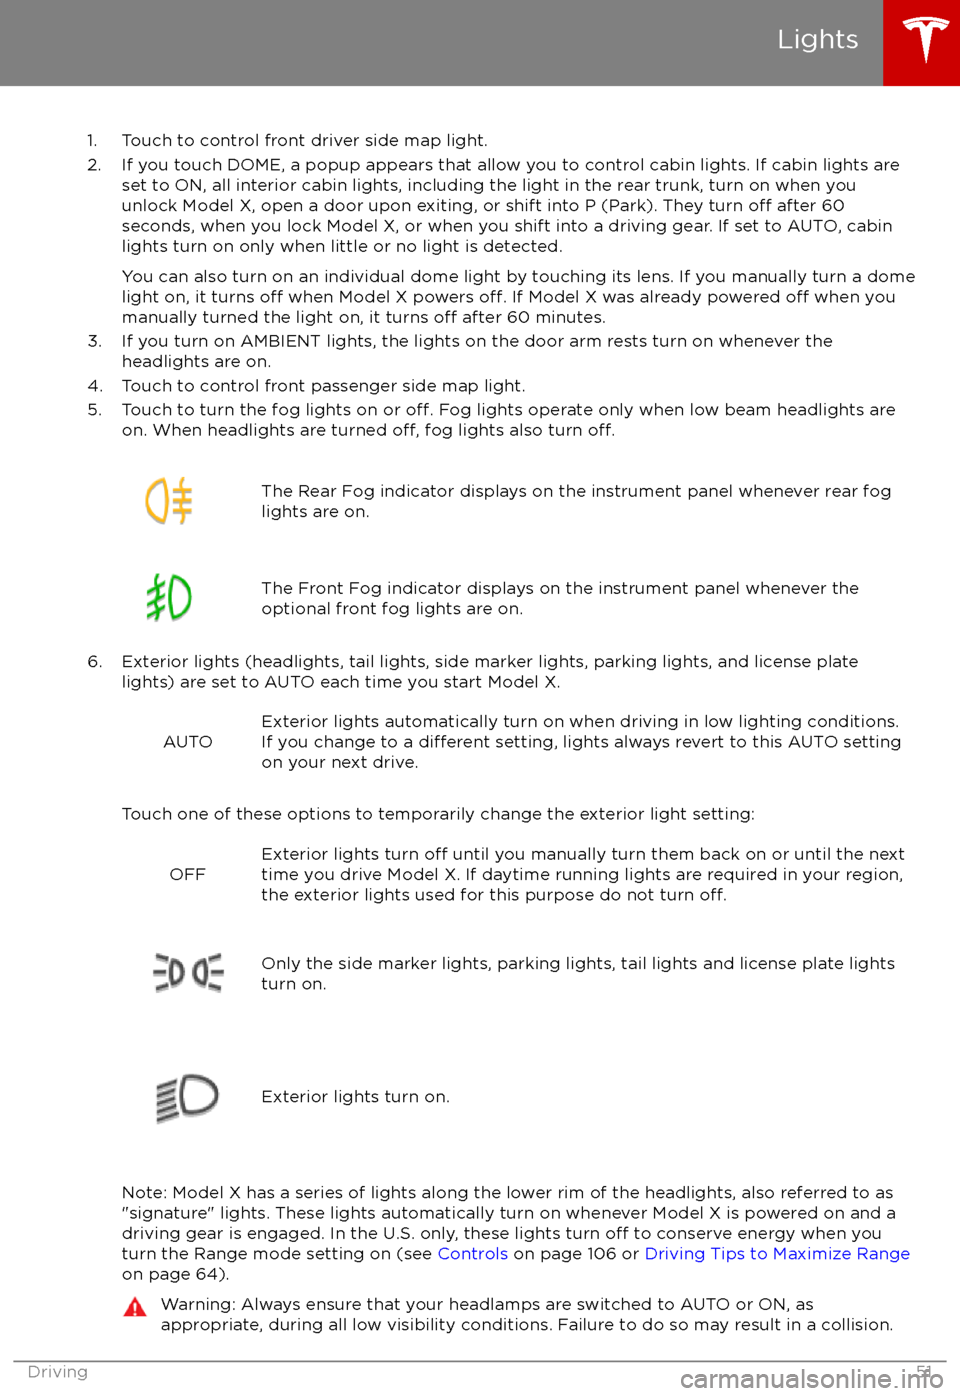
1. Touch to control front driver side map light.
2. If you touch DOME, a popup appears that allow you to control cabin lights. If cabin lights are set to ON, all interior cabin lights, including the light in the rear trunk, turn on when youunlock Model X, open a door upon exiting, or shift into P (Park). They turn
off after 60
seconds, when you lock Model X, or when you shift into a driving gear. If set to AUTO, cabin lights turn on only when little or no light is detected.
You can also turn on an individual dome light by touching its lens. If you manually turn a domelight on, it turns
off when Model X powers off. If Model X was already powered off when you
manually turned the light on, it turns off after 60 minutes.
3. If you turn on AMBIENT lights, the lights on the door arm rests turn on whenever the headlights are on.
4. Touch to control front passenger side map light.
5. Touch to turn the fog lights on or
off. Fog lights operate only when low beam headlights are
on. When headlights are turned off, fog lights also turn off.
The Rear Fog indicator displays on the instrument panel whenever rear fog
lights are on.The Front Fog indicator displays on the instrument panel whenever the
optional front fog lights are on.
6. Exterior lights (headlights, tail lights, side marker lights, parking lights, and license plate lights) are set to AUTO each time you start Model X.
AUTOExterior lights automatically turn on when driving in low lighting conditions.
If you change to a different setting, lights always revert to this AUTO setting
on your next drive.
Touch one of these options to temporarily change the exterior light setting:
OFFExterior lights turn off until you manually turn them back on or until the next
time you drive Model X. If daytime running lights are required in your region,
the exterior lights used for this purpose do not turn
off.Only the side marker lights, parking lights, tail lights and license plate lights
turn on.Exterior lights turn on.
Note: Model X has a series of lights along the lower rim of the headlights, also referred to as
"signature" lights. These lights automatically turn on whenever Model X is powered on and a driving gear is engaged. In the U.S. only, these lights turn
off to conserve energy when you
turn the Range mode setting on (see Controls on page 106 or Driving Tips to Maximize Range
on page 64).
Warning: Always ensure that your headlamps are switched to AUTO or ON, as
appropriate, during all low visibility conditions. Failure to do so may result in a collision.
Lights
Driving51
Page 54 of 198
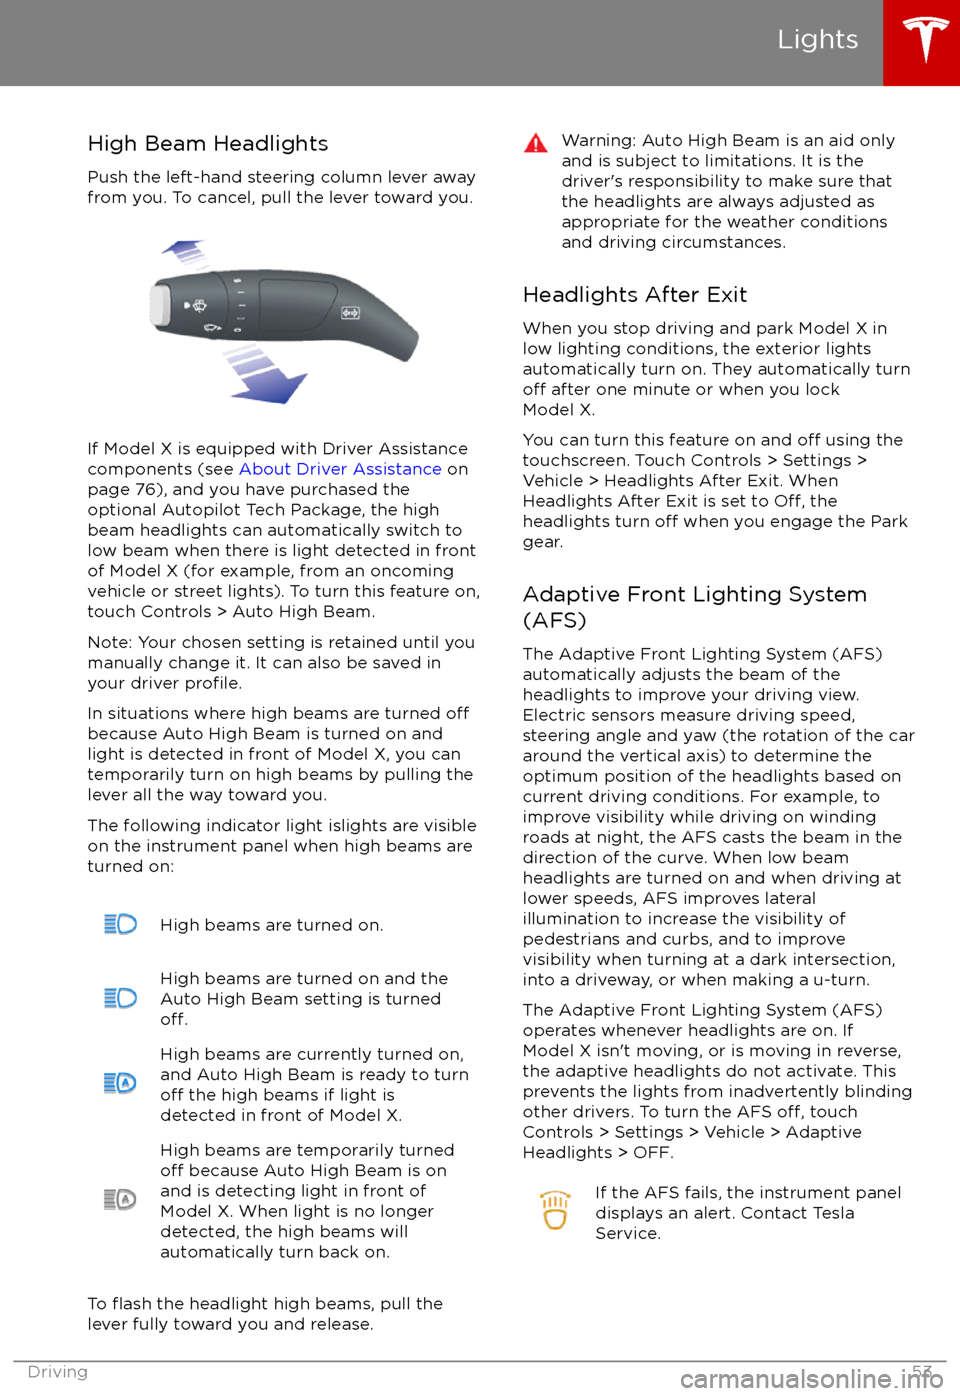
High Beam HeadlightsPush the left-hand steering column lever away
from you. To cancel, pull the lever toward you.
If Model X is equipped with Driver Assistance
components (see About Driver Assistance on
page 76), and you have purchased the
optional Autopilot Tech Package, the high
beam headlights can automatically switch to low beam when there is light detected in front
of Model X (for example, from an oncoming vehicle or street lights). To turn this feature on,touch Controls > Auto High Beam.
Note: Your chosen setting is retained until you manually change it. It can also be saved in
your driver
profile.
In situations where high beams are turned offbecause Auto High Beam is turned on and
light is detected in front of Model X, you can
temporarily turn on high beams by pulling the
lever all the way toward you.
The following indicator light islights are visible
on the instrument panel when high beams are
turned on:
High beams are turned on.High beams are turned on and the
Auto High Beam setting is turned
off.
High beams are currently turned on,
and Auto High Beam is ready to turn
off the high beams if light is
detected in front of Model X.
High beams are temporarily turnedoff because Auto High Beam is on
and is detecting light in front of
Model X. When light is no longer
detected, the high beams will
automatically turn back on.
To flash the headlight high beams, pull the
lever fully toward you and release.
Warning: Auto High Beam is an aid only and is subject to limitations. It is the
driver
Page 55 of 198
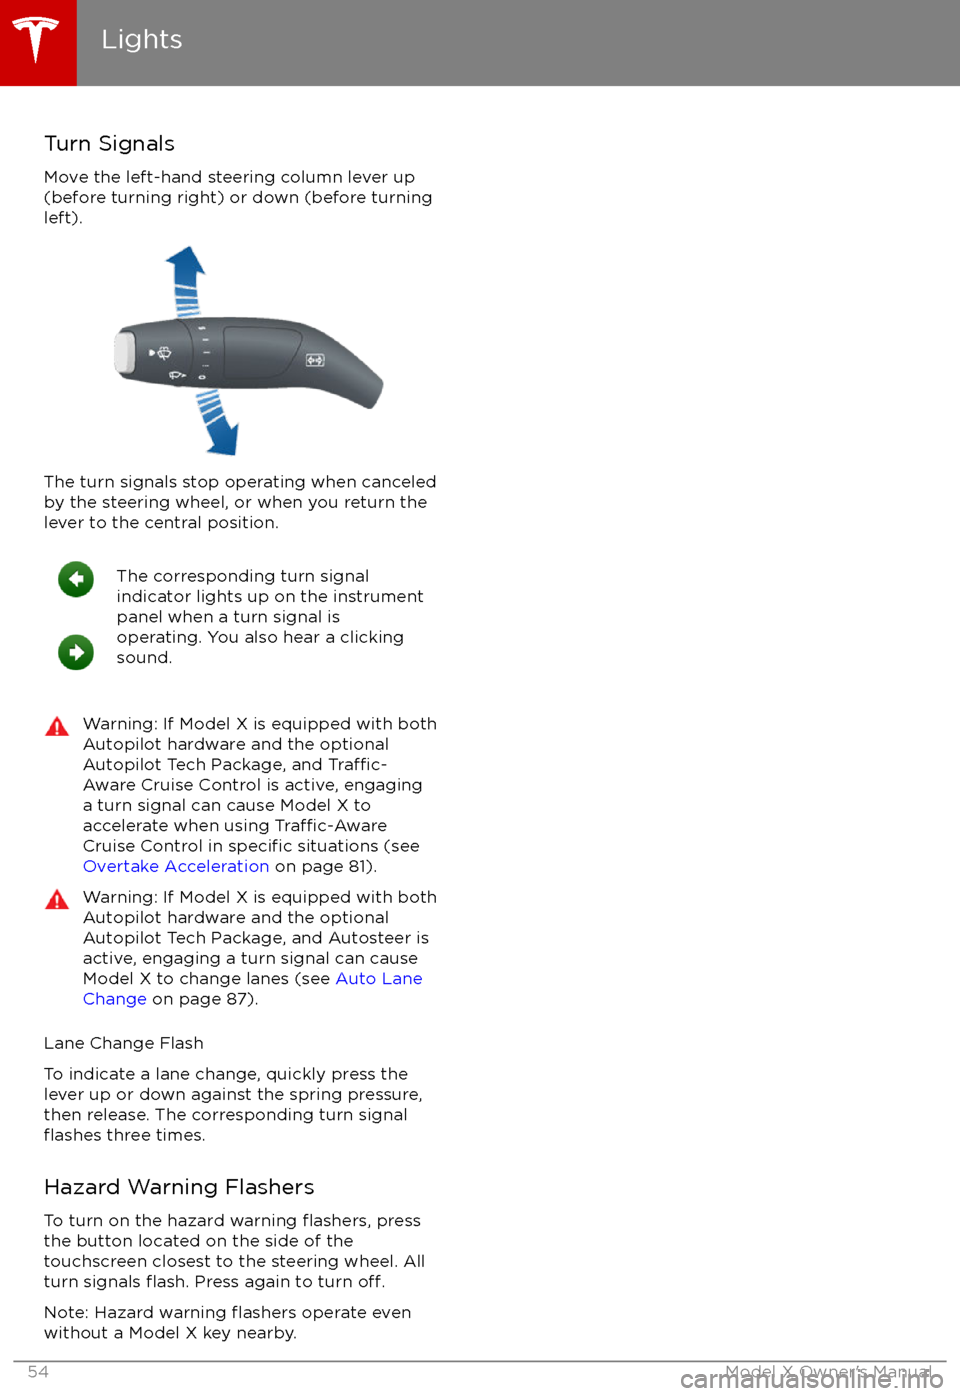
Turn Signals
Move the left-hand steering column lever up
(before turning right) or down (before turning
left).
The turn signals stop operating when canceled by the steering wheel, or when you return the
lever to the central position.
The corresponding turn signal
indicator lights up on the instrument
panel when a turn signal is
operating. You also hear a clicking
sound.Warning: If Model X is equipped with both
Autopilot hardware and the optional
Autopilot Tech Package, and
Traffic-
Aware Cruise Control is active, engaging
a turn signal can cause Model X to
accelerate when using
Traffic-AwareCruise Control in specific situations (see
Overtake Acceleration on page 81).
Warning: If Model X is equipped with both
Autopilot hardware and the optional
Autopilot Tech Package, and Autosteer is active, engaging a turn signal can cause
Model X to change lanes (see Auto Lane
Change on page 87).
Lane Change Flash
To indicate a lane change, quickly press the
lever up or down against the spring pressure,
then release. The corresponding turn signal
flashes three times.
Hazard Warning Flashers To turn on the hazard warning
flashers, press
the button located on the side of the
touchscreen closest to the steering wheel. All
turn signals
flash. Press again to turn off.
Note: Hazard warning flashers operate even
without a Model X key nearby.
Lights
54Model X Owner
Page 57 of 198
Braking Systems
Model X has an anti-lock braking system
(ABS) that prevents the wheels from locking when you apply maximum brake pressure. This
improves steering control during heavy
braking in most road conditions.
During emergency braking conditions, the
ABS constantly monitors the speed of each
wheel and varies the brake pressure according to the grip available.
The alteration of brake pressure can be felt as
a pulsing sensation through the brake pedal.
This demonstrates that the ABS is operating
and is not a cause for concern. Keep
firm and
steady pressure on the brake pedal while
experiencing the pulsing.
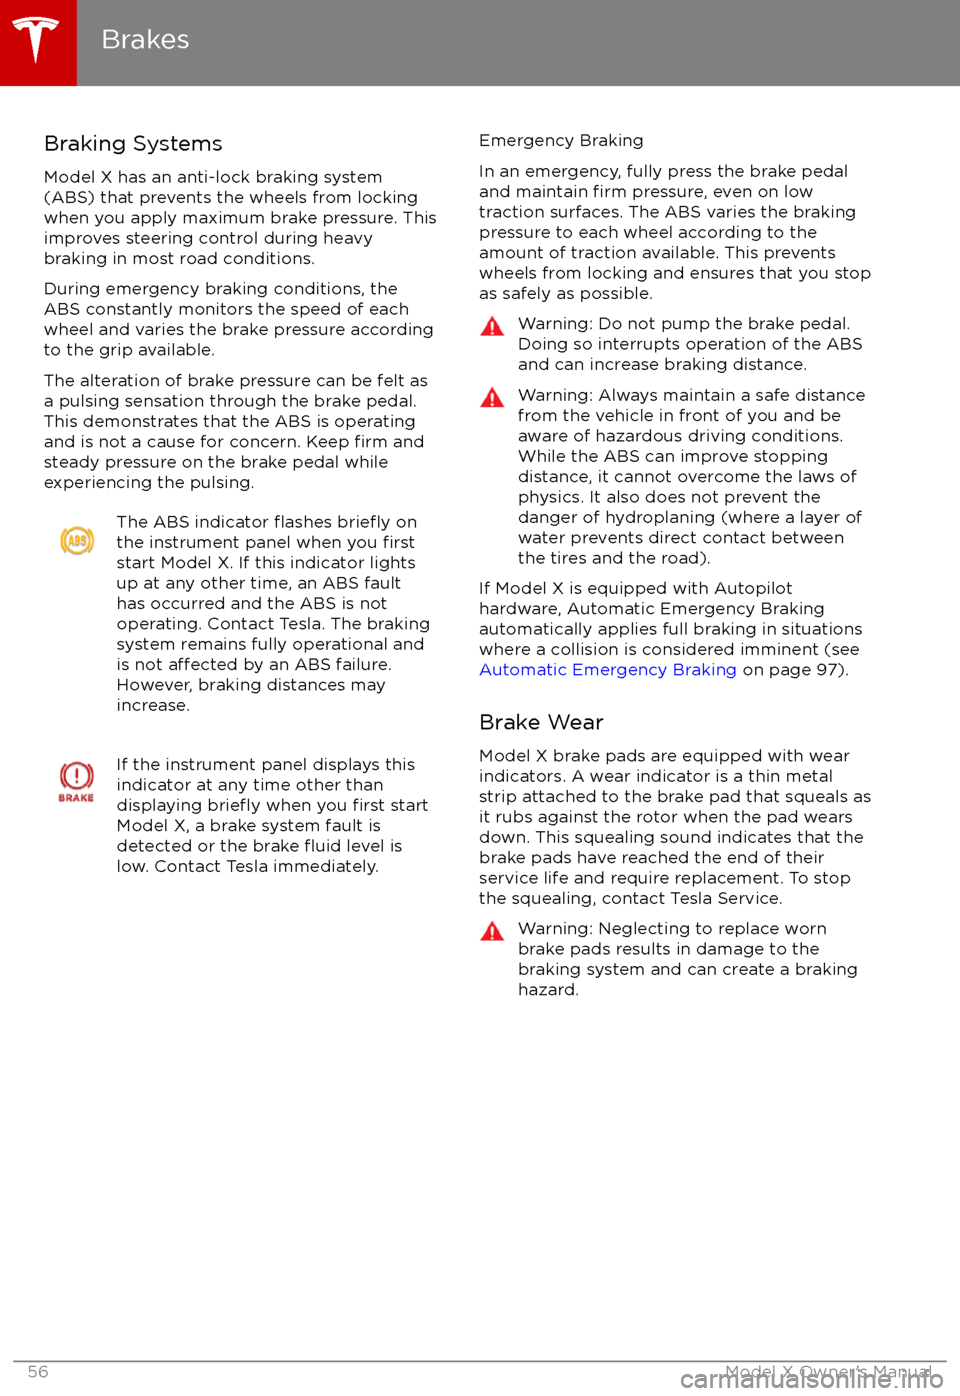
The ABS indicator flashes briefly on
the instrument panel when you firststart Model X. If this indicator lights
up at any other time, an ABS fault
has occurred and the ABS is not
operating. Contact Tesla. The braking system remains fully operational and
is not
affected by an ABS failure.
However, braking distances may increase.
If the instrument panel displays this
indicator at any time other than
displaying
briefly when you first start
Model X, a brake system fault is
detected or the brake
fluid level is
low. Contact Tesla immediately.
Emergency Braking
In an emergency, fully press the brake pedal
and maintain
firm pressure, even on low
traction surfaces. The ABS varies the braking
pressure to each wheel according to the
amount of traction available. This prevents
wheels from locking and ensures that you stop
as safely as possible.
Warning: Do not pump the brake pedal.
Doing so interrupts operation of the ABS
and can increase braking distance.Warning: Always maintain a safe distance
from the vehicle in front of you and be
aware of hazardous driving conditions.
While the ABS can improve stopping
distance, it cannot overcome the laws of physics. It also does not prevent the
danger of hydroplaning (where a layer of
water prevents direct contact between the tires and the road).
If Model X is equipped with Autopilot
hardware, Automatic Emergency Braking
automatically applies full braking in situations
where a collision is considered imminent (see
Automatic Emergency Braking on page 97).
Brake Wear
Model X brake pads are equipped with wear
indicators. A wear indicator is a thin metal
strip attached to the brake pad that squeals as
it rubs against the rotor when the pad wears
down. This squealing sound indicates that the
brake pads have reached the end of their service life and require replacement. To stop
the squealing, contact Tesla Service.
Warning: Neglecting to replace worn
brake pads results in damage to the
braking system and can create a braking
hazard.
Brakes
56Model X Owner
Page 59 of 198
How It WorksThe traction control system constantly
monitors the speed of the front and rear
wheels. If Model X experiences a loss of
traction, the system minimizes wheel spin by
controlling brake pressure and motor power.
By default, the traction control system is
always active. Under normal conditions, it should remain active to ensure maximum
safety.This indicator flashes on the
instrument panel whenever the
traction control system is actively
controlling brake pressure and motor
power to minimize wheel spin. If the
indicator stays on, a fault is detected with the traction control system.
Contact Tesla Service.Warning: Traction control cannot prevent
accidents caused by driving dangerously
or turning too sharply at high speeds.Warning: If the above indicator remains
illuminated in situations in which you have
not enabled Slip Start (described next), the traction control system may not be
operating correctly. Contact Tesla Service immediately.
Allowing Wheel Slip
To allow the wheels to spin at a limited speed,
you can enable Slip Start. Slip Start can be
enabled only when Model X is moving 30 mph
(48 km/h) or slower. Slip Start automatically
disables when the speed exceeds 50 mph
(80 km/h).
Under normal conditions, Slip Start should not
be enabled. Enable it only in circumstances where you deliberately want the wheels tospin, such as: