2017 SUBARU FORESTER roof
[x] Cancel search: roofPage 490 of 634
WARNING
.When you carry something inside
the vehicle, secure it whenever
you can to prevent it from being
thrown around inside the vehicle
during sudden stops, sharp turns
or in an accident.
. Do not pile heavy loads on the
roof. These loads raise the vehi-
cle ’s center of gravity and make it
more prone to tip over.
. Secure lengthy items properly to
prevent them from shooting for-
ward and causing serious injury
during a sudden stop.
. Never exceed the maximum load
limit. If you do, some parts on
your vehicle can break, or it can
change the way your vehicle
handles. This could result in loss
of control and cause personal
injury. Also, overloading can
shorten the life of your vehicle.
. Do not place anything on the
extended cargo area cover (if
equipped). Such items could
tumble forward in the event of a
sudden stop or a collision. This
could cause serious injury.
CAUTION
. Do not carry spray cans, contain-
ers with flammable or corrosive
liquids or any other dangerous
items inside the vehicle.
. Do not close the rear gate with
cargo protruding from the cargo
area. The cargo may be da-
maged. In models with power
rear gate, the rear gate may open
via reverse function.
. In models with power rear gate,
be careful not to allow collision
between the rear gate and the
cargo when you are loading
cargo on the roof. Otherwise,
the rear gate will hit the cargo
when opening and may cause
damage to both the cargo and
the rear gate.
NOTE
For better fuel economy, do not carry
unneeded cargo.
& Vehicle capacity weight
Vehicle placard
The load capacity of your vehicle is
determined by weight, not by available
cargo space. The maximum load you can
carry in your vehicle is shown on the
Driving tips/Loading your vehicle
–CONTINUED –8-13
Page 491 of 634
Driving tips/Loading your vehicle
vehicle placard attached to the driver’s
side door pillar. It includes the total weight
of the driver and all passengers and their
belongings, any optional equipment such
as a trailer hitch, roof rack or bike carrier,
etc., and the tongue load of a trailer.
& GVWR and GAWR (Gross
Vehicle Weight Rating and
Gross Axle Weight Rating)
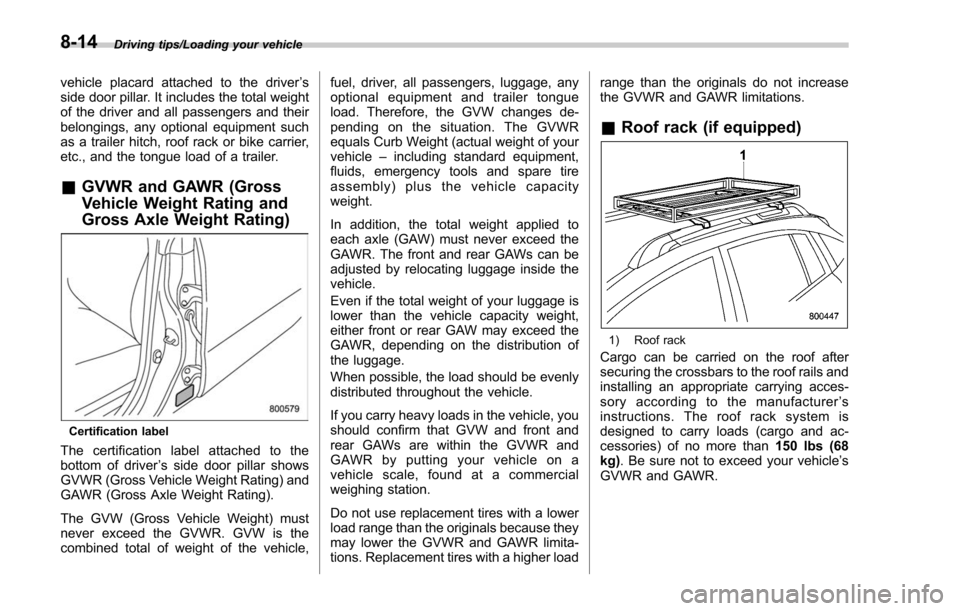
Certification label
The certification label attached to the
bottom of driver ’s side door pillar shows
GVWR (Gross Vehicle Weight Rating) and
GAWR (Gross Axle Weight Rating).
The GVW (Gross Vehicle Weight) must
never exceed the GVWR. GVW is the
combined total of weight of the vehicle, fuel, driver, all passengers, luggage, any
optional equipment and trailer tongue
load. Therefore, the GVW changes de-
pending on the situation. The GVWR
equals Curb Weight (actual weight of your
vehicle
–including standard equipment,
fluids, emergency tools and spare tire
assembly) plus the vehicle capacity
weight.
In addition, the total weight applied to
each axle (GAW) must never exceed the
GAWR. The front and rear GAWs can be
adjusted by relocating luggage inside the
vehicle.
Even if the total weight of your luggage is
lower than the vehicle capacity weight,
either front or rear GAW may exceed the
GAWR, depending on the distribution of
the luggage.
When possible, the load should be evenly
distributed throughout the vehicle.
If you carry heavy loads in the vehicle, you
should confirm that GVW and front and
rear GAWs are within the GVWR and
GAWR by putting your vehicle on a
vehicle scale, found at a commercial
weighing station.
Do not use replacement tires with a lower
load range than the originals because they
may lower the GVWR and GAWR limita-
tions. Replacement tires with a higher load range than the originals do not increase
the GVWR and GAWR limitations.
&
Roof rack (if equipped)
1) Roof rack
Cargo can be carried on the roof after
securing the crossbars to the roof rails and
installing an appropriate carrying acces-
sory according to the manufacturer ’s
instructions. The roof rack system is
designed to carry loads (cargo and ac-
cessories) of no more than 150 lbs (68
kg) . Be sure not to exceed your vehicle’ s
GVWR and GAWR.
8-14
Page 492 of 634
CAUTION
.When using the roof rack, make
sure that the total carrying load
of the roof rack and luggage does
not exceed 150 lbs (68 kg). Over-
loading may cause damage to
the vehicle.
. For cargo carrying purposes, the
roof rails must be used together
with the roof rack and any appro-
priate carrying attachment that
may be needed. The roof rails
must never be used alone to
carry cargo. Otherwise, damage
to the roof or paint, or a danger-
ous road hazard due to loss of
cargo could result.
NOTE
Remember that the vehicle ’s center of
gravity is altered with the weight of the
load on the roof, thus affecting driving
characteristics.
Drive carefully. Avoid rapid starts, hard
cornering and abrupt stops. Crosswind
effects will be increased.
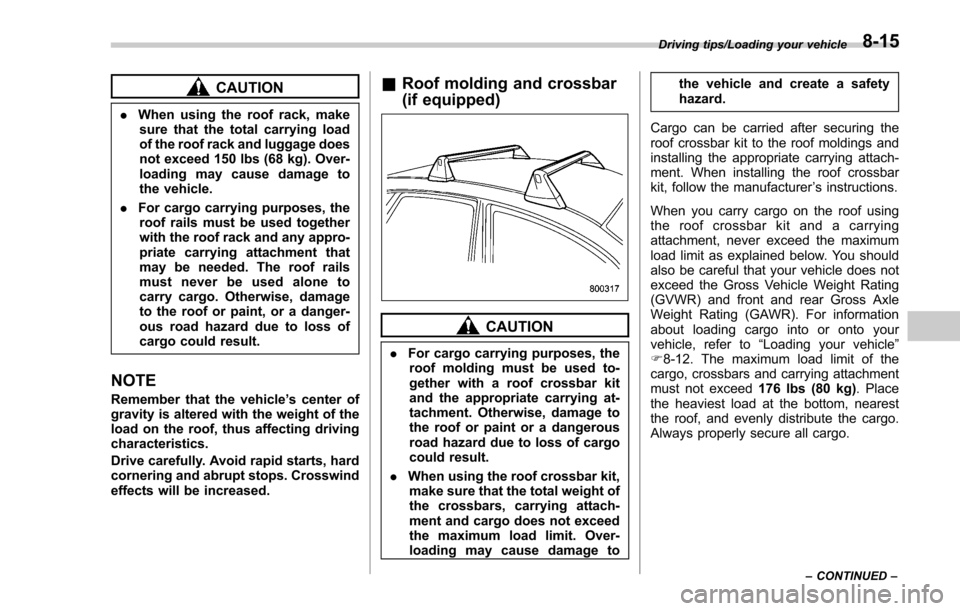
& Roof molding and crossbar
(if equipped)
CAUTION
. For cargo carrying purposes, the
roof molding must be used to-
gether with a roof crossbar kit
and the appropriate carrying at-
tachment. Otherwise, damage to
the roof or paint or a dangerous
road hazard due to loss of cargo
could result.
. When using the roof crossbar kit,
make sure that the total weight of
the crossbars, carrying attach-
ment and cargo does not exceed
the maximum load limit. Over-
loading may cause damage to the vehicle and create a safety
hazard.
Cargo can be carried after securing the
roof crossbar kit to the roof moldings and
installing the appropriate carrying attach-
ment. When installing the roof crossbar
kit, follow the manufacturer ’s instructions.
When you carry cargo on the roof using
the roof crossbar kit and a carrying
attachment, never exceed the maximum
load limit as explained below. You should
also be careful that your vehicle does not
exceed the Gross Vehicle Weight Rating
(GVWR) and front and rear Gross Axle
Weight Rating (GAWR). For information
about loading cargo into or onto your
vehicle, refer to “Loading your vehicle”
F 8-12. The maximum load limit of the
cargo, crossbars and carrying attachment
must not exceed 176 lbs (80 kg). Place
the heaviest load at the bottom, nearest
the roof, and evenly distribute the cargo.
Always properly secure all cargo.
Driving tips/Loading your vehicle
–CONTINUED –8-15
Page 493 of 634
Driving tips/Trailer hitch (dealer option)
!Installing carrying attachments on
the crossbars
When installing any carrying attachment
such as a bike carrier, ski carrier, kayak
carrier, cargo basket, etc. on the cross-
bars, follow the manufacturer ’s instruc-
tions and make sure that the attachment is
securely fixed to the crossbars. Use only
attachments designed specifically for the
crossbars. A set of the crossbars is
designed to carry loads (cargo and attach-
ment) of not more than 165 lbs (75 kg).
Before operating the vehicle, make sure
that the cargo is properly secured on the
attachment.
NOTE
Remember that the vehicle ’s center of
gravity is altered with the weight of the
load on the roof, thus affecting the
driving characteristics.
Drive carefully. Avoid rapid starts, hard
cornering and abrupt stops. Crosswind
effects will be increased. !
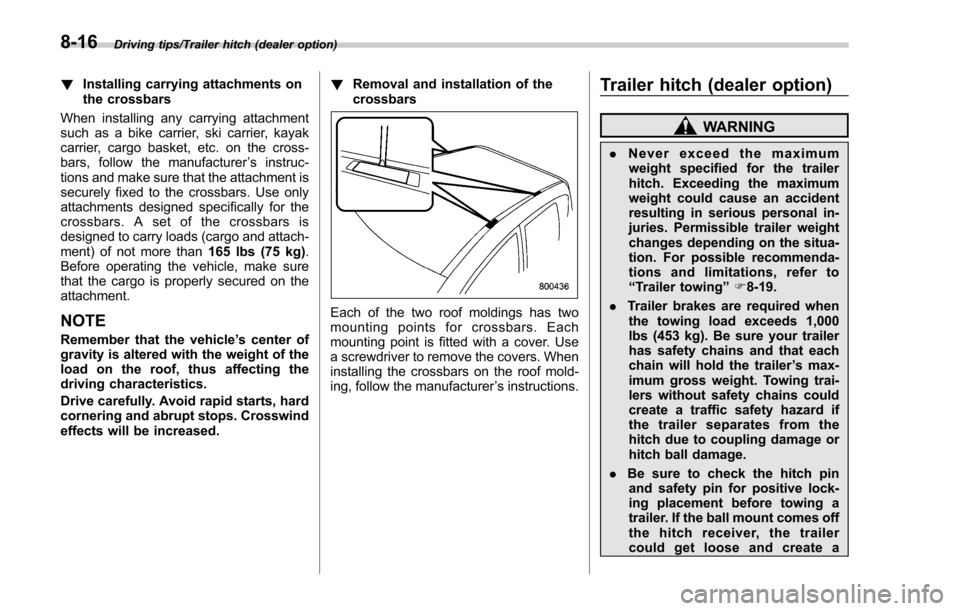
Removal and installation of the
crossbars
Each of the two roof moldings has two
mounting points for crossbars. Each
mounting point is fitted with a cover. Use
a screwdriver to remove the covers. When
installing the crossbars on the roof mold-
ing, follow the manufacturer ’s instructions.
Trailer hitch (dealer option)
WARNING
. Never exceed the maximum
weight specified for the trailer
hitch. Exceeding the maximum
weight could cause an accident
resulting in serious personal in-
juries. Permissible trailer weight
changes depending on the situa-
tion. For possible recommenda-
tions and limitations, refer to
“ Trailer towing” F8-19.
. Trailer brakes are required when
the towing load exceeds 1,000
lbs (453 kg). Be sure your trailer
has safety chains and that each
chain will hold the trailer ’s max-
imum gross weight. Towing trai-
lers without safety chains could
create a traffic safety hazard if
the trailer separates from the
hitch due to coupling damage or
hitch ball damage.
. Be sure to check the hitch pin
and safety pin for positive lock-
ing placement before towing a
trailer. If the ball mount comes off
the hitch receiver, the trailer
could get loose and create a
8-16
Page 581 of 634

Specifications/Specifications
Specifications
These specifications are subject to change without notice.
&Dimensions
in (mm)
Item Non-turbo models Turbo models
Overall length 181.5 (4,610) 180.9 (4,595)
Overall width 70.7 (1,795)
Overall height 68.3 (1,735)*
2
67.7 (1,720)*3
Wheel base 103.9 (2,640)
Tread Front 60.8 (1,545)
Rear 61.2 (1,555)
Ground clearance*
18.7 (220)
*1: Measured with vehicle empty
*2: Models with roof rails
*3: Models without roof rails
12-2
Page 606 of 634
.Passenger car tire
A tire intended for use on passen-
ger cars, multipurpose passenger
vehicles, and trucks, that have a
gross vehicle weight rating (GVWR)
of 10,000 lbs (4,535 kg) or less.
.Ply
A layer of rubber-coated parallel
cords.
.Ply separation
A parting of rubber compound
between adjacent plies.
.Pneumatic tire
A mechanical device made of rub-
ber, chemicals, fabric and steel or
other materials, that, when
mounted on an automotive wheel,
provides the traction and contains
the gas or fluid that sustains the
load.
.Production options weight
The combined weight of those
installed regular production options
weighing over 5.1 lbs (2.3 kg) in
excess of those standard items
which they replace, not previously
considered in curb weight or acces-sory weight, including heavy duty
brakes, ride levelers, roof rack,
heavy duty battery, and special
trim.
.Radial ply tire
A pneumatic tire in which the ply
cords that extend to the beads are
laid at substantially 90 degrees to
the centerline of the tread.
.Recommended inflation pres-
sure
The cold inflation pressure recom-
mended by a vehicle manufacturer.
.Reinforced tire
A tire designed to operate at higher
loads and at higher inflation pres-
sures than the corresponding stan-
dard tire.
.Rim
A metal support for a tire or a tire
and tube assembly upon which the
tire beads are seated.
.Rim diameter
Nominal diameter of the bead seat.
.Rim size designation
Rim diameter and width.
.Rim type designation
The industry of manufacturer ’s des-
ignation for a rim by style or code.
.Rim width
Nominal distance between rim
flanges.
.Section width
The linear distance between the
exteriors of the sidewalls of an
inflated tire, excluding elevations
due to labeling, decoration, or
protective bands.
.Sidewall
That portion of a tire between the
tread and bead.
.Sidewall separation
The parting of the rubber com-
pound from the cord material in
the sidewall.
.Test rim
The rim on which a tire is fitted for
testing, and it may be any rim listed
as appropriate for use with that tire.
.Tread
That portion of a tire that comes
into contact with the road.
Consumer information and Reporting safety defects/Tire information
–CONTINUED –13-7
Page 609 of 634

Consumer information and Reporting safety defects/Tire information
&Tire care –maintenance and
safety practices
.Check on a daily basis that the
tires are free from serious damage,
nails, and stones. At the same time,
check the tires for abnormal wear.
.Inspect the tire tread regularly
and replace the tires before their
tread wear indicators become visi-
ble. When a tire ’streadwear
indicator becomes visible, the tire
is worn beyond the acceptable limit
and must be replaced immediately.
With a tire in this condition, driving
at even low speeds in wet weather
can cause the vehicle to hydro-
plane. Possible resulting loss of
vehiclecontrolcanleadtoan
accident.
.To maximize the life of each tire
and ensure that the tires wear
uniformly, it is best to rotate the
tires every 7,500 miles (12,000 km).
For information about the tire rota-
tion order, refer to “Tire rotation ”
F 11-28
.Replace any damaged or
unevenly worn tires at the time of rotation. After tire rotation, adjust
the tire pressures and make sure
the wheel nuts are correctly tigh-
tened. For information about the
tightening torque and tightening
sequence for the wheel nuts, refer
to
“Flat tires” F9-5
.
& Vehicle load limit –how to
determine
The load capacity of your vehicle is
determined by weight, not by avail-
able cargo space. The load limit of
your vehicle is shown on the
vehicle placard attached to the
driver ’s side door pillar. Locate the
statement “The combined weight of
occupants and cargo should never
exceed XXX kg or XXX lbs ”on your
vehicle ’s placard.
Thevehicleplacardalsoshows
seating capacity of your vehicle.
The total load capacity includes the
total weight of driver and all pas-
sengers and their belongings, any
cargo, any optional equipment such
as a trailer hitch, roof rack or bike carrier, etc., and the tongue load of
a trailer. Therefore cargo capacity
can be calculated by the following
method.
Cargo capacity = Load limit
−(total
weight of occupants + total weight
of optional equipment + tongue
load of a trailer (if applicable))
For information about vehicle load-
ing, refer to “Loading your vehicle ”
F 8-12.
For information about towing capa-
city and weight limits, refer to
“Trailer towing ”F 8-19
.
13-10
Page 623 of 634
14-8Index
Mirror defogger......................................................... 3-116
Mirrors .................................................................... 3-107
Moonroof .................................................................. 2-45
Multi function display .................................................. 3-44
Multi information display .............................................. 3-39
N
New vehicle break-in driving .......................................... 8-2
O
Odometer .................................................................. 3-10
Oil filter .................................................................... 11-11
Oil level
Engine ................................................................. 11-10
Front differential gear ............................................ 11-17
Manual transmission .............................................. 11-17
Rear differential gear ............................................. 11-17
Warning light ......................................................... 3-18
Oil pressure warning light ............................................ 3-18
On-road and off-road driving ...................................... 8, 8-6
Outside Mirror defogger ..................................................... 3-116
Mirrors ................................................................. 3-115
Temperature indicator ..................................... 3-34, 3-49
Overhead console ........................................................ 6-7
Overheating engine .................................................... 9-12
P
Parking Brake ................................................................... 7-47
Brake stroke ......................................................... 11-23 Tips ...................................................................... 7-48
Periodic inspections ..................................................... 8-4
Petrol fuel ................................................................... 7-3
PIN Code Access ....................................................... 2-19
Power Door locking switch .................................................. 2-8
Outlets ................................................................... 6-9
Outside mirrors .................................................... 3-115
Rear gate ...................................................... 2-39, 9-19
Seat ....................................................................... 1-5
Steering ................................................................ 7-34
Steering warning light .............................................. 3-23
Precautions against vehicle modification ................ 1-29, 1-72
Preparing to drive ........................................................ 7-8
Push-button Ignition switch ......................................................... 3-6
Starting and stopping engine .................................... 7-12
R
RCTA........................................................................\
7-59
Rear Combination lights ................................................ 11-42
Differential gear oil ........................................ 11-17, 12-7
Gate ............................................................. 2-38, 9-18
Turn signal light .................................................... 11-42
Rear seat .................................................................. 1-11
Folding down ......................................................... 1-13
Head restraint adjustment ........................................ 1-12
Heater ................................................................... 1-10
Reclining ............................................................... 1-15
Rear view camera ......................................................
6-17