2017 SEAT IBIZA ST change wheel
[x] Cancel search: change wheelPage 159 of 248

Driving
grip on the front axle, resulting in understeer
or “l en
g
thening” of the trajectory.
The XDS system can detect and correct this
effect via the sensors and signals of the ESC.
Via the ESC, the XDS will brake the inside
wheel and counter the excess driving torque
of that wheel. This means that the driver's
desired trajectory is much more precise.
The XDS system works in combination with
the ESC and is always active, even when ASR
traction control is disconnected or the ESC is
in Sport mode.
Brake servo The brake servo increases the pressure you
ap
p
ly
to the brake pedal. It works only when
the engine is running .
If the brake servo is not functioning, e.g. due
to a malfunction, or if the vehicle is being
towed, you will have to press the brake pedal
considerably harder to make up for the lack
of servo assistance. WARNING
The braking distance can also be affected by
ext ern
al factors.
● Never let the vehicle coast with the engine
switc
hed off. Failure to follow this instruction
could result in an accident. The braking dis- tance is increased considerably when the
brak
e ser
vo is not active.
● If the brake servo is not working, for exam-
ple when the
vehicle is being towed, you will
have to press the brake pedal considerably
harder than normal. Hill driving assistant*
This function is only included in vehicles with
ESC.
The hi l
l driving assistant helps the driver to
move off and upward on a hill when the vehi-
cle is stationary.
The system maintains brake pressure for ap-
proximately two seconds after the driver
takes his foot off the brake pedal to prevent
the vehicle from lurching backward when it is
started. During these 2 seconds, the driver
has enough time to release the clutch pedal
and accelerate without the vehicle moving
and without having to use the handbrake,
making start-up easier, more comfortable
and safer.
These are the basic operation conditions:
● being on a ramp or hill/slope,
● doors closed,
● vehicle completely stationary,
● engine running and foot on the brake, ●
bes ide
s having a gear engaged or being in
neutral for manual gear change and with the
selector lever at position S, D or R for an au-
tomatic gearbox.
This system is also active when reversing up-
hill. WARNING
● If y
ou do not start the vehicle immediately
after taking your foot off the brake pedal, the
vehicle may start to roll back under certain
conditions. Depress the brake pedal or use
the hand brake immediately.
● If the engine stalls, depress the brake ped-
al or u
se the hand brake immediately.
● When following a line of traffic uphill, if you
want t
o prevent the vehicle from rolling back
accidentally when starting off, hold the brake
pedal down for a few seconds before starting
off. Note
The Official Service or a specialist workshop
can t el
l you if your vehicle is equipped with
this system. 157
Technical data
Advice
Operation
Emergencies
Safety
Page 161 of 248
Driving
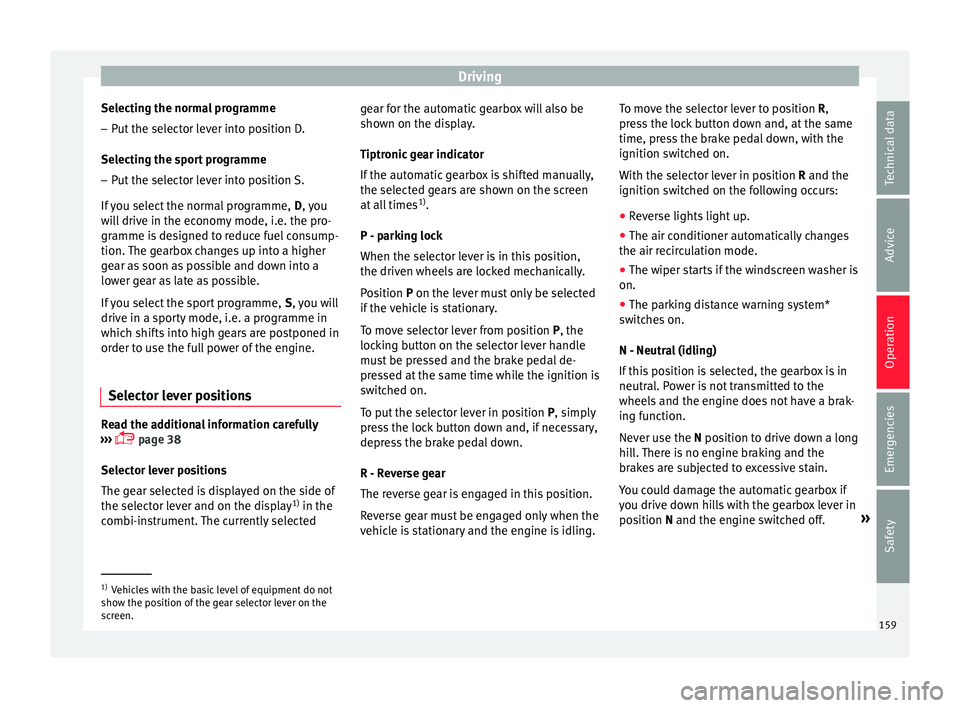
Selecting the normal programme
– Put the selector lever into position D.
Sel ectin
g the s
port programme
– Put the selector lever into position S.
If y
ou select the normal programme, D, you
will drive in the economy mode, i.e. the pro-
gramme is designed to reduce fuel consump-
tion. The gearbox changes up into a higher
gear as soon as possible and down into a
lower gear as late as possible.
If you select the sport programme, S, you will
drive in a sporty mode, i.e. a programme in
which shifts into high gears are postponed in
order to use the full power of the engine.
Selector lever positions Read the additional information carefully
› ›
›
page 38
Selector lever positions
The gear selected is displayed on the side of
the selector lever and on the display 1)
in the
combi-instrument. The currently selected gear for the automatic gearbox will also be
shown on the dis
play.
Tiptronic gear indicator
If the automatic gearbox is shifted manually,
the selected gears are shown on the screen
at all times 1)
.
P - parking lock
When the selector lever is in this position,
the driven wheels are locked mechanically.
Position P on the lever must only be selected
if the vehicle is stationary.
To move selector lever from position P, the
locking button on the selector lever handle
must be pressed and the brake pedal de-
pressed at the same time while the ignition is
switched on.
To put the selector lever in position P, simply
press the lock button down and, if necessary,
depress the brake pedal down.
R - Reverse gear
The reverse gear is engaged in this position.
Reverse gear must be engaged only when the
vehicle is stationary and the engine is idling. To move the selector lever to position R,
pres
s the lock button down and, at the same
time, press the brake pedal down, with the
ignition switched on.
With the selector lever in position R and the
ignition switched on the following occurs:
● Reverse lights light up.
● The air conditioner automatically changes
the air recir
culation mode.
● The wiper starts if the windscreen washer is
on.
● The parking distance warning system*
switc
hes on.
N - Neutral (idling)
If this position is selected, the gearbox is in
neutral. Power is not transmitted to the
wheels and the engine does not have a brak-
ing function.
Never use the N position to drive down a long
hill. There is no engine braking and the
brakes are subjected to excessive stain.
You could damage the automatic gearbox if
you drive down hills with the gearbox lever in
position N and the engine switched off. »1)
Vehicles with the basic level of equipment do not
show the po s
ition of the gear selector lever on the
screen. 159
Technical data
Advice
Operation
Emergencies
Safety
Page 162 of 248

Operation
D - Drive (forward)
In thi s
po
sition the gearbox automatically
changes to a lower or higher gear, according
to the engine's requirements, the driving
style and speed. The braking effect of the en-
gine when driving downhill is very limited
when the selector is in this position. The in-
strument panel display shows the selected
gear as well as the selector lever in position
D.
When travelling at speeds lower than 5 km/h
(3 mph) or when the vehicle is stationary,
press the brake pedal to change the selector
lever from position N to position D.
S - Standard driving position (Sport pro-
gramme)
When the selector lever is in position S, it will
automatically change up into a higher gear
later, and change down into a low gear, if
compared with position D. This way, it is pos-
sible to take full advantage of the engine re-
serve power, depending on the engine de-
mand, driving style and speed. The braking
effect of the engine when driving downhill is
very limited. On the instrument panel display
the selected gear is shown as well as the se-
lector lever to position S.
To select gear range S, press the lock button
on the selector lever. WARNING
● As a driv er
, you should never leave your ve-
hicle if the engine is running and a gear range
is engaged. If you have to leave your vehicle
while the engine is running, you must apply
the parking brake and put the selector lever
in position P.
● If the engine is running and if D or R is en-
gaged,
you will need to hold the car on the
foot brake. The car will creep forward as the
power transmission is not fully interrupted
even when the engine is idling.
● Never accelerate when moving the selector
lever or
you may cause an accident.
● Never move the selector lever to R or P
when driving. Ri
sk of accident!
● Before driving down a long, steep slope, it
is a
dvisable to reduce speed and change into
a lower gear.
● If you stop the vehicle up hill, always hold
the foot br
ake strongly depressed down to
stop it from rolling back.
● Never allow the brake to rub and do not use
the brake ped
al too often or for long periods.
Constant braking will cause the brakes to
overheat and will considerably reduce the
brake effect. This increases the braking dis-
tance and could cause the brake system to
fail.
● Never allow the car to roll down a gradient
with the ge
ar in neutral N, or in selector lever
position D, even if the engine is not running. ●
If the v
ehicle moves with no control, an ac-
cident and serious injury may occur. WARNING
Never switch the engine off until the vehicle
i s s
tationary. You could lose control of your
vehicle. This could cause an accident and se-
rious injury.
● The airbags and belt tensioners do not
work when the ignition i
s switched off.
● The brake servo does not work with the en-
gine off. Y
ou need more force to stop the vehi-
cle.
● Power steering does not work when the en-
gine is not
running. That is why it is much
more difficult to turn the steering wheel.
● Never remove the key from the ignition if
the vehic
le is in motion. The steering lock
could suddenly engage, and you would not be
able to steer the vehicle. CAUTION
If you allow the vehicle to move when the en-
gine is sw
itched off or with the selector lever
in position “N”, take your foot off the acceler-
ator and wait until the engine starts idling
before returning to position “D”. 160
Page 163 of 248
Driving
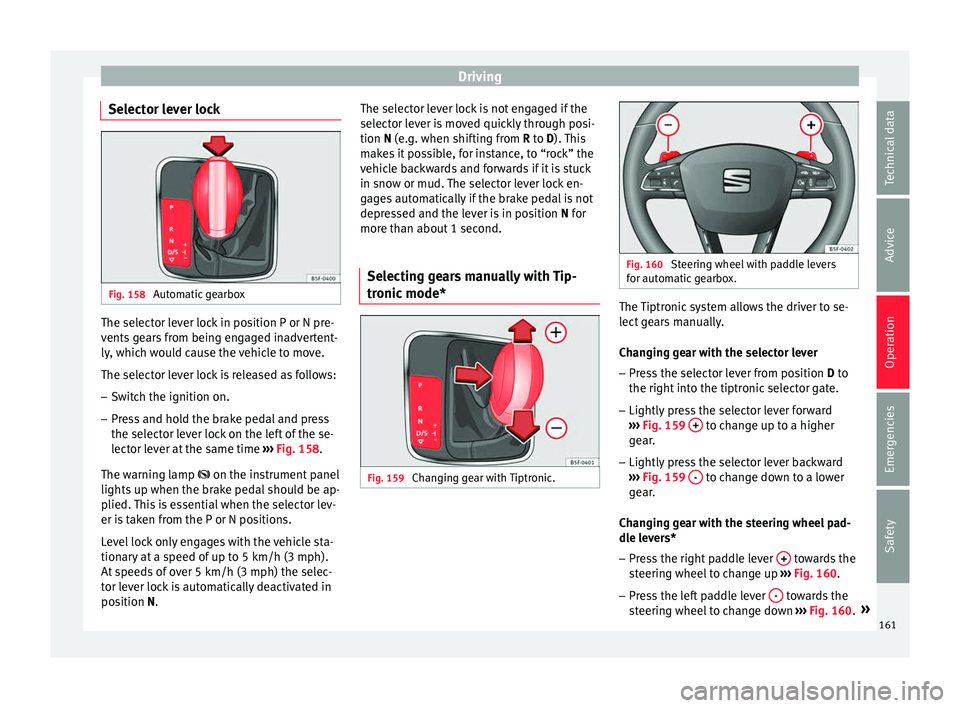
Selector lever lock Fig. 158
Automatic gearbox The selector lever lock in position P or N pre-
v
ents
g
ears from being engaged inadvertent-
ly, which would cause the vehicle to move.
The selector lever lock is released as follows:
– Switch the ignition on.
– Press and hold the brake pedal and press
the selector l
ever lock on the left of the se-
lector lever at the same time ››› Fig. 158.
The warning lamp on the instrument panel
lights up when the brake pedal should be ap-
plied. This is essential when the selector lev-
er is taken from the P or N positions.
Level lock only engages with the vehicle sta-
tionary at a speed of up to 5 km/h (3 mph).
At speeds of over 5 km/h (3 mph) the selec-
tor lever lock is automatically deactivated in
position N. The selector lever lock is not engaged if the
selector l
ever is moved quickly through posi-
tion N (e.g. when shifting from R to D). This
makes it possible, for instance, to “rock” the
vehicle backwards and forwards if it is stuck
in snow or mud. The selector lever lock en-
gages automatically if the brake pedal is not
depressed and the lever is in position N for
more than about 1 second.
Selecting gears manually with Tip-
tronic mode
* Fig. 159
Changing gear with Tiptronic. Fig. 160
Steering wheel with paddle levers
for aut om
atic gearbox. The Tiptronic system allows the driver to se-
l
ect
g
ears manually.
Changing gear with the selector lever – Press the selector lever from position D to
the right int
o the tiptronic selector gate.
– Lightly press the selector lever forward
›››
Fig. 159 + to change up to a higher
g e
ar
.
– Lightly press the selector lever backward
›››
Fig. 159 - to change down to a lower
g e
ar
.
Changing gear with the steering wheel pad-
dle levers*
– Press the right paddle lever + towards the
s t
eerin
g wheel to change up ››› Fig. 160.
– Press the left paddle lever - towards the
s t
eerin
g wheel to change down ››› Fig. 160. »
161
Technical data
Advice
Operation
Emergencies
Safety
Page 164 of 248
Operation
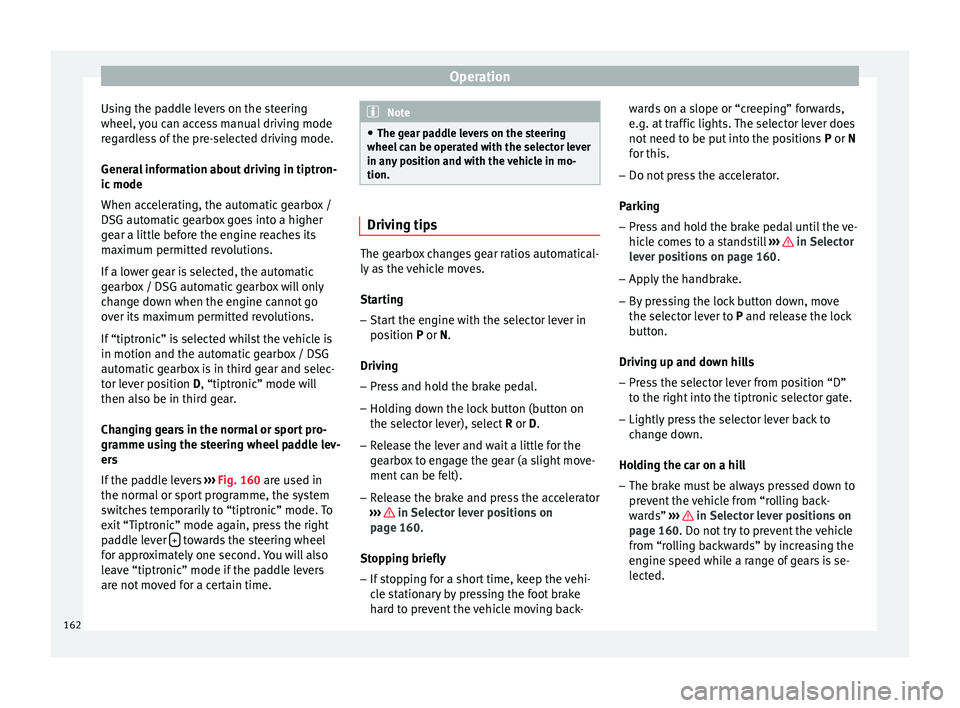
Using the paddle levers on the steering
wheel, y
ou c
an access manual driving mode
regardless of the pre-selected driving mode.
General information about driving in tiptron-
ic mode
When accelerating, the automatic gearbox /
DSG automatic gearbox goes into a higher
gear a little before the engine reaches its
maximum permitted revolutions.
If a lower gear is selected, the automatic
gearbox / DSG automatic gearbox will only
change down when the engine cannot go
over its maximum permitted revolutions.
If “tiptronic” is selected whilst the vehicle is
in motion and the automatic gearbox / DSG
automatic gearbox is in third gear and selec-
tor lever position D, “tiptronic” mode will
then also be in third gear.
Changing gears in the normal or sport pro-
gramme using the steering wheel paddle lev-
ers
If the paddle levers ››› Fig. 160 are used in
the normal or sport programme, the system
switches temporarily to “tiptronic” mode. To
exit “Tiptronic” mode again, press the right
paddle lever + towards the steering wheel
f or ap
pr
oximately one second. You will also
leave “tiptronic” mode if the paddle levers
are not moved for a certain time. Note
● The ge ar p
addle levers on the steering
wheel can be operated with the selector lever
in any position and with the vehicle in mo-
tion. Driving tips
The gearbox changes gear ratios automatical-
ly a
s
the vehicle moves.
Starting
– Start the engine with the selector lever in
pos ition
P or N.
Driving
– Press and hold the brake pedal.
– Holding down the lock button (button on
the selector l
ever), select R or D.
– Release the lever and wait a little for the
gearbo
x to engage the gear (a slight move-
ment can be felt).
– Release the brake and press the accelerator
›››
in Selector lever positions on
p ag
e 160
.
Stopping briefly – If stopping for a short time, keep the vehi-
cle s
tationary by pressing the foot brake
hard to prevent the vehicle moving back- wards on a slope or “creeping” forwards,
e.g. at tr
affic lights. The selector lever does
not need to be put into the positions P or N
for this.
– Do not press the accelerator.
Parkin
g
– Press and hold the brake pedal until the ve-
hicle c
omes to a standstill ››› in Selector
l ev
er po
sitions on page 160.
– Apply the handbrake.
– By pressing the lock button down, move
the selector l
ever to P and release the lock
button.
Driving up and down hills
– Press the selector lever from position “D”
to the right int
o the tiptronic selector gate.
– Lightly press the selector lever back to
chan
ge down.
Holding the car on a hill
– The brake must be always pressed down to
prevent
the vehicle from “rolling back-
wards” ››› in Selector lever positions on
p ag
e 160
. Do not try to prevent the vehicle
from “rolling backwards” by increasing the
engine speed while a range of gears is se-
lected.
162
Page 167 of 248
Driving
● Reduction of
volatile components, includ-
ing odour, in plastic materials.
● Use of CFC-free coolants.
Ban on heavy
metals, with the exceptions
dictated by law (Annex II of ELV Directive
2000/53/EC): cadmium, lead, mercury, hexa-
valent chromium.
Manufacturing methods
● Reduction of the quantity of thinner in the
protectiv
e wax for cavities.
● Use of plastic film as protection during ve-
hicle tr
ansport.
● Use of solvent-free adhesives.
● Use of CFC-free coolants in cooling sys-
tems.
● Recy
cling and energy recovery from resi-
dues (RDF).
● Impr
ovement in the quality of waste water.
● Use of systems for the recovery of residual
heat (therm
al recovery, enthalpy wheels,
etc.).
● The use of water-soluble paints.
Economical and environmentally-
friendly drivin
gFuel consumption, environmental pollution
and w
e
ar t
o the engine, brakes and tyres de- pends in large part on your driving style. By
adopting an ec
onomical driving style and an-
ticipating the traffic situation ahead, you can
easily reduce fuel consumption by 10-15%.
Some tips on how to help you reduce pollu-
tion while saving money are listed below.
Active cylinder management (ACT ®
)
Depending on the equipment, the vehicle
may have active cylinder management
(ACT ®
).
The active cylinder management (ACT ®
) may
automatically deactivate some of the engine
cylinders if the driving situation does not re-
quire too much power. When it is switched
off, no fuel is injected into these cylinders,
hence total fuel consumption may be re-
duced. The number of active cylinders can be
seen on the instrument panel display
››› page 30.
Drive anticipating the traffic situation
A vehicle uses most fuel when accelerating.
When you anticipate situations, you have to
brake less often and, thus, accelerate less. If
it is possible, let the vehicle roll with a gear
engaged, for example, if you see a red light
ahead. The braking effect achieved in this
way helps to reduce the wear of brakes and
tyres; emissions and fuel consumption are
reduced to zero (disconnection due to iner-
tia). Change gear early to save energy
An effective w
ay of saving fuel is to change
up quickly through the gears. Running the
engine at high rpm in the lower gears uses
an unnecessary amount of fuel.
Manual gearbox: shift up from first to second
gear as soon as possible. We recommend
that, whenever possible, you change to a
higher gear upon reaching 2000 rpm. Follow
the “recommended gear” indication that ap-
pears on the instrument panel ››› page 158.
Avoid driving at high speed
We advise you not to drive at the top speed
permitted by the vehicle. Fuel consumption,
exhaust emissions and noise levels all in-
crease very rapidly at higher speeds. Driving
at moderate speeds will help to save fuel.
Avoid idling
It is worthwhile switching off the engine
when waiting in a traffic jam, at level cross-
ings or at traffic lights with a long red phase.
The fuel saved after only 30 - 40 seconds is
greater than the amount of fuel needed to re-
start the engine.
The engine takes a long time to warm up
when it is idling. Mechanical wear and pollu-
tant emissions are also especially high dur-
ing this initial warm-up phase. It is therefore
best to drive off immediately after starting »
165
Technical data
Advice
Operation
Emergencies
Safety
Page 177 of 248
Driver assistance systems
0.60 m
1.60 m
0.60 m
As
y
ou approach the obstacle, the time inter-
val between the audible warnings will be re-
duced. When you reach around 0.30 m the
warning will be constant: do not continue to
move forward (or backward)!
If you maintain separation from the obstacle,
the volume of the warning begins to reduce
after four seconds (does not affect the tone
of the constant warning).
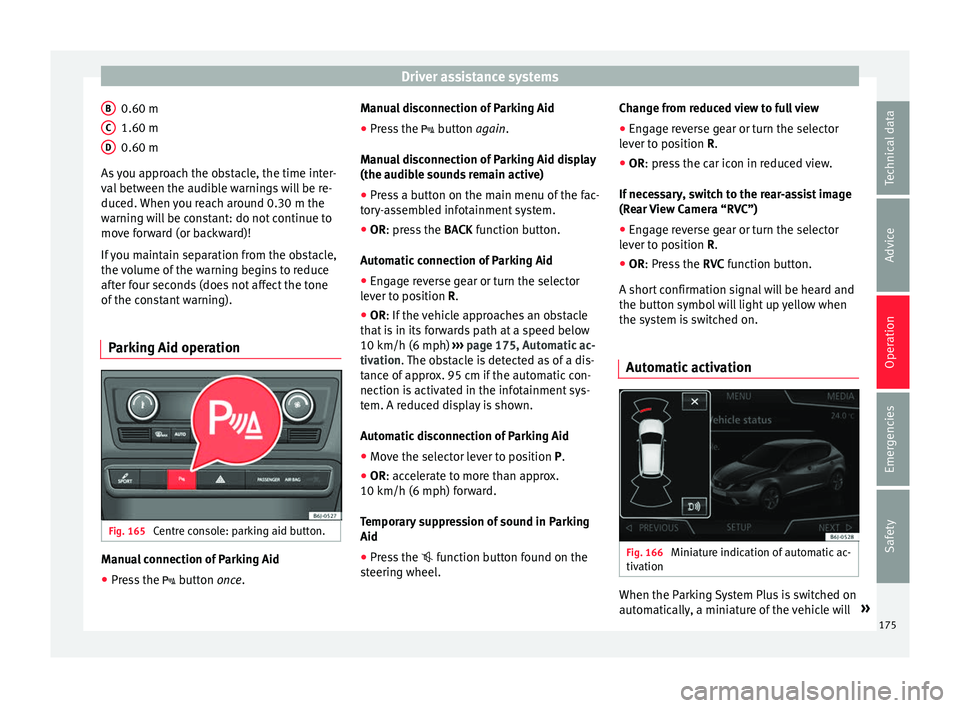
Parking Aid operation Fig. 165
Centre console: parking aid button. Manual connection of Parking Aid
● Press the butt
on
once.
B C
D Manual disconnection of Parking Aid
●
Press the butt
on
again.
Manual disconnection of Parking Aid display
(the audible sounds remain active)
● Press a button on the main menu of the fac-
tory
-assembled infotainment system.
● OR: press the BACK fu
nction button.
Automatic connection of Parking Aid ● Engage reverse gear or turn the selector
lever t
o position R.
● OR: If the vehicle approaches an obstacle
that
is in its forwards path at a speed below
10 km/h (6 mph) ››› page 175, Automatic ac-
tivation. The obstacle is detected as of a dis-
tance of approx. 95 cm if the automatic con-
nection is activated in the infotainment sys-
tem. A reduced display is shown.
Automatic disconnection of Parking Aid
● Move the selector lever to position P.
● OR: accelerate to more than approx.
10 km/h (6 mph) for
ward.
Temporary suppression of sound in Parking
Aid
● Press the function b
utton found on the
steering wheel. Change from reduced view to full view
●
Engage reverse gear or turn the selector
lever t
o position R.
● OR: press the car icon in reduced view.
If nec
essary, switch to the rear-assist image
(Rear View Camera “RVC”)
● Engage reverse gear or turn the selector
lever t
o position R.
● OR: Press the RVC fu
nction button.
A short confirmation signal will be heard and
the button symbol will light up yellow when
the system is switched on.
Automatic activation Fig. 166
Miniature indication of automatic ac-
tiv ation When the Parking System Plus is switched on
aut
om
atic
ally, a miniature of the vehicle will »
175
Technical data
Advice
Operation
Emergencies
Safety
Page 182 of 248
Operation
In combination with the Parking System Plus
› ›
›
page 173, the camera image will cease to
be transmitted immediately when reverse
gear is disengaged or when the selector lever
is moved from the R position, and the optical
information provided by the Parking Aid sys-
tem will be displayed.
Also in combination with the system, the rear
assist image can also be concealed:
● By pressing one of the Infotainment system
button
s on the display.
● OR: By pressing the miniature vehicle that
appe
ars on the left of the screen (which
switches to the full-screen mode of the Park-
ing System Plus's optical system).
If you wish to display the rear assist image
again:
● Disengage reverse, or change the selector
lever's
position, engage reverse again or
move the selector lever to position R.
● OR: Press the RVC fu
nction button1)
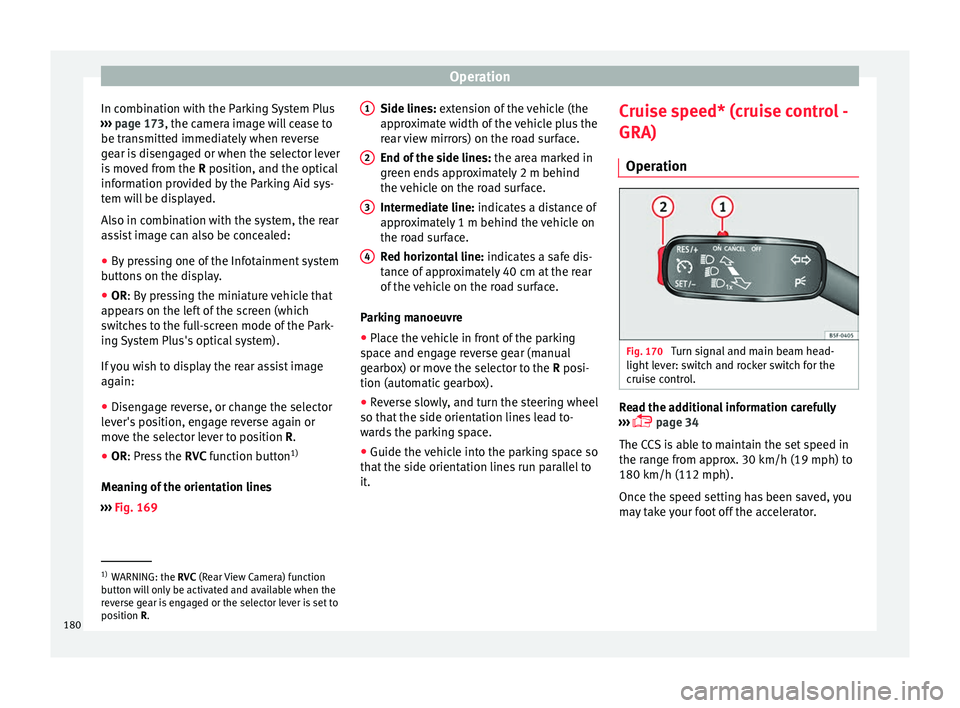
Meaning of the orientation lines
››› Fig. 169 Side lines: exten
sion of the vehicle (the
approximate width of the vehicle plus the
rear view mirrors) on the road surface.
End of the side lines: the area marked in
green ends approximately 2 m behind
the vehicle on the road surface.
Intermediate line: indicates a distance of
approximately 1 m behind the vehicle on
the road surface.
Red horizontal line: indicates a safe dis-
tance of approximately 40 cm at the rear
of the vehicle on the road surface.
Parking manoeuvre
● Place the vehicle in front of the parking
spac
e and engage reverse gear (manual
gearbox) or move the selector to the R posi-
tion (automatic gearbox).
● Reverse slowly, and turn the steering wheel
so that the s
ide orientation lines lead to-
wards the parking space.
● Guide the vehicle into the parking space so
that the s
ide orientation lines run parallel to
it. 1 2
3
4 Cruise speed* (cruise control -
GRA)
Oper ation Fig. 170
Turn signal and main beam head-
light l
ev
er: switch and rocker switch for the
cruise control. Read the additional information carefully
› ›
›
page 34
The CCS is able to maintain the set speed in
the range from approx. 30 km/h (19 mph) to
180 km/h (112 mph).
Once the speed setting has been saved, you
may take your foot off the accelerator. 1)
WARNING: the RVC (Rear
View Camera) function
button will only be activated and available when the
reverse gear is engaged or the selector lever is set to
position R.
180