Page 56 of 96
GB.54
LISTENING TO THE RADIO (3/5)
Pop-up menu “+”.
FM or AM
From one of the three modes, press “+”
to:
– change the source (Radio, USB, SD, etc.);
– add a station to your favourites;
– save a station;
– get text information;
– access the radio settings.
Storing a station
From “Frequency” mode or “List” mode,
press “+” then “Save as preset”.
You can also press one of the preset
buttons until you hear a beep.
You can store up to 6 stations per band.
“List” mode
This mode displays a list of available
radio stations.
Tap
13 or 14 to scroll through all the sta-
tions or slide your finger on the touch-
screen.
To update this list, please see the fol-
lowing pages.
“Preset” mode
This operation mode allows you to
recall on demand those stations which
you have already stored (refer to infor-
mation on “Storing a station” in this sec-
tion).
Press the buttons (numbered 1 to 6) to
select your stored stations.
You can also change a saved station
using the steering column control. Text information (Radio text)
Some FM radio stations broadcast
text information relating to their pro-
grammes (e.g. song titles).
Note: this information is only available
for certain radio stations.
DR (terrestrial digital radio)
From one of the two modes, press “+”
to:
– change the source (Radio, USB, SD,
etc.);
– Save as preset;
– display radio text;
– digital radio services;
– settings.
Storing a station
From “List” mode, press “+”, then “Save
as preset”.
You can also press one of the preset
buttons until you hear a beep.
You can store up to six radio stations.
Page 60 of 96
GB.58
Accessing photos
From the “Multimedia” menu, press
“Pictures” then select the connected
source (Card SD, USB, etc.) to access
the photos. The system offers you two
options:
– “read all photos”;
– “Read a photo”.
Note: Some formats may not be rea-
dable by the system.
Options from folders
From the list of folders/photos, press
“+” to:
– change the source;
– display full screen;
– display the slideshow;
– access zoom in;
– access photo settings.
Note: For more information on compa-
tible photo formats, please consult an
Authorised Dealer.
PHOTO READER
Playback
You can choose between reading all
the photos in a slideshow or viewing a
single photo.
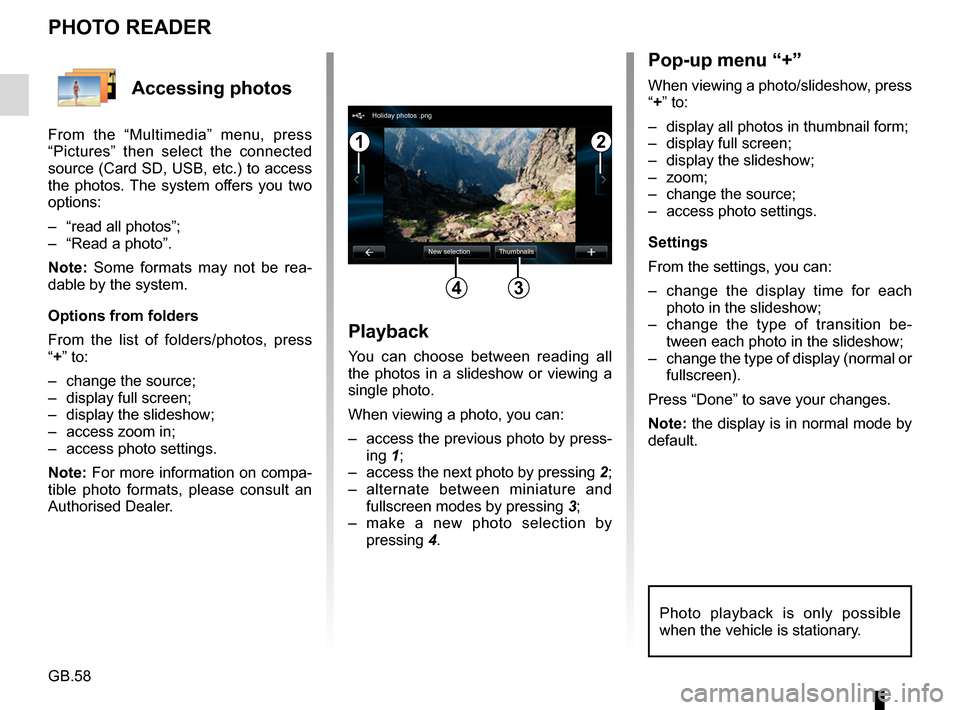
When viewing a photo, you can:
– access the previous photo by press-ing 1;
– access the next photo by pressing 2;
– alternate between miniature and fullscreen modes by pressing 3;
– make a new photo selection by pressing 4.
Pop-up menu “+”
When viewing a photo/slideshow, press
“+” to:
– display all photos in thumbnail form;
– display full screen;
– display the slideshow;
– zoom;
– change the source;
– access photo settings.
Settings
From the settings, you can:
– change the display time for each
photo in the slideshow;
– change the type of transition be- tween each photo in the slideshow;
– change the type of display (normal or fullscreen).
Press “Done” to save your changes.
Note: the display is in normal mode by
default.
12
34
Holiday photos .png
New selection Thumbnails
Photo playback is only possible
when the vehicle is stationary.
Page 61 of 96
GB.59
Accessing videos
From the “Multimedia” menu, press
“Video” then select the source con-
nected (SD card, USB, etc.) to access
videos. The system offers you two op-
tions:
– “play all videos”;
– “play a video”.
Note: Some formats may not be read-
able by the system.
Options from folders
From the list of folders/videos, press “+”
to:
– change the source;
– access the settings.
Note: For more information on compat-
ible video formats, please consult an
Authorised Dealer.
VIDEO PLAYBACK
Playback
You can choose between playing all the
videos or playing a single video.
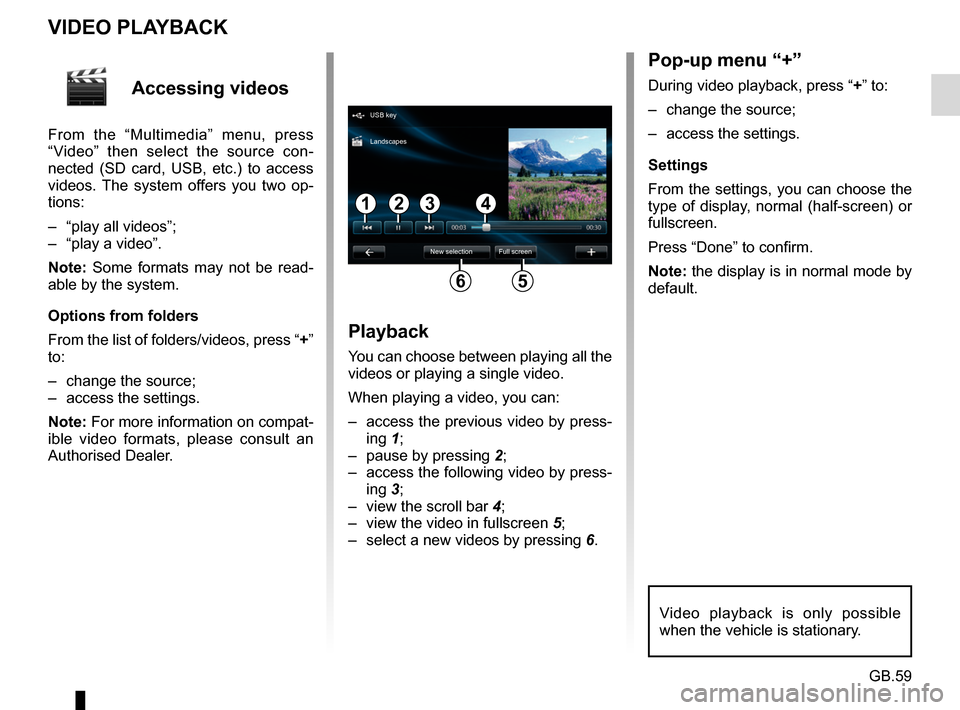
When playing a video, you can:
– access the previous video by press-ing 1;
– pause by pressing 2;
– access the following video by press- ing 3;
– view the scroll bar 4;
– view the video in fullscreen 5;
– select a new videos by pressing 6.
Pop-up menu “+”
During video playback, press “+” to:
– change the source;
– access the settings.
Settings
From the settings, you can choose the
type of display, normal (half-screen) or
fullscreen.
Press “Done” to confirm.
Note: the display is in normal mode by
default.
Video playback is only possible
when the vehicle is stationary.
1324
56
USB key
New selection Full screen
Landscapes
Page 63 of 96
GB.61
MULTIMEDIA SETTINGS (2/2)
Pictures
This menu allows you to adjust the mul-
timedia settings:
– set the timing of each picture in the slideshow;
– configure the default view for pic- tures.Video
This menu enables you to set the
type of video display:
– “Normal view”;
– “Full screen”.
Page 64 of 96
GB.62
PAIRING AND UNPAIRING A TELEPHONE (1/2)
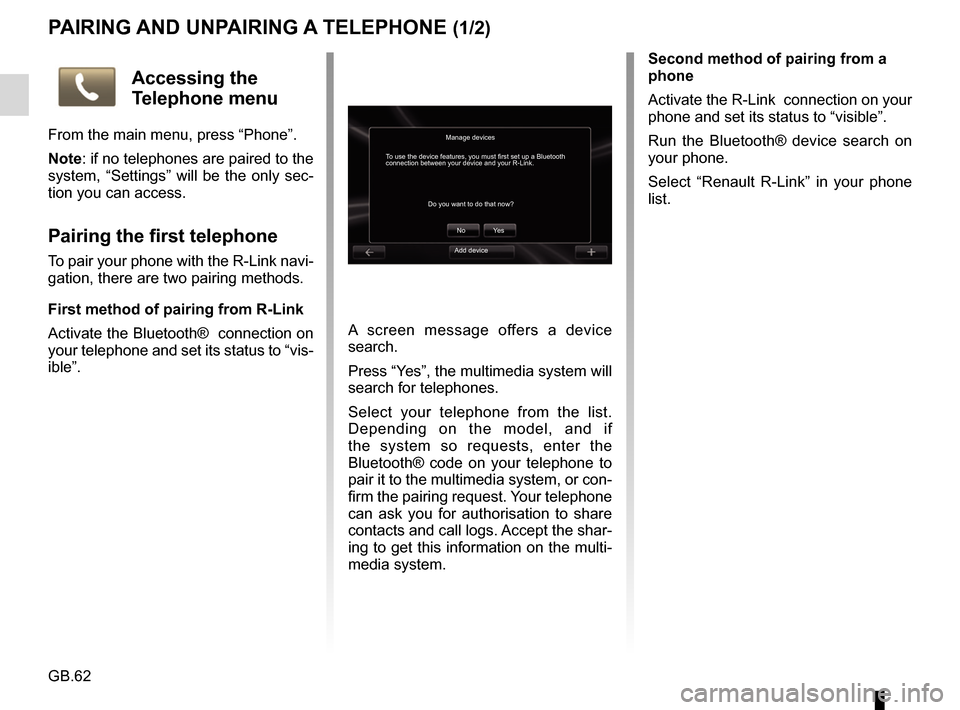
A screen message offers a device
search.
Press “Yes”, the multimedia system will
search for telephones.
Select your telephone from the list.
Depending on the model, and if
the system so requests, enter the
Bluetooth® code on your telephone to
pair it to the multimedia system, or con-
firm the pairing request. Your telephone
can ask you for authorisation to share
contacts and call logs. Accept the shar-
ing to get this information on the multi-
media system.Second method of pairing from a
phone
Activate the R-Link connection on your
phone and set its status to “visible”.
Run the Bluetooth® device search on
your phone.
Select “Renault R-Link” in your phone
list.
Manage devices
No
Do you want to do that now?
To use the device features, you must first set up a Bluetooth
connection between your device and your R-Link.
Ye s
Accessing the
Telephone menu
From the main menu, press “Phone”.
Note: if no telephones are paired to the
system, “Settings” will be the only sec-
tion you can access.
Pairing the first telephone
To pair your phone with the R-Link navi-
gation, there are two pairing methods.
First method of pairing from R-Link
Activate the Bluetooth® connection on
your telephone and set its status to “vis-
ible”.Add device
Page 65 of 96
GB.63
PAIRING, UNPAIRING A TELEPHONE (2/2)
Pairing another telephone
From your telephone, activate the
Bluetooth® connection.
From the “Telephone” menu, press
“Settings”, then “Manage devices”.
From the list of paired phones in the
“Manage devices” menu, press the
“Add device” button to add a phone to
the list.
For safety reasons, carry
out these operations when
the vehicle is stationary.
Unpairing a phone
From the main menu, select
“Telephone”, “Settings”, then “Manage
devices”.
From the list of paired telephones in
the “Manage devices” menu, press
the button on the pop-up menu, then
“Delete device(s)”. Select the device
you want to unpair on the multimedia
system screen, then press “Delete”.
Page 67 of 96
GB.65
MANAGING THE PHONEBOOK
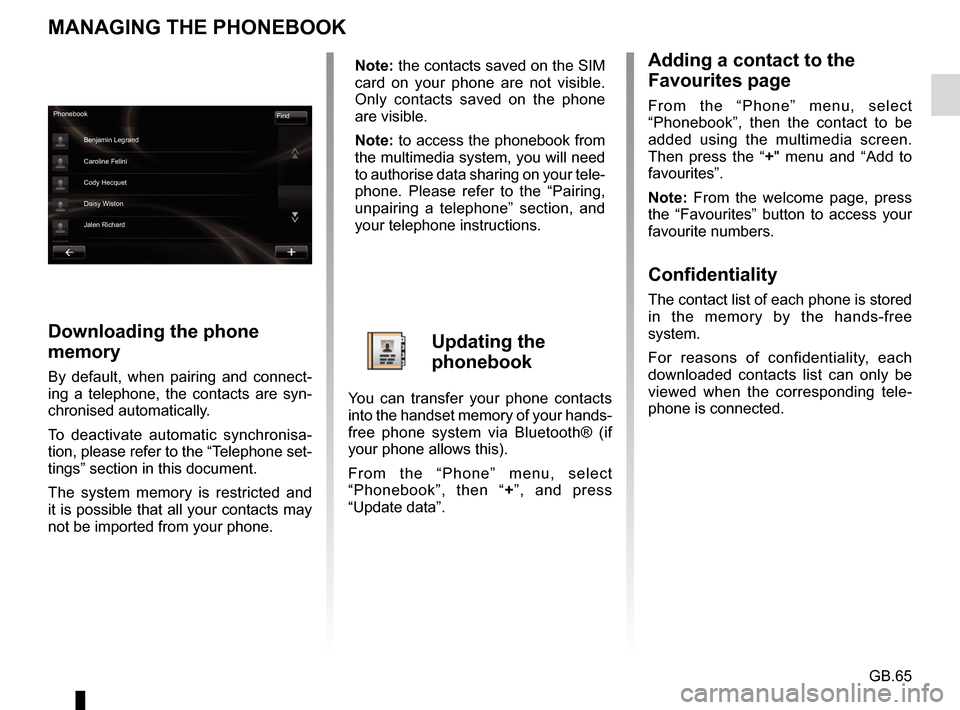
Downloading the phone
memory
By default, when pairing and connect-
ing a telephone, the contacts are syn-
chronised automatically.
To deactivate automatic synchronisa-
tion, please refer to the “Telephone set-
tings” section in this document.
The system memory is restricted and
it is possible that all your contacts may
not be imported from your phone.
Adding a contact to the
Favourites page
From the “Phone” menu, select
“Phonebook”, then the contact to be
added using the multimedia screen.
Then press the “+" menu and “Add to
favourites”.
Note: From the welcome page, press
the “Favourites” button to access your
favourite numbers.
Confidentiality
The contact list of each phone is stored
in the memory by the hands-free
system.
For reasons of confidentiality, each
downloaded contacts list can only be
viewed when the corresponding tele-
phone is connected.
Phonebook Find
Benjamin Legrand
Caroline Felini
Cody Hecquet
Daisy Wiston
Jalen Richard
Note: the contacts saved on the SIM
card on your phone are not visible.
Only contacts saved on the phone
are visible.
Note: to access the phonebook from
the multimedia system, you will need
to authorise data sharing on your tele-
phone. Please refer to the “Pairing,
unpairing a telephone” section, and
your telephone instructions.
Updating the
phonebook
You can transfer your phone contacts
into the handset memory of your hands-
free phone system via Bluetooth® (if
your phone allows this).
From the “Phone” menu, select
“Phonebook”, then “ +”, and press
“Update data”.
Page 68 of 96
GB.66
MAKING/RECEIVING A CALL (1/2)
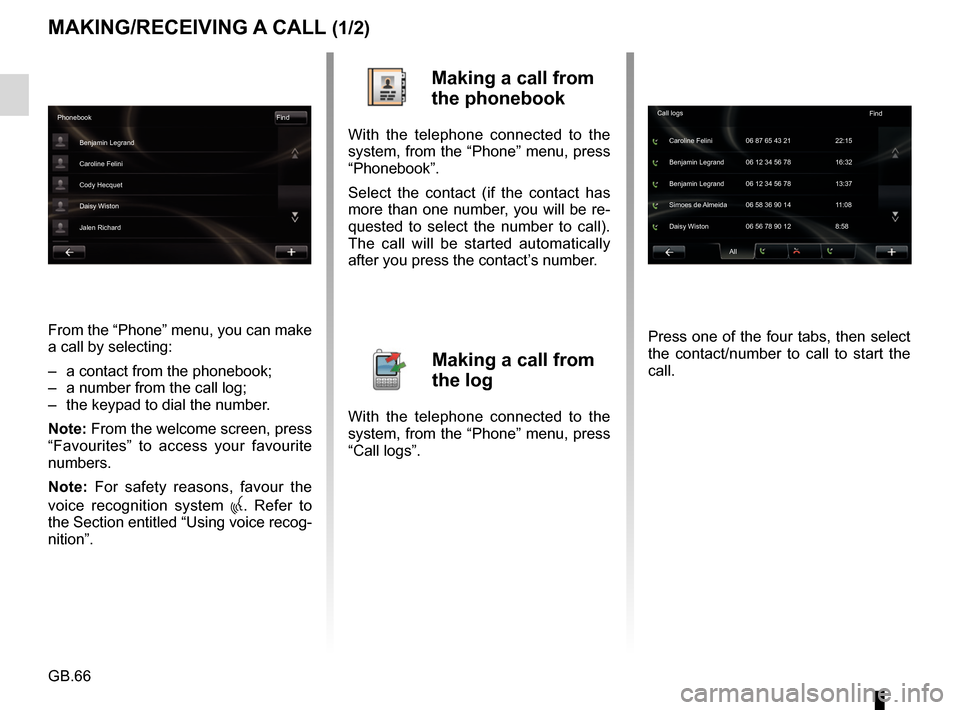
From the “Phone” menu, you can make
a call by selecting:
– a contact from the phonebook;
– a number from the call log;
– the keypad to dial the number.
Note: From the welcome screen, press
“Favourites” to access your favourite
numbers.
Note: For safety reasons, favour the
voice recognition system
. Refer to
the Section entitled “Using voice recog-
nition”.
Making a call from
the phonebook
With the telephone connected to the
system, from the “Phone” menu, press
“Phonebook”.
Select the contact (if the contact has
more than one number, you will be re-
quested to select the number to call).
The call will be started automatically
after you press the contact’s number.
Making a call from
the log
With the telephone connected to the
system, from the “Phone” menu, press
“Call logs”. Press one of the four tabs, then select
the contact/number to call to start the
call.
Phonebook
Find
Benjamin Legrand
Caroline Felini
Cody Hecquet
Daisy Wiston
Jalen Richard
All
Caroline Felini
Call logs
06 87 65 43 21 22:15
Benjamin Legrand 06 12 34 56 78 13:37 Benjamin Legrand 06 12 34 56 78 16:32
Simoes de Almeida 06 58 36 90 14 11:08
Daisy Wiston 06 56 78 90 12 8:58 Find