2017 RENAULT CLIO radio
[x] Cancel search: radioPage 17 of 86

GB.13
LISTENING TO THE RADIO (2/3)
– Display the settings menu by press-ing 1, select “Radio Settings” using
the buttons 4, then press 5 to con-
firm;
– select “Updating the FM Radio List” using the buttons 4, then press 5 to
confirm.
The automatic update of the FM sta-
tions in the area starts. The message
“Updating FM list” appears on the
screen.
When the update is finished, the mes-
sage “FM List updated” is displayed on
the screen.
Note: if another source is selected, the
FM radio list update continues in the
background.
To switch from one saved frequency to
another, press one of the buttons on the
keypad 6.
Note: you can also update the FM radio
list by pressing and holding 12.“Radio Settings”
Display the settings menu by pressing
button 1, then select “Radio Settings”
using the buttons 4 , then press 5 to
confirm. The available functions are as
follows:
– “”TA”;
– “DR alerts”;
– “Updating the FM Radio List”;
– “Updating the DR List”.
Traffic information: “TA”
When this feature is activated, your
audio system allows traffic bulletins to
play automatically as new reports are
issued by some FM or DR radio sta-
tions.
Note: on the AM waveband, this fea-
ture is not available.
Select the information station and then
choose whether you want another lis-
tening source. Traffic information is broadcast auto-
matically and has priority over the audio
source being listened to at the time.
To activate or deactivate this feature,
refer to the “Radio settings” paragraph
under “System settings”.
News bulletins: “DR alerts”
When this function is activated, it is pos-
sible to automatically listen to news as
it is broadcast by certain “FM” or “DR”
radio stations.
If you then select other sources, when
a broadcast of the selected programme
type is made, it will interrupt the other
sources.
To activate or deactivate this function,
please refer to the information on “DR
alerts” in the “System settings” section.
“Updating the FM Radio List”
This feature allows you to perform an
update of all FM stations in your area.
Page 18 of 86

GB.14
Selecting a station
Select the desired waveband (FM1,
FM2, DR1, DR2 or AM) by pressing 12
repeatedly.
– Press one of the buttons 4 to scroll
through the radio stations on the FM,
DR list or the AM radio frequencies;
– turn the control knob 16 on the steer- ing column control to scroll through
the previously stored radio stations;
– press 9 to scroll through the FM, AM
radio frequencies or the DR radio
stations.
Display radio textTo display the text menu, briefly press 3
or press and hold 1. The available func-
tions are as follows:
– “Radio text” (FM and DR only);
– “Intellitext” (DR only);
– “EPG” (DR only).
Note: if no information is provided, the
message “No Radio Text available” is
displayed on the screen.
LISTENING TO THE RADIO (3/3)
“Updating the DR List”
This feature allows you to perform an
update of all DR stations in your area.
– Display the settings menu by press- ing 1, select “Radio Settings” using
the buttons 4, then press 5 to con-
firm;
– select “Updating the DR List” using the buttons 4, then press 5 to con-
firm;
– the automatic update of the list of digital terrestrial radio stations in
your area begins. The message
“Updating DR List” appears on the
screen.
When the automatic frequency scan is
finished, the message “DR list updated”
is displayed on the screen.
Note: you can update the DR radio list
by pressing and holding 12. Text information “Radio text” (FM/
DR)
Some FM or DR radio stations broad-
cast text information related to the pro-
gram being listened to (e.g. the title of a
song or the name of the artist).
NB: This information is only available
for certain radio stations.
“Intellitext” function (DR)
This feature allows access to text in-
formation recorded on some radio sta-
tions. You can scroll through the text to
display new updates on business, poli-
tics, health, weather and sports.
“EPG” program guide (DR)
When this feature is activated, your
audio system will display the station’s
upcoming programs of the day.
Note: This information is only available
for the selected station’s next three
time slots.
Page 19 of 86

GB.15
LISTENING TO A CD/CDMP3 (1/2)
Specifications of readable
formats
Only files with an CDA/MP3> extension
can be played.
If a CD contains both audio CD files
and compressed audio files, the com-
pressed audio files will not be recog-
nised.
Note: some protected files (copyright)
cannot be read.
Note: to ensure that folder and file
names are easy to read, we recom-
mend that you use names with fewer
than 64 characters, and avoid the use
of special characters.
CD/CD MP3 maintenance
To protect its readability, never expose
a CD CD MP3 to heat or direct sunlight.
To clean a CDCD MP3, use a soft cloth
and clean from the centre towards the
edge of the CD.
As a general rule, refer to the CD man-
ufacturer's advice concerning mainte-
nance and storage.
Note: some scratched or dirty CDs
cannot be read.
Inserting a CD/CD MP3
Refer to the section entitled
“Precautions during use”.
Check that there is no CD in the player,
then insert the CD with the printed side
upwards.
Listening to a CD/CD MP3
When a CD/CD MP3 is inserted (printed
surface upward), the audio system au-
tomatically switches to CD/CD MP3
source and starts to play the first track.
If you are listening to the radio and a
CD/CD MP3 is in the player, you can
choose to listen to the CD/CD MP3 by
pressing 11. Playback starts as soon as
the audio system switches to the CD/
CD MP3 source.
Searching for a track
Press 9 to switch from one track to the
next.
Fast winding
Long press 9 to fast forward or rewind.
Playback resumes when the button is
released.
Page 24 of 86

GB.20
PAIRING AND UNPAIRING A TELEPHONE (1/3)
Bluetooth® connectionTo activate the audio system’s
Bluetooth® function:
– press 10;
– select “Bluetooth ON/OFF” using the buttons 4 or the control knob 16
on the steering column control, then
press 5 or 17 to confirm;
– select “ON” using the buttons 4 or
the control knob 16 on the steering column control, then press 5 or 17 to
confirm.
Pairing a phoneTo use your hands-free system, pair
your Bluetooth® mobile phone with
the vehicle. Check that the Bluetooth®
of your phone is activated and set its
status to “visible”.
Pairing will enable the hands-free
phone system to recognise and store a
phone. You can pair up to five phones,
but only one can be connected at a
time.
Pairing can be performed either via the
audio system or via your phone.
Your audio system and phone must
both be switched on.
Note: if you pair a new telephone when
another telephone is already connected
to the audio system, this latter will be
disconnected and replaced by the new
paired telephone.
ON
OFF
Two ways of pairing are possible:
– “Make the radio visible”;
– “Pair a phone”.
Page 25 of 86

GB.21
Depending on the telephone, and if
the audio system requests it, enter
the Bluetooth® code displayed on the
audio system screen in your phone, or
confirm the pairing request.
Your phone may ask for authorisation to
share your contacts and call logs.
Accept sharing to find this information
on the audio system.
Note: the audio system memory is re-
stricted and it is possible that all your
contacts may not be imported from your
phone.
A message on the audio system screen
informs you that the pairing has been
carried out successfully.
The device is automatically saved and
connected to the vehicle.
After sixty seconds, if pairing fails,
repeat these steps.
PAIRING AND UNPAIRING A TELEPHONE (2/3)
If the pairing fails, the system screen
goes back to the initial menu.
If the memory of the hands-free tele-
phone system is full, you must unpair
an existing phone before a new phone
can be paired.
“Pair a phone” method
This method allows you to search from
the audio system to the phone. To pair
a phone using this method, perform the
following steps:
– press button 10;
– select “Pair a phone” using the but- tons 4 or the control knob 16 on the
steering column control, then press 5
or 17 to confirm.
The search for Bluetooth® devices in
the vicinity begins (this search can take
up to sixty seconds.)
Select the telephone that you wish to
pair to audio system using the but-
tons 4 or the control knob 16 on the
steering column control, then press 5
or 17 to confirm.
For safety reasons, carry
out these operations when
the vehicle is stationary.
“Make the radio visible” method
This method allows you to search from
your phone to the audio system.
– Press button 10;
– select “Make the radio visible” using the buttons 4 or the control knob 16
on the steering column control, then
press 5 or 17 to confirm;
– a message appears on the audio system screen and a sixty-second
countdown begins;
– search on your telephone for the “MY CAR” audio system, then select
it;
– a message is displayed on your te- lephone and allows you to confirm
the pairing request.
Your phone may ask for authorisation to
share your contacts and call logs.
The message “MyCAR connected” ap-
pears on your phone indicating that
your audio system is paired and con-
nected to your phone.
Page 28 of 86

GB.24
CONNECTING, DISCONNECTING A TELEPHONE (2/3)Connection failure
If connection fails, check that:
– your phone is switched on;
– your telephone battery is not flat;
– your phone has already been paired to the hands-free phone system;
– the Bluetooth® on your phone and on the system are active;
– the phone is configured to accept the audio system’s connection request.
Note: using your hands-free phone
system for prolonged periods will dis-
charge your phone’s battery more
quickly.
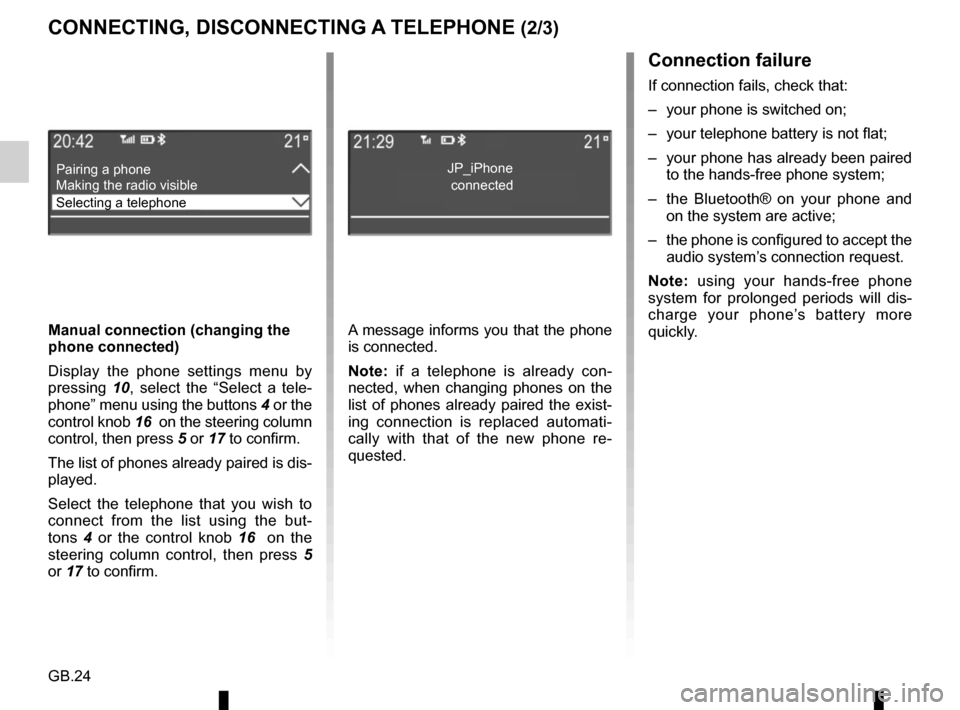
A message informs you that the phone
is connected.
Note: if a telephone is already con-
nected, when changing phones on the
list of phones already paired the exist-
ing connection is replaced automati-
cally with that of the new phone re-
quested.
Manual connection (changing the
phone connected)
Display the phone settings menu by
pressing
10, select the “Select a tele-
phone” menu using the buttons 4 or the
control knob 16 on the steering column
control, then press 5 or 17 to confirm.
The list of phones already paired is dis-
played.
Select the telephone that you wish to
connect from the list using the but-
tons 4 or the control knob 16 on the
steering column control, then press 5
or 17 to confirm.
Pairing a phone
Selecting a telephone Making the radio visibleJP_iPhone
connected
Page 35 of 86

GB.31
SYSTEM SETTINGS (2/5)
“Audio Default”
Display the settings menu by pressing
button 1. Select “Audio settings” using
the buttons 4, press 5 to display the set-
tings menu, then select “Audio Default”.
Confirm your selection by pressing 5.
All the audio settings return to their de-
fault values.
For safety reasons, carry
out any adjustments when
the vehicle is stationary.
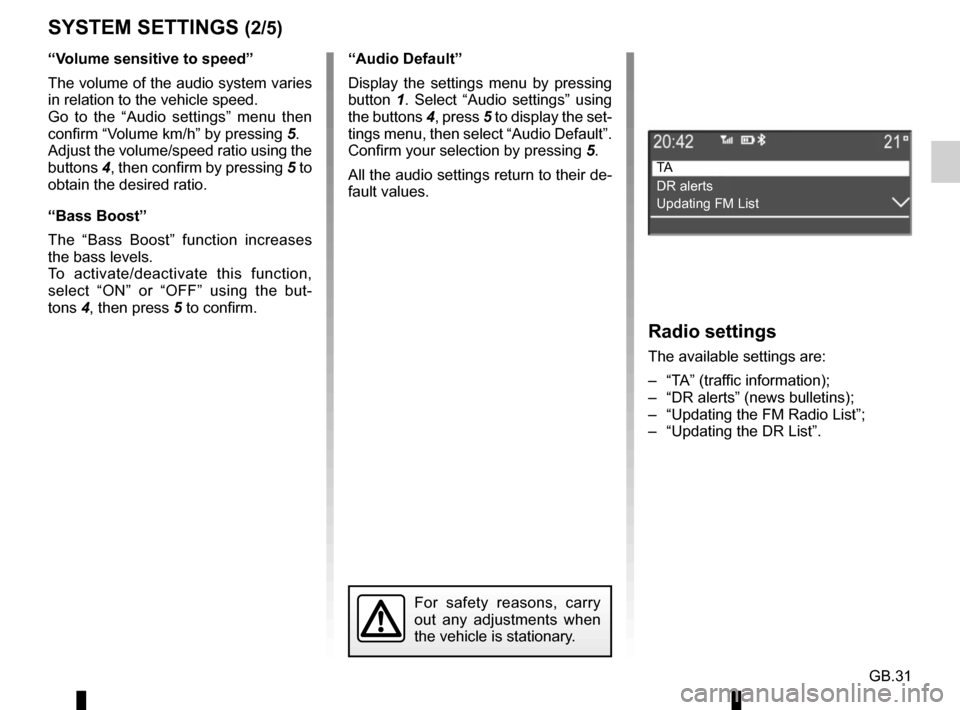
Radio settings
The available settings are:
– “TA” (traffic information);
– “DR alerts” (news bulletins);
– “Updating the FM Radio List”;
– “Updating the DR List”.
TA
DR alerts
Updating FM List
“Volume sensitive to speed”
The volume of the audio system varies
in relation to the vehicle speed.
Go to the “Audio settings” menu then
confirm “Volume km/h” by pressing 5.
Adjust the volume/speed ratio using the
buttons 4, then confirm by pressing 5 to
obtain the desired ratio.
“Bass Boost”
The “Bass Boost” function increases
the bass levels.
To activate/deactivate this function,
select “ON” or “OFF” using the but-
tons 4, then press 5 to confirm.
Page 36 of 86

GB.32
Setting the time
This function allows you to set the time.
Display the settings menu by press-
ing button 1. Select “Clock” using the
buttons 4, then press 5 to confirm. The
available settings are:
– “Set Time”: setting of the hours and minutes;
– “Format”: selection of the time dis- play format “Am/Pm” or “24hr”.
“TA” (traffic information)
To activate or deactivate this function:
– display the settings menu by press- ing button 1, select “Radio Settings” using the buttons 4, then press 5 to
confirm;
– select “TA” using the buttons 4, then press 5 to confirm;
– select “ON” or “OFF” to activate or deactivate the “TA” function.
SYSTEM SETTINGS (3/5)
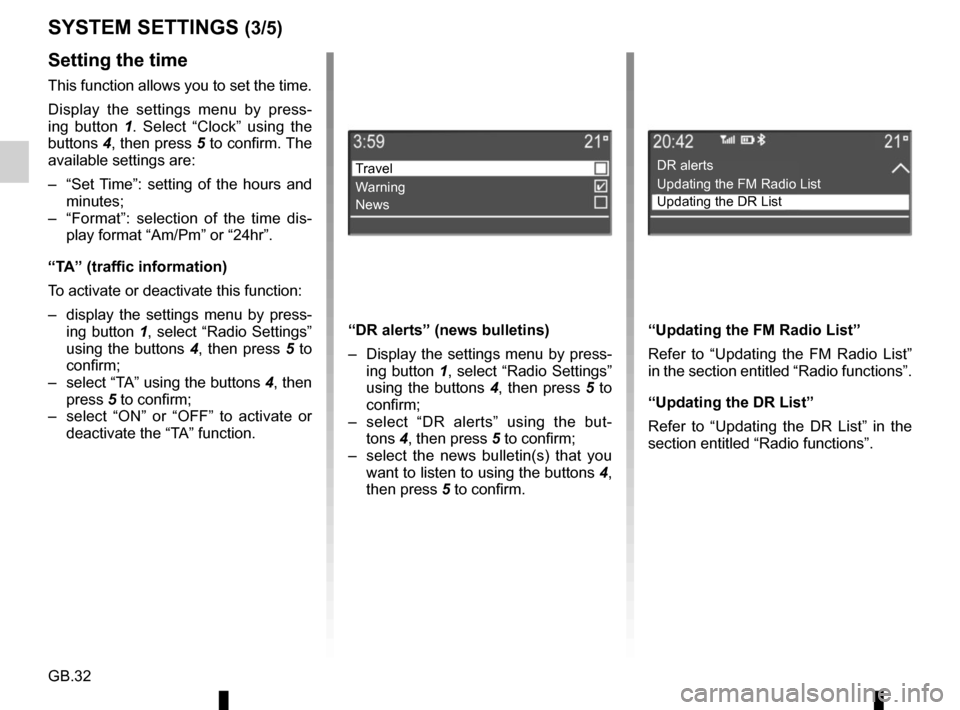
“DR alerts” (news bulletins)
– Display the settings menu by press-ing button 1, select “Radio Settings”
using the buttons 4, then press 5 to
confirm;
– select “DR alerts” using the but- tons 4, then press 5 to confirm;
– select the news bulletin(s) that you want to listen to using the buttons 4,
then press 5 to confirm.
Travel
Warning
News
“Updating the FM Radio List”
Refer to “Updating the FM Radio List”
in the section entitled “Radio functions”.
“Updating the DR List”
Refer to “Updating the DR List” in the
section entitled “Radio functions”.
DR alerts
Updating the FM Radio List
Updating the DR List