Page 159 of 536

NOTE: For the 3500, 4500 and 5500 Chassis Cab vehicles,
the Rear Backup Camera is shipped loose and not installed.
Please Refer to the Ram Body Builders Guide for more
information.
The ParkView Camera is located to the left of the tailgate
handle.
When the vehicle is shifted out of REVERSE (with Camera
delay turned OFF), the rear Camera mode is exited and the
navigation or audio screen appears again.
When the vehicle is shifted out of REVERSE (with Camera
delay turned ON), the rear Camera image will be displayed
for up to 10 seconds after shifting out of � REVERSE � unless
the forward vehicle speed exceeds 8 mph (13 km/h), the
transmission is shifted into � PARK � or the ignition is
switched to the OFF position.
Whenever the Rear View Camera image is activated
through � Backup Camera � button in the � Controls � menu, a
display timer for the image is initiated. The image will
continue to be displayed until the display timer exceeds 10
seconds and the vehicle speed is above 8 mph (13 km/h) or
the touchscreen button � X � to disable display of the Rear
View Camera image is pressed. NOTE: If the vehicle speed remains below 8 mph
(13 km/h), the Rear View Camera image will be displayed
continuously until deactivated via the touchscreen button
� X � .
If Equipped — Cargo Camera Icons:
• — Backup Camera Touchscreen Button
• — Cargo Camera Touchscreen Button
If equipped with a Cargo Camera, a touchscreen button
to indicate the current active Camera image being
displayed is made available whenever the Rear View
Camera image is displayed.
If equipped with a Cargo Camera, a touchscreen button
to switch the display to Cargo Camera image is made
available whenever the Rear View Camera image is
displayed.
A touchscreen button � X � to disable display of the camera
image is made available when the vehicle is not in RE-
VERSE gear. 3UNDERSTANDING THE FEATURES OF YOUR VEHICLE 157
Page 192 of 536

▫ CD Player — If Equipped ................ .274
� CD/DVD DISC MAINTENANCE ........... .275
� RADIO OPERATION AND MOBILE DEVICES . . .275
▫ Regulatory And Safety Information ......... .275
� CLIMATE CONTROLS ................... .277
▫ Manual Climate Controls Without A Touchscreen —
If Equipped ......................... .277
▫ Climate Controls With a Touchscreen ........ .282
▫ Automatic Temperature Control (ATC) —
If Equipped ......................... .290
▫ Operating Tips ....................... .291
� PERSONALIZED MENU BAR .............. .293
� UCONNECT VOICE RECOGNITION ........ .294
▫ Introducing Uconnect ................... .294
▫ Get Started .......................... .295
▫ Basic Voice Commands .................. .296
▫ Radio .............................. .298 ▫ Media .............................. .300
▫ Phone .............................. .302
▫ Voice Text Reply ...................... .304
▫ Climate (8.4/8.4 NAV) .................. .305
▫ Navigation (8.4 /8.4 NAV) ............... .305
▫ Uconnect Access (8.4/8.4 NAV) ............ .306
▫ Vehicle Health Alert ................... .307
▫ Register (8.4/8.4 NAV) .................. .307
▫ Mobile App (8.4/8.4 NAV) ............... .308
▫ Voice Texting (8.4/8.4 NAV) .............. .308
▫ Yelp (8.4/8.4 NAV) ..................... .310
▫ SiriusXM T ravel Link (8.4/8.4 NAV) ..........311
▫ Siri Eyes Free — If Equipped ...............311
▫ Do Not Disturb ....................... .314
▫ General Information .................... .314
▫ Additional Information .................. .315190 UNDERSTANDING YOUR INSTRUMENT PANEL
Page 241 of 536
Units
After pressing the “Units” button on the touchscreen, you
may select each unit of measure independently displayed
in the Instrument Cluster Display, and navigation system
(if equipped). The following selectable units of measure are
listed below:
Setting Name Selectable Options
Speed MPH km/h
Distance mi km
Fuel Consumption MPG (US) MPG (UK) L/100 km km/L
Capacity gal (US) gal (UK) L/100 km L
Pressure psi kpa bar
Temperature °C °F
Power HP (US) HP (UK) kW
Torque lb-ft Nm 4UNDERSTANDING YOUR INSTRUMENT PANEL 239
Page 244 of 536

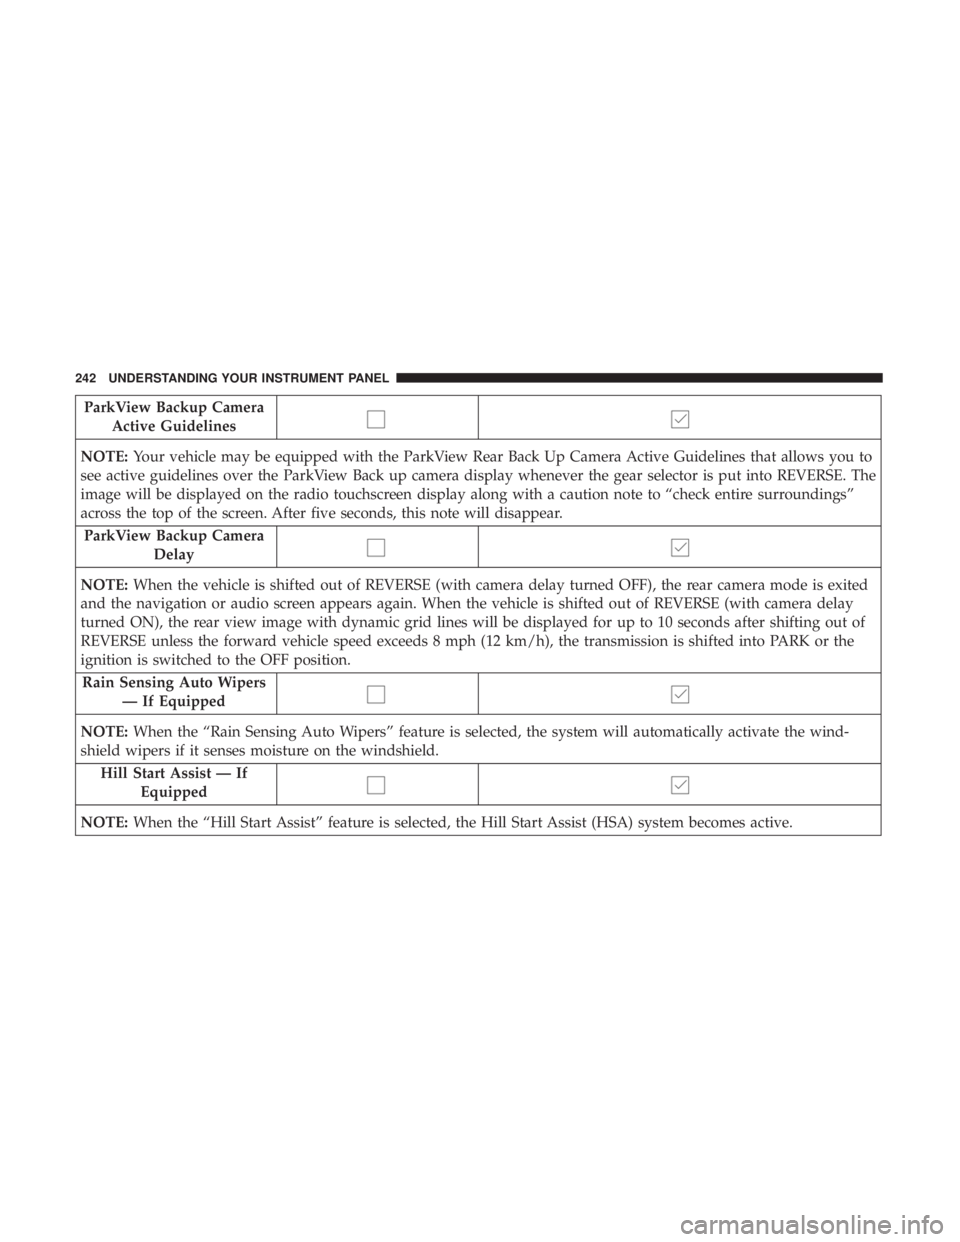
ParkView Backup Camera
Active Guidelines
NOTE: Your vehicle may be equipped with the ParkView Rear Back Up Camera Active Guidelines that allows you to
see active guidelines over the ParkView Back up camera display whenever the gear selector is put into REVERSE. The
image will be displayed on the radio touchscreen display along with a caution note to “check entire surroundings”
across the top of the screen. After five seconds, this note will disappear.
ParkView Backup Camera
Delay
NOTE: When the vehicle is shifted out of REVERSE (with camera delay turned OFF), the rear camera mode is exited
and the navigation or audio screen appears again. When the vehicle is shifted out of REVERSE (with camera delay
turned ON), the rear view image with dynamic grid lines will be displayed for up to 10 seconds after shifting out of
REVERSE unless the forward vehicle speed exceeds 8 mph (12 km/h), the transmission is shifted into PARK or the
ignition is switched to the OFF position.
Rain Sensing Auto Wipers
— If Equipped
NOTE: When the “Rain Sensing Auto Wipers” feature is selected, the system will automatically activate the wind-
shield wipers if it senses moisture on the windshield.
Hill Start Assist — If
Equipped
NOTE: When the “Hill Start Assist” feature is selected, the Hill Start Assist (HSA) system becomes active.242 UNDERSTANDING YOUR INSTRUMENT PANEL
Page 258 of 536

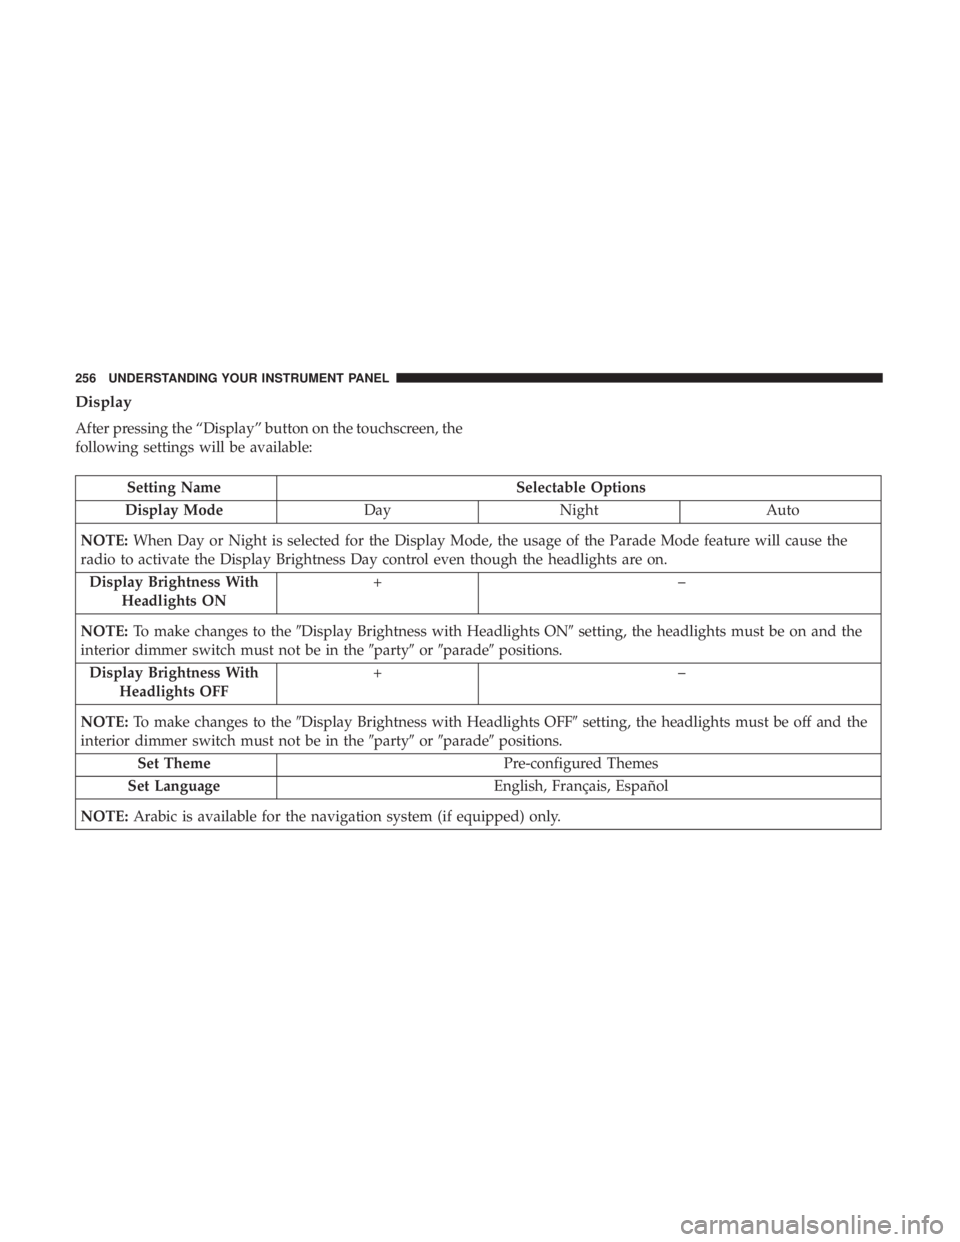
Display
After pressing the “Display” button on the touchscreen, the
following settings will be available:
Setting Name Selectable Options
Display Mode Day Night Auto
NOTE: When Day or Night is selected for the Display Mode, the usage of the Parade Mode feature will cause the
radio to activate the Display Brightness Day control even though the headlights are on.
Display Brightness With
Headlights ON +–
NOTE: To make changes to the � Display Brightness with Headlights ON � setting, the headlights must be on and the
interior dimmer switch must not be in the � party � or � parade � positions.
Display Brightness With
Headlights OFF +–
NOTE: To make changes to the � Display Brightness with Headlights OFF � setting, the headlights must be off and the
interior dimmer switch must not be in the � party � or � parade � positions.
Set Theme Pre-configured Themes
Set Language English, Français, Español
NOTE: Arabic is available for the navigation system (if equipped) only.256 UNDERSTANDING YOUR INSTRUMENT PANEL
Page 259 of 536
Setting Name Selectable Options
Touchscreen Beep
Navigation Turn-By-Turn
In Cluster — If Equipped
Controls Screen Time-Out
— If Equipped
Fuel Saver Display —
If Equipped 4UNDERSTANDING YOUR INSTRUMENT PANEL 257
Page 260 of 536
Units
After pressing the “Units” button on the touchscreen you
may select each unit of measure independently displayed
in the Instrument Cluster Display, and navigation system
(if equipped). The following selectable units of measure are
listed below:
Setting Name Selectable Options
Speed MPH km/h
Distance mi km
Fuel Consumption MPG (US) MPG (UK) L/100 km km/L
Capacity gal (US) gal (UK) L/100 km L
Pressure psi kPa bar
Temperature °C °F
Power HP (US) HP (UK) kW
Torque lb-ft Nm
After the desired setting has been selected, press the back
arrow/Done button on the touchscreen to return to the
previous menu. 258 UNDERSTANDING YOUR INSTRUMENT PANEL
Page 298 of 536
Two buttons are all you need to control your Uconnect
system with your voice. Basic Voice Commands
The basic Voice Commands below can be given at any
point while using your Uconnect system.
Push the VR button . After the beep, say �
• Cancel to stop a current voice session
• Help to hear a list of suggested Voice Commands
• Repeat to listen to the system prompts again
Notice the visual cues that inform you of your voice
recognition system’s status. Cues appear on the screen.
Voice Recognition (VR)/Phone Buttons1 — Push To Begin Radio, Media, Navigation, Apps And Climate
Functions
2 — Push To Initiate Or To Answer A Phone Call, Send Or Receive
A Text
Uconnect 3.0296 UNDERSTANDING YOUR INSTRUMENT PANEL