Page 280 of 536

Manual Climate Control Descriptions
Icon Description
MAX A/C Setting
Rotate the Temperature Control Knob counterclockwise until it is set to MAX A/C. This is the
coldest setting and will put the A/C to its maximum power.
A/C Button
Push the A/C button to engage the Air Conditioning (A/C). A LED will illuminate when the
A/C system is engaged.
Recirculation Button
Push and release this button to change the system between recirculation mode and outside air
mode. Recirculation can be used when outside conditions such as smoke, odors, dust, or high
humidity are present.
NOTE:
• Continuous use of the Recirculation mode may make the inside air stuffy and window fog-
ging may occur. Extended use of this mode is not recommended.
• The use of the Recirculation mode in cold or damp weather could cause windows to fog on
the inside, because of moisture buildup inside the vehicle. Select the outside air position for
maximum defogging.
• Recirculation can be used in all modes except for Defrost.
• The A/C can be deselected manually without disturbing the mode control selection.278 UNDERSTANDING YOUR INSTRUMENT PANEL
Page 281 of 536

Icon Description
Front Defrost Setting
Turn the Mode Control knob to the Defrost mode. Air comes from the windshield and side win-
dow demist outlets. When the defrost setting is selected, the blower level will increase. Use De-
frost mode with maximum temperature settings for best windshield and side window defrosting
and defogging.
Rear Defrost Button
Push and release the Rear Defrost Control button to turn on the rear window defroster and the
heated outside mirrors (if equipped). An indicator will illuminate when the rear window de-
froster is on. The rear window defroster automatically turns off after 10 minutes.
Temperature Control
Use this control knob to regulate the temperature of the air inside the passenger compartment. Rotat-
ing the knob counterclockwise, from top center into the blue area of the scale, indicates cooler tem-
peratures. Rotating the knob clockwise, into the red area, indicates warmer temperatures.
Blower Control
There are seven blower speeds. Use this control knob to regulate the amount of air forced
through the system in any mode you select. The blower speed increases as you move the con-
trol clockwise from the off position.
NOTE: Depending on the configuration, your vehicle may be equipped with four blower
speeds. 4UNDERSTANDING YOUR INSTRUMENT PANEL 279
Page 289 of 536

Icon Description
for cooler temperature settings. When the SYNC feature is active, the passenger ’s temperature
will move up and down with the driver ’s temperature, when it is increased and decreased, re-
spectively.
SYNC Button — If Equipped
Press the SYNC button on the touchscreen to toggle the SYNC feature on/off. The SYNC indica-
tor is illuminated when this feature is enabled. SYNC is used to synchronize the passenger tem-
perature setting with the driver temperature setting. The SYNC feature also synchronizes the
rear passengers’ temperature to the driver temperature setting. Changing the passenger tem-
perature setting while in SYNC will automatically exit this feature.
Faceplate Knob
Touchscreen
Buttons Blower Control
Blower Control is used to regulate the amount of air forced through the climate system. There
are seven blower speeds available. The speeds can be selected using either the blower control
knob on the faceplate or the buttons on the touchscreen.
• Faceplate: The blower speed increases as you turn the blower control knob clockwise from
the lowest blower setting. The blower speed decreases as you turn the blower control knob
counterclockwise.
• Touchscreen: Use the small blower icon to reduce the blower setting and the large blower
icon to increase the blower setting. Blower can also be selected by pressing the blower bar
area between the icons. 4UNDERSTANDING YOUR INSTRUMENT PANEL 287
Page 308 of 536

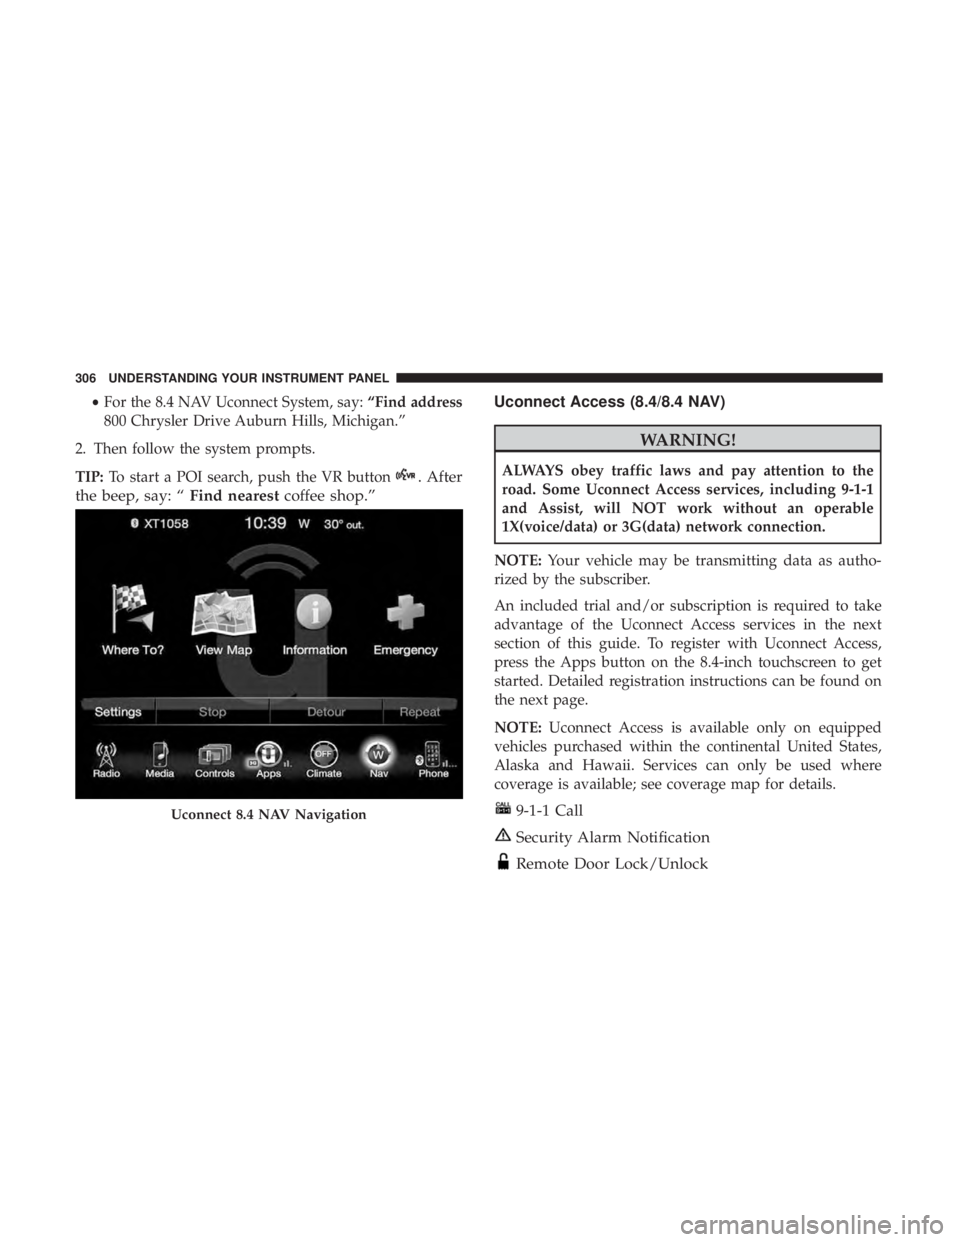
• For the 8.4 NAV Uconnect System, say: “Find address
800 Chrysler Drive Auburn Hills, Michigan.”
2. Then follow the system prompts.
TIP: To start a POI search, push the VR button . After
the beep, say: “ Find nearest coffee shop.” Uconnect Access (8.4/8.4 NAV)
WARNING!ALWAYS obey traffic laws and pay attention to the
road. Some Uconnect Access services, including 9-1-1
and Assist, will NOT work without an operable
1X(voice/data) or 3G(data) network connection.
NOTE: Your vehicle may be transmitting data as autho-
rized by the subscriber.
An included trial and/or subscription is required to take
advantage of the Uconnect Access services in the next
section of this guide. To register with Uconnect Access,
press the Apps button on the 8.4-inch touchscreen to get
started. Detailed registration instructions can be found on
the next page.
NOTE: Uconnect Access is available only on equipped
vehicles purchased within the continental United States,
Alaska and Hawaii. Services can only be used where
coverage is available; see coverage map for details.
9-1-1 Call
Security Alarm Notification
Remote Door Lock/UnlockUconnect 8.4 NAV Navigation306 UNDERSTANDING YOUR INSTRUMENT PANEL
Page 309 of 536

Stolen Vehicle Assistance
Remote Vehicle Start**
Remote Horn and Lights
Vehicle Finder
Send ‘N Go
Yelp Search
Voice Texting
Roadside Assistance Call
3G Wi-Fi Hotspot***
**If vehicle is equipped.
***Extra charges apply.
Vehicle Health Alert
Your vehicle will send you an email alert if it senses a
problem under the hood with one of your vehicles key
systems. For further information go to the Mopar Owner
Connect website moparownerconnect.com.
Register (8.4/8.4 NAV)
To unlock the full potential of Uconnect Access in your
vehicle, you first need to register with Uconnect Access. 1. Push the ASSIST button on your rearview mirror.
2. Press the “Uconnect Care” button on the touchscreen.
3. A helpful Uconnect Care Agent will register your ve-
hicle and handle all of the details.
Signing up is easy! Simply follow the steps above. Or,
press the “Apps
” button on the touchscreen to
“Register By Web” to complete the process using your
smartphone or computer.
For further information please visit DriveUconnect.com. Assist Button 4UNDERSTANDING YOUR INSTRUMENT PANEL 307
Page 310 of 536

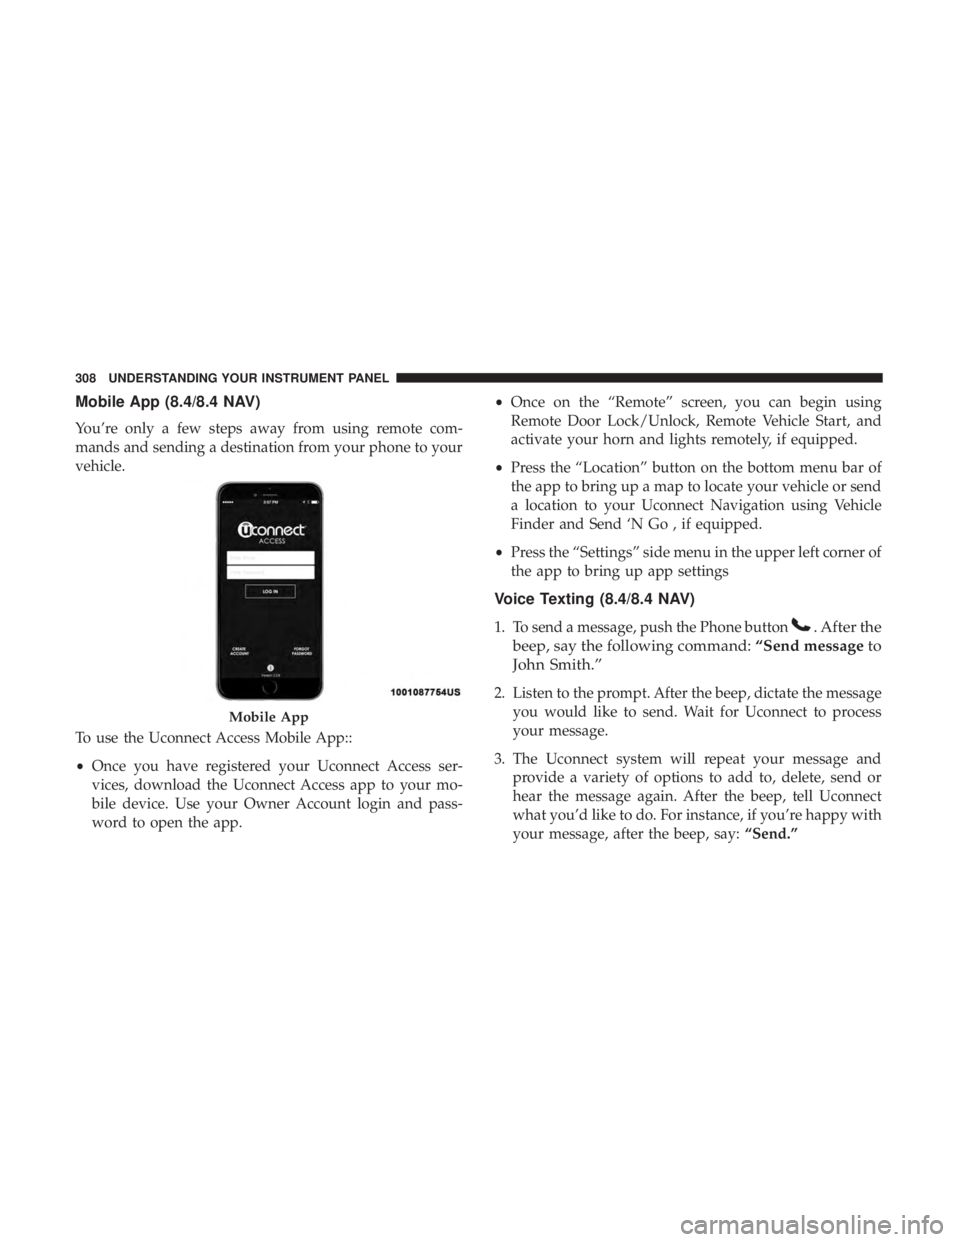
Mobile App (8.4/8.4 NAV)
You’re only a few steps away from using remote com-
mands and sending a destination from your phone to your
vehicle.
To use the Uconnect Access Mobile App::
• Once you have registered your Uconnect Access ser-
vices, download the Uconnect Access app to your mo-
bile device. Use your Owner Account login and pass-
word to open the app. • Once on the “Remote” screen, you can begin using
Remote Door Lock/Unlock, Remote Vehicle Start, and
activate your horn and lights remotely, if equipped.
• Press the “Location” button on the bottom menu bar of
the app to bring up a map to locate your vehicle or send
a location to your Uconnect Navigation using Vehicle
Finder and Send ‘N Go , if equipped.
• Press the “Settings” side menu in the upper left corner of
the app to bring up app settings
Voice Texting (8.4/8.4 NAV)
1. To send a message, push the Phone button . After the
beep, say the following command: “Send message to
John Smith.”
2. Listen to the prompt. After the beep, dictate the message
you would like to send. Wait for Uconnect to process
your message.
3. The Uconnect system will repeat your message and
provide a variety of options to add to, delete, send or
hear the message again. After the beep, tell Uconnect
what you’d like to do. For instance, if you’re happy with
your message, after the beep, say: “Send.”Mobile App308 UNDERSTANDING YOUR INSTRUMENT PANEL
Page 319 of 536

STARTING AND OPERATINGCONTENTS � STARTING PROCEDURES ................ .321
▫ Normal Starting ....................... .321
▫ Automatic Transmission ................. .321
▫ Keyless Enter-N-Go — Ignition ............ .322
▫ Normal Starting ....................... .322
▫ Extreme Cold Weather (Below –20°F or �29°C) . .323
▫ If Engine Fails To Start ................. .323
▫ After Starting ......................... .324
� ENGINE BLOCK HEATER — IF EQUIPPED .... .324
� AUTOMATIC TRANSMISSION ............. .325
▫ Key Ignition Park Interlock ............... .326
▫ Brake/Transmission Shift Interlock System . . . .327
▫ Six–Speed Automatic Transmission —
If Equipped ......................... .327 � POWER TAKE OFF OPERATION — IF EQUIPPED
(CHASSIS CAB ONLY) ................... .336
▫ Stationary Mode ...................... .336
▫ Mobile Mode ......................... .337
� FOUR-WHEEL DRIVE OPERATION —
IF EQUIPPED ......................... .338
▫ Manually Shifted Transfer Case — If Equipped . .338
▫ Electronically Shifted Transfer Case
(Four-Position Switch) — If Equipped ....... .342
� LIMITED-SLIP DIFFERENTIAL ............. .346
� DRIVING ON SLIPPERY SURFACES ......... .347
▫ Acceleration .......................... .347
▫ Traction ............................. .347
� DRIVING THROUGH WATER ............. .348
▫ Flowing/Rising Water .................. .3485
Page 320 of 536

▫ Shallow Standing Water ................. .348
� POWER STEERING ..................... .349
▫ Power Steering Fluid Check .............. .350
� PARKING BRAKE ...................... .350
� BRAKE SYSTEM ....................... .352
▫ Hydraulic Brake Assist .................. .352
� ELECTRONIC BRAKE CONTROL SYSTEM .... .353
▫ Electronic Brake Force Distribution (EBD) ..... .353
▫ Brake System Warning Light .............. .353
▫ Anti-Lock Brake System (ABS) ............ .353
▫ Anti-Lock Brake Warning Light ............ .354
▫ Brake Assist System (BAS) ............... .355
▫ Hill Start Assist (HSA) .................. .355
▫ Traction Control System (TCS) ............ .358
▫ Electronic Stability Control (ESC) .......... .358
▫ Electronic Roll Mitigation (ERM) .......... .362
▫ Trailer Sway Control (TSC) — If Equipped . . . .362 ▫ Hill Descent Control (HDC) — If Equipped . . . .363
� TIRE SAFETY INFORMATION ............. .365
▫ Tire Markings ........................ .365
▫ Tire Identification Number (TIN) ........... .369
▫ Tire Terminology And Definitions .......... .370
▫ Tire Loading And Tire Pressure ........... .371
� TIRES — GENERAL INFORMATION ........ .376
▫ Tire Pressure ......................... .376
▫ Tire Inflation Pressures ................. .377
▫ T ir e Pressures For High Speed Operation .... .378
▫ Tire Maintenance And Replacement ......... .378
▫ Radial Ply Tires ....................... .378
▫ Tire Types ........................... .379
▫ Run Flat Tires — If Equipped ............. .380
▫ Spare Tires — If Equipped ............... .380
▫ Tire Spinning ........................ .382
▫ Tread Wear Indicators .................. .383318 STARTING AND OPERATING