Page 279 of 542
STEERING WHEEL AUDIO CONTROLS — IF
EQUIPPED
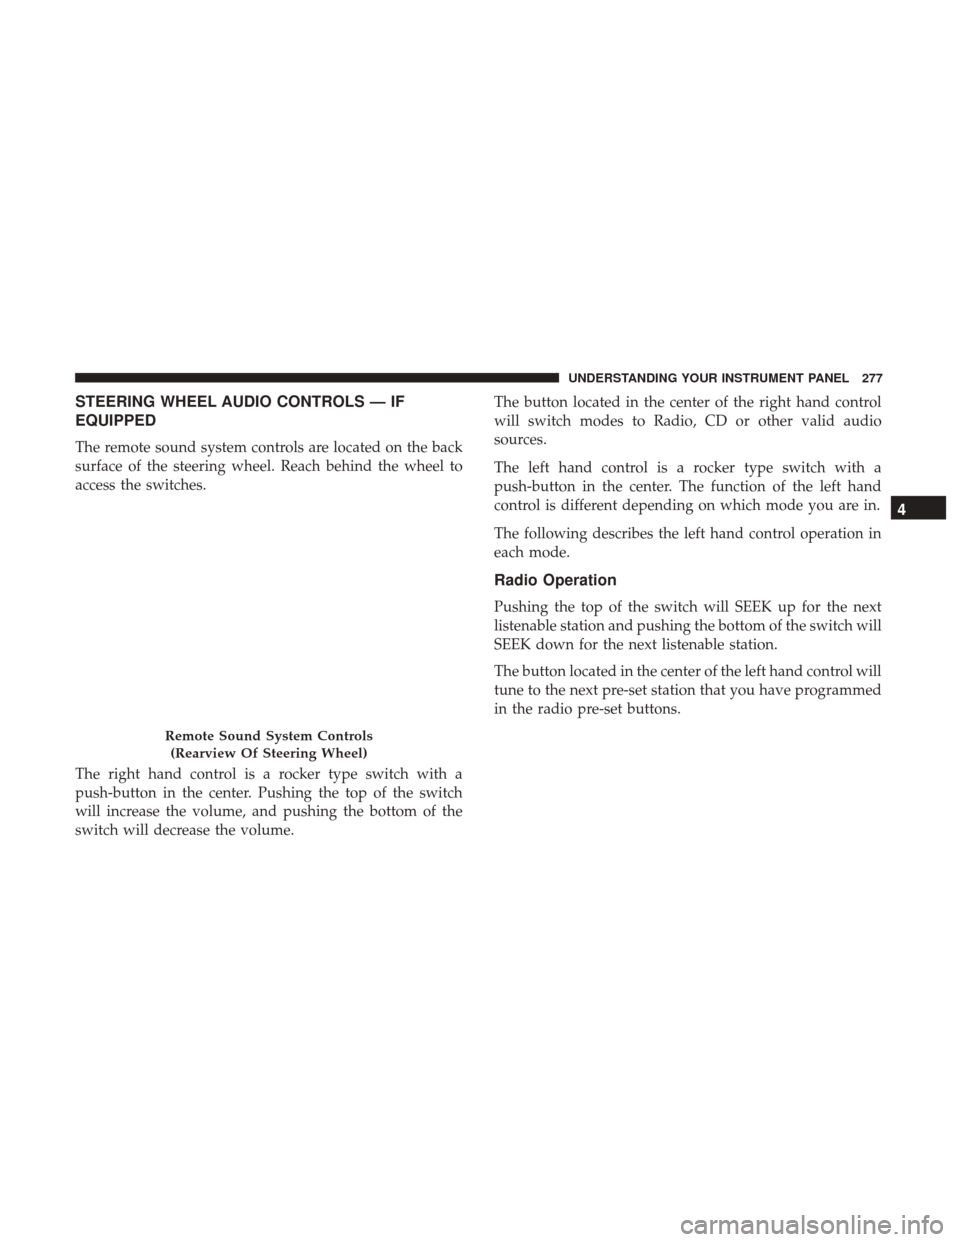
The remote sound system controls are located on the back
surface of the steering wheel. Reach behind the wheel to
access the switches.
The right hand control is a rocker type switch with a
push-button in the center. Pushing the top of the switch
will increase the volume, and pushing the bottom of the
switch will decrease the volume.The button located in the center of the right hand control
will switch modes to Radio, CD or other valid audio
sources.
The left hand control is a rocker type switch with a
push-button in the center. The function of the left hand
control is different depending on which mode you are in.
The following describes the left hand control operation in
each mode.
Radio Operation
Pushing the top of the switch will SEEK up for the next
listenable station and pushing the bottom of the switch will
SEEK down for the next listenable station.
The button located in the center of the left hand control will
tune to the next pre-set station that you have programmed
in the radio pre-set buttons.
Remote Sound System Controls
(Rearview Of Steering Wheel)
4
UNDERSTANDING YOUR INSTRUMENT PANEL 277
Page 292 of 542
IconDescription
Uconnect 5.0
Uconnect 8.4
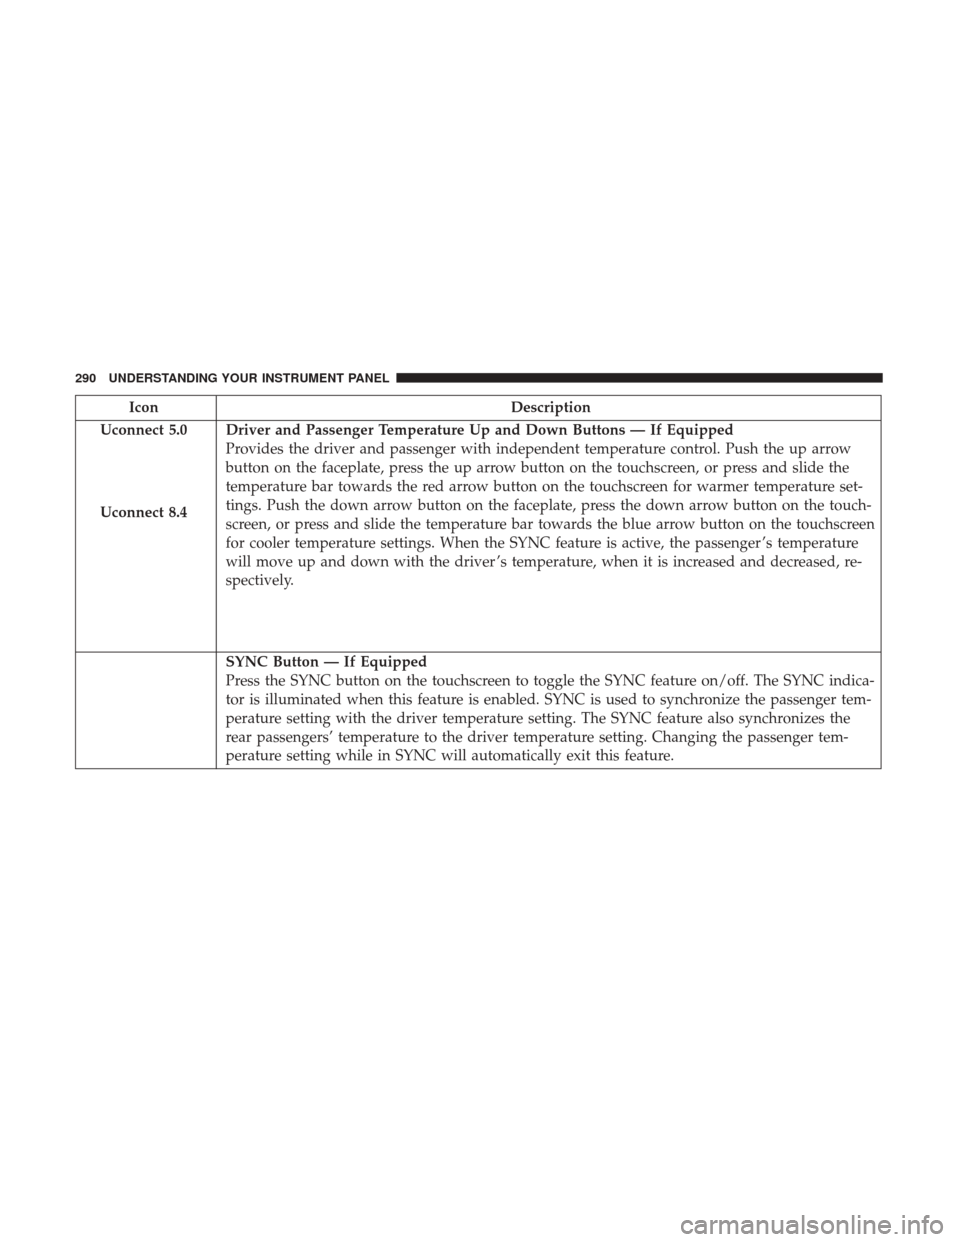
Driver and Passenger Temperature Up and Down Buttons — If Equipped
Provides the driver and passenger with independent temperature control. Push the up arrow
button on the faceplate, press the up arrow button on the touchscreen, or press and slide the
temperature bar towards the red arrow button on the touchscreen for warmer temperature set-
tings. Push the down arrow button on the faceplate, press the down arrow button on the touch-
screen, or press and slide the temperature bar towards the blue arrow button on the touchscreen
for cooler temperature settings. When the SYNC feature is active, the passenger ’s temperature
will move up and down with the driver ’s temperature, when it is increased and decreased, re-
spectively.
SYNC Button — If Equipped
Press the SYNC button on the touchscreen to toggle the SYNC feature on/off. The SYNC indica-
tor is illuminated when this feature is enabled. SYNC is used to synchronize the passenger tem-
perature setting with the driver temperature setting. The SYNC feature also synchronizes the
rear passengers’ temperature to the driver temperature setting. Changing the passenger tem-
perature setting while in SYNC will automatically exit this feature.
290 UNDERSTANDING YOUR INSTRUMENT PANEL
Page 293 of 542
IconDescription
Faceplate Knob
Touchscreen Buttons
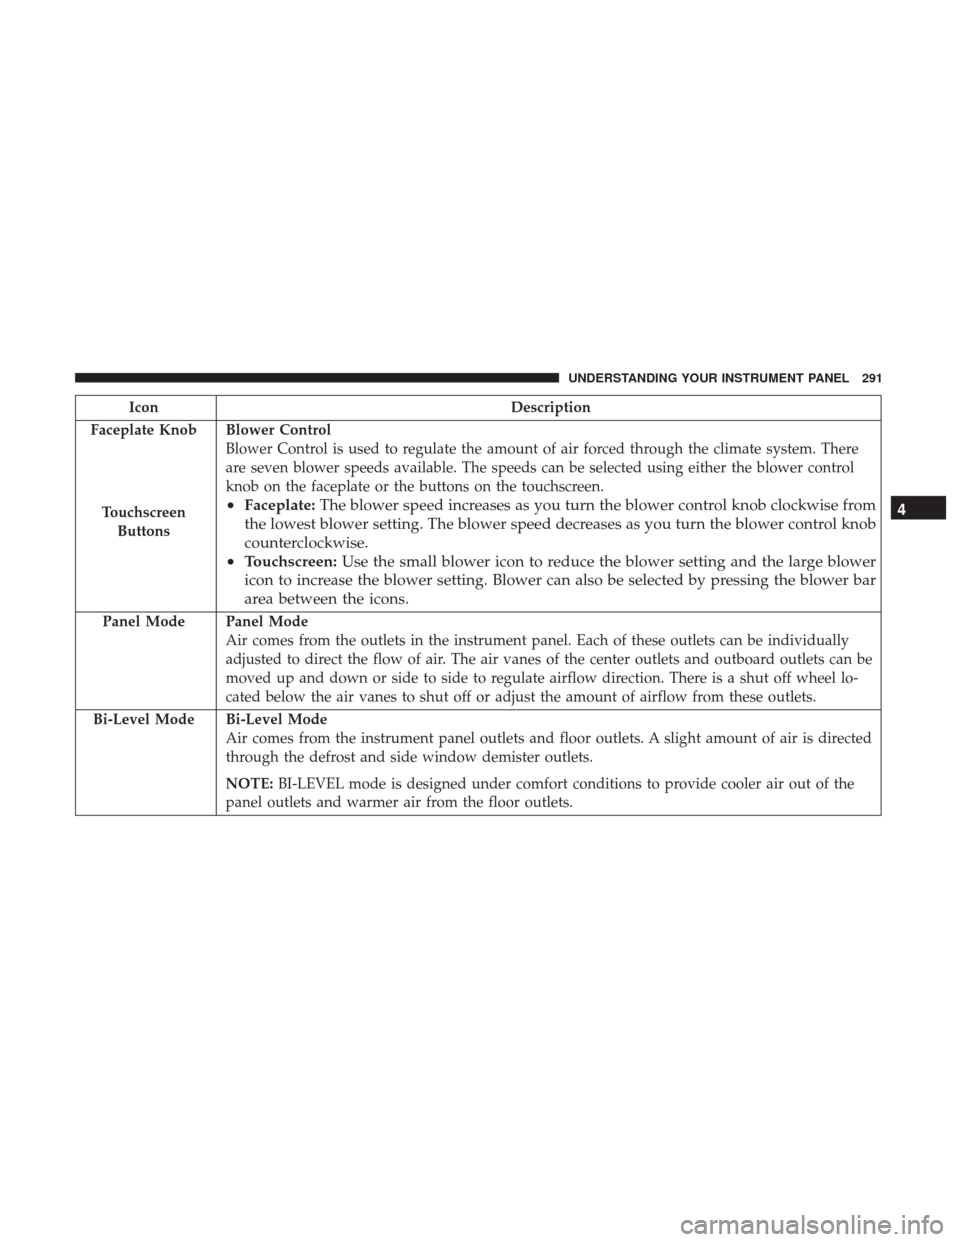
Blower Control
Blower Control is used to regulate the amount of air forced through the climate system. There
are seven blower speeds available. The speeds can be selected using either the blower control
knob on the faceplate or the buttons on the touchscreen.
• Faceplate: The blower speed increases as you turn the blower control knob clockwise from
the lowest blower setting. The blower speed decreases as you turn the blower control knob
counterclockwise.
• Touchscreen: Use the small blower icon to reduce the blower setting and the large blower
icon to increase the blower setting. Blower can also be selected by pressing the blower bar
area between the icons.
Panel ModePanel Mode
Air comes from the outlets in the instrument panel. Each of these outlets can be individually
adjusted to direct the flow of air. The air vanes of the center outlets and outboard outlets can be
moved up and down or side to side to regulate airflow direction. There is a shut off wheel lo-
cated below the air vanes to shut off or adjust the amount of airflow from these outlets.
Bi-Level Mode
Bi-Level Mode
Air comes from the instrument panel outlets and floor outlets. A slight amount of air is directed
through the defrost and side window demister outlets.
NOTE: BI-LEVEL mode is designed under comfort conditions to provide cooler air out of the
panel outlets and warmer air from the floor outlets.
4
UNDERSTANDING YOUR INSTRUMENT PANEL 291
Page 302 of 542
Get Started
1. Visit UconnectPhone.com to check mobile device andfeature compatibility and to find phone pairing instruc-
tions.
2.
Reduce background noise. Wind and passenger conversa-
tions are examples of noise that may impact recognition.
3. Speak clearly at a normal pace and volume while facing straight ahead. The microphone is positioned in the
headliner and aimed at the driver.
4. Each time you give a Voice Command, you must first push either the VR or Phone button, wait until afterthe
beep, then say your Voice Command.
5. You can interrupt the help message or system prompts by pushing the VR or Phone button and saying a Voice
Command from current category. Two buttons are all you need to control your Uconnect
system with your voice.
Voice Recognition (VR)/Phone Buttons
1 — Push To Begin Radio, Media, Navigation, Apps And Climate
Functions
2 — Push To Initiate Or To Answer A Phone Call, Send Or Receive
A Text
300 UNDERSTANDING YOUR INSTRUMENT PANEL
Page 319 of 542
Getting Started
Ensure Siri is enabled on your iPhone.1. Pair your Siri enabled device to the vehicles sound
system. Refer to your Uconnect Owner ’s Manual
Supplement for a detailed pairing procedure.
NOTE: Apush and release of the
button will start
normal embedded VR functions. The push and hold,
then release of the
button will start Siri functions.
Siri Enable Screens
1 — Select Settings On Your iPhone
2 — Select General
3 — Select Siri
4 — Enable SiriVoice Recognition (VR)/Phone Buttons
1 — Push To Begin Radio, Media, Navigation, Apps And Climate
Functions
2 — Push To Initiate Or To Answer A Phone Call, Send Or Receive
A Text
4
UNDERSTANDING YOUR INSTRUMENT PANEL 317
Page 419 of 542
The trailer and the vehicle’s brake lamps will come on
when either vehicle braking or manual trailer brakes are
applied.
Trailer Brake Status Indicator Light
This light indicates the trailer electrical connection status.
If no electrical connection is detected after the ignition is
turned on, pushing the GAIN adjustment button or sliding
the manual brake control lever will display the GAIN
setting for 10 seconds and the “Trailer Brake Status Indi-
cator Light” will not be displayed.
If a fault is detected in the trailer wiring or the Integrated
Trailer Brake Module (ITBM), the “Trailer Brake Status
Indicator Light” will flash.
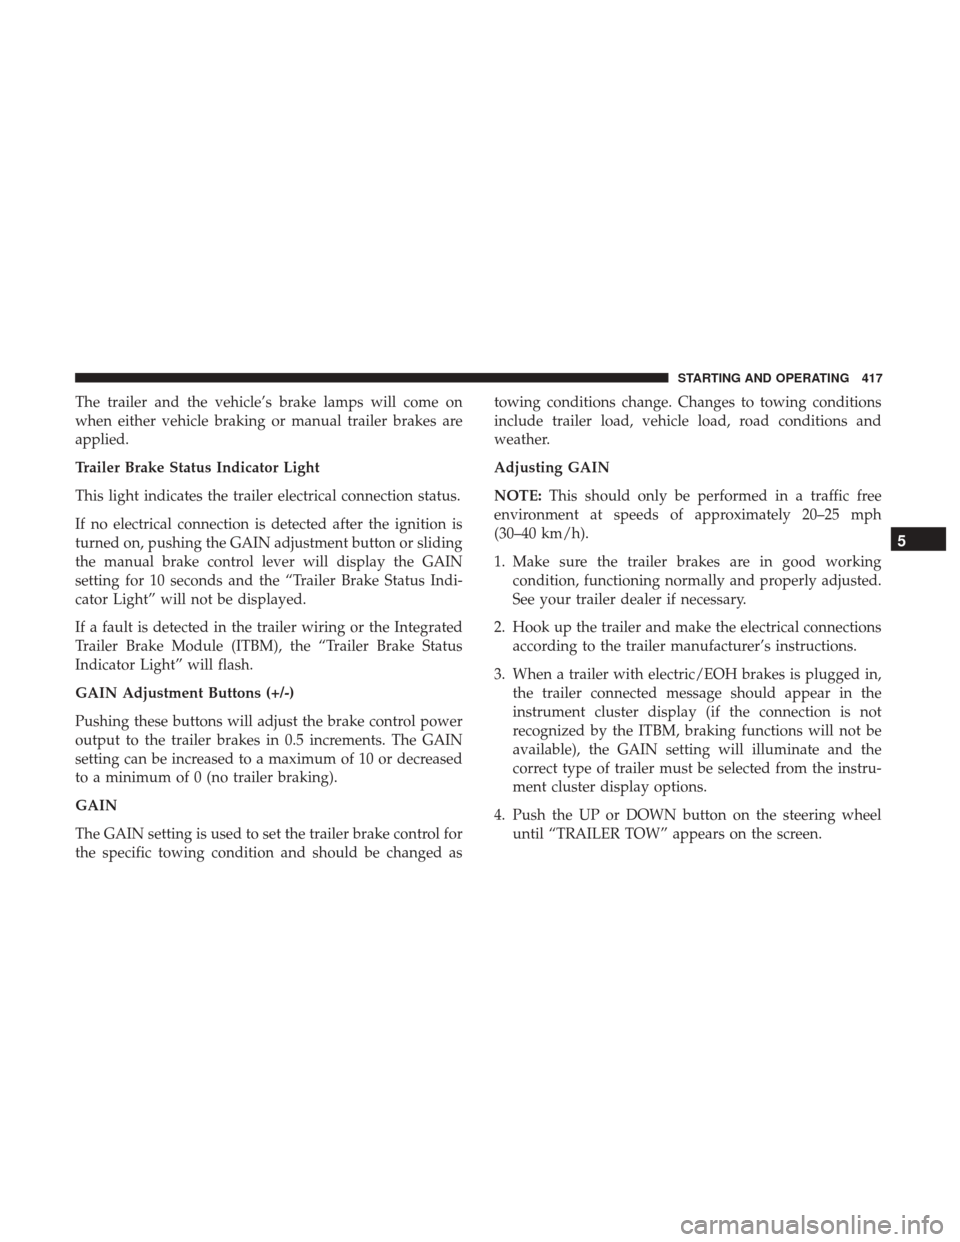
GAIN Adjustment Buttons (+/-)
Pushing these buttons will adjust the brake control power
output to the trailer brakes in 0.5 increments. The GAIN
setting can be increased to a maximum of 10 or decreased
to a minimum of 0 (no trailer braking).
GAIN
The GAIN setting is used to set the trailer brake control for
the specific towing condition and should be changed astowing conditions change. Changes to towing conditions
include trailer load, vehicle load, road conditions and
weather.
Adjusting GAIN
NOTE:
This should only be performed in a traffic free
environment at speeds of approximately 20–25 mph
(30–40 km/h).
1. Make sure the trailer brakes are in good working condition, functioning normally and properly adjusted.
See your trailer dealer if necessary.
2. Hook up the trailer and make the electrical connections according to the trailer manufacturer’s instructions.
3. When a trailer with electric/EOH brakes is plugged in, the trailer connected message should appear in the
instrument cluster display (if the connection is not
recognized by the ITBM, braking functions will not be
available), the GAIN setting will illuminate and the
correct type of trailer must be selected from the instru-
ment cluster display options.
4. Push the UP or DOWN button on the steering wheel until “TRAILER TOW” appears on the screen.
5
STARTING AND OPERATING 417
Page 420 of 542
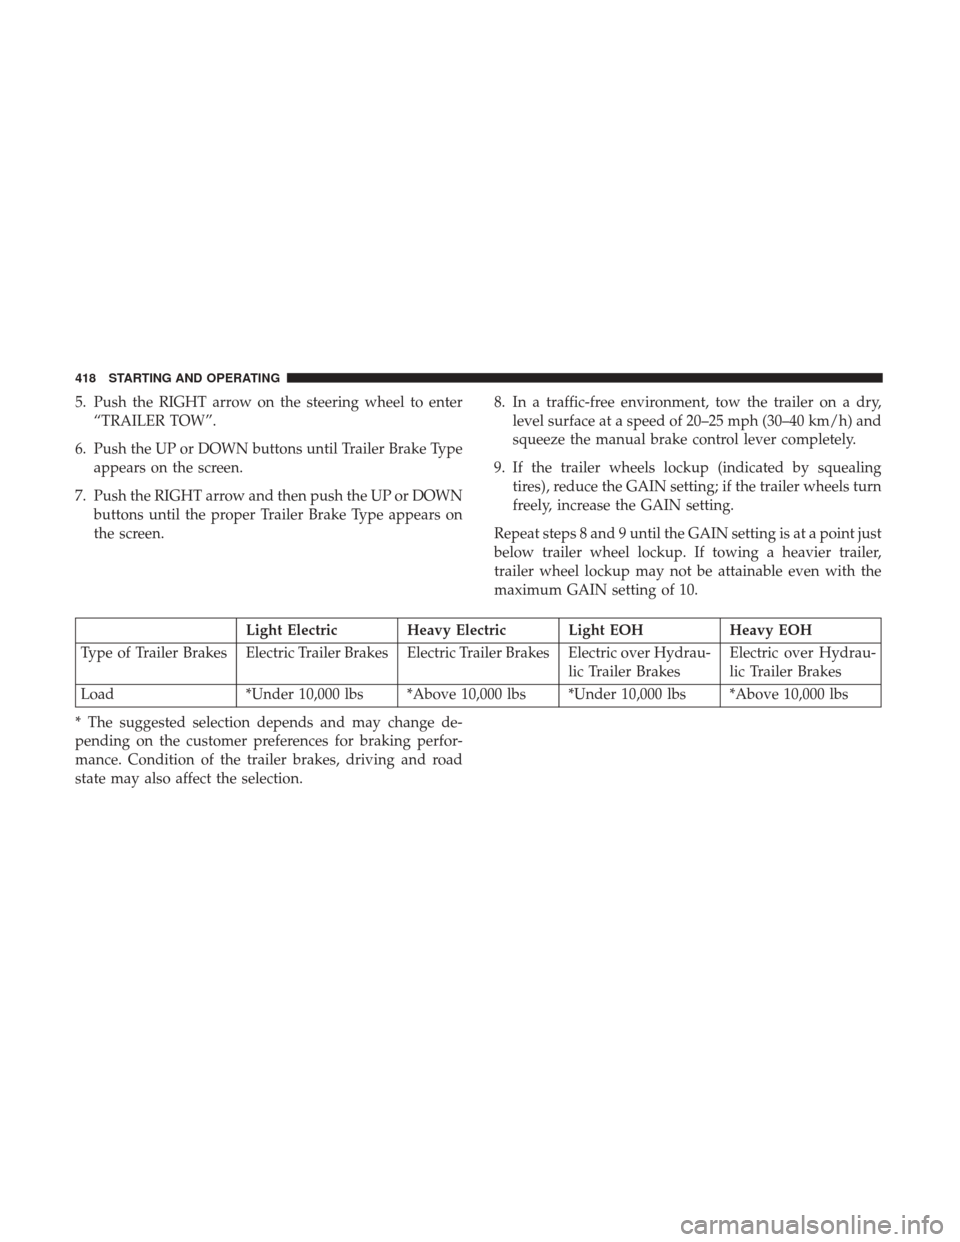
5. Push the RIGHT arrow on the steering wheel to enter“TRAILER TOW”.
6. Push the UP or DOWN buttons until Trailer Brake Type appears on the screen.
7. Push the RIGHT arrow and then push the UP or DOWN buttons until the proper Trailer Brake Type appears on
the screen. 8. In a traffic-free environment, tow the trailer on a dry,
level surface at a speed of 20–25 mph (30–40 km/h) and
squeeze the manual brake control lever completely.
9. If the trailer wheels lockup (indicated by squealing tires), reduce the GAIN setting; if the trailer wheels turn
freely, increase the GAIN setting.
Repeat steps 8 and 9 until the GAIN setting is at a point just
below trailer wheel lockup. If towing a heavier trailer,
trailer wheel lockup may not be attainable even with the
maximum GAIN setting of 10.
Light Electric Heavy Electric Light EOH Heavy EOH
Type of Trailer Brakes Electric Trailer Brakes Electric Trailer Brakes Electric over Hydrau- lic Trailer BrakesElectric over Hydrau-
lic Trailer Brakes
Load *Under 10,000 lbs *Above 10,000 lbs *Under 10,000 lbs *Above 10,000 lbs
* The suggested selection depends and may change de-
pending on the customer preferences for braking perfor-
mance. Condition of the trailer brakes, driving and road
state may also affect the selection.
418 STARTING AND OPERATING